Lead Management
Odoo 17 allows you to gather leads from several sources and track which ones meet the requirements to be considered as opportunities. Additionally, the CRM module assists you in generating fresh leads that, if they satisfy the needs of the business, may become possibilities. The Configuration tab of the module contains a Settings menu where you may activate the lead management system.
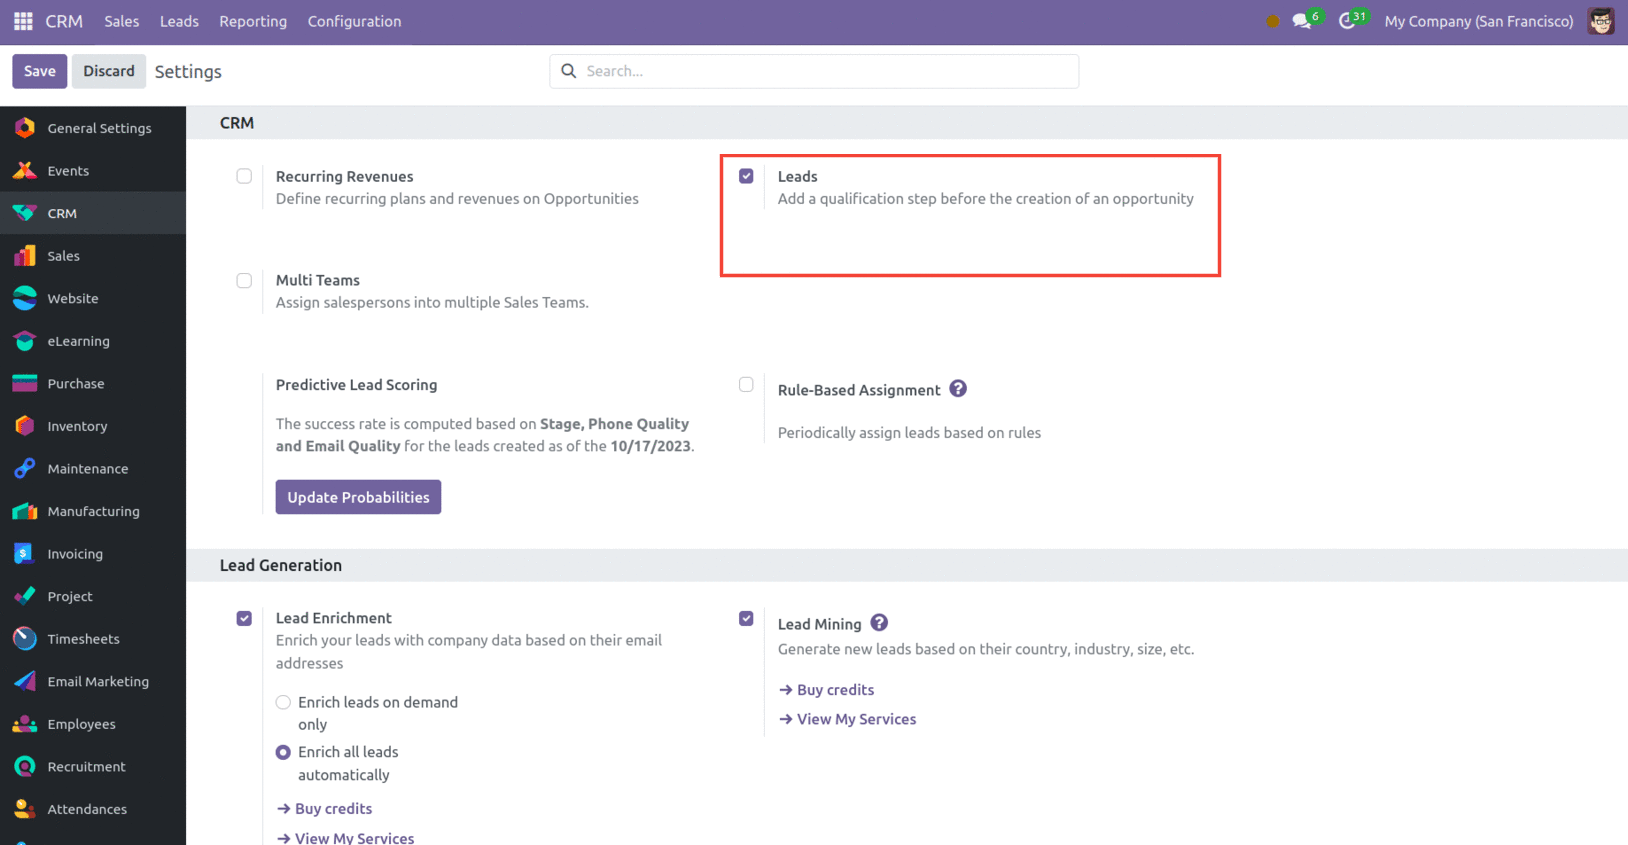
Check the Leads box as shown above and click 'Save.' When this option is enabled, a new Leads tab will appear on the main menu bar.
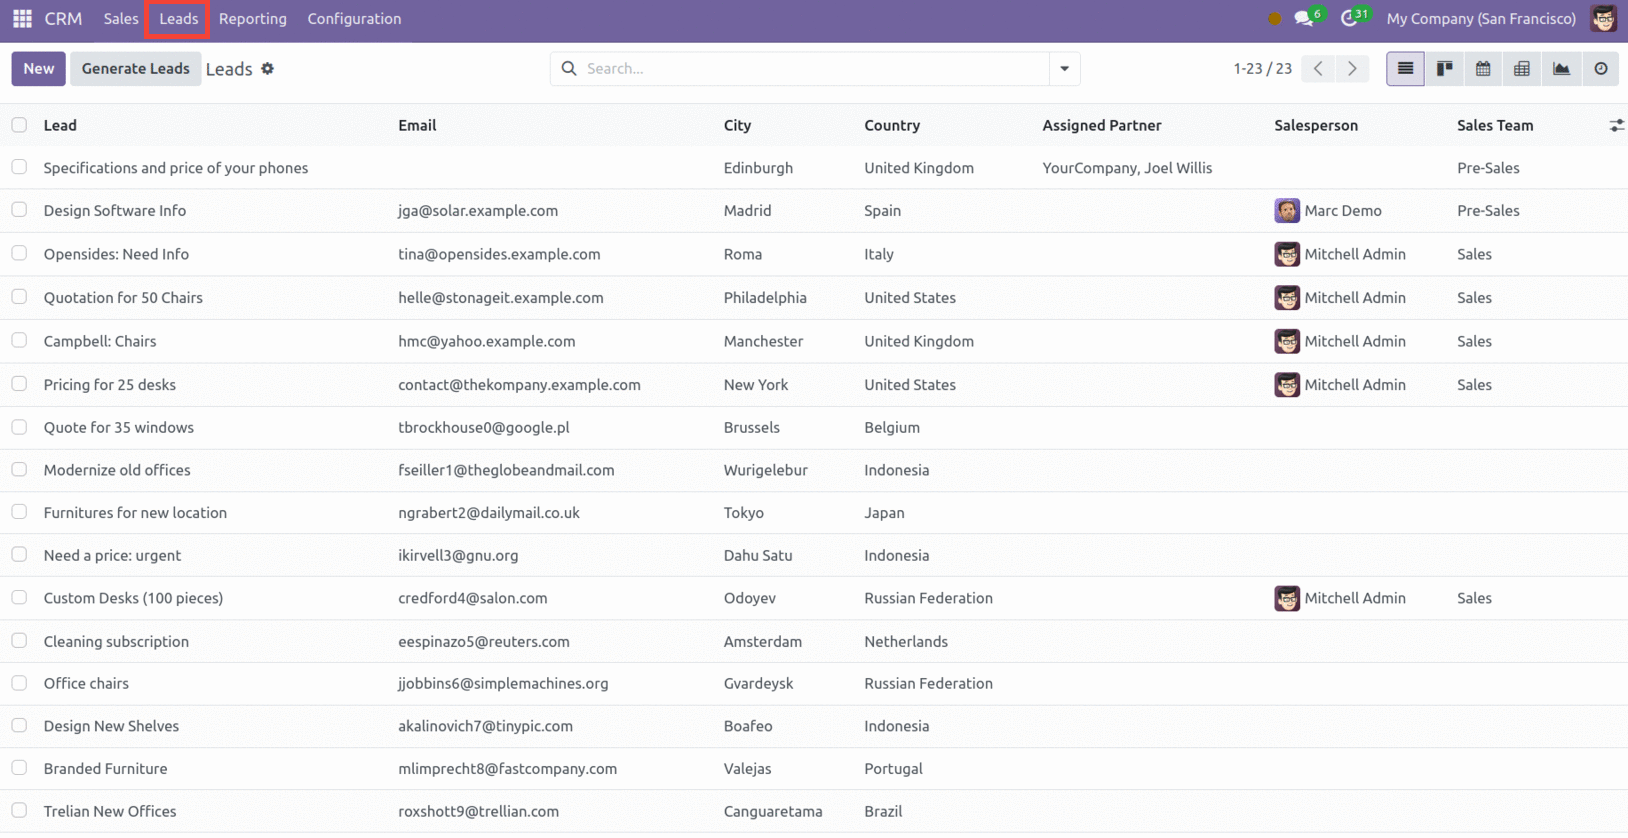
The Leads window provides prospect information such as lead name, email, phone number, company, city, country, assigned partner, salesperson, and sales team. Click any lead preview to reveal its detailed form.
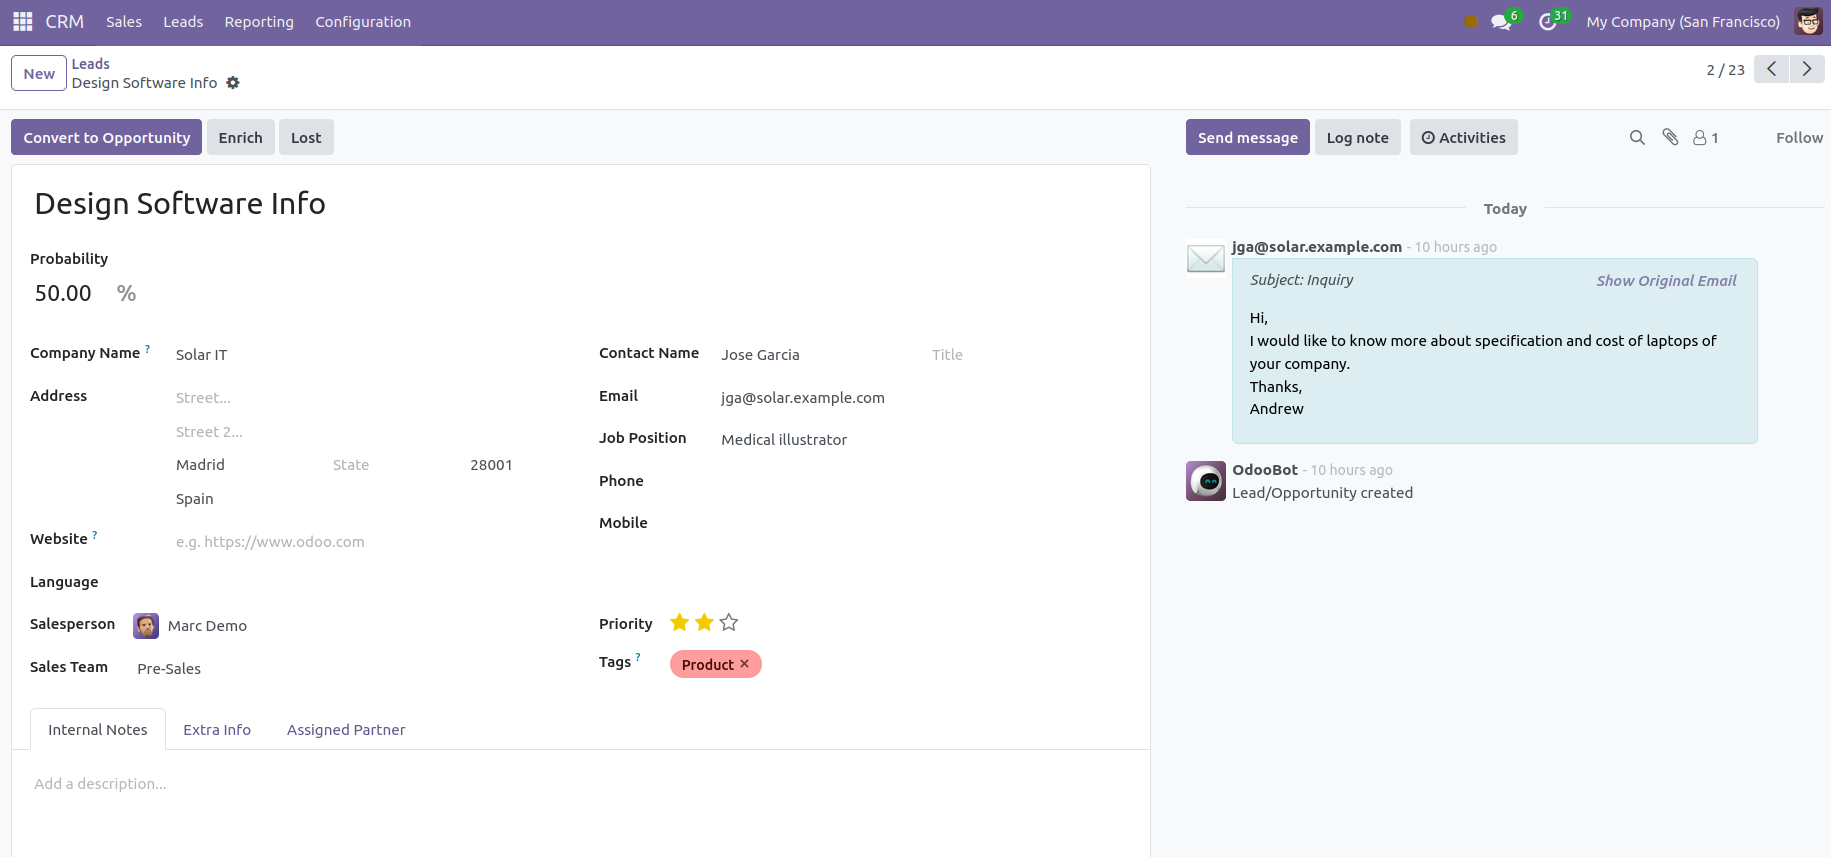
The form view does not include an Edit button, as you can see. By putting the cursor in the appropriate fields, you may change the data in this item immediately. Odoo 17 includes this new capability.
This window allows you to build new leads and control their dynamics. Select the "Create" option to include a new lead. The window that follows will appear.
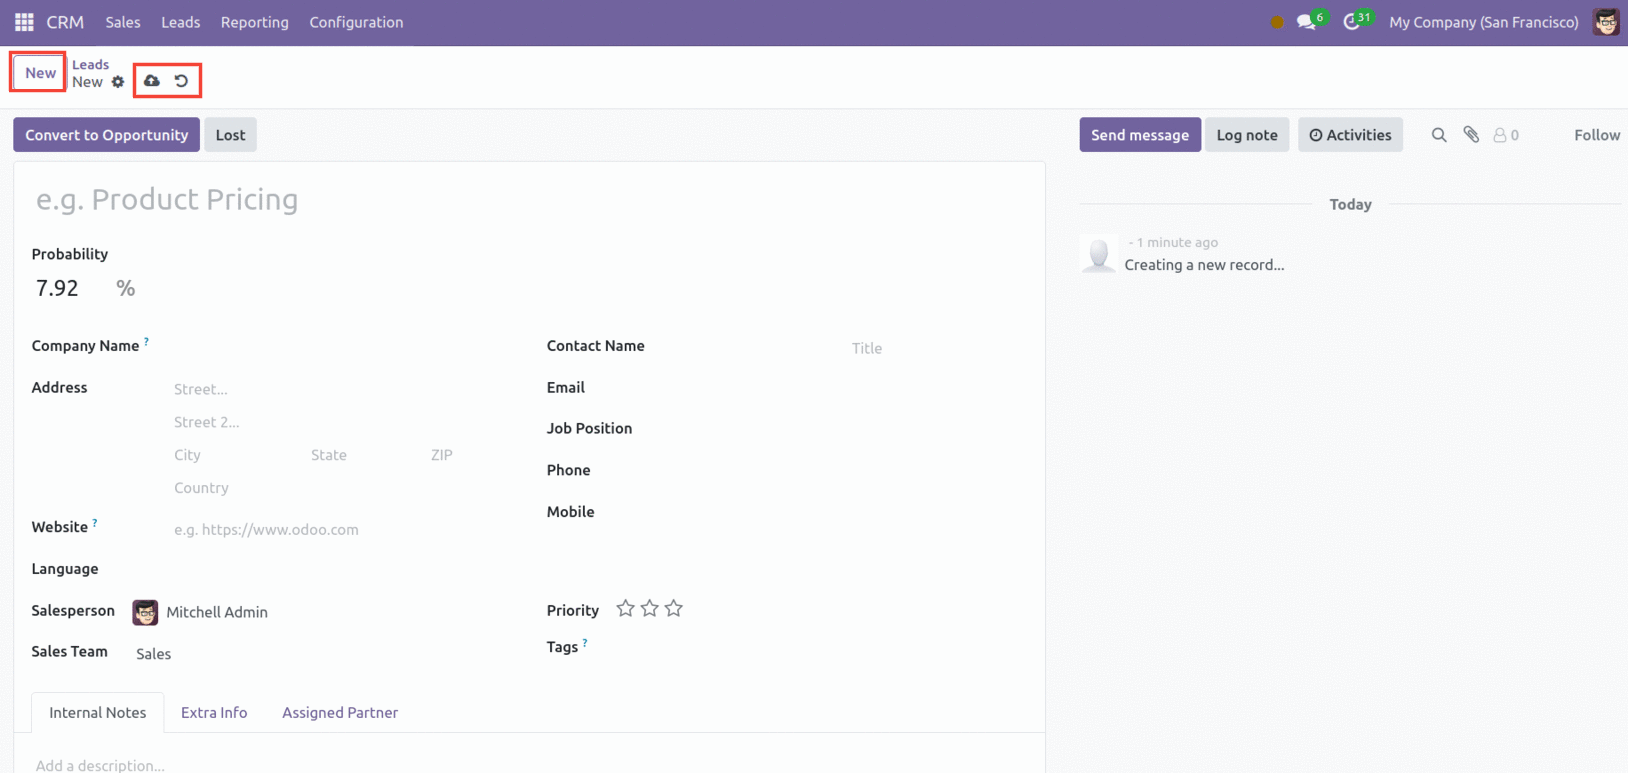
You can notice that the Save button is missing from this screen. Your recorded data is automatically preserved. By selecting the Save Manually icon, you may return to manual saving. The Discard button has seen a major alteration in the most recent edition as well. The Create and Action buttons are positioned on the window's right side in a similar manner. These features are exclusive to Odoo 17.
Assign a name to your lead in the relevant area. In the Probability section, you may specify the prospect's possibility (in percentage) of becoming an opportunity. Probability defines the percentage possibility that the lead becomes a business deal. Next, provide the following details: Company Name, Address, Phone, Mobile, Priority, Website, Salesperson, Sales Team, Contact Name, Email, Job Position, and Tags.
There are three tabs available under these fields: Internal Notes, Extra Info, and Assigned Partner. If necessary, add extra notes under the Internal Notes tab. Under 'Extra Info,' include any additional information that may aid in the tracking of the lead's dynamic.
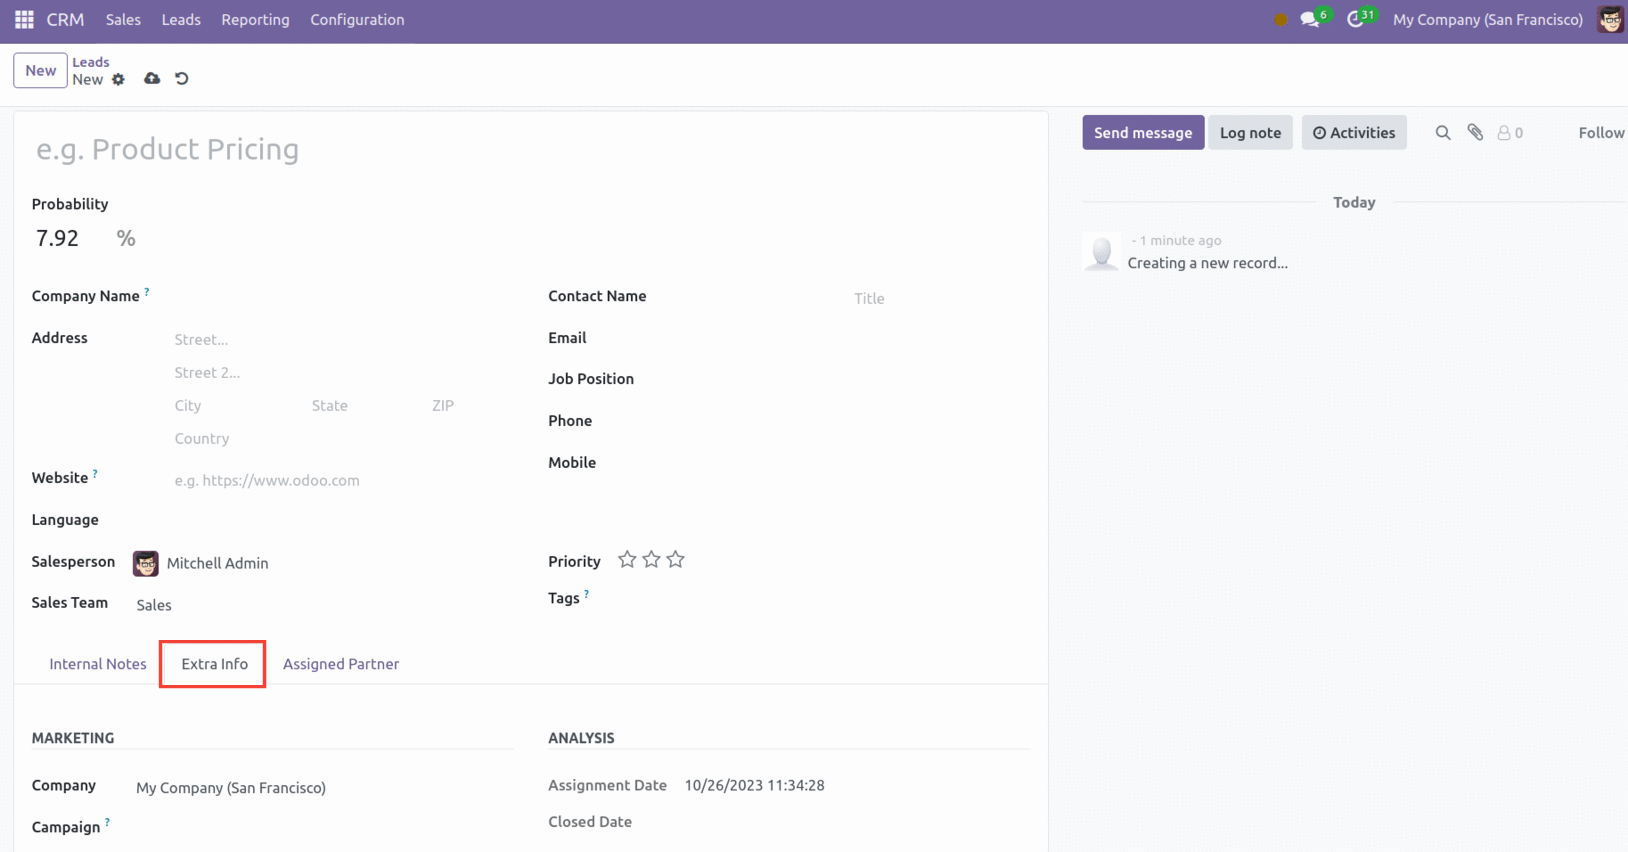
Fill in the following fields in the Marketing section: Company, Campaign name, Medium, Source of the link, and Referred By. The auto-generated Assignment Date and Closed Date will be shown under "Analysis." The Bounce field in the Email section, which is a new feature in Odoo 17, keeps track of the amount of bounced emails for this contact.
You may provide information about the partner to whom the lead is assigned using the Assigned Partner tab.
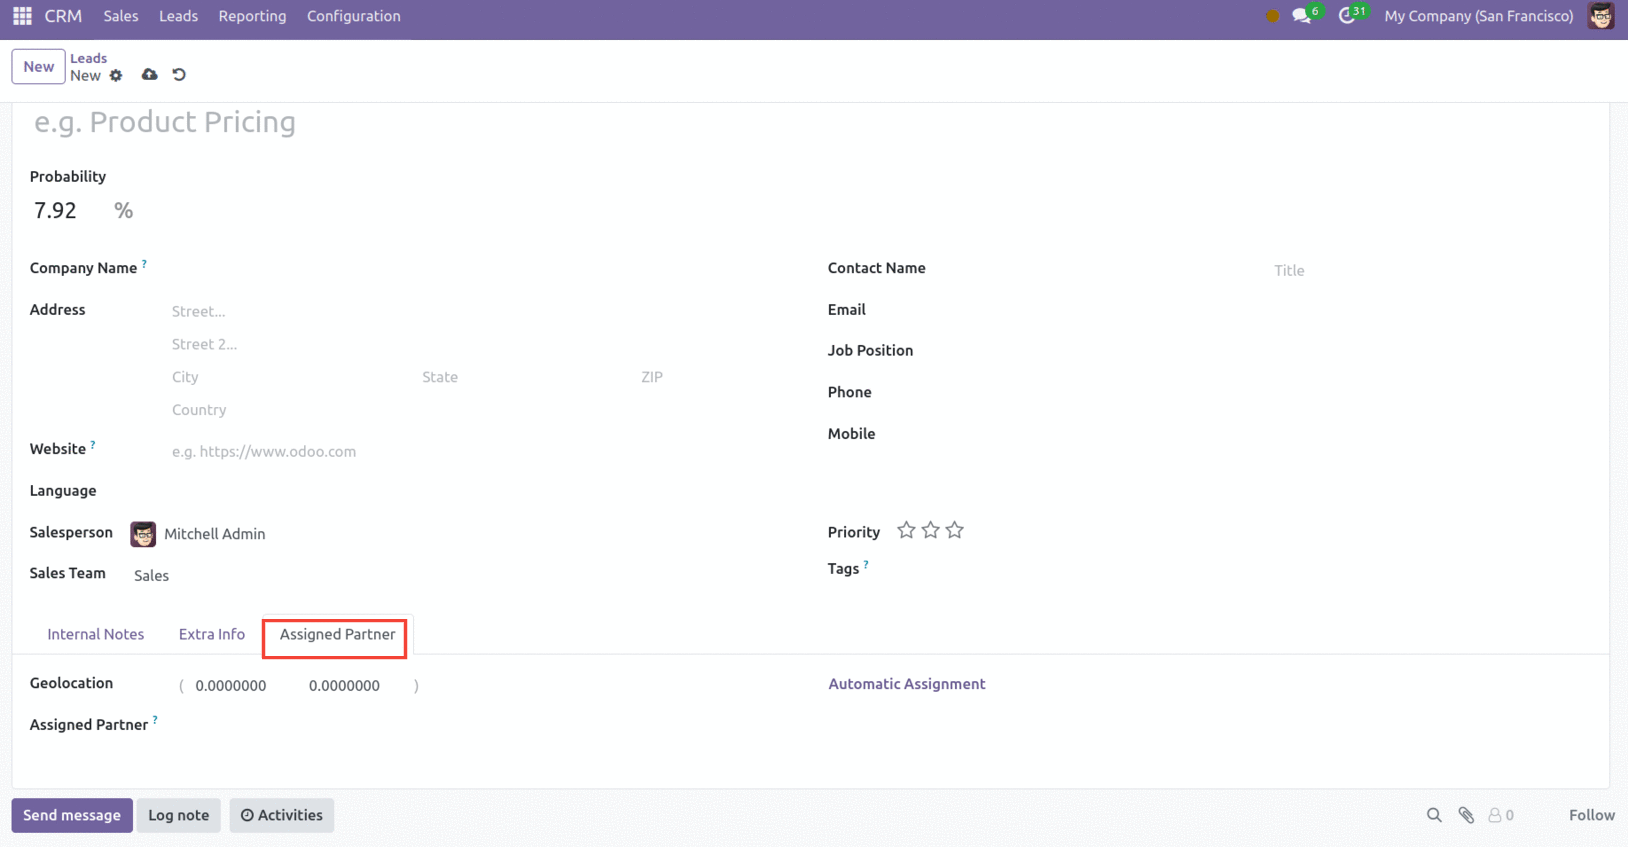
Provide the Geolocation and Assigned Partner information. If you want the system to allocate the lead to a partner automatically, choose Automatic Assignment. Click Save once you've finished entering all the information.
Let us now go over the process of transforming a lead into a new opportunity step by step.