Product Lifecycle Management (PLM)
Managing the lifecycle of the product from the time of production to its delivery or disposal is a crucial task for manufacturing companies. Product lifecycle management offers a solution for the effective management of all information related to the product and operations which are done at various points of the product life cycle. Recording the product-related information in a unified system will help the manufacturers to get access to the required version of the product at any time. Based on engineering change orders, the system will record the product life cycle, which aids in getting an up-to-date report of the products manufactured in your company.
The PLM module available in the Odoo 16 centralizes all details and processes regarding the product life cycle and gives reports of the items, parts, products, engineering change orders, documents, and quality workflow. This chapter will detail the features and functionalities of the Odoo PLM module.
The main dashboard of the module will show the details of the engineering change orders created in this module. It will be arranged in the dashboard based on their ECO type. The number of engineering changes made under each ECO type can be observed from this dashboard. You can click on the respective ECO type to get a detailed view of the ECO under that specific ECO type.

The small three vertical dots given on the top right corner of each ECO type tab will give a Configuration option which leads you to the form view of the respective ECO type.
Engineering Change Orders
An Engineering Change Order outlines the proposed changes for a product. It details the new change or new design suggested for an existing product in a company. It is easy to create and manage such orders in the Odoo PLM module. The Changes menu will lead you to a platform where you can manage the engineering change orders in your company. The screenshot shown below is the Kanban view of the engineering change orders configured in your system. Based on the stages you created for the ECO, the window will arrange them according to the progression.

For managing and creating stages for the ECo, you will get a separate platform under the Configuration menu.

The list view will show the details of the Reference, Bill of Materials, Responsible, Stage, Effective Date, and Company. Using the Create button, you can effortlessly create a new engineering change order for products.
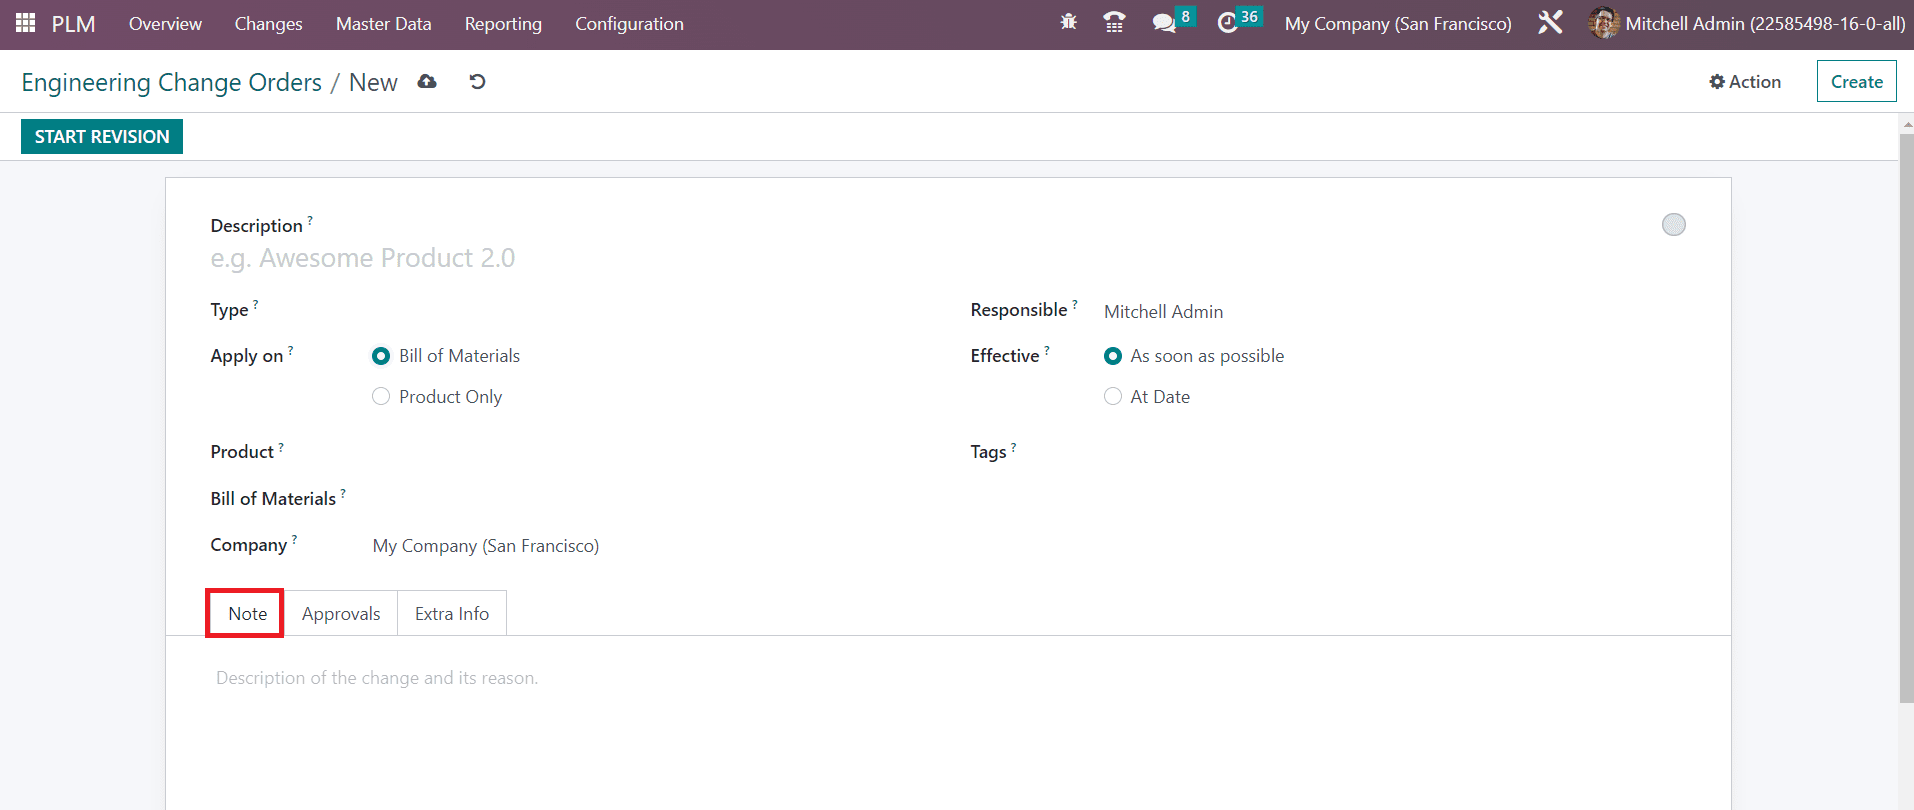
Add a Description of the changes in the given field. The Type of engineering change order can be selected from the given drop-down menu. The changes mentioned in the order can be applied on either Bill of Material or the selected Product only. This can be specified in the Apply On field. Based on the option you select, mention the Product and Bill of Materials in the respective fields. The Company name will be displayed in the corresponding field. Assign an employee who is in charge of the ECO in the Responsible field. The date on which the changes will be applied to the product can be defined in the Effective field. You can apply the changes As soon as possible or At Date. By selecting the At Date option, you will be asked to select an Effective Date in the additional field. Add suitable Tags for the ECO.
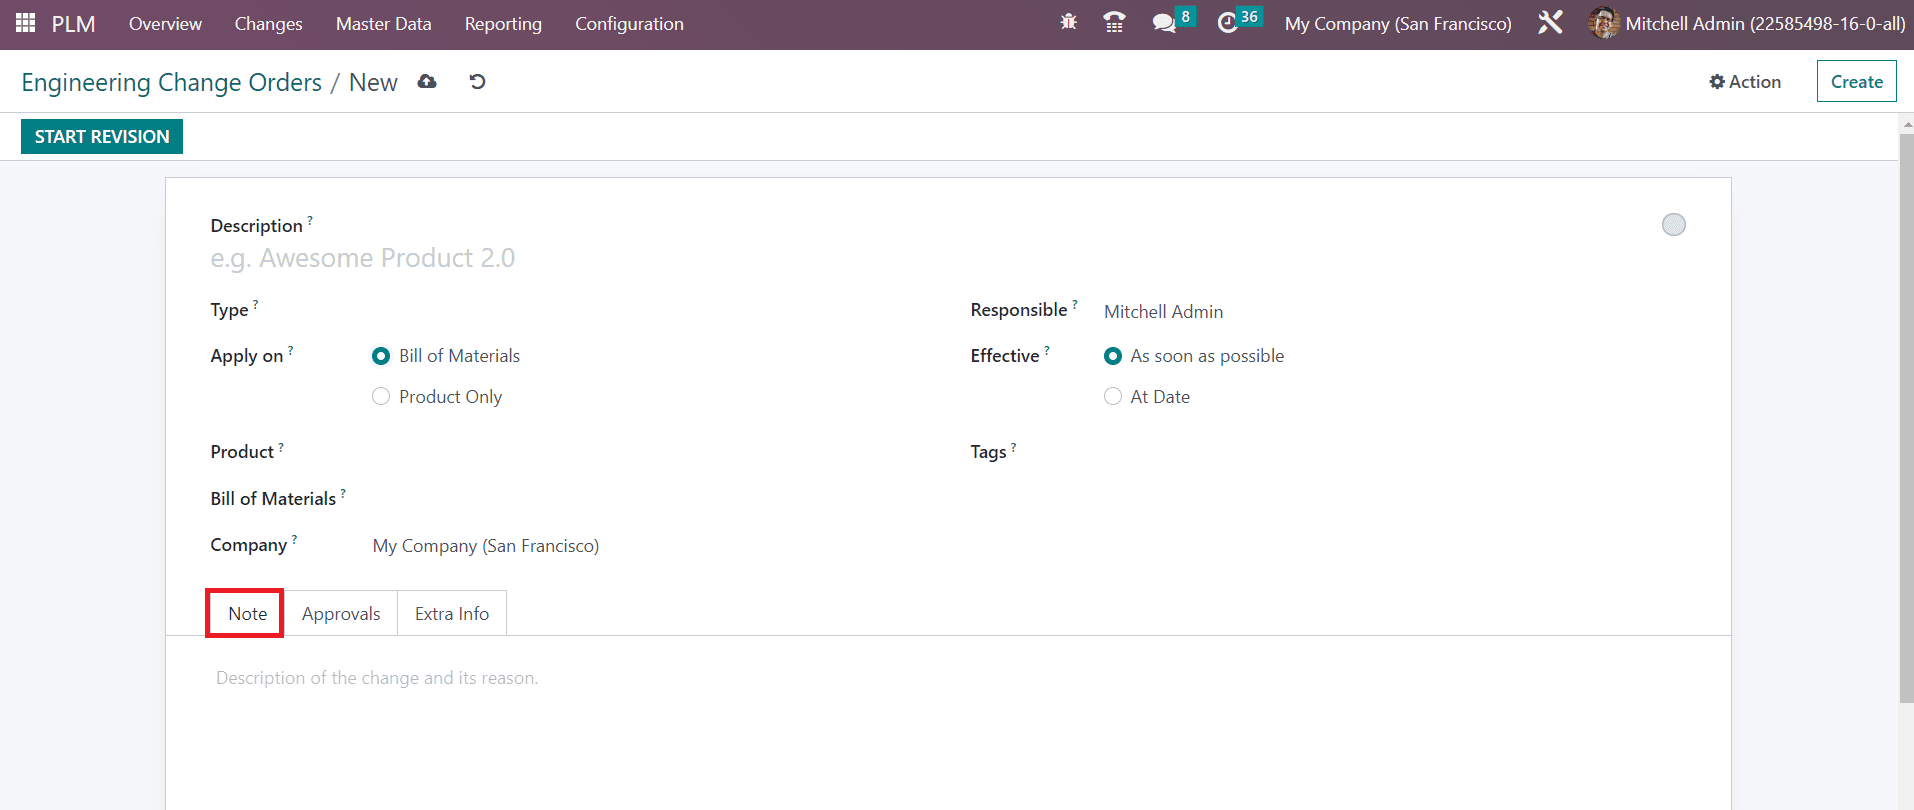
Under the Note tab, you can give an internal note related to the changes and their reason. The description will be helpful in understanding the proposed changes for the product. The Approval tab will show the details of the officer whose approval is required to change the current stage of this ECO.

While configuring stages for the ECO, you can mention the details of the employee whose approval is required to change an ECO from that particular stage to another. The details include the Role, Approved By, Status, Approval Date, Approval Stage, and Requested Users.

Once you provide the Email cc under the Extra Info tab, the configuration is completed. The Start Revision button will help you to start revising the ECO.
According to the progress of the ECO, you can change the stages after getting approval from the specific officer.
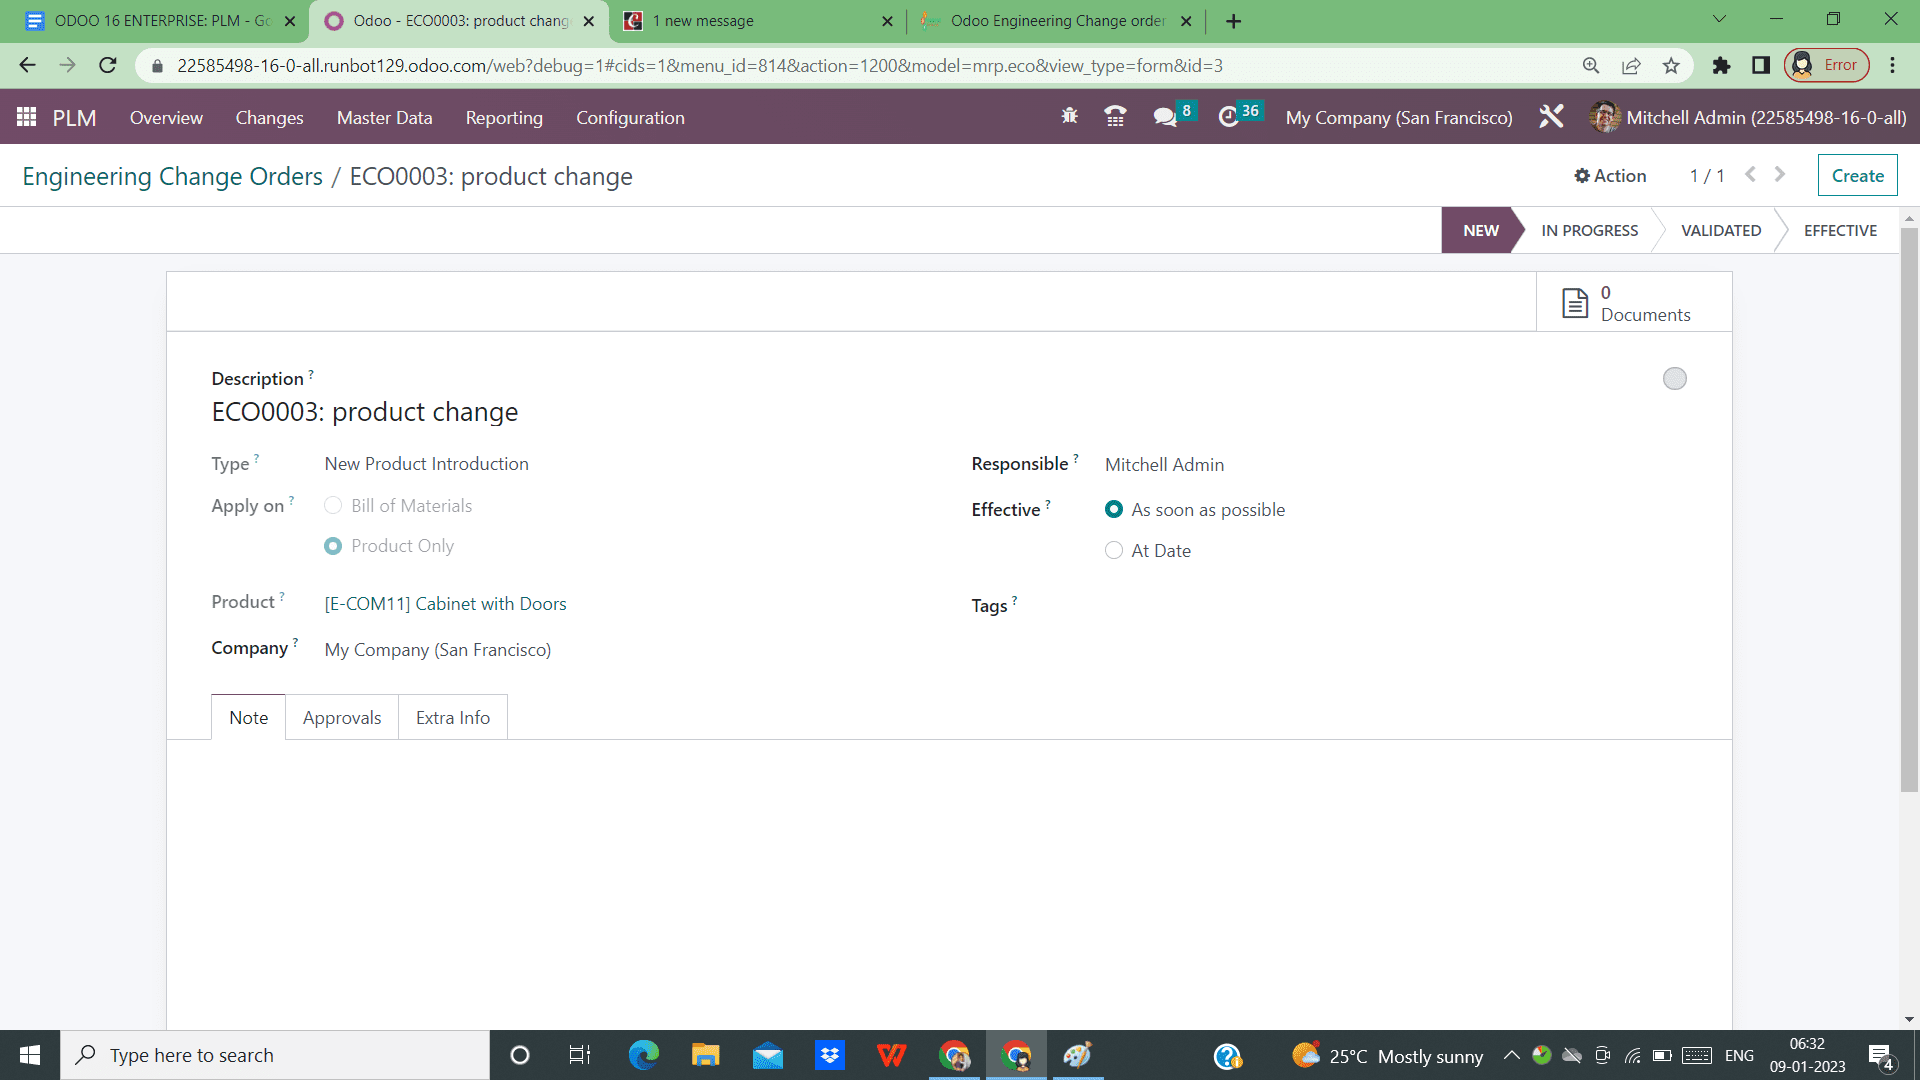
The Document smart button will show files related to the ECO. When the ECO reaches the Validated stage, you will get the Apply Changes button to apply the proposed changes to the product.

After applying the changes, the new version of the product will be updated according to the Effective Date.
You can create engineering change orders for an existing BoM using the smart button available on the form view, as shown below.
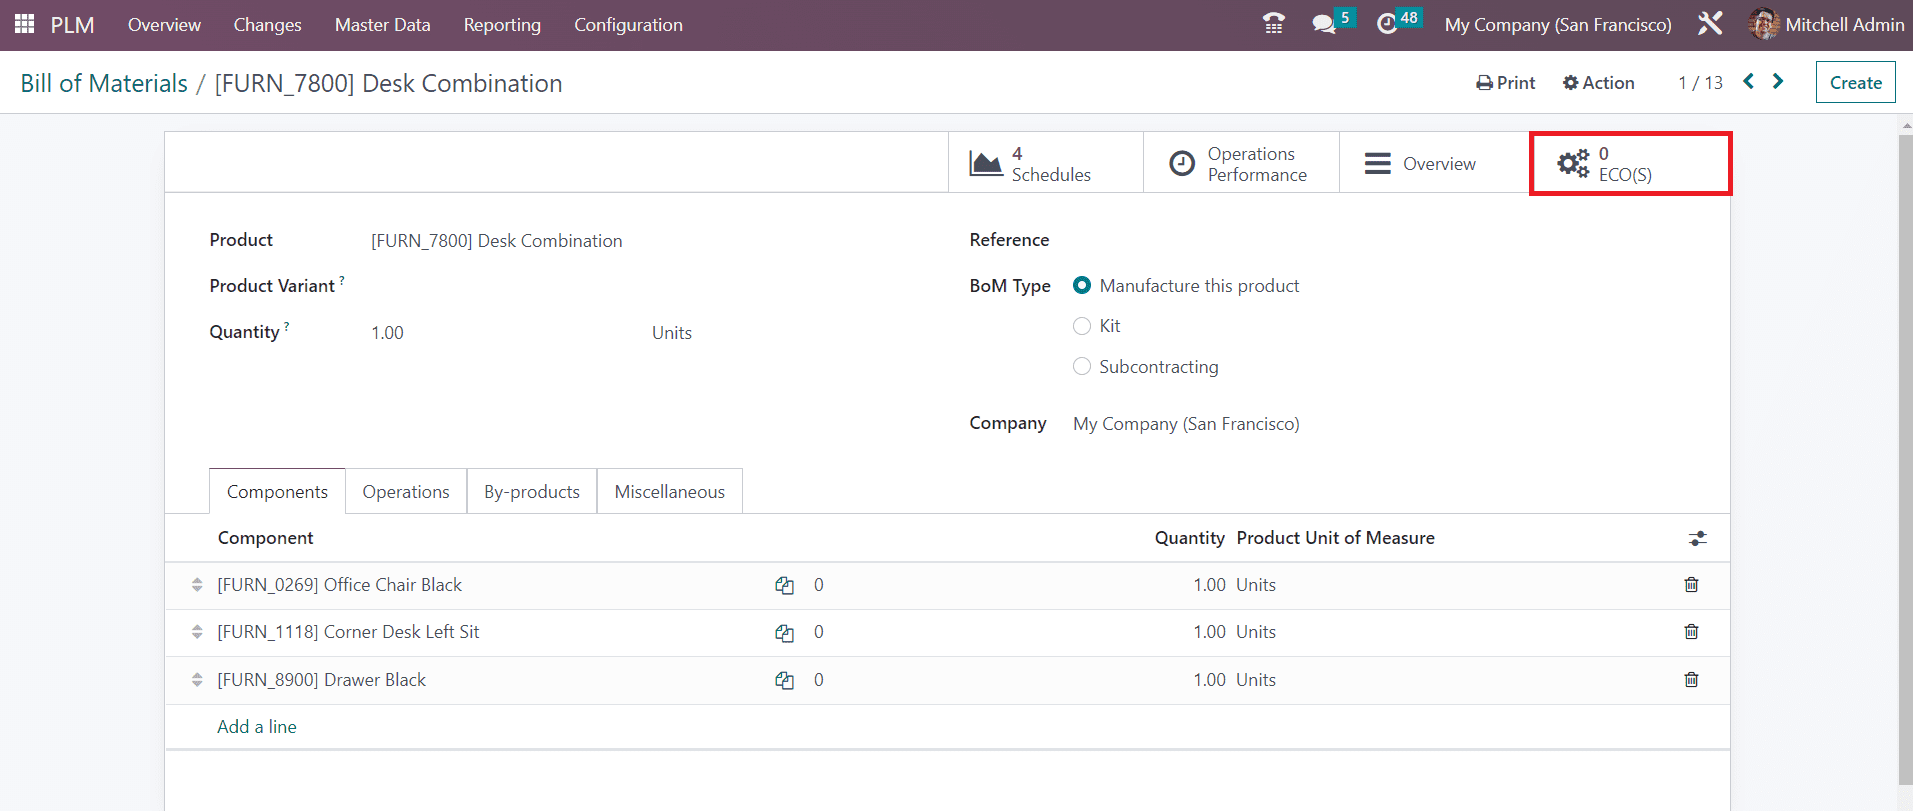
Using this button, you can create ECO for the respective BOM.
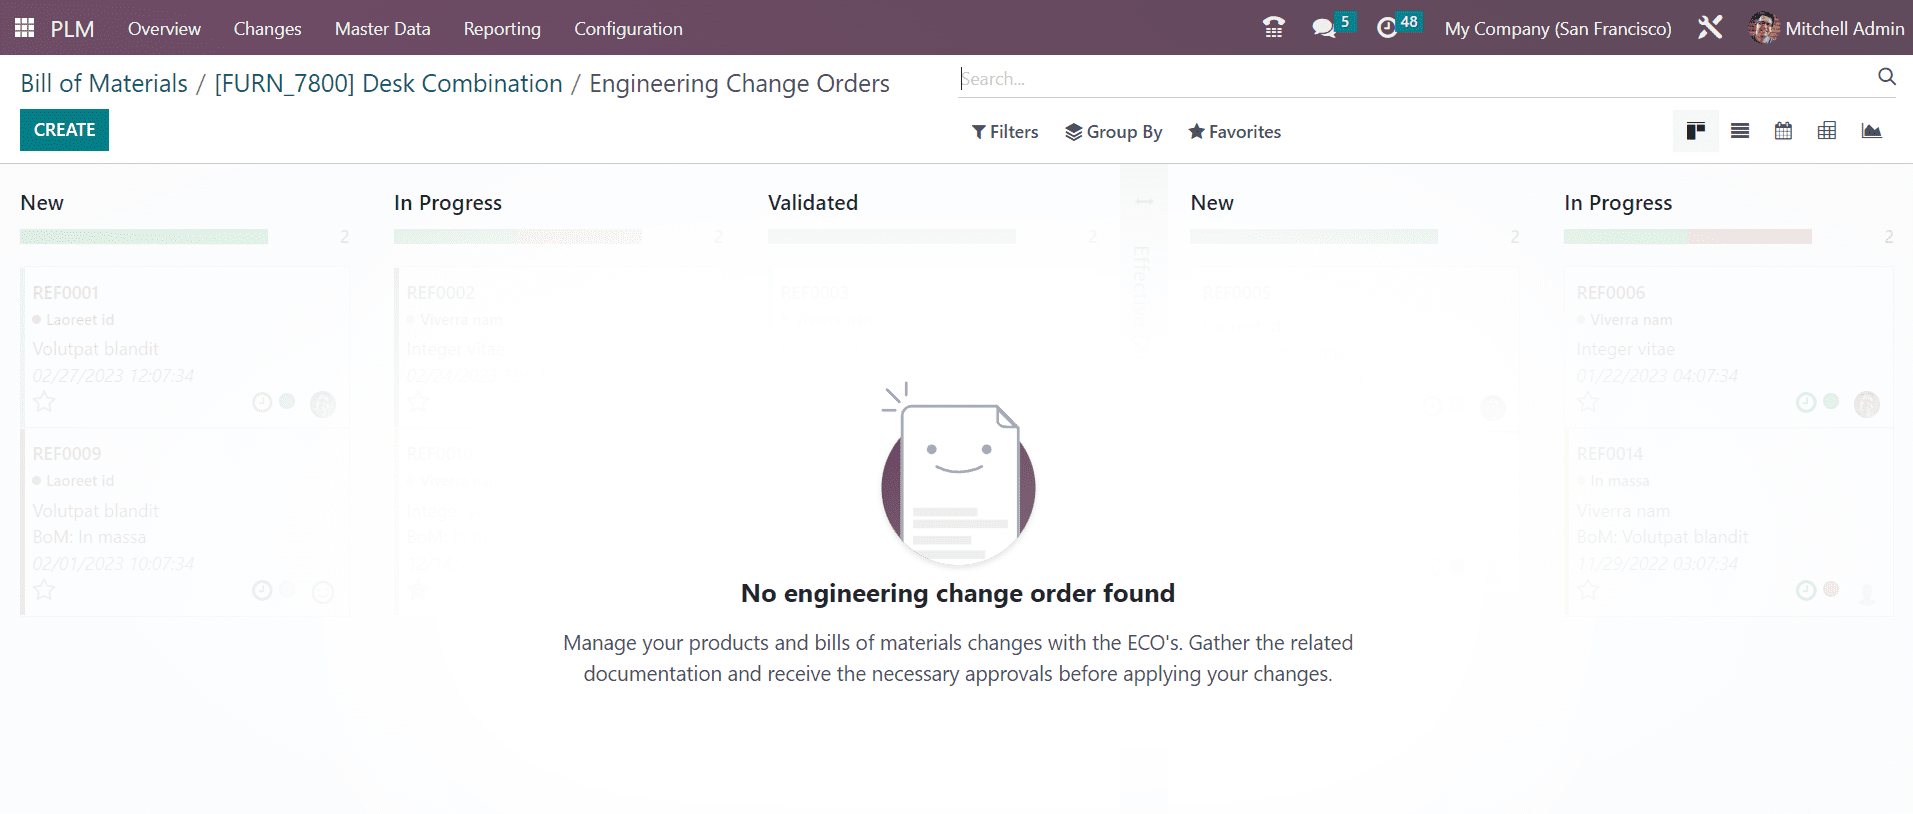
Click the Create button.
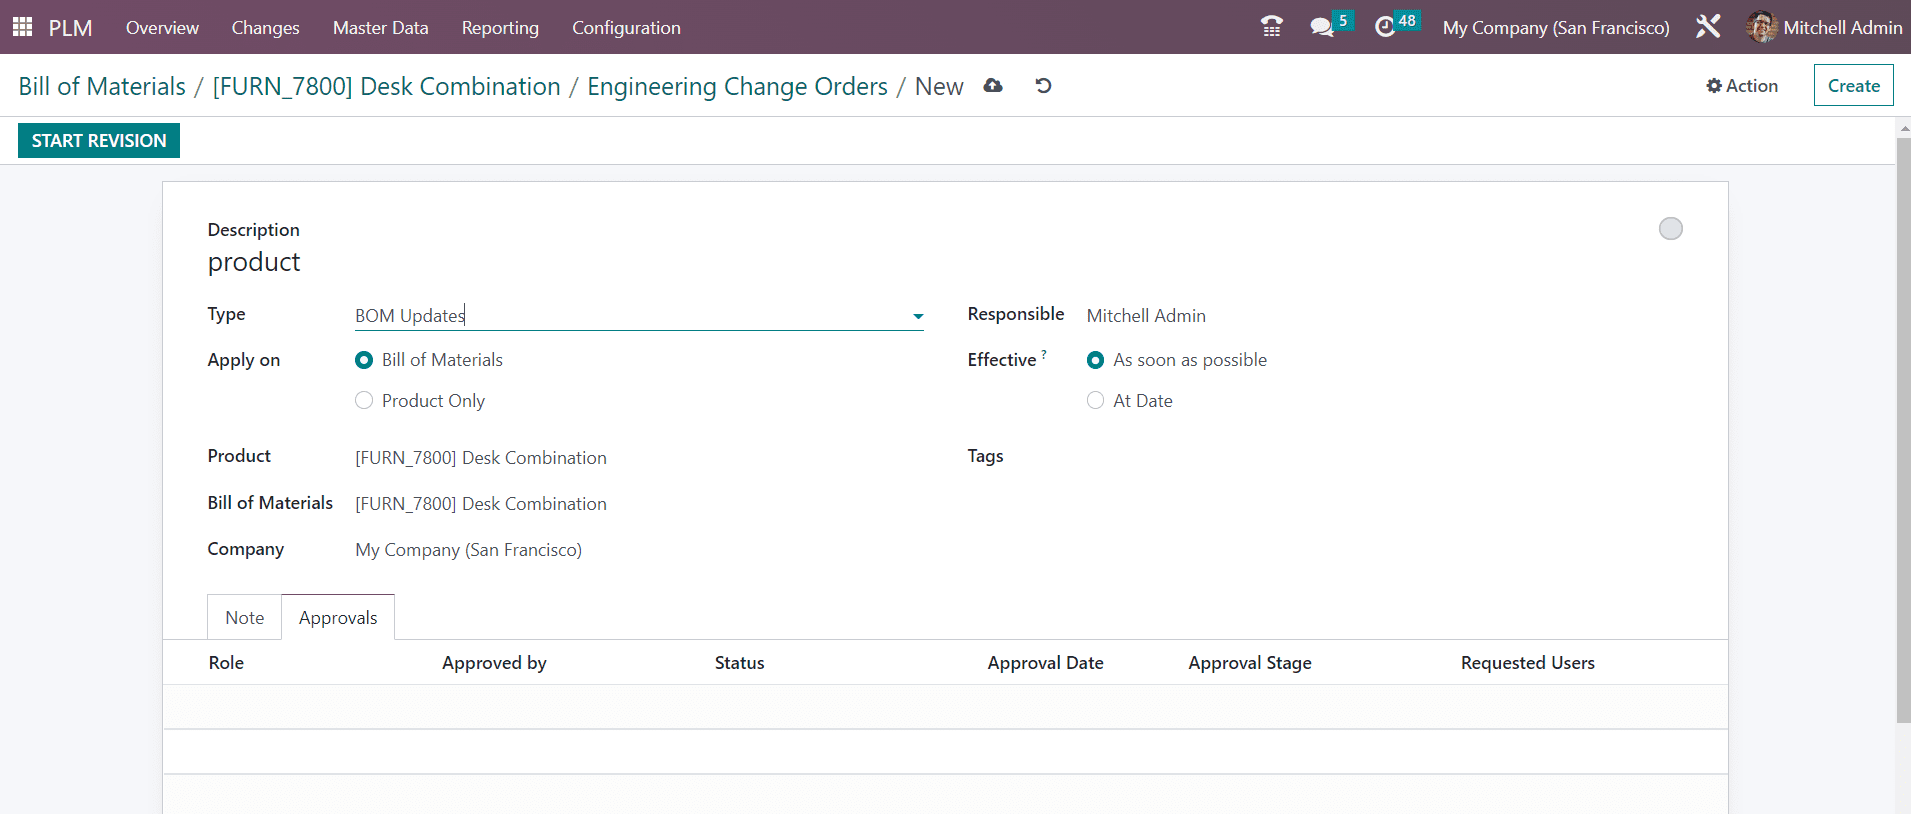
Create a new ECO for the BoM and apply the changes.
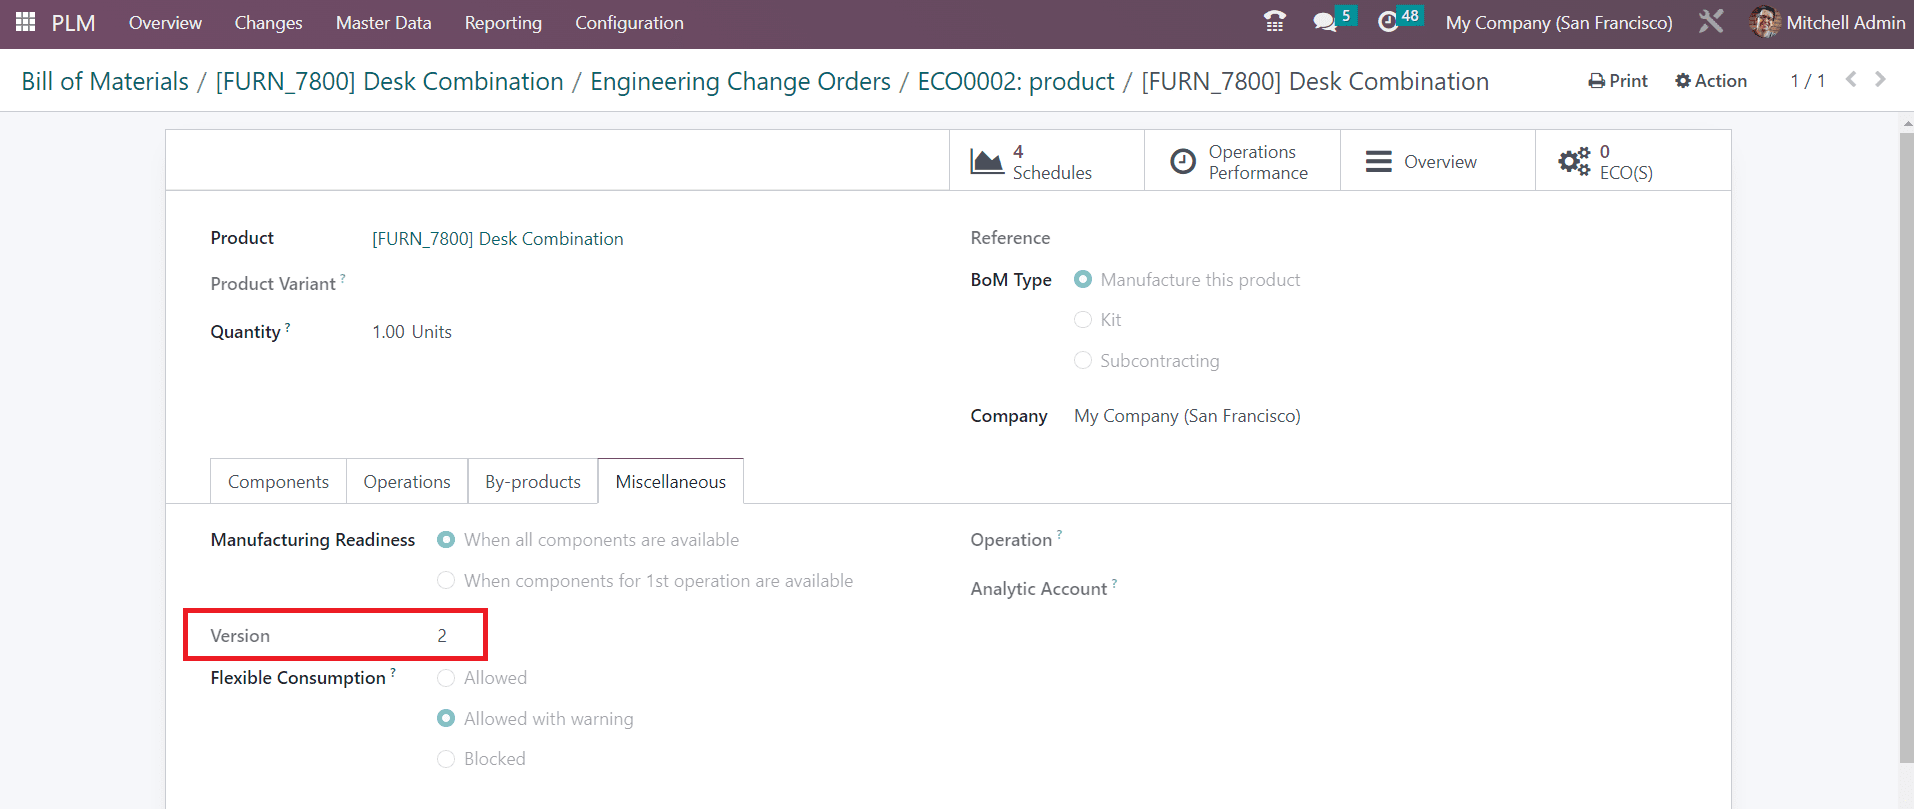
After applying the changes, the version of the BoM can be observed under the Miscellaneous tab.
It is also possible to create ECO from the Manufacturing module. While continuing with a work order, you can add additional steps to the work order using the advanced menu bar available on the tablet view of the respective work order.
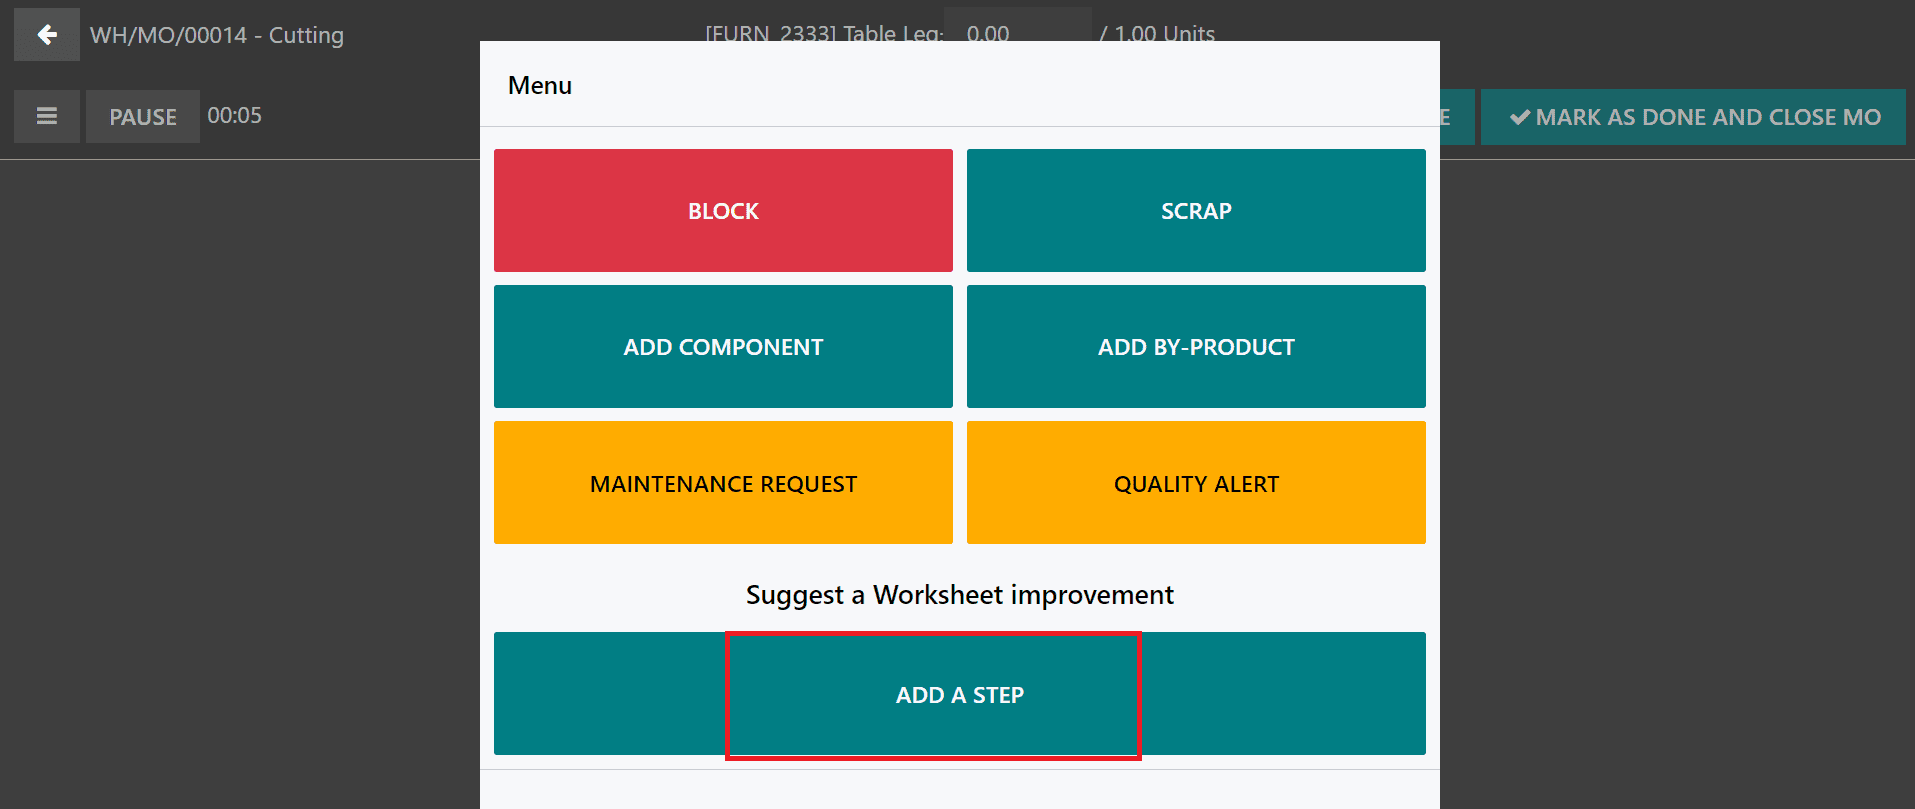
We already detailed this feature in the Manufacturing module. Here, you can use the Add Step button to add a new step to the work order in order to improve the workflow. Once you click this button, you will get a new pop-up to mention the new step.

Here, you can add a Title, Instructions related to the new step, and upload Document in the respective fields. By clicking the Propose Change button, a new ECO will be created in the PLM module. The responsible employee can check the ECO and apply changes after approving the order.

The additional changes in the operation can be observed in the Operation Changes tab of the ECO.
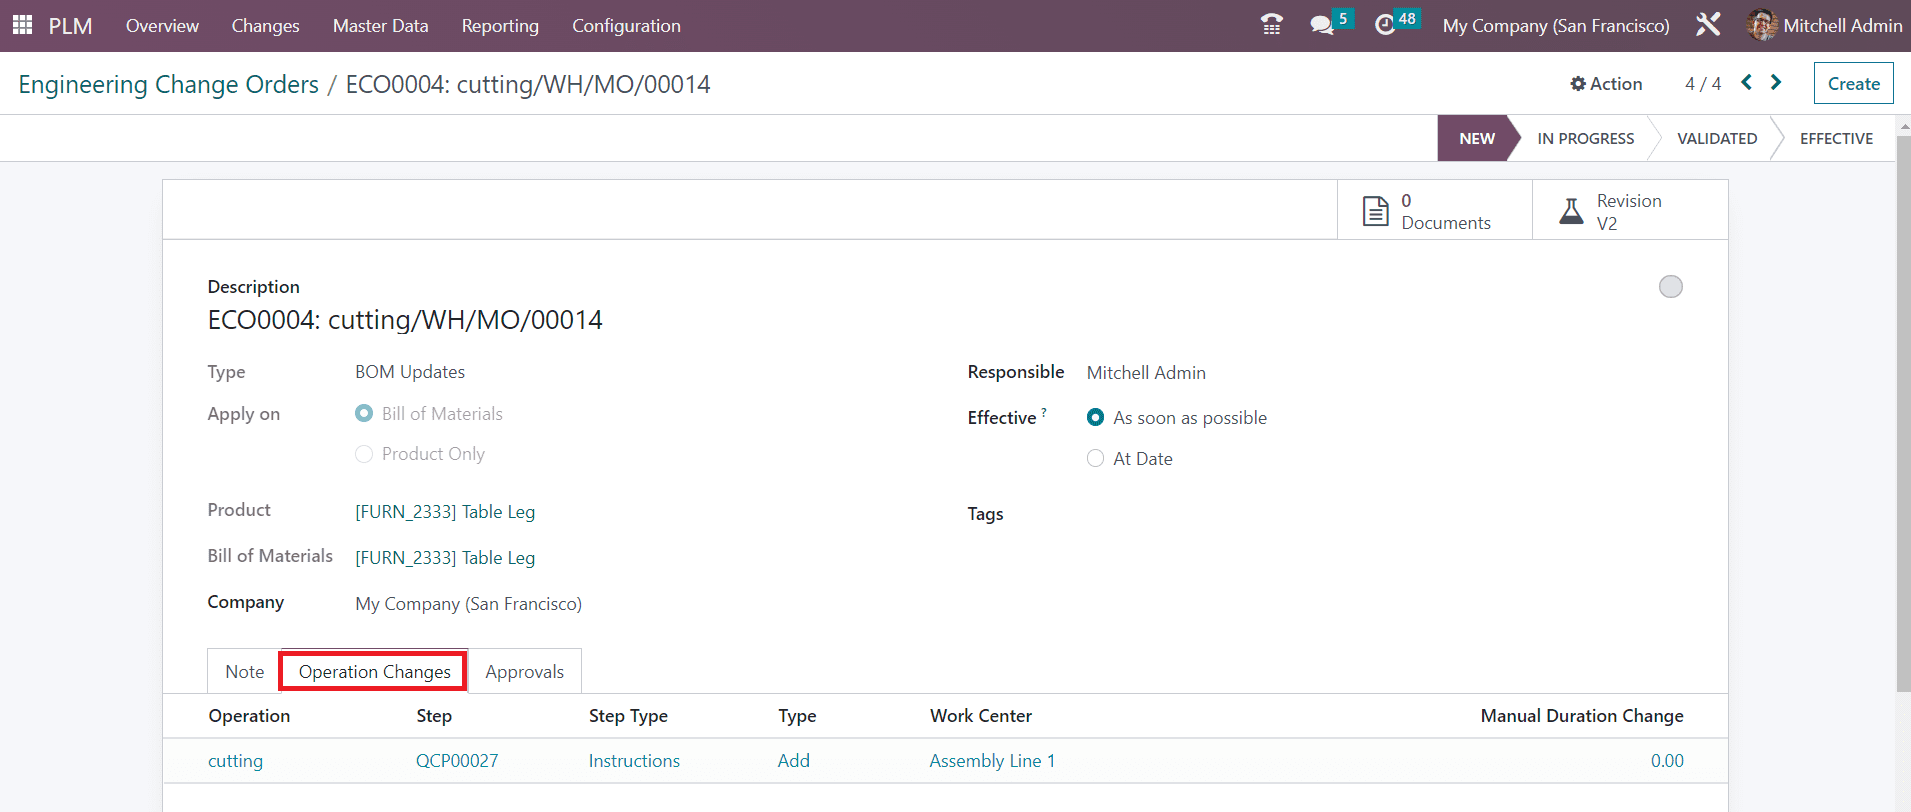
When the assigned employee approves the change, the version will change and the operation can be continued with the new version.