Create New Articles
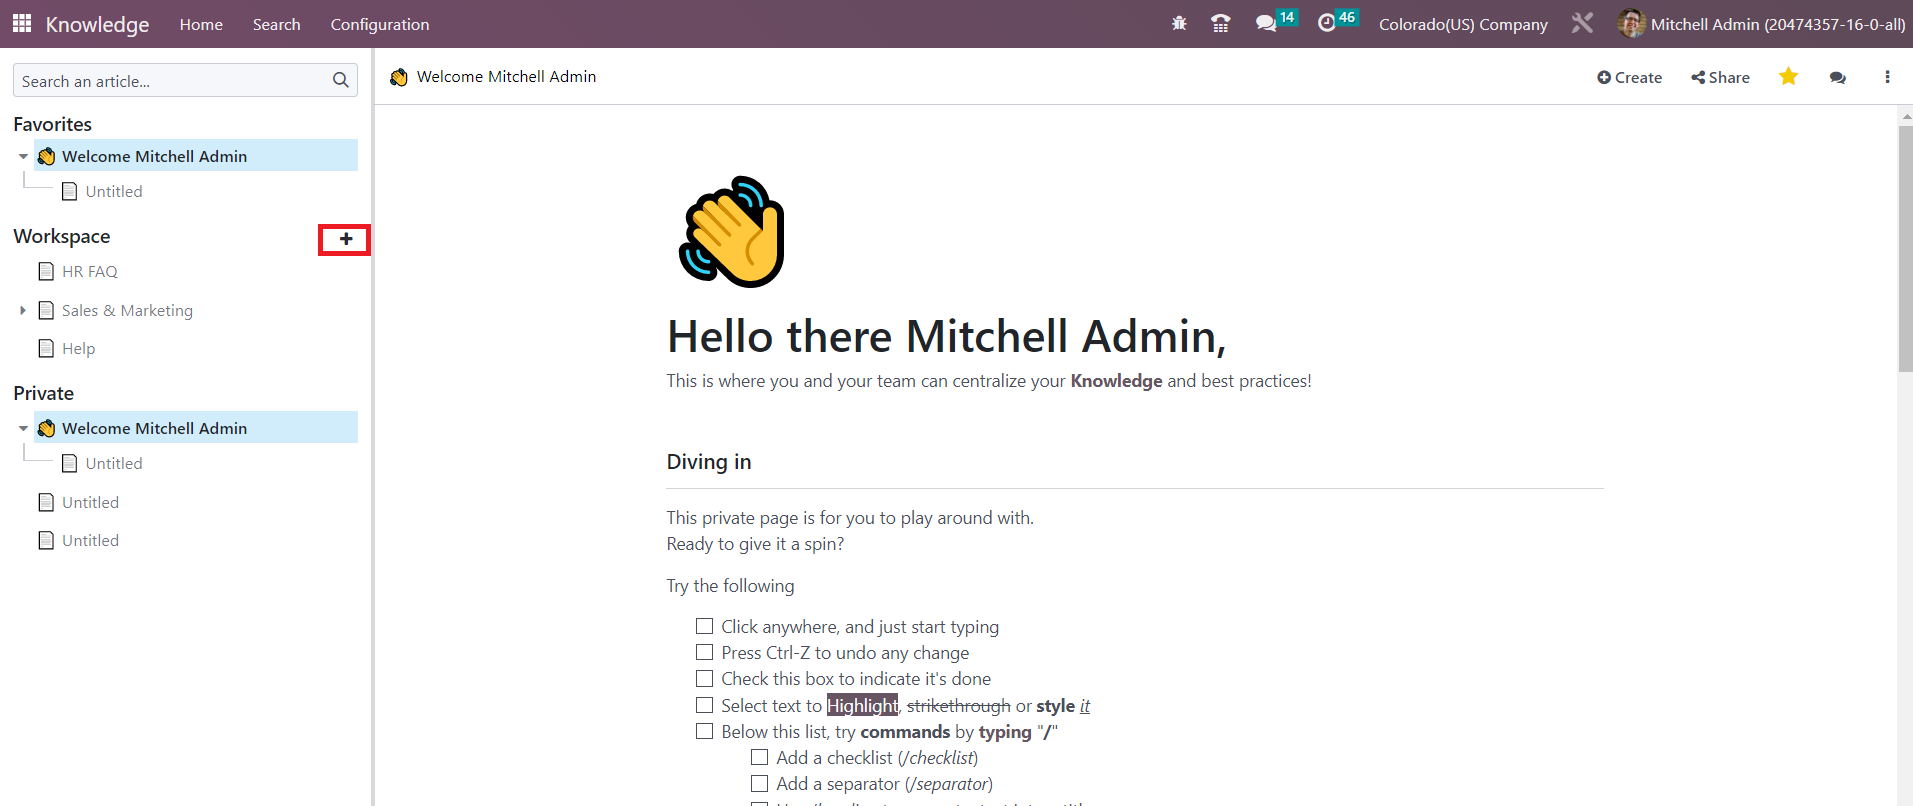
Everything is well organized in this module. If you want to create a new article for your workspace, you can move your cursor near to the Workspace menu. A + icon will appear as shown below that will assist you to a new window to create a new article.
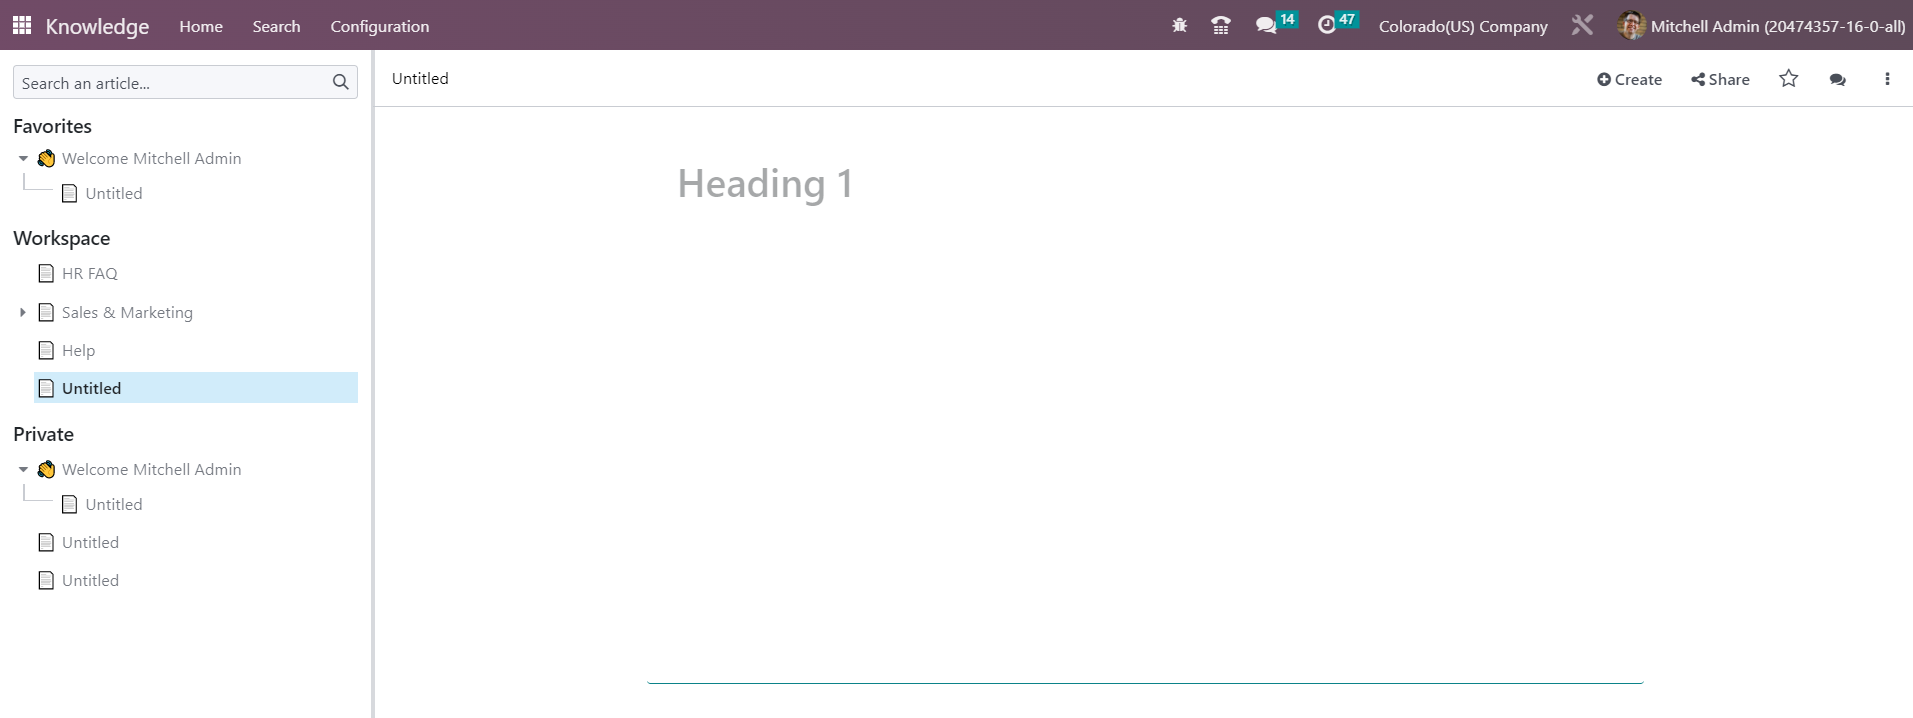
You can create a new article as per your requirement in this window.
While adding content to your article you can use the / icon which will provide multiple options to enhance your writing.
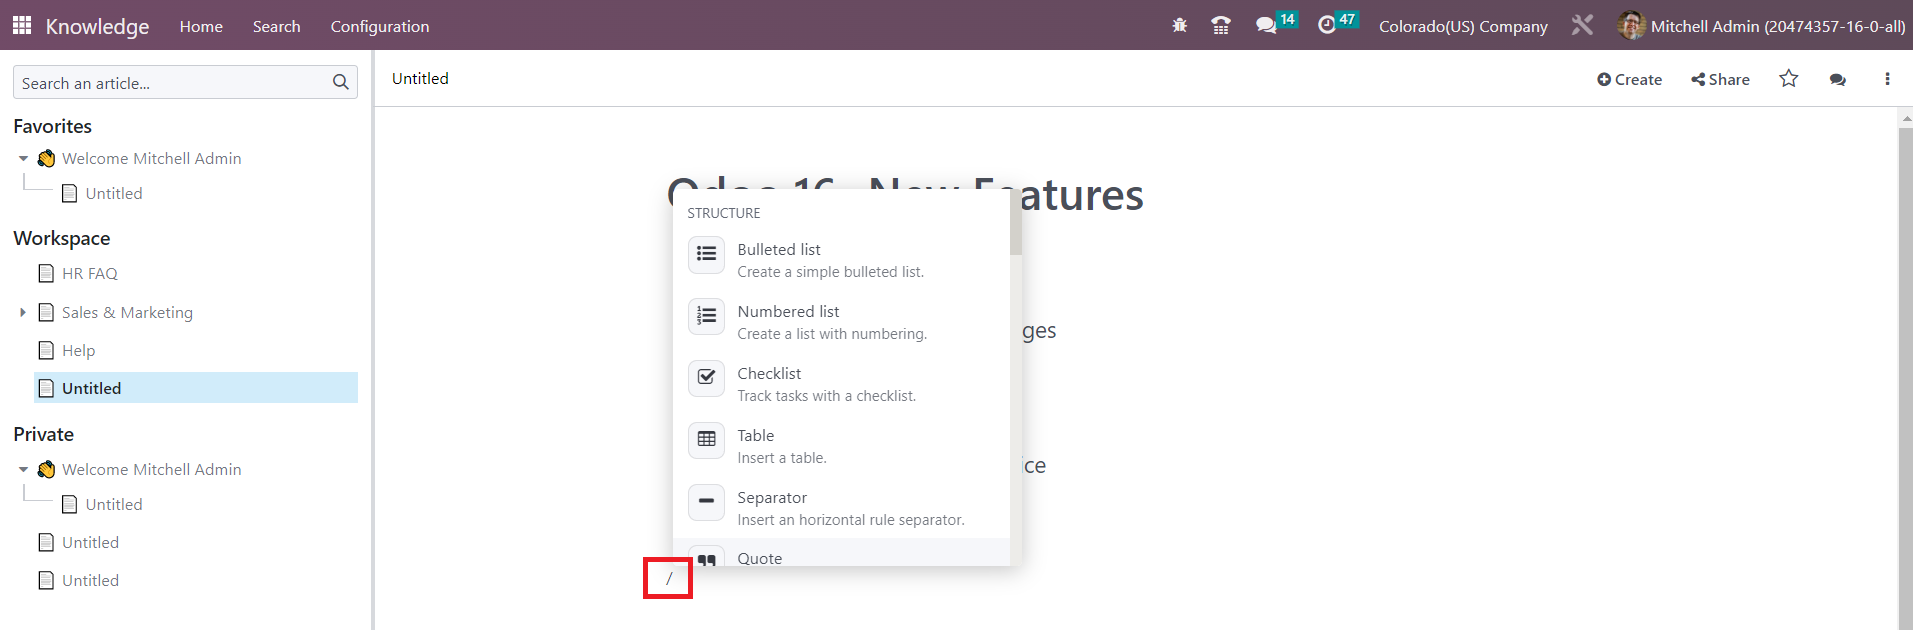
With the help of this, you can create a simple bulleted list, a list with numbering, track tasks with a checklist, insert a table, insert a horizontal rule separator, add a blockquote section, add a code section, add columns, adjust heading pattern, switch text’s direction, paragraph block, insert an image, link an article, add a link, add a button, add a specific appointment, schedule an appointment, insert rating, insert a list view of article items, show the first level of nested articles, insert a kanban view of article items, show all nested articles, add a table of content, embed a file, add a template section, and insert your signature.
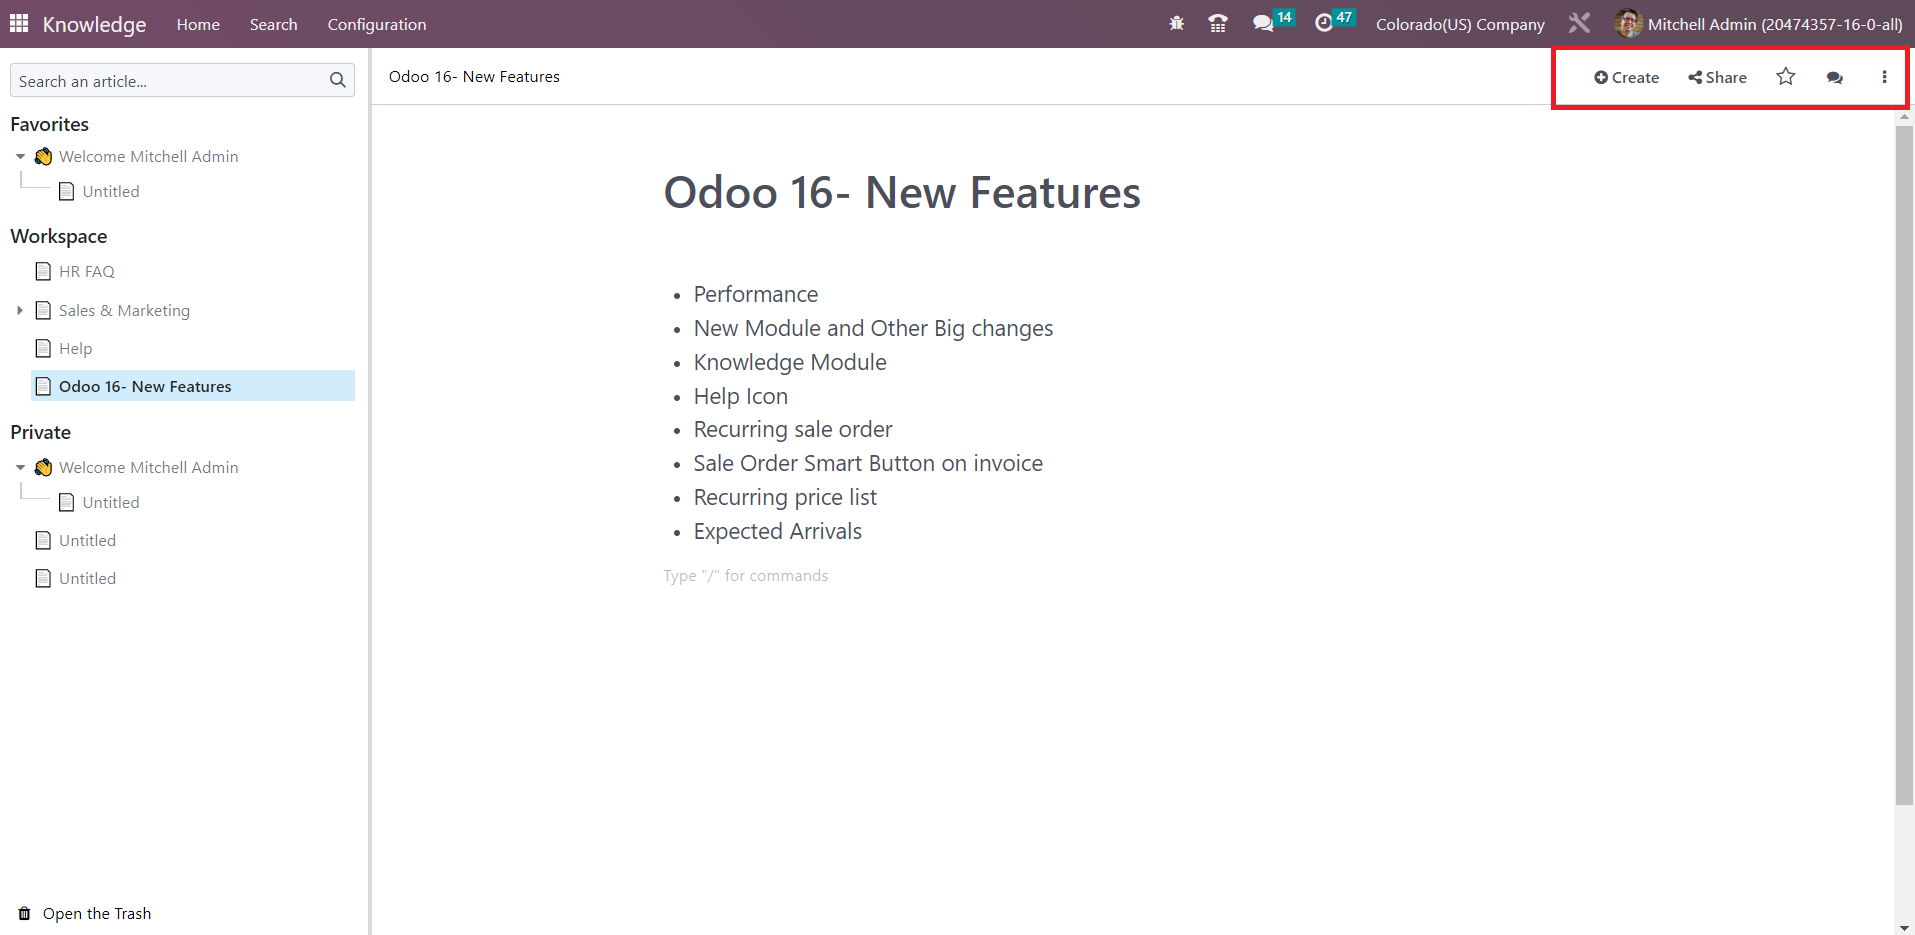
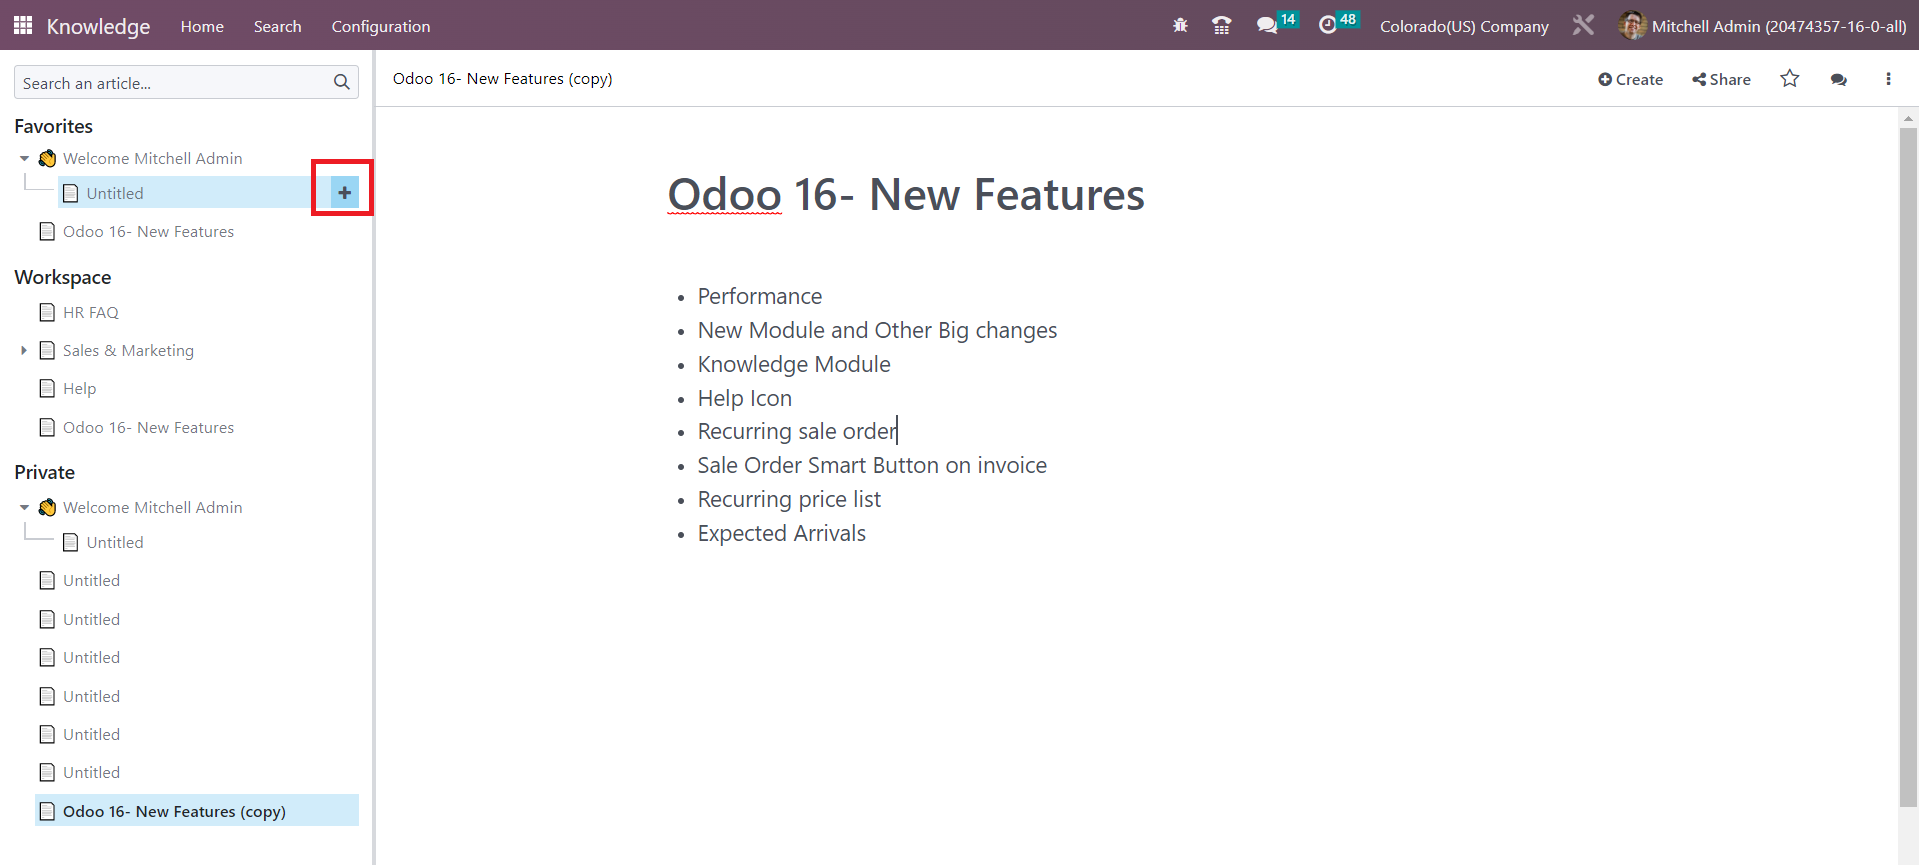
To create a nested article under a parent article, you can follow the same method using the + icon.
After creating the article, you can add this to your favorite by using the star icon.