FIELD SERVICE
In order to run your business successfully, it is essential to prioritize your customers no matter what the situation might be. With the help of the Odoo 16 Field Service module, you can serve your customers in field activities. Managing on-site work will be easy and systematic when you seek support from ERP software. What makes Odoo 16 attractive among other software is the system will offer aid to all operations related to fieldwork. The software will keep track of each process of the registered field service. Sometimes customers require an expert’s assistance in implementing or installing services or products purchased from a company. In such cases, you can offer assistance to the customers by adding the service details in the Field Service module. This module will track the process from start to finish. It is possible to create a quotation for the field service and generate an invoice based on the completed tasks or hours spent.
When you open the Field Service module, you will get the My Tasks window, as shown in the screenshot below.
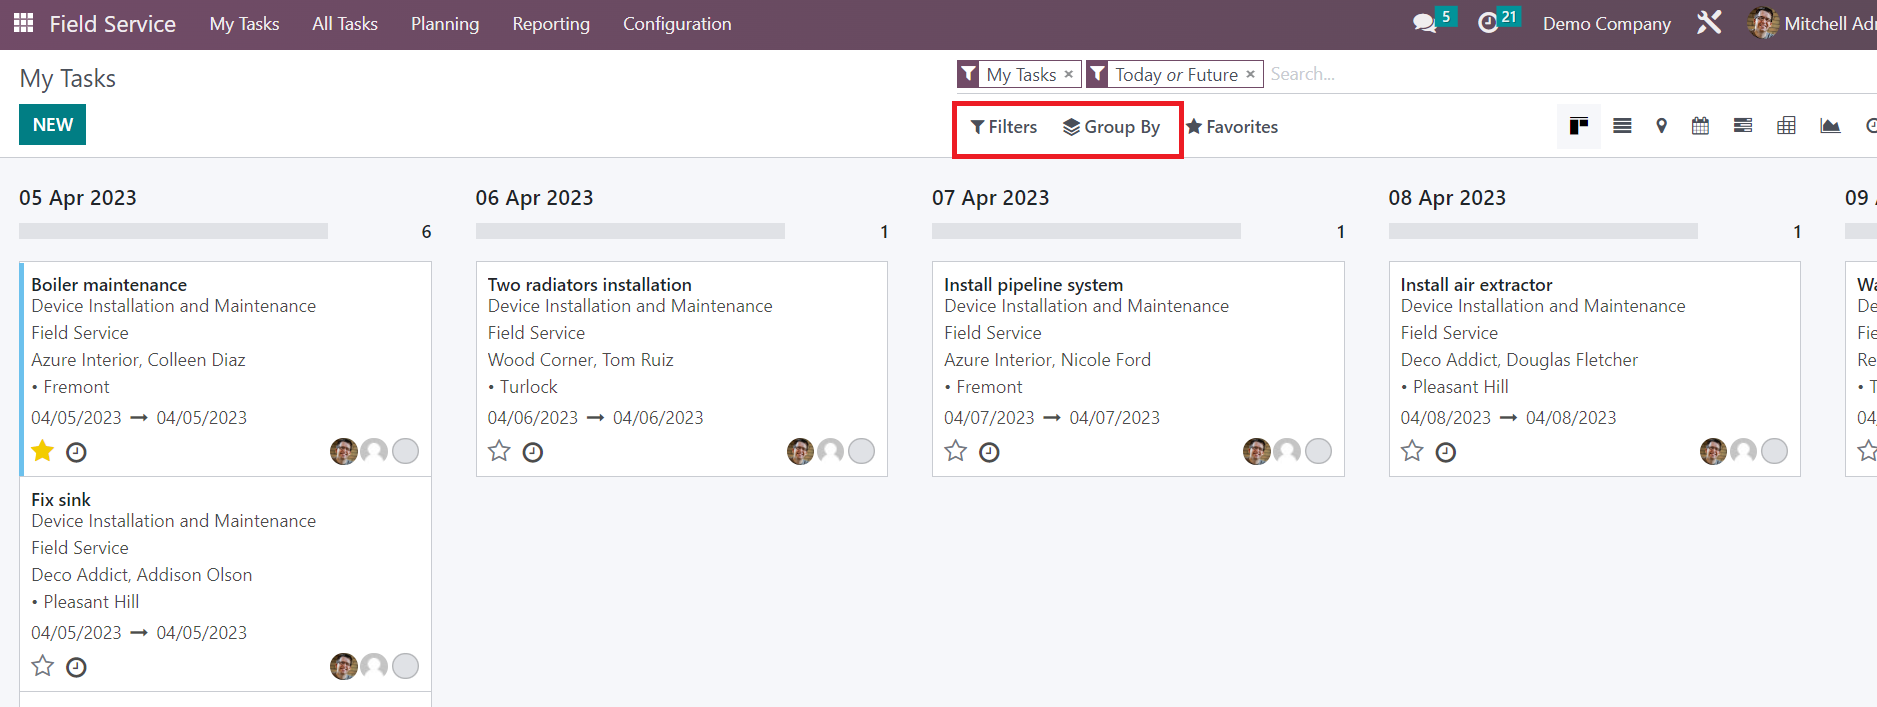
This window will show all tasks assigned to you in a Kanban view. The task can be managed according to the creation date. The user will get My Tasks, Followed, Unassigned, Favorite Projects, Timesheets, Last Stage Update, Open Tasks, Closed Tasks, Closed on, and Archived as Filters for the tasks on this window. You can group the tasks using the Group By options. The default Group By options are Assignees, Stage, Project, Worksheet Template, Milestone, Customer, Company, Creation Date, Assignment Date, and Last Stage Update
The platform can be viewed in Kanban, List, Map, Calendar, Gantt, Pivot, Graph, and Activity views. On each task, you will get the details of the task name, customer, assigned employees, tags, and scheduled date.
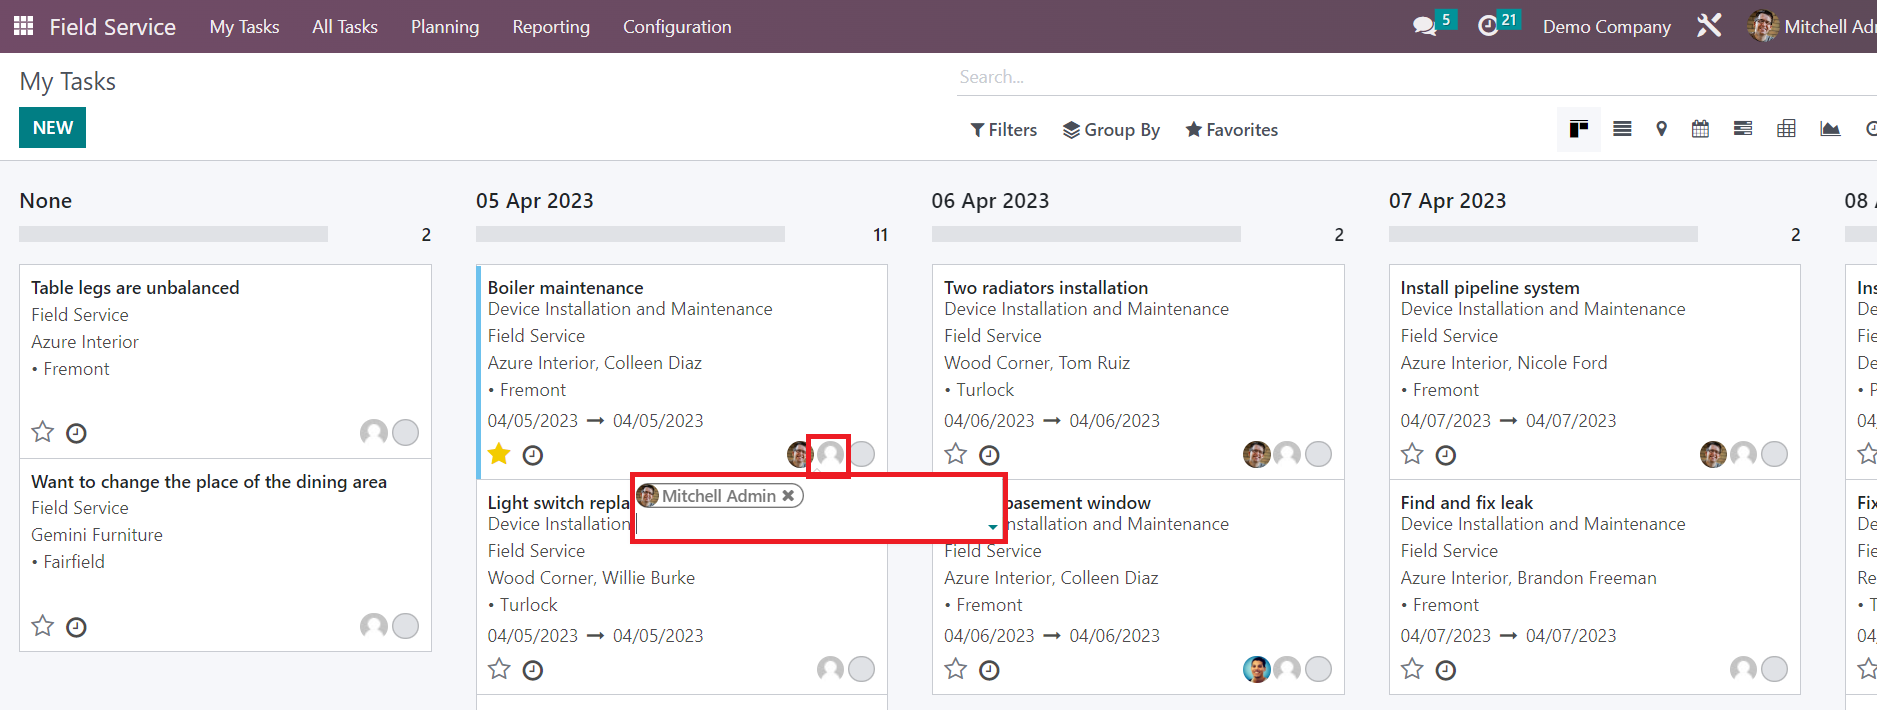
The star icon can be used to prioritize tasks. In order to schedule new activities for the task, you can use the small clock icon available on each task. You can directly assign employees from this window. As shown in the screenshot above, you will get a space to add the new employee to this task.
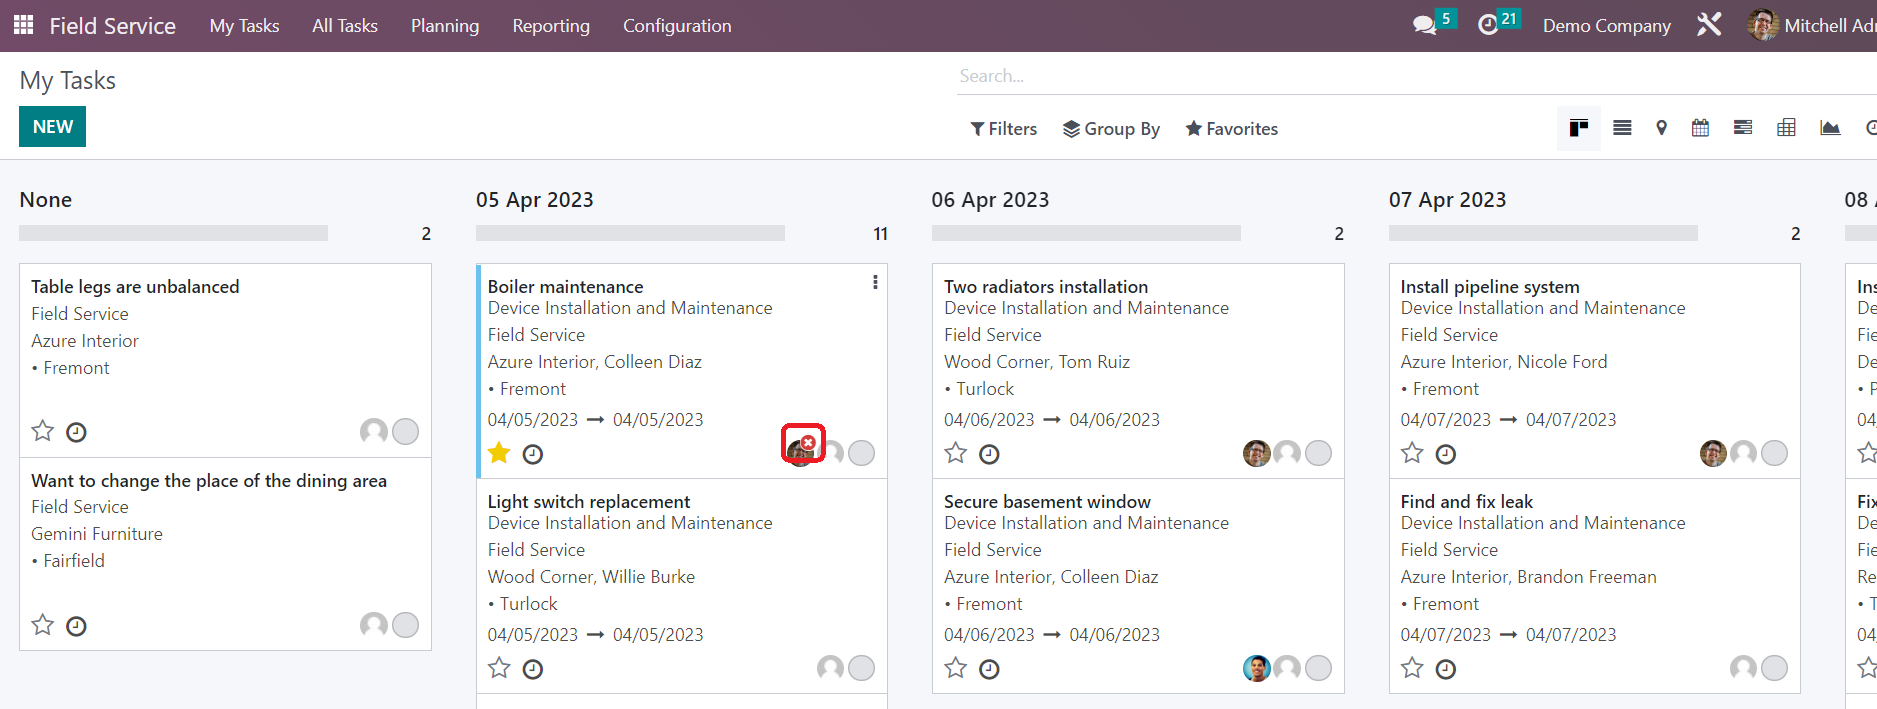
When you move the cursor to the profile of the assigned employee, you will get a cross icon that can be used to remove the respective employee from this task.
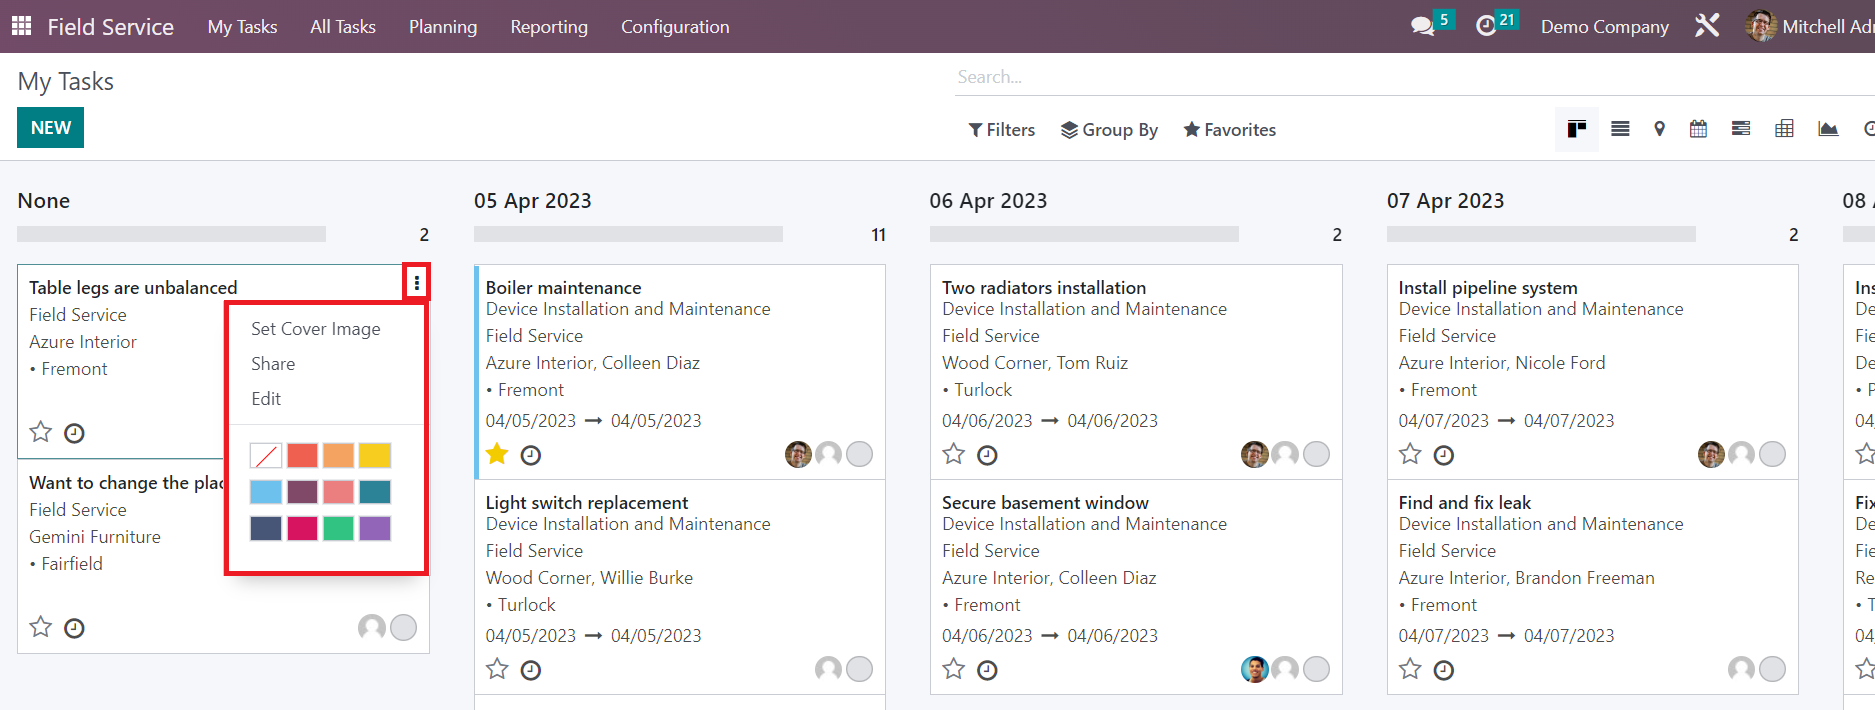
The three small vertical dots on the top right corner of each task will give options such as Set Cover Image, Share, and Edit.
Let’s check how to add a new task in this window. For this, you can directly click on the New button, which will direct you to the form view, as shown in the screenshot below.
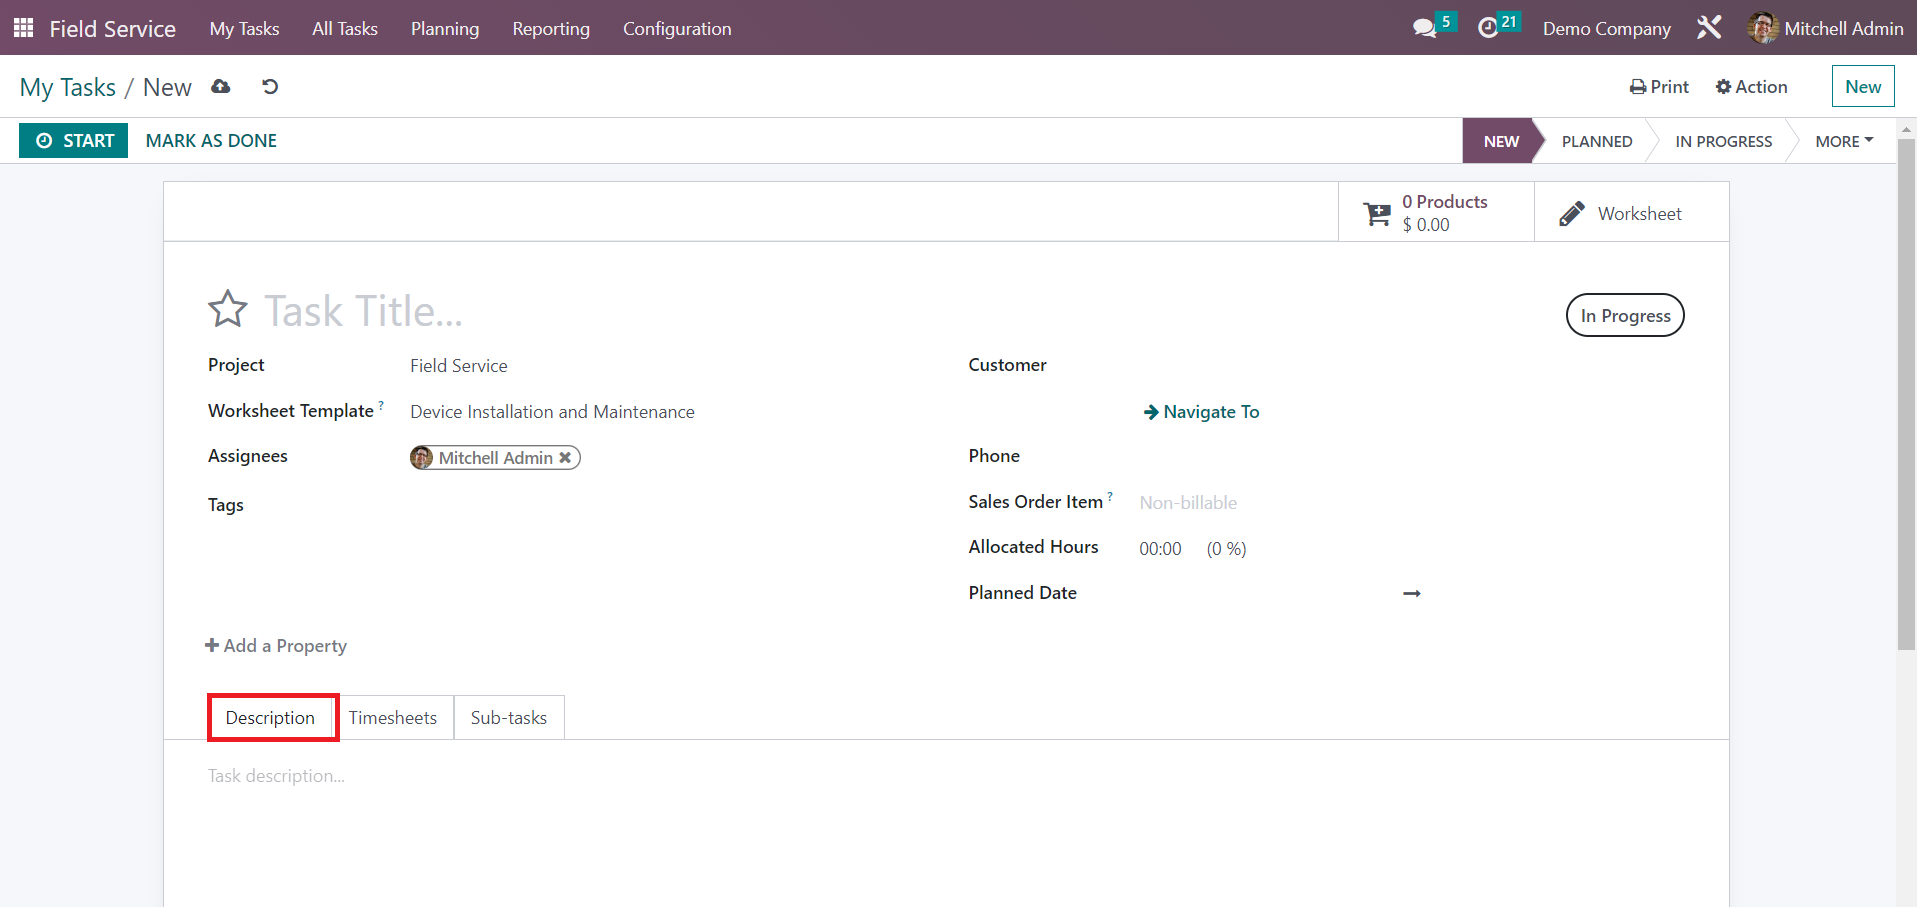
The name of the task can be specified in the given field. In Odoo, you can create a project for this service and arrange tasks under that project to track the progress. You can select the Project from the drop-down menu. Select a suitable Worksheet Template for this task from the available options. In the Assignees field, you can assign employees to this task. Suitable Tags for the task can be added in the respective field. In the Customer field, you can specify the details of the customer. In the Sales Order Item field, you can select a sales order to which you want to invoice this particular task. The total allowed time for this task can be defined in the Allocated Hours field. In the Planned Date field, you can set the scheduled date for the task. Additional details regarding the task can be detailed in the Description tab.

In the Timesheet tab, you can record the time worked by employees for this task using the Add a Line button. Here, you can add details of the Date, Employee, Description, and Hours Spent.

Under the Sub-tasks field, you can split this task into different sub-tasks to monitor the entire operation systematically. It is possible to assign employees to these sub-tasks from this tab.
In the form view, you can find the smart buttons Products and Worksheet, which will give the details of the products and worksheets associated with this task.
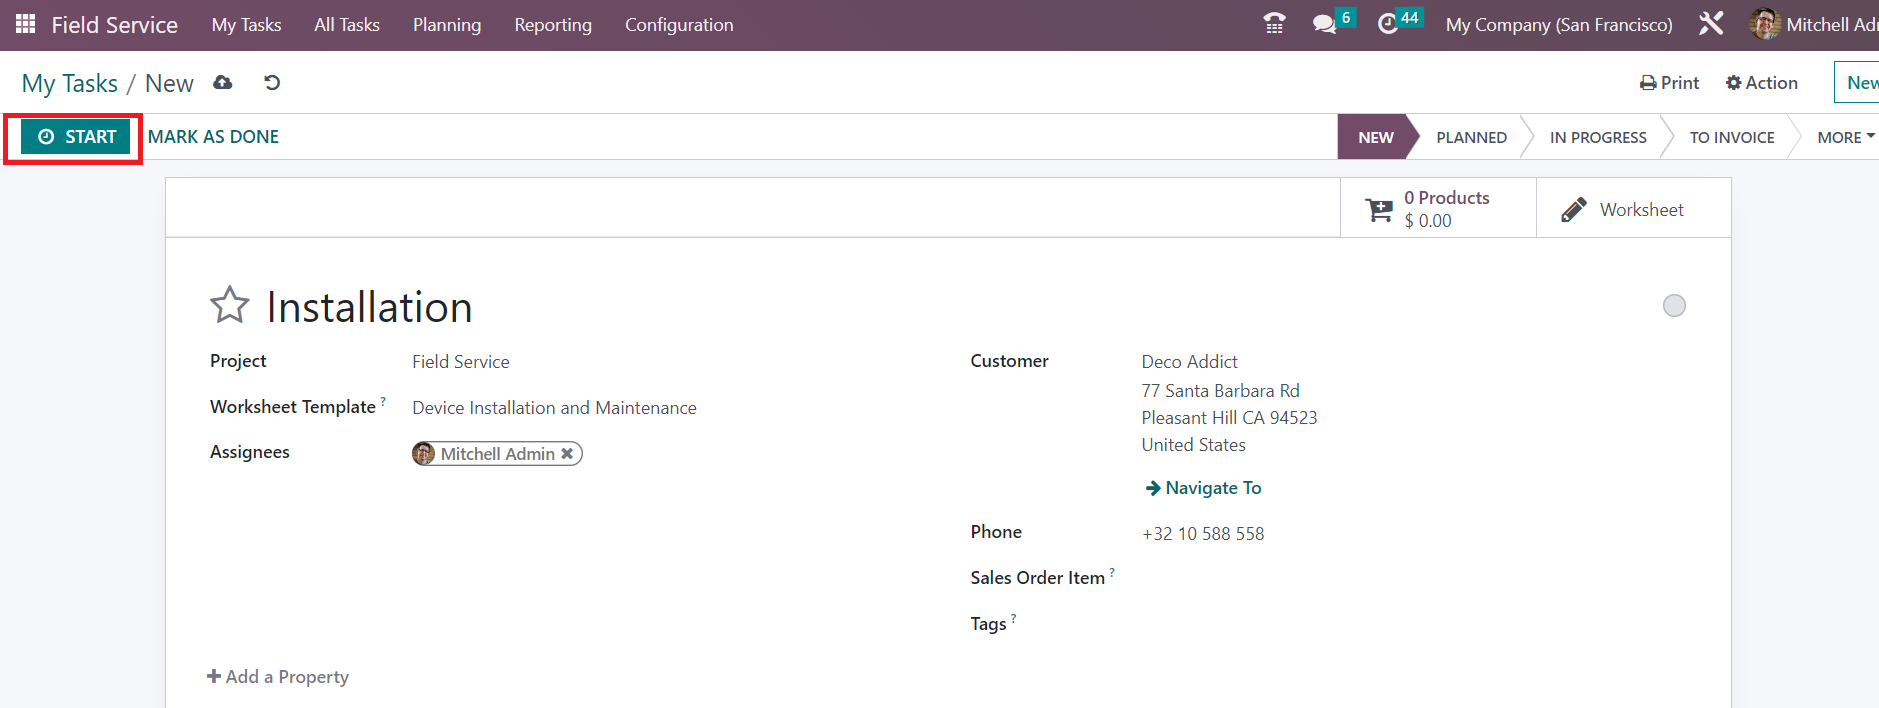
Once you complete the configuration, you can click on the Start button to automatically track the time spent on this task. As soon as you click on this button, Odoo will start recording the time.
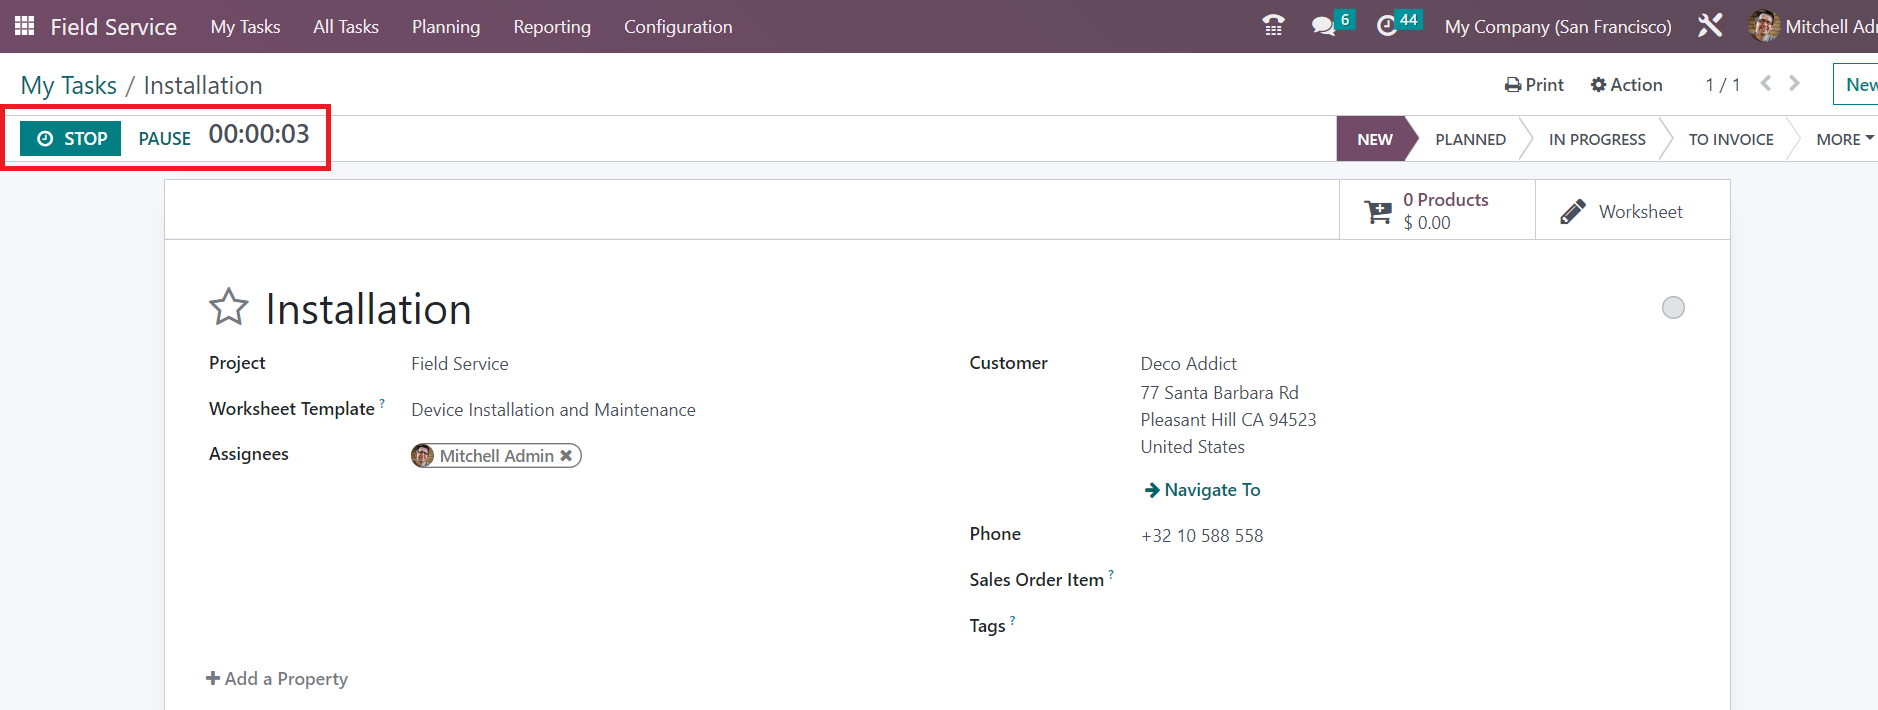
After completing the work, you can use the Stop button. You will get a pop-up window to confirm the time recorded by Odoo.

You can confirm the time spent manually here. The tracked time will be recorded under the Timesheet tab of the task.
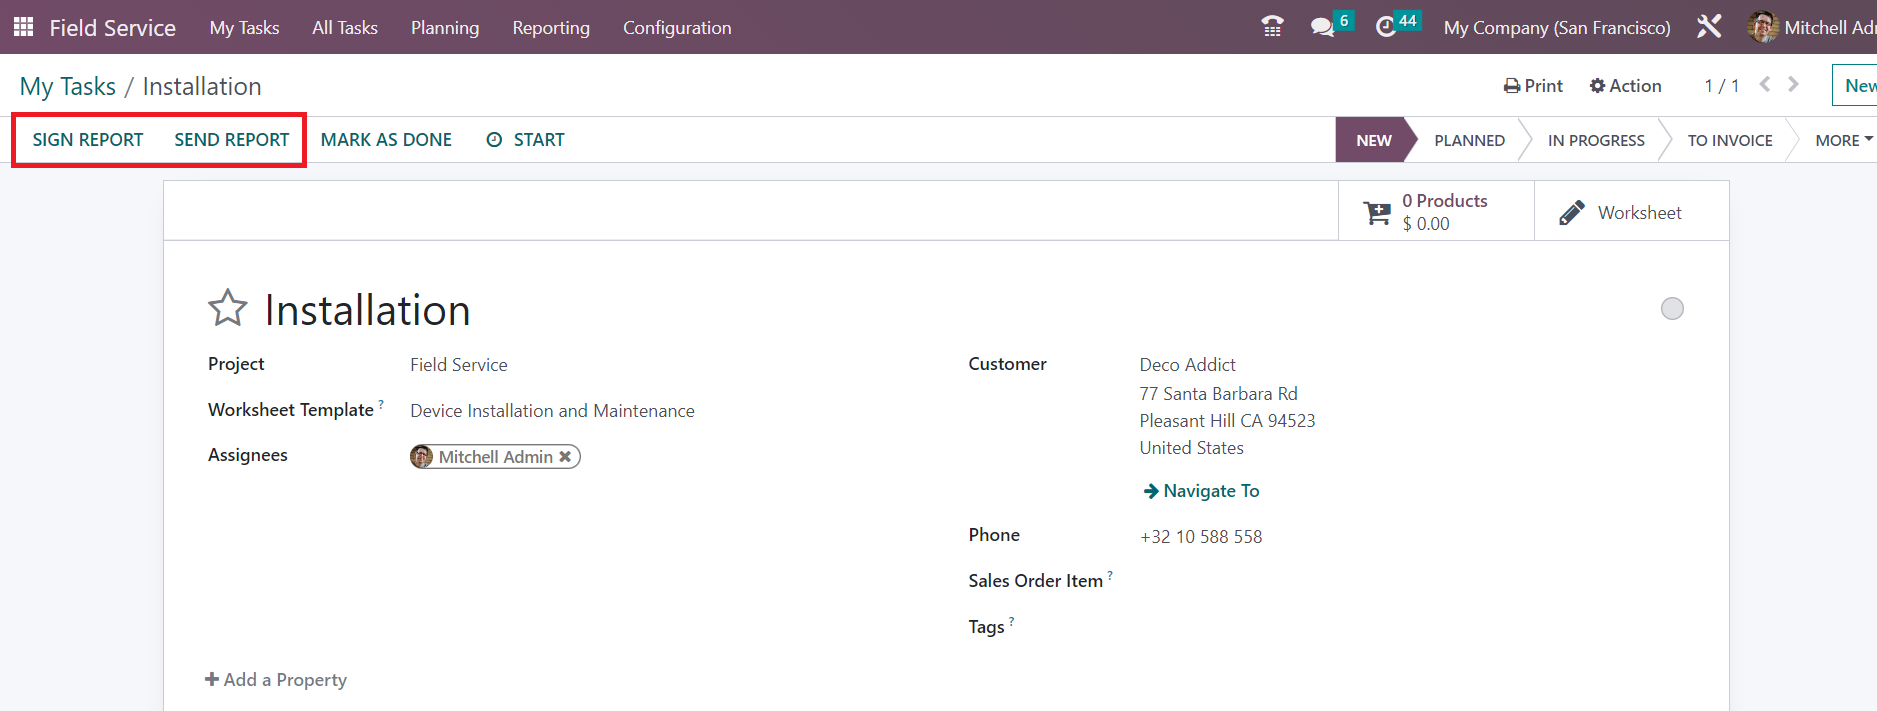
Once you complete the task, you can click the Mark as Done button. This will open a new button on the screen to create an invoice for the task. You can generate an invoice and complete the payment procedures after this.
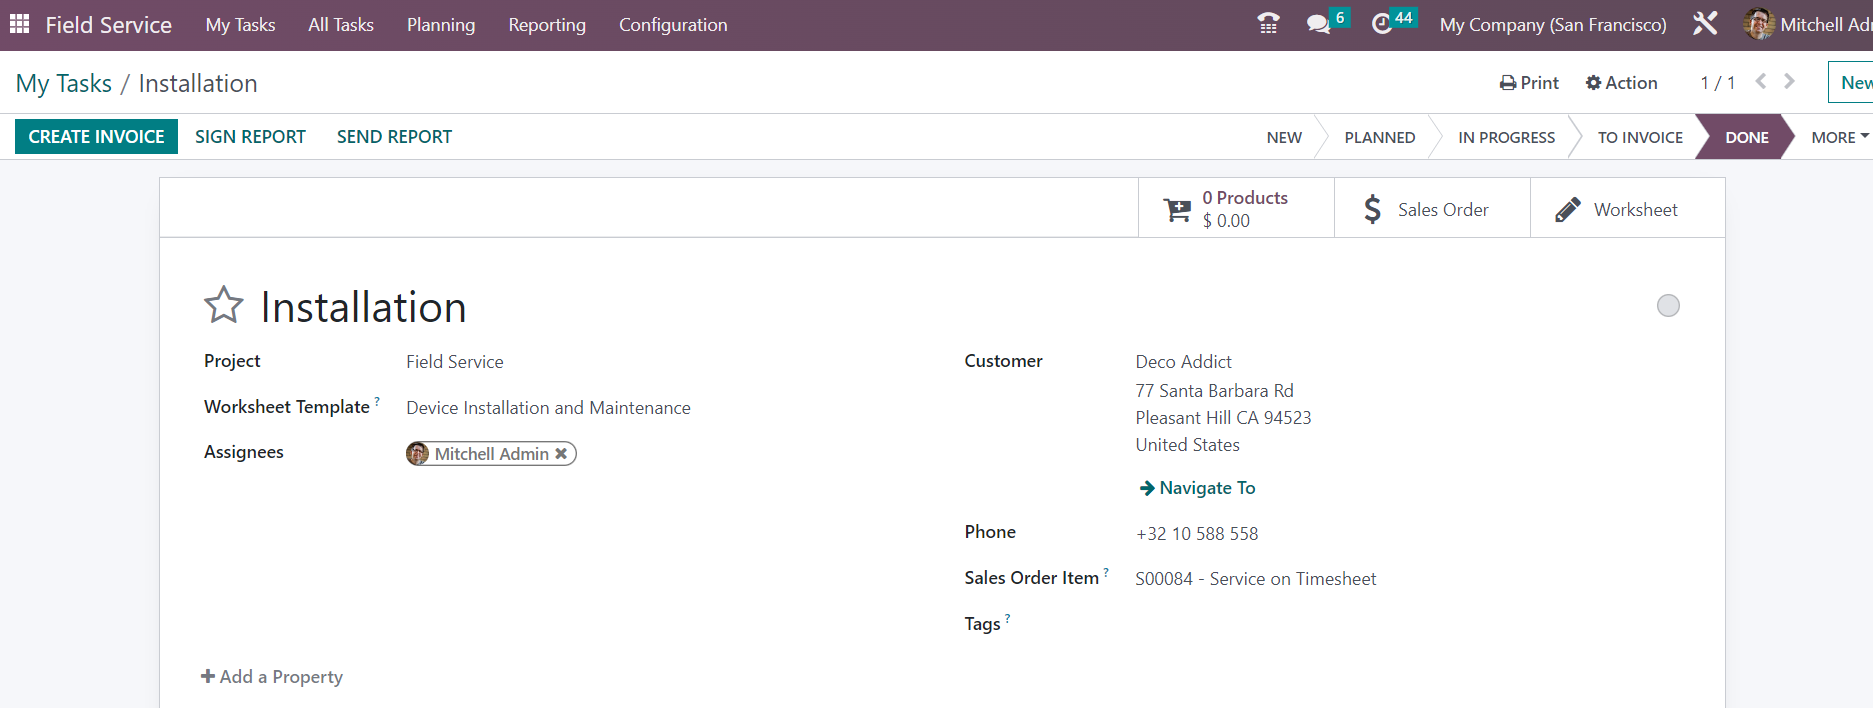
Here, you can find the Send Report on the screen which can be used for sending the report of the worksheet to the concerned customer.
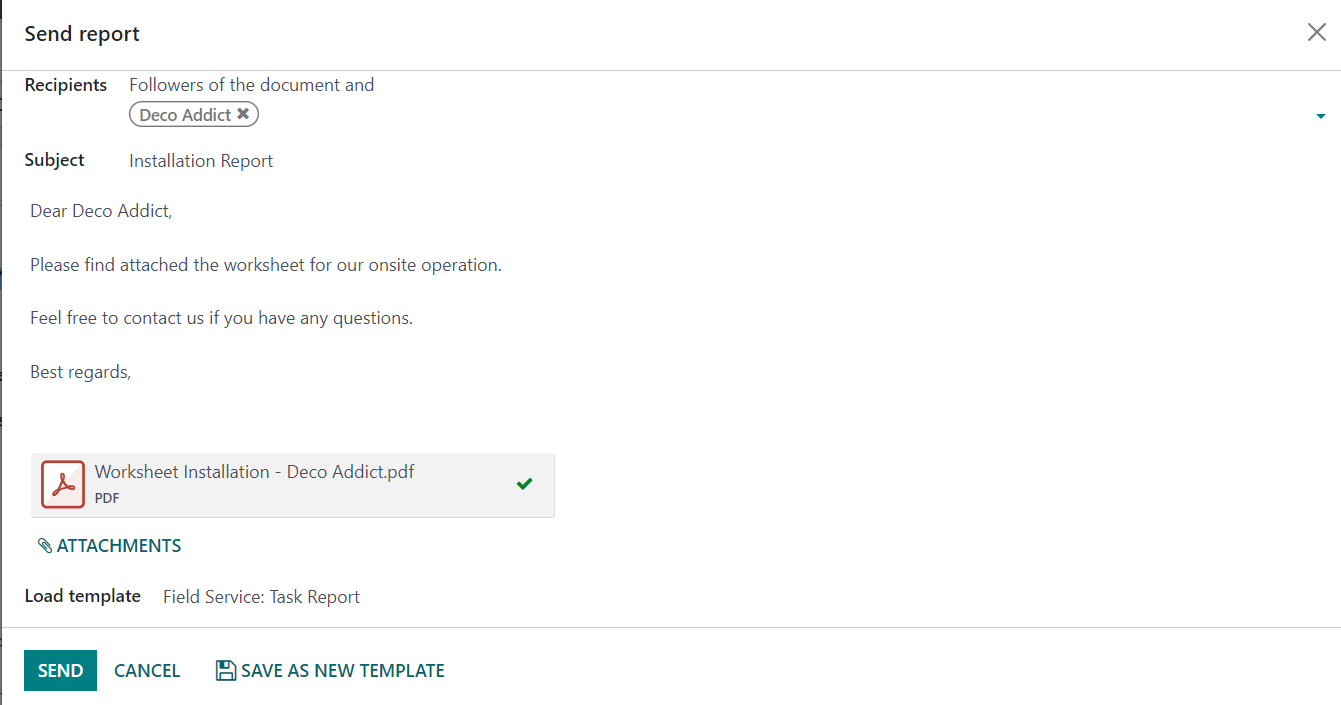
You can check the content of the report and add suitable attachments to the auto generated mail. Then click on the Send button.
The Sign Report button available in the form view of the task will lead you into the customer portal as shown in the screenshot below.
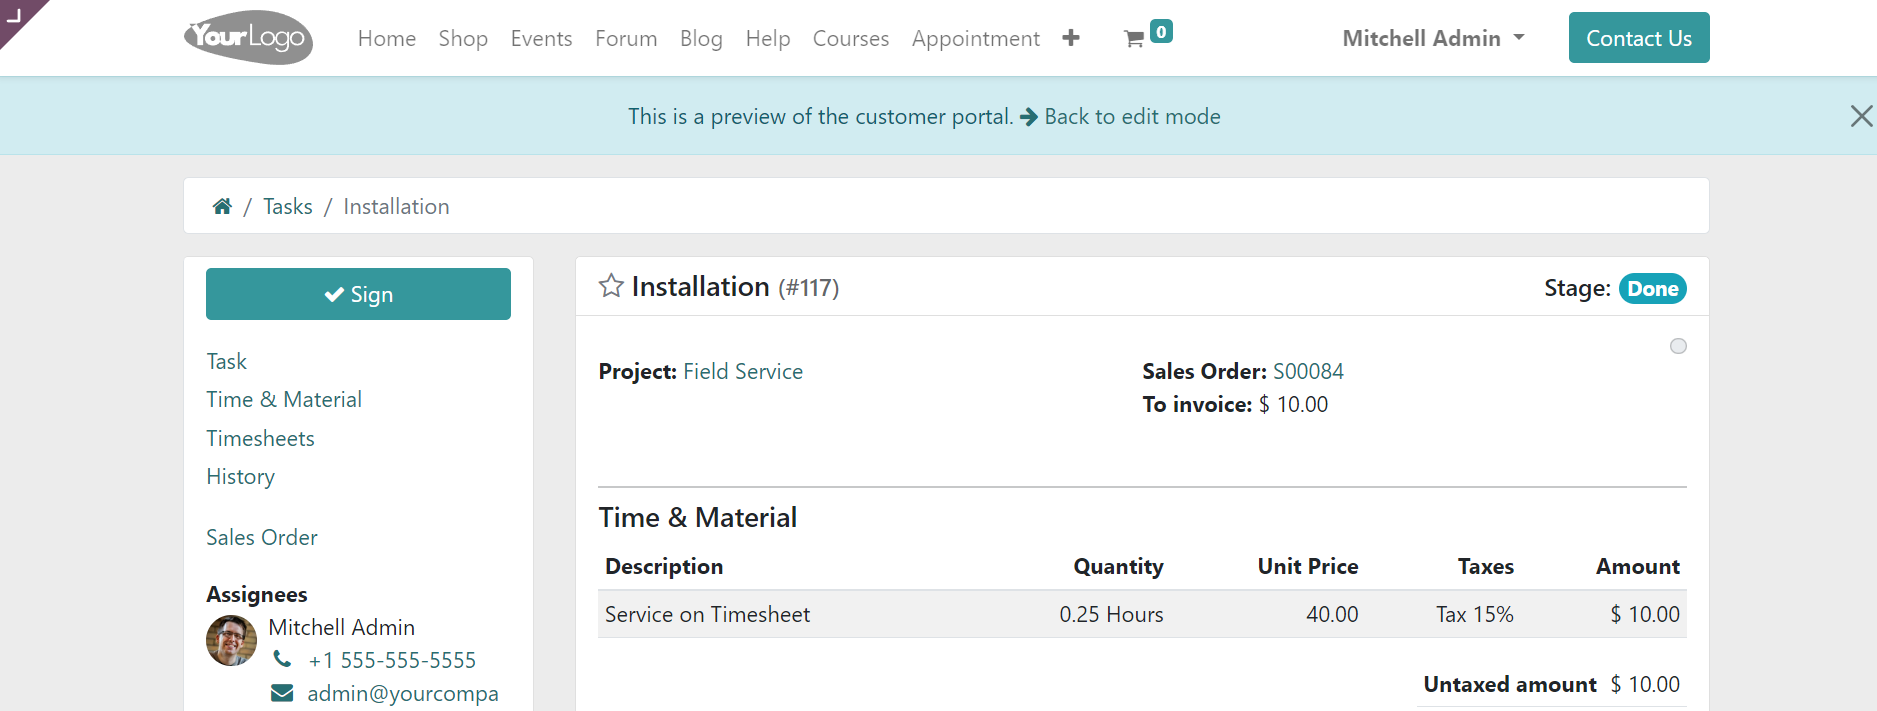
This is the preview of the customer portal where the customer can sign the document digitally.
Under the My Task menu, you will get the Map option that will provide a map view of the tasks as shown in the screenshot.
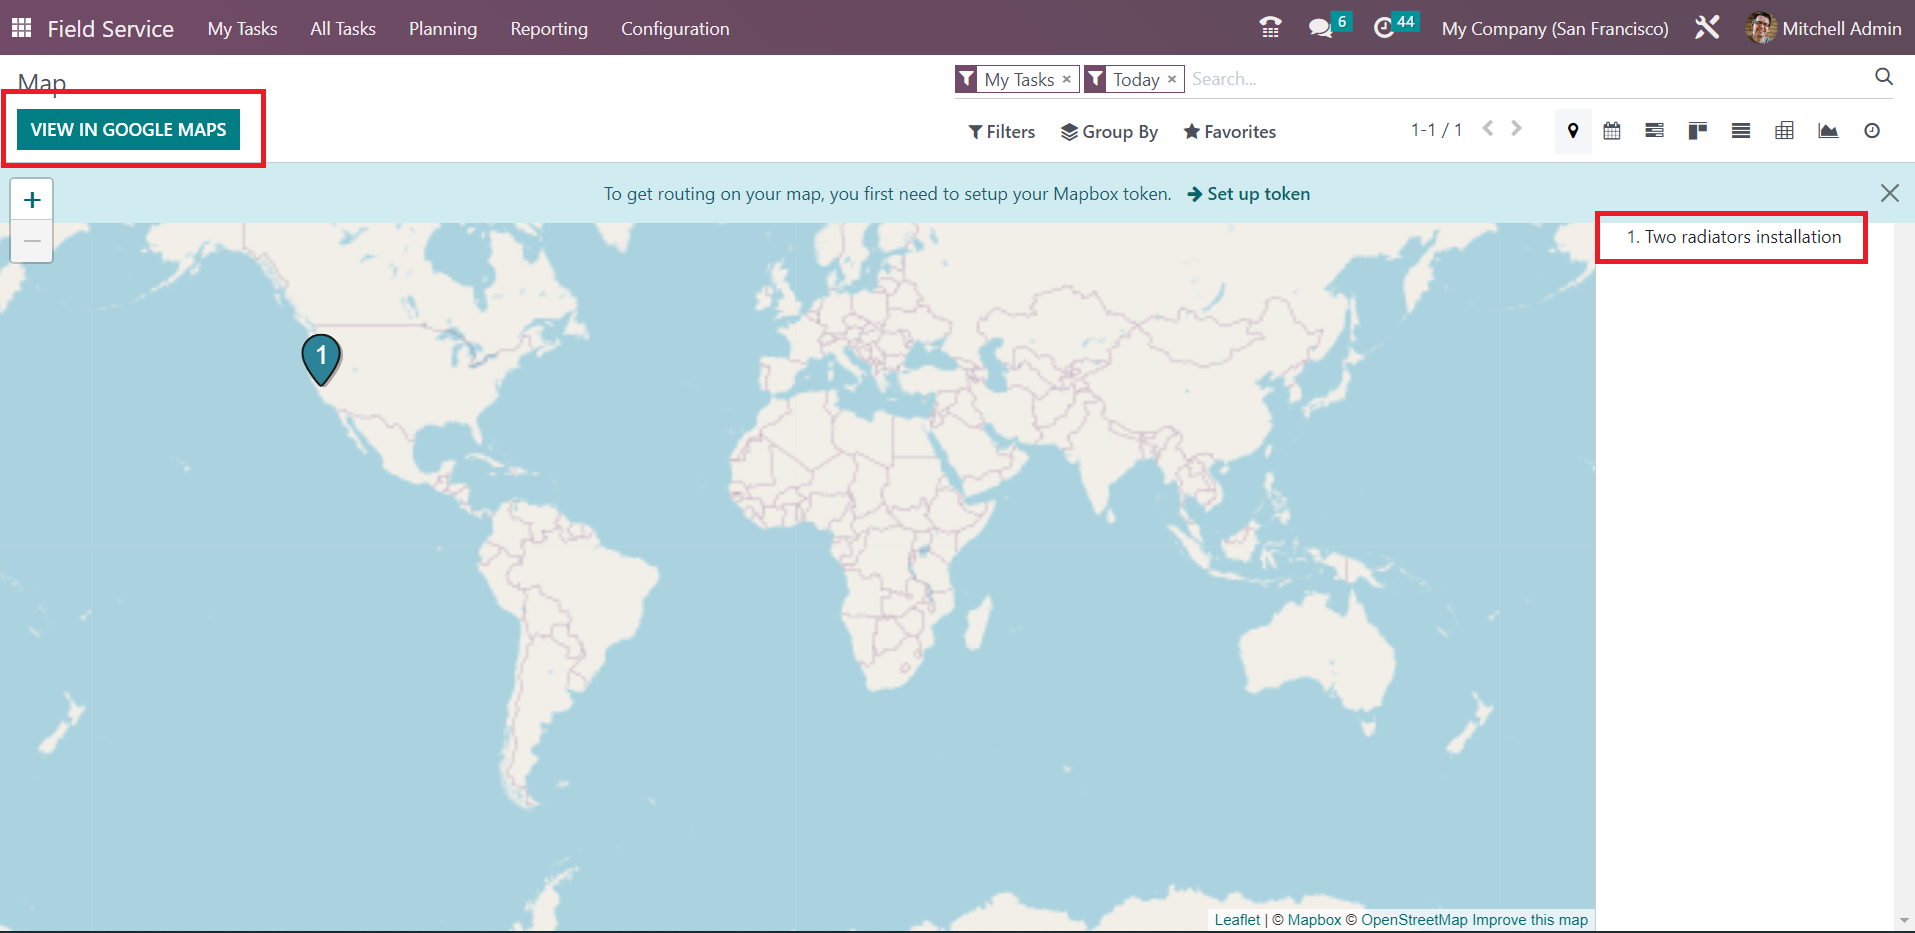
Here, you can use the View in Google Maps option to view the tasks in Google Maps. When you click on the task marked in the map, you will get a preview of the task details as shown in the screenshot below.
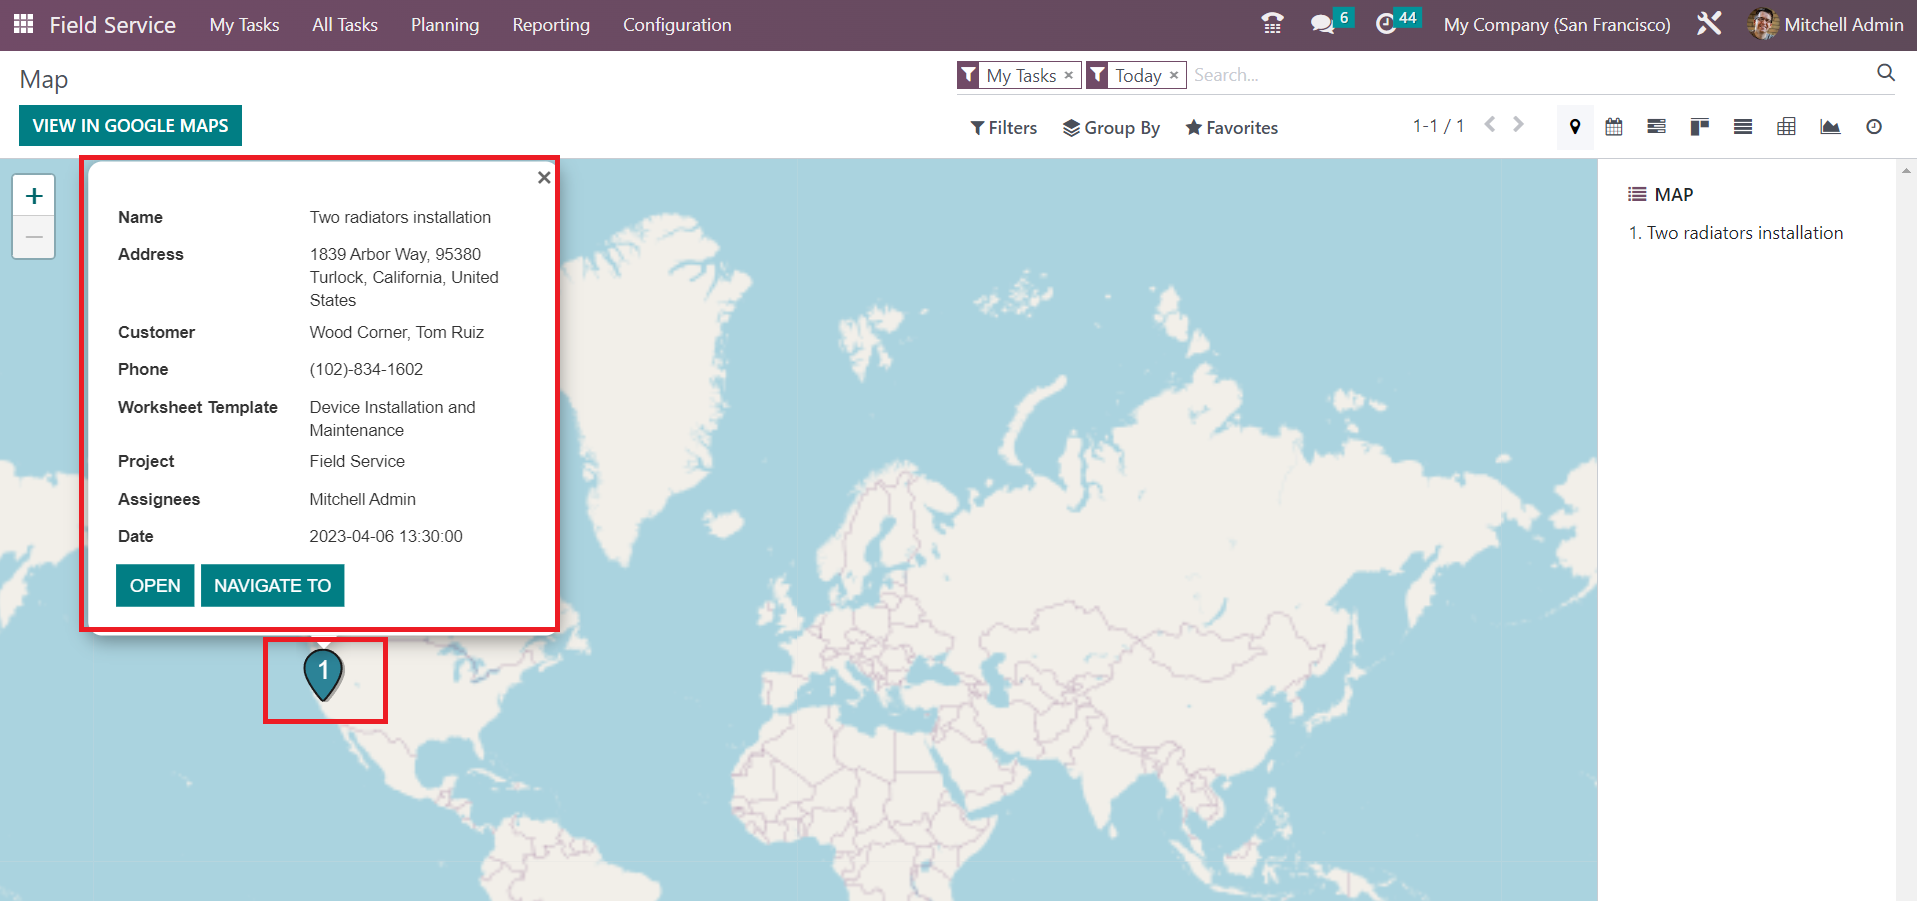
The details include Name, Address, Customer, Phone, Worksheet Template, Project, Assignees and Scheduled Date.