Discuss
Under the Odoo platform, it is necessary to have an efficient as well as well regulated space for the communication of the employees within it. For the purpose of proper communication in a team work, they should have a proper communicative environment. There is a Discuss module under the Odoo employee for this purpose of communication between the employees. Here, you can have a chat between your colleagues and other workers in the company if required. You have chat rooms as well as group chat options to have individual as well as group chats. The module is integrated with other modules so that you should not need to open the discuss module continuously in order to chat with others. The communication can be done from any of the other modules as well.
The module will be available in the odoo dashboard. On selecting the module, you will get the module with some options, as shown in the screenshot below.
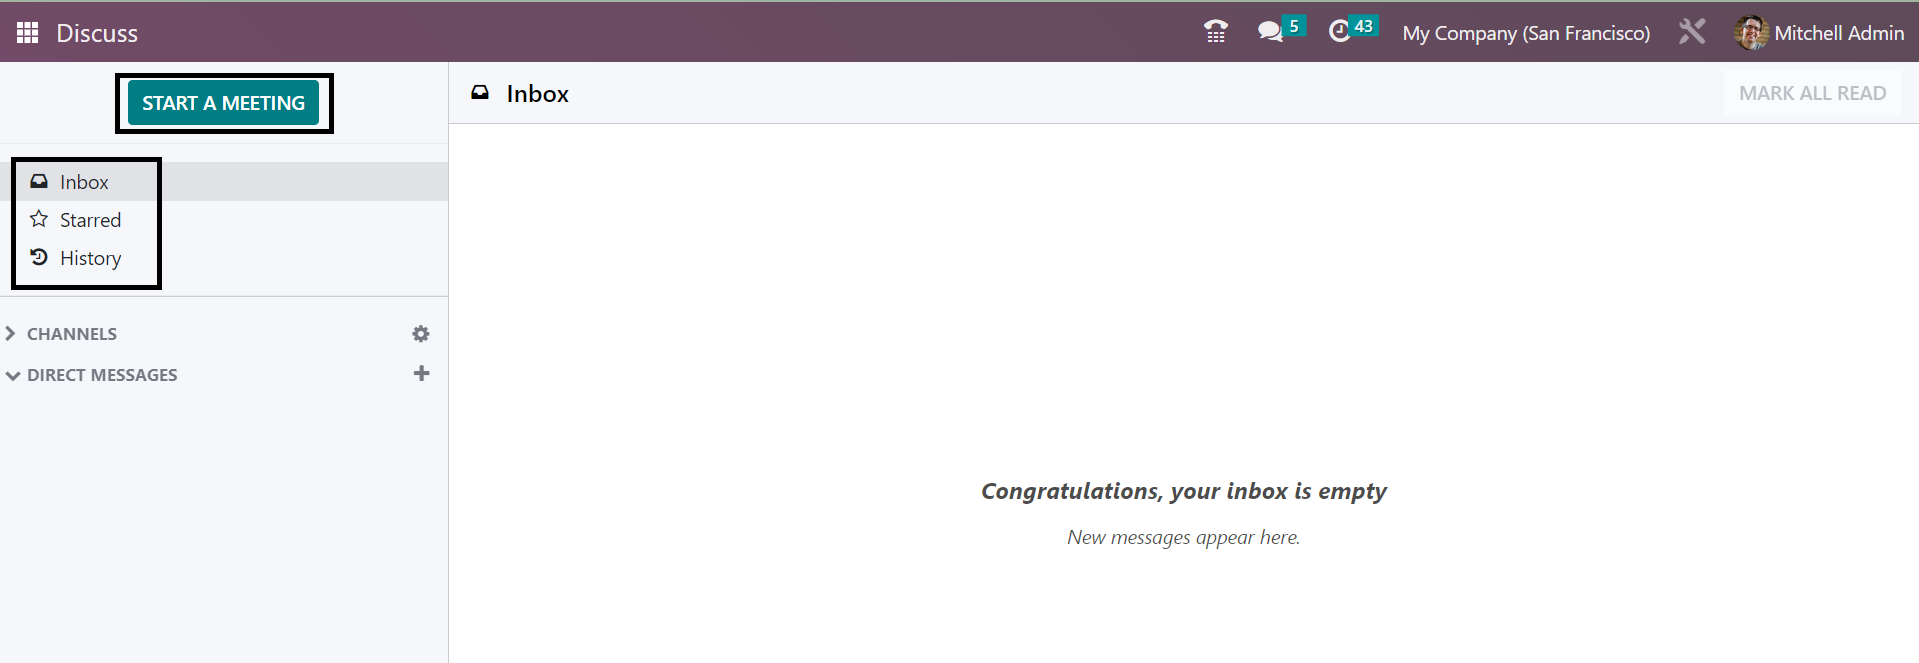
All the messages that are sent will be available on this page. The Mark as Read option in the right-most corner will help you to show the messages that are read as marked as read. The side panel in the left side will show the inbox, starred, and history options. The star icon can be used to mark those messages that have to be included in the list of starred messages.
On selecting the history option, you will get emojis in order to include the situation of the present chatting.
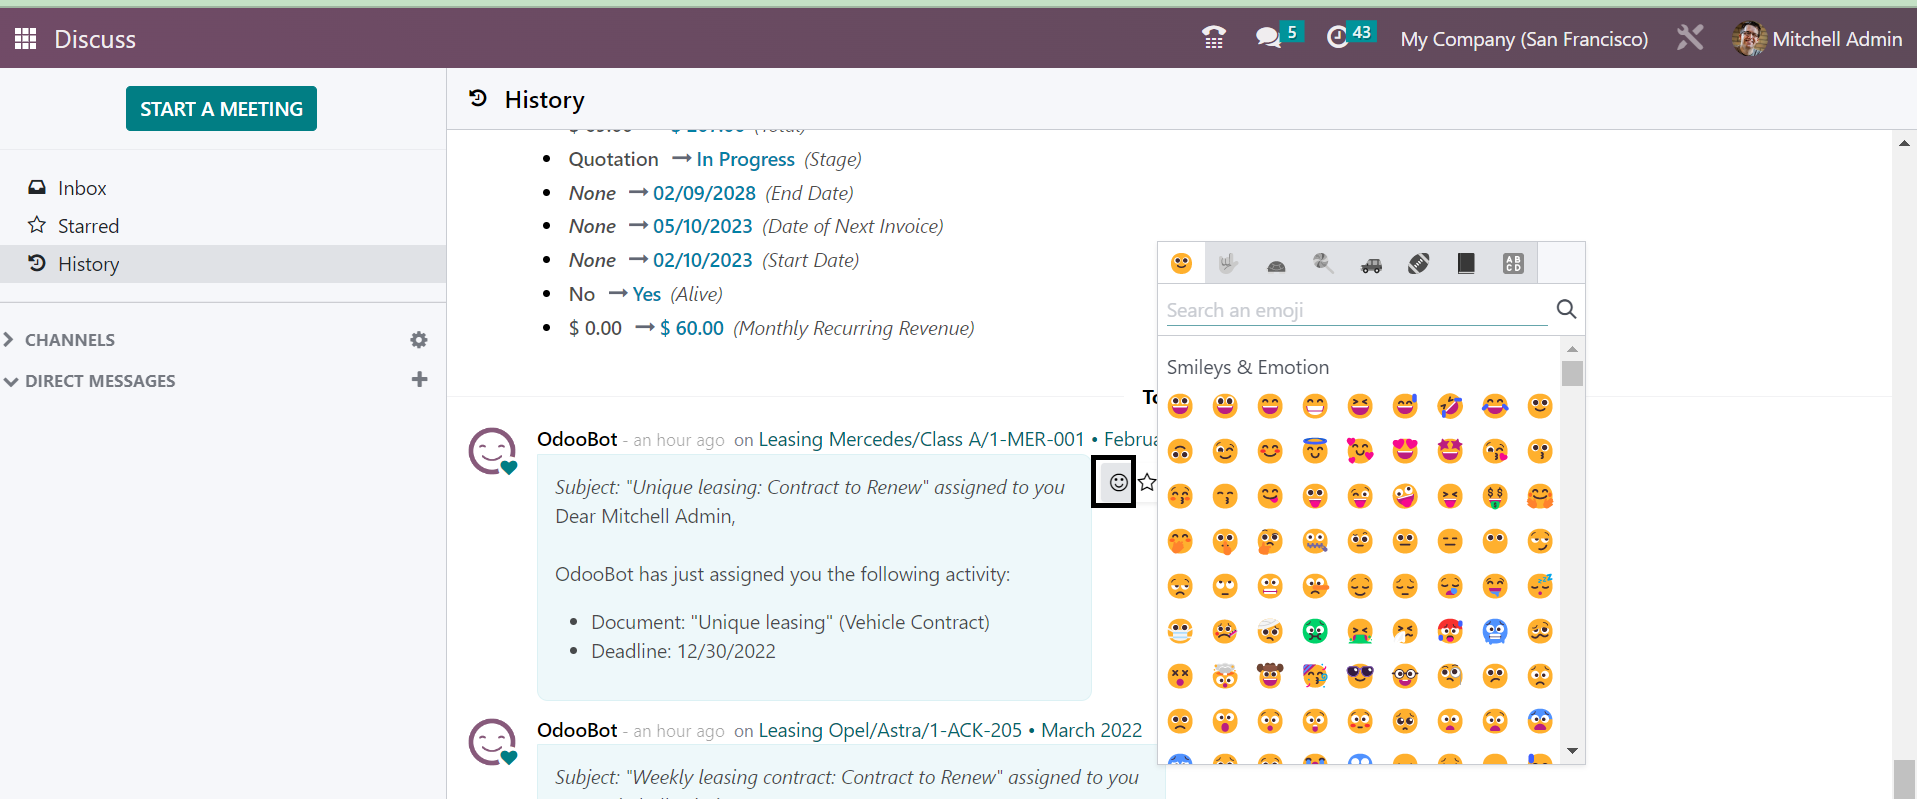
Now, you have options for regulating and controlling those chats in the module. Below the Direct message, you will be able to get the individual as well as group chat options. You can very easily make a new group for the purpose of communication, the group helps others to know about the task that they have to do, the important information as announcements, and important news as well.
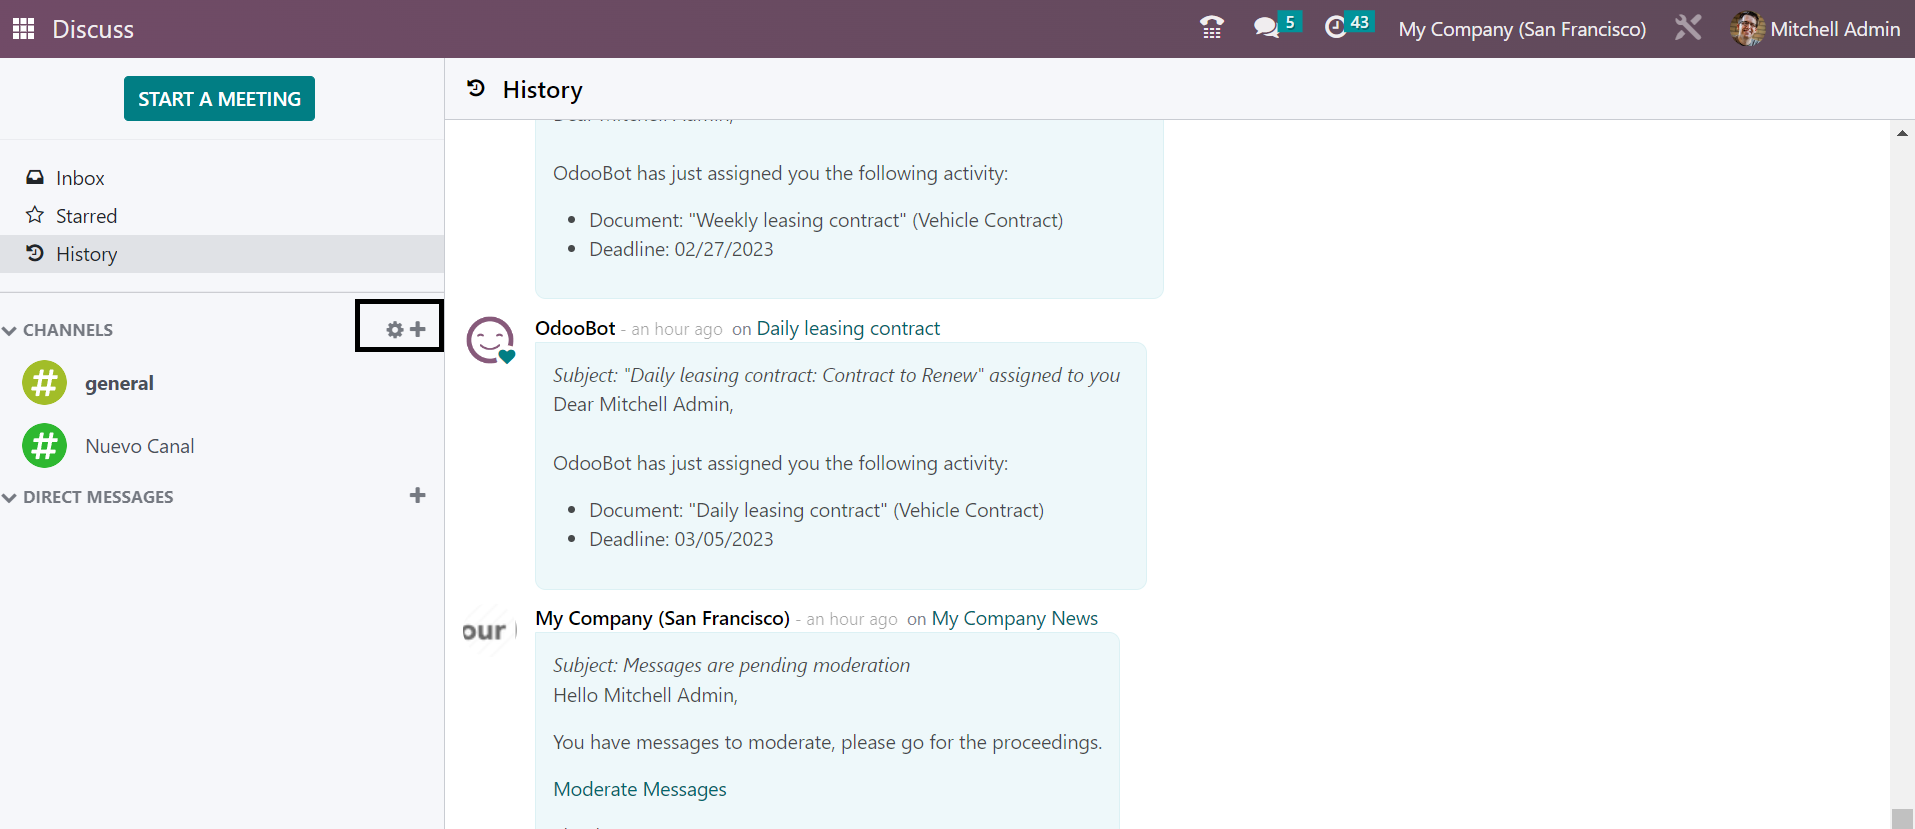
With the help of the setting icon marked, you can see or join new channels. On selecting the option, you can see the information regarding the public channel. Then, go to the Create icon.

Here, you can make use of the Join icon in order to get added to this existing group that is already created. You can also leave form the groups if required. The New option helps you with the creation of a new channel.
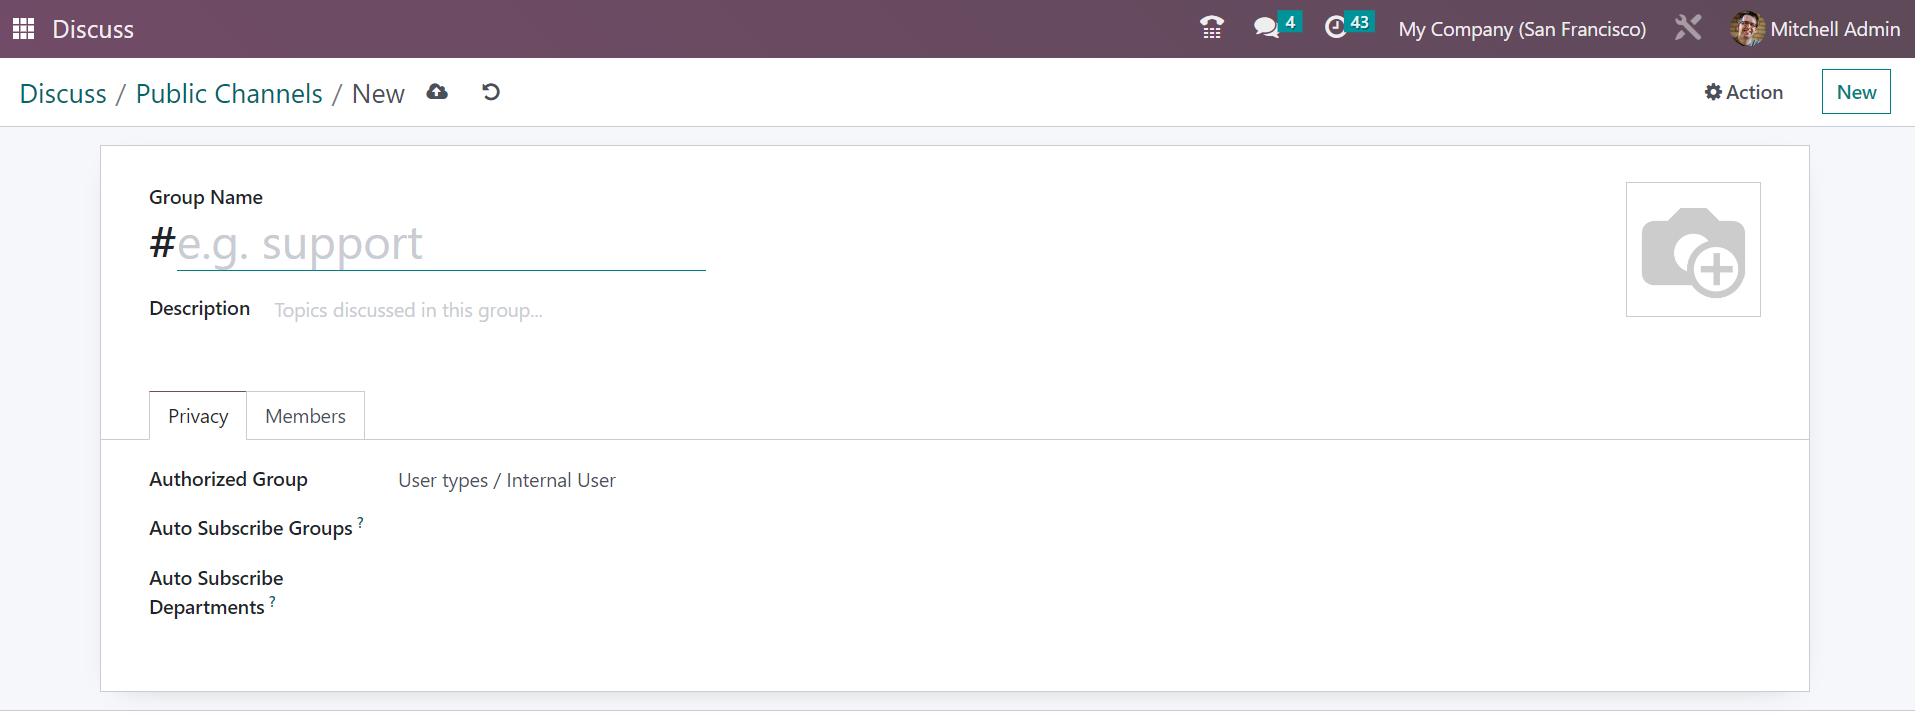
On this channel creation page, you have to provide some information regarding the channel. It include, name for the group and an icon for the group in the allotted space. The topics that are chatted in the group can be mentioned in the description option. On selecting the options, such as Everyone, Invited People Only, or Selected Group of Users option, you can determine whom to follow up the particular that we are resting. Under the Authorized group, user type or internal user can be mentioned. Auto Subscribe Group. And Auto Subscribe Department option, you can provide the details accordingly.
On including the Auto Subscribe Group and Department options, the members will get included in the groups or departments on its own. Those options are available under the Privacy option. You have the option to include new members to the group using the Members tab.
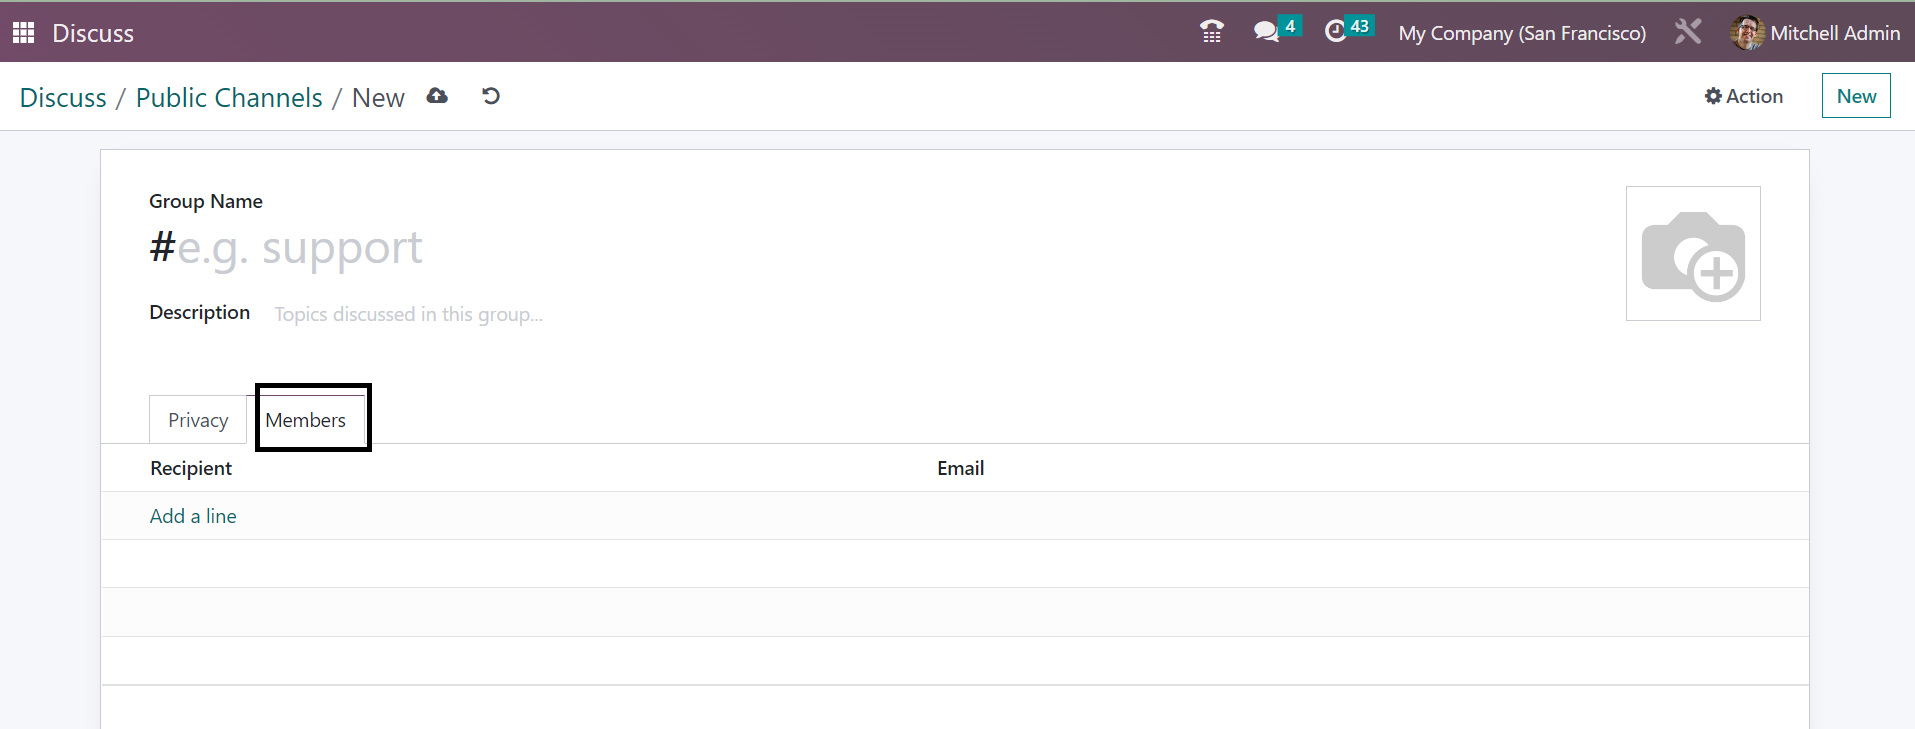
The Add a Line option can be made use for the inclusion of members to the group. There, you can include the name and the mail ID of the recipient whom you are adding. Finally, go to the Save icon in order to get this member indeed to the existing list.
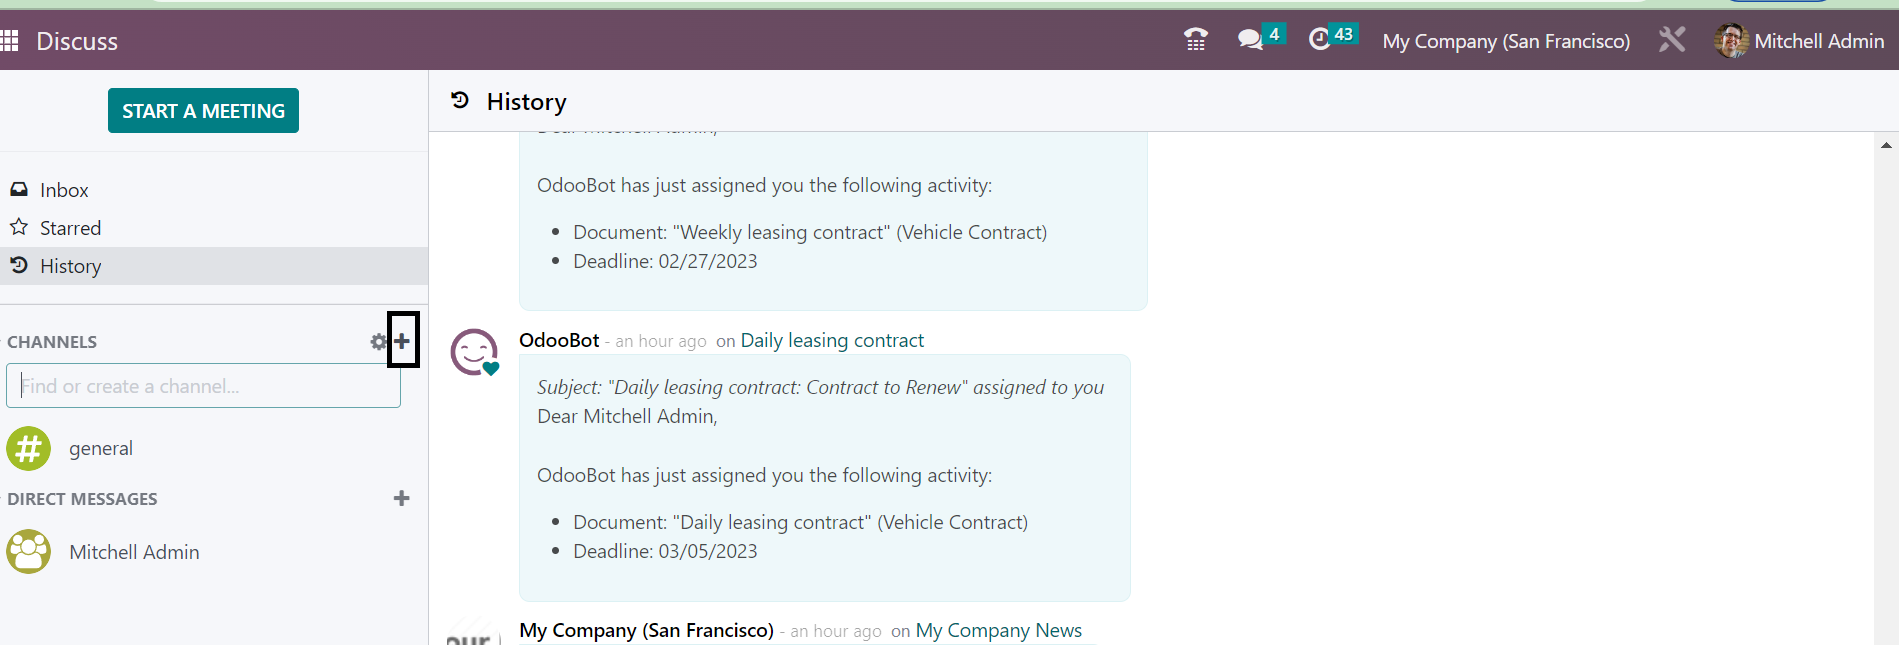
You can easily make a new channel with the help of the + icon provided in the right side of the page. The channel can be made public or private according to your wish.
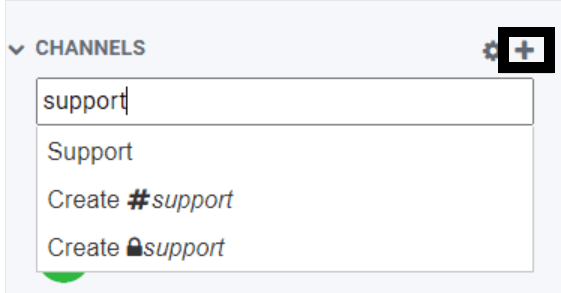
Suppose you are making a channel in the name of Support, on providing the name of the channel, you have two options provided. You can go for # Support option for making a public channel and🔓Support option for making the channel private.
In order to begin a conversation in the team, you can go to the + icon. The personal conversation can begin using the + icon provided near the direct message option. Under the Search option, you can look for the person that you wish to talk with.
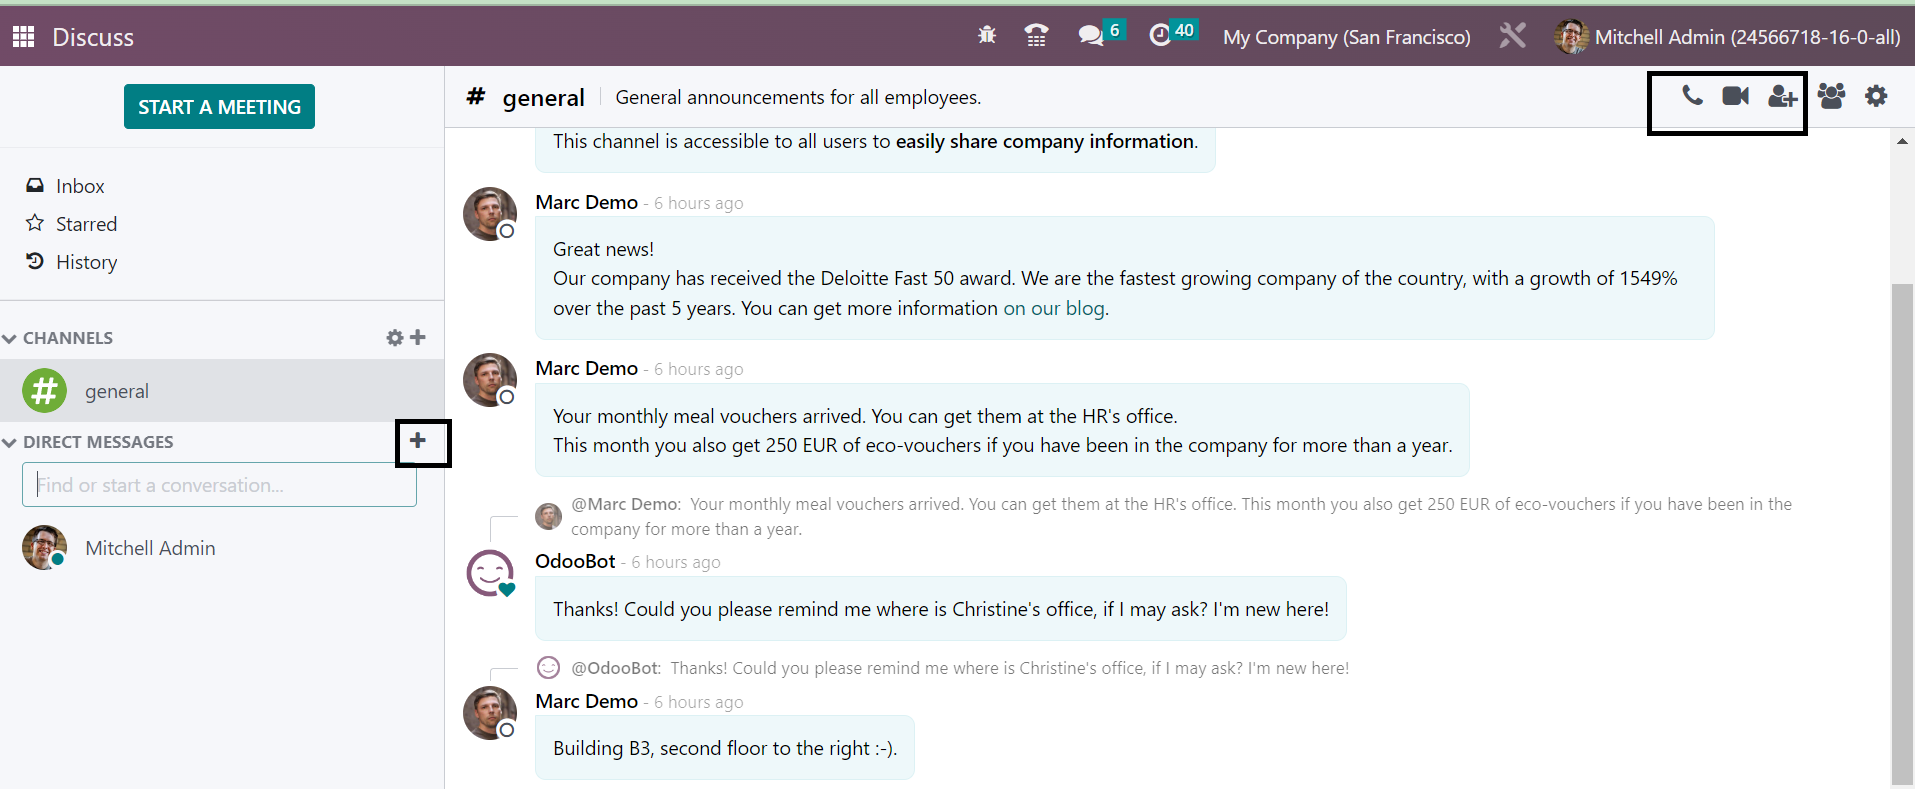
The call and video call option provided in the right most corner helps you to use them if required. For the invited users, you can include the users to personal chat as well in order to make a chat room.
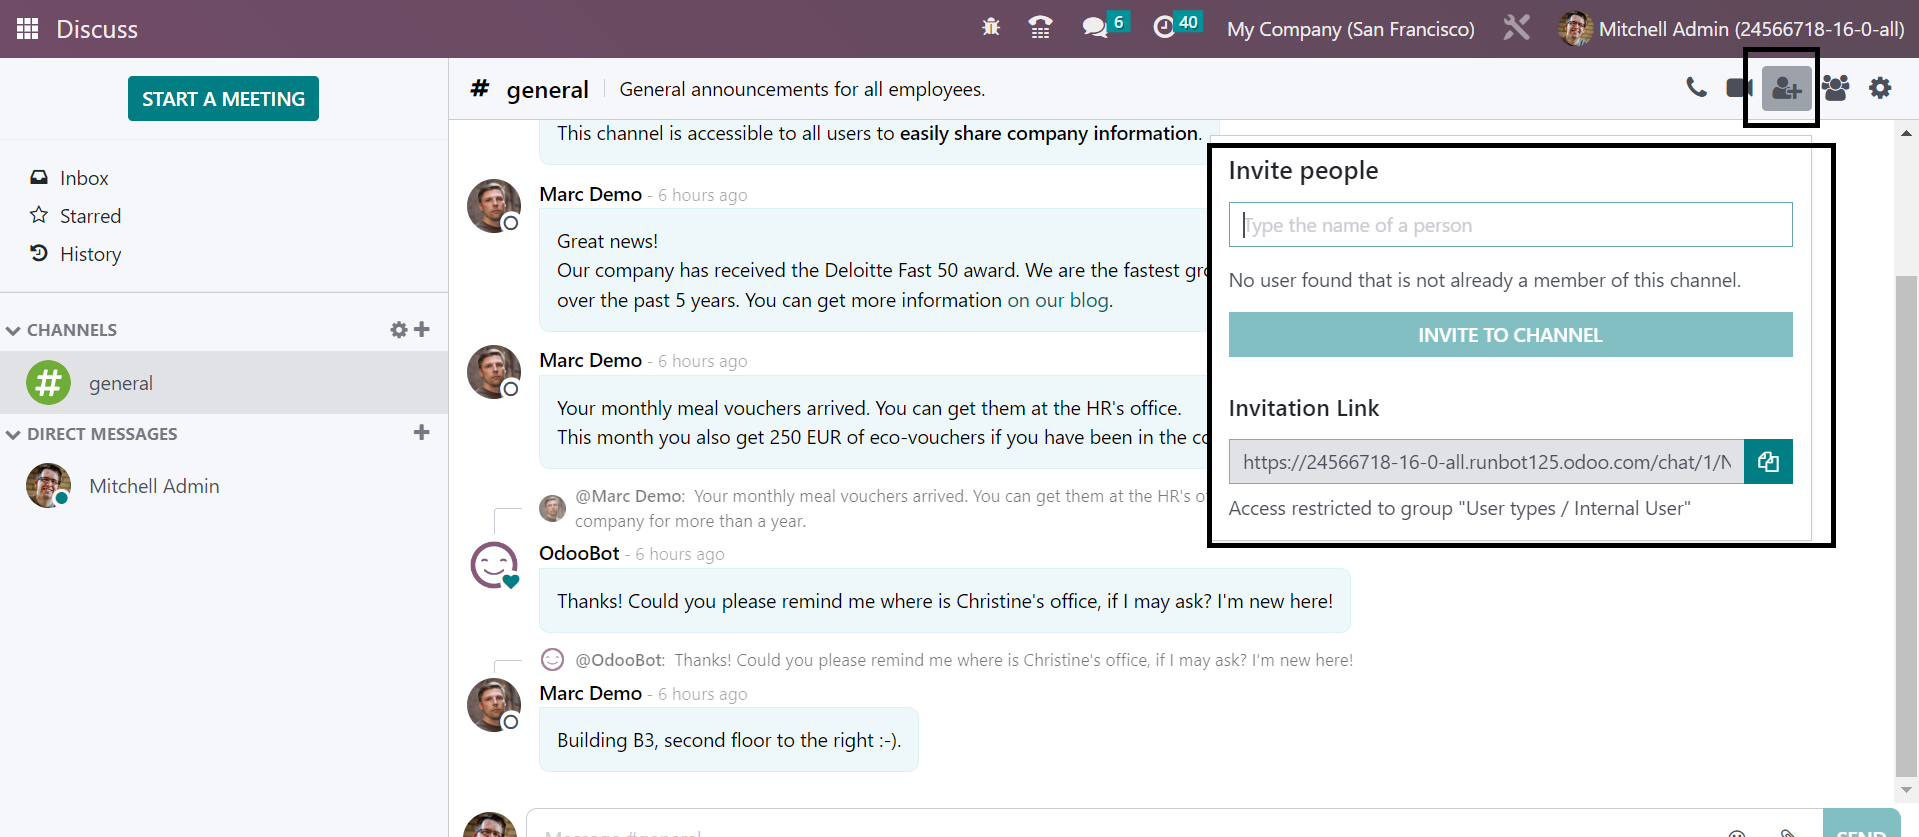
Using the icons marked in the above screenshot, you can easily invite the people to the chat room. The chat can be controlled and regulated from any place in the Odoo software. The notification regarding the messages will be visible from any of the spaces in the Odoo. You can go to the Apps option in the filter and see the chats there.
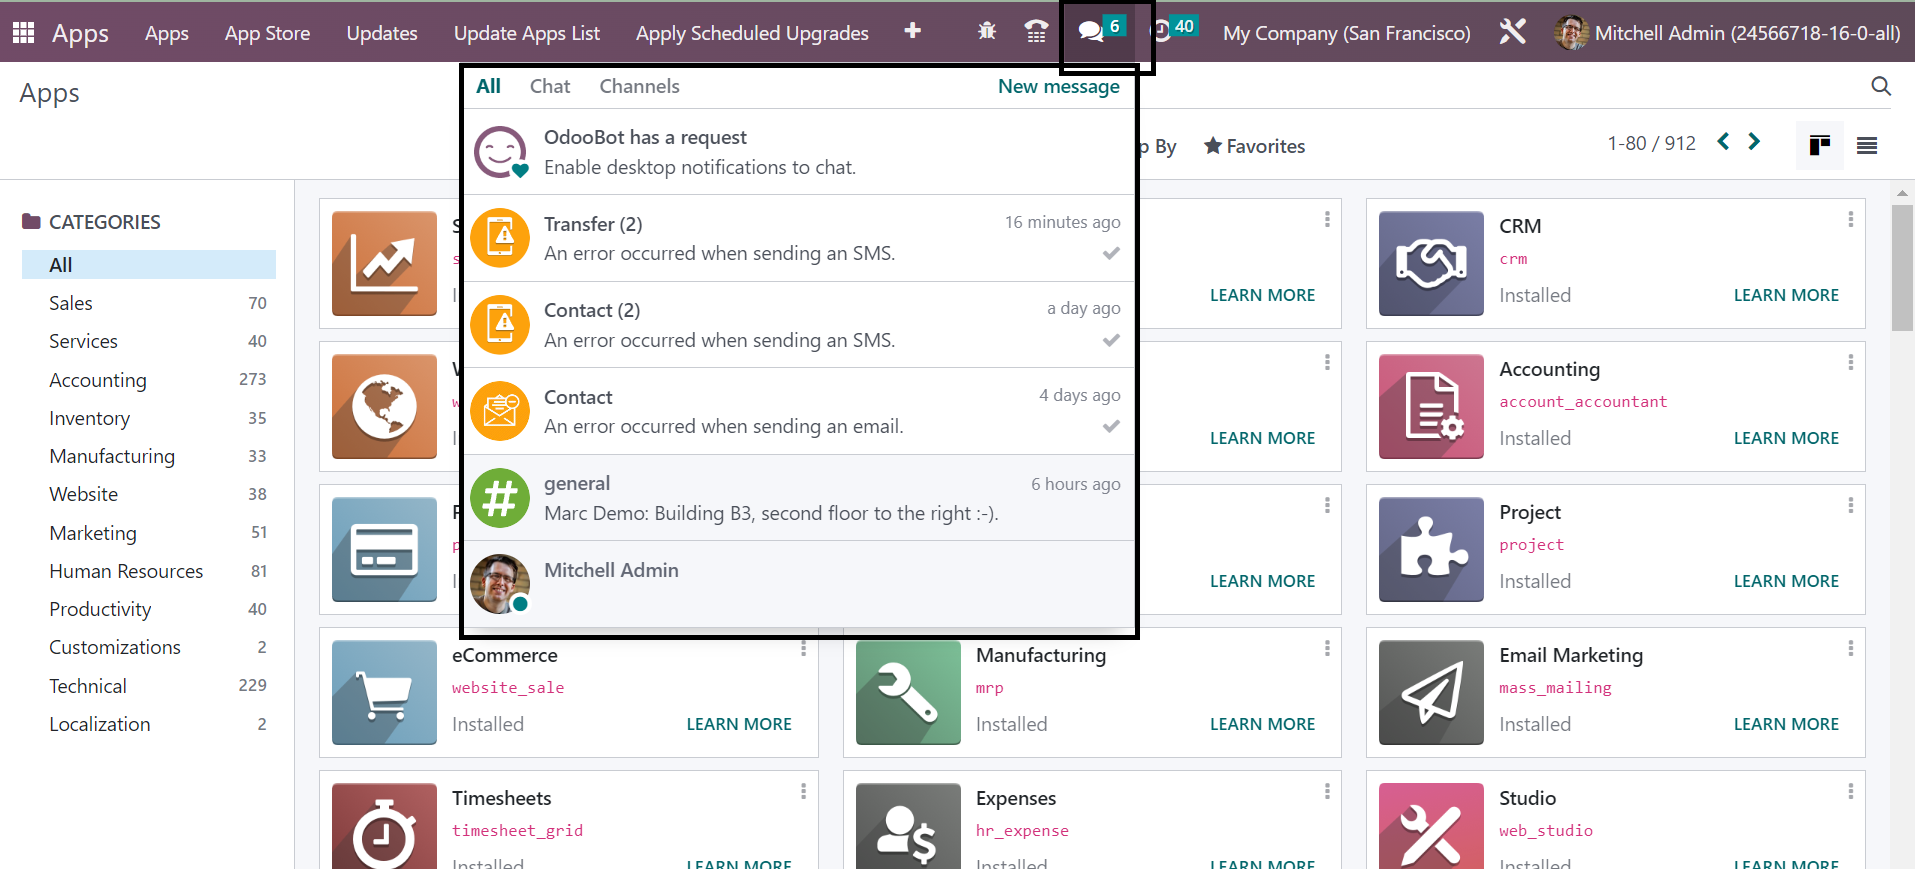
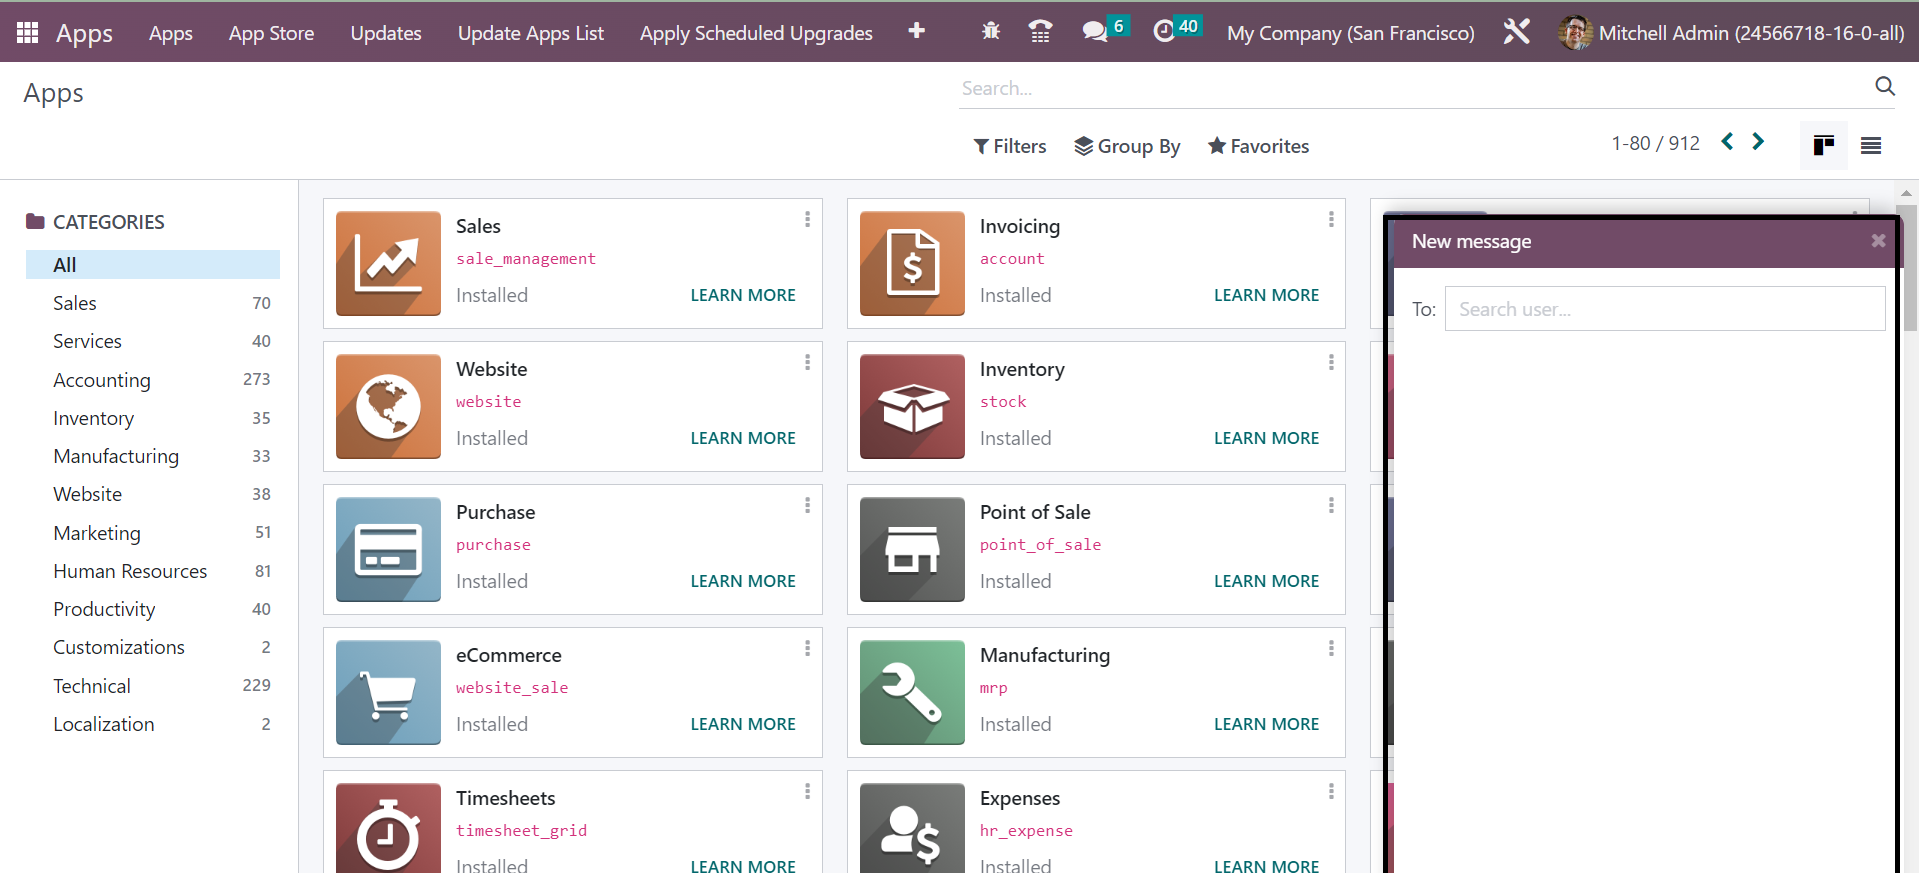
Without going to the Discuss module, you can easily regulate the new messages that have been received to the user. The messages can be easily sent and received by these methods of integrating with other modules. You can easily begin a meeting without opening the Discuss module itself. The New Message option provided in the page helps you to begin the meeting. On selecting the option, you will get the meeting space, as shown below.
Using the Start a Meeting option provided in the main page, you can begin a meeting as well.
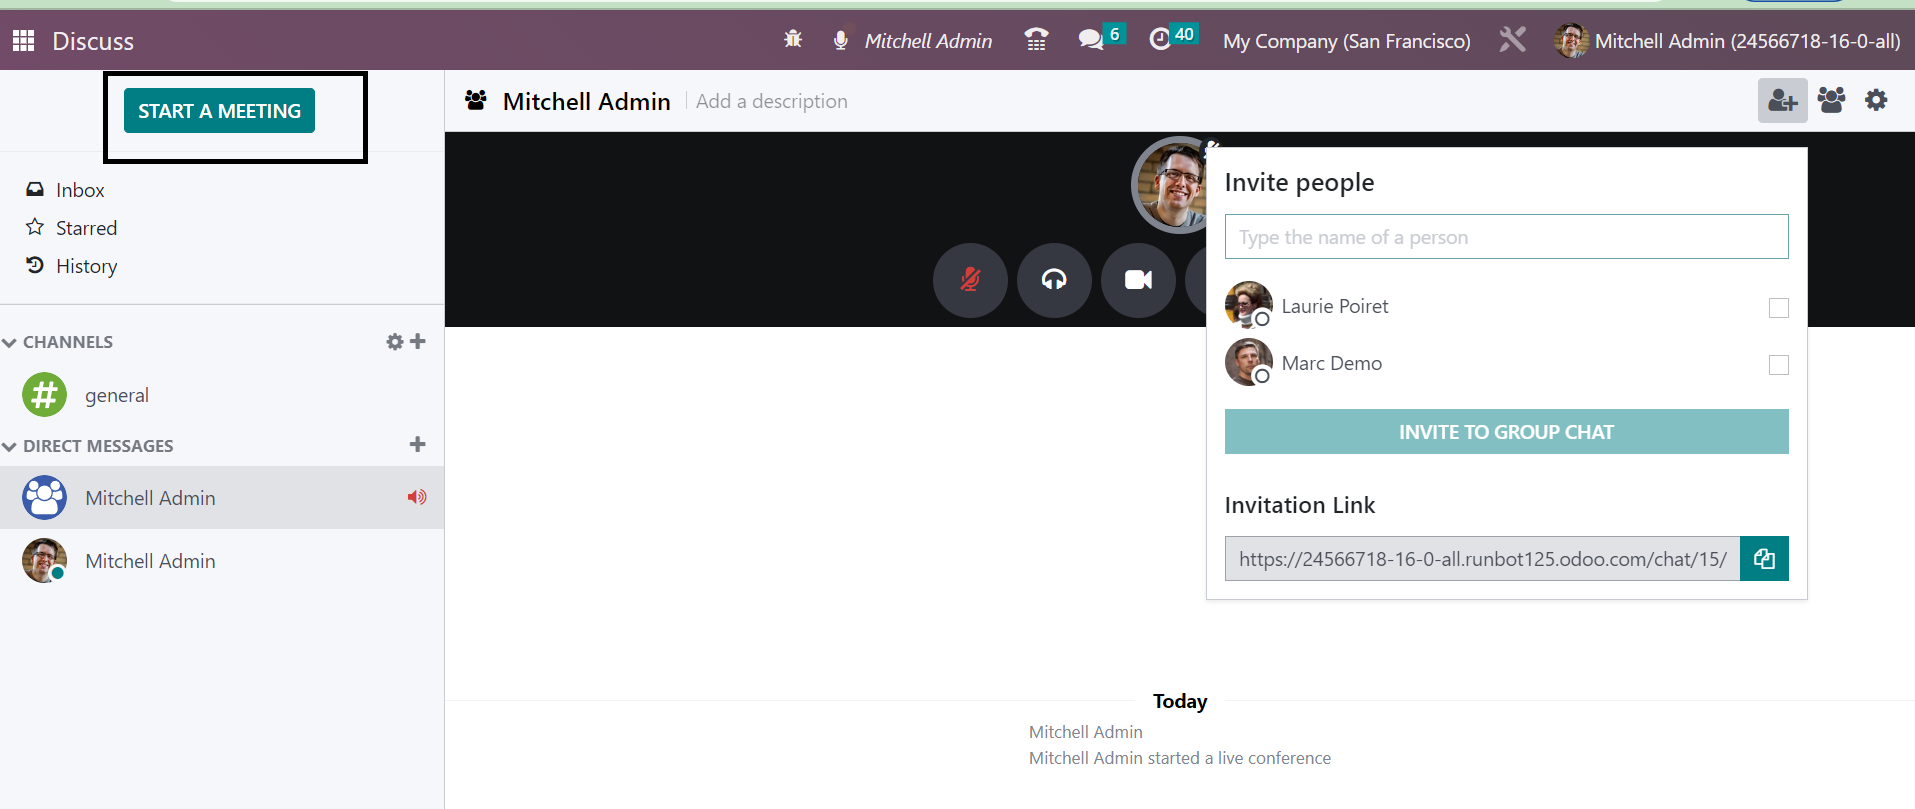
On selecting the start a meeting option, you will get another window opened as shown in image above. On the page provided, you will get a meeting link that can be sent to those who have to join in the meeting. If you require any kind pof assistance during your work time, you can simply use this option to begin a meeting and solve the concern.you have an option to invite members to the group chat as well. There is an icon to copy the link as well if required.
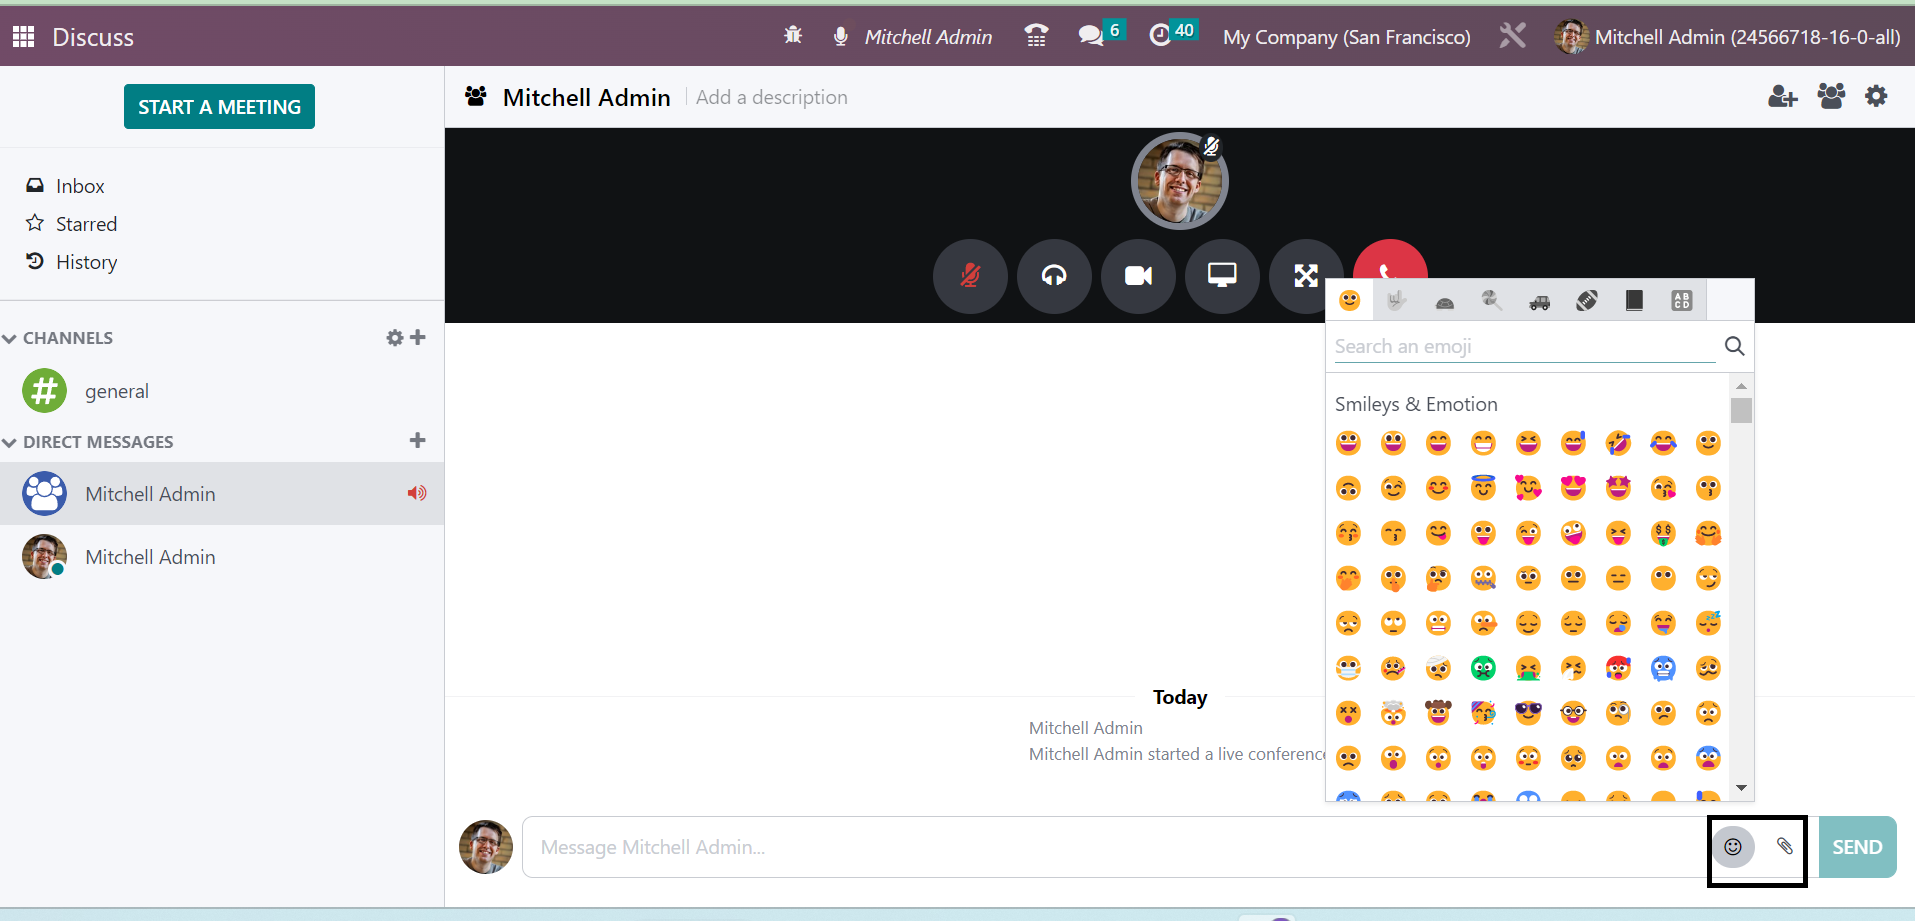
During the meeting, you can make use of the chat space along with the emojis to express your emotions regarding the meeting. You can make use of the attachment as well if required.
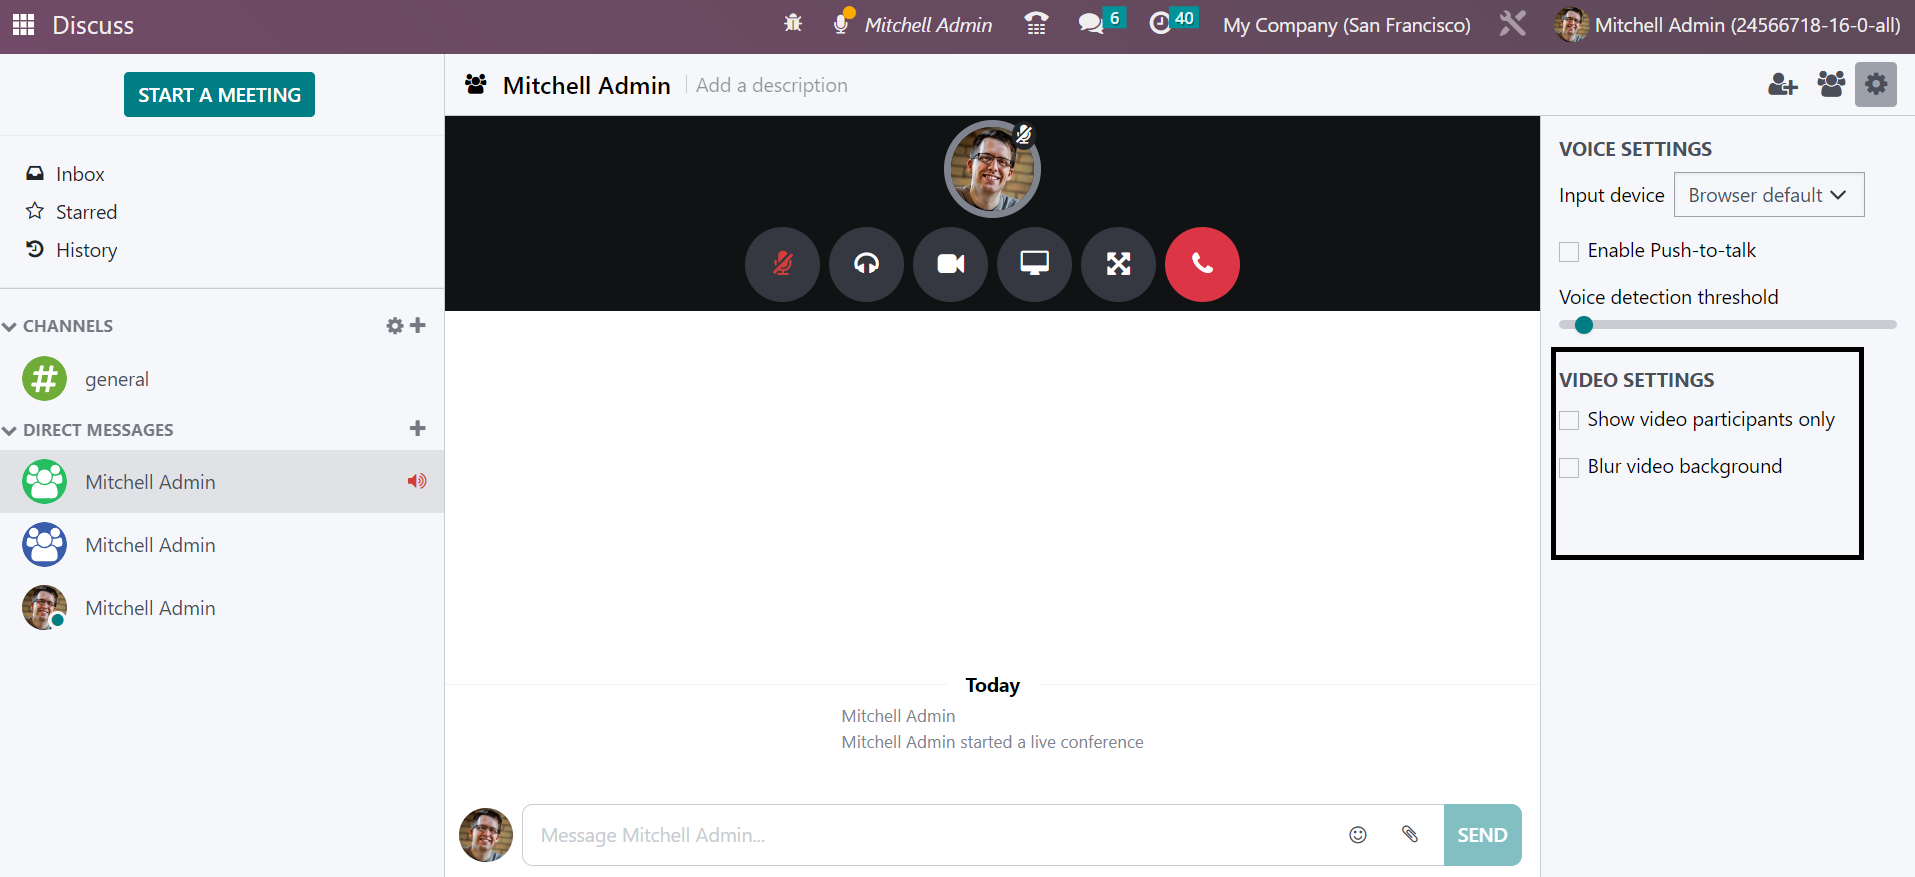
On starting a video conference during a meeting, you will get some options in the settings, such as Show video participants only and Blur video background as well. The options can be triggered if required. You will get input device and browser default options. Under the Input device, you can activate the push-to-talk option if required. These are all the features available in the Discuss module in Odoo ERP Software.