Reconciliation
Bank reconciliation is essential to check if there is any difference in the accounts used for business transactions by comparing them. If any variances are detected, you can immediately correct them by taking remedial actions. It will be difficult to match bank records with account statements manually. In business, cash transactions are recorded in cash accounts and it is important to sync with the bank accounts. To ensure this, it is needed to confirm that the bank account matches the cash account. Performing all these operations manually will be difficult and consume lots of time and effort. You can rely on the Odoo Accounting module in order to simplify the reconciliation process.
You can easily perform reconciliation operations from the Accounting Dashboard itself.
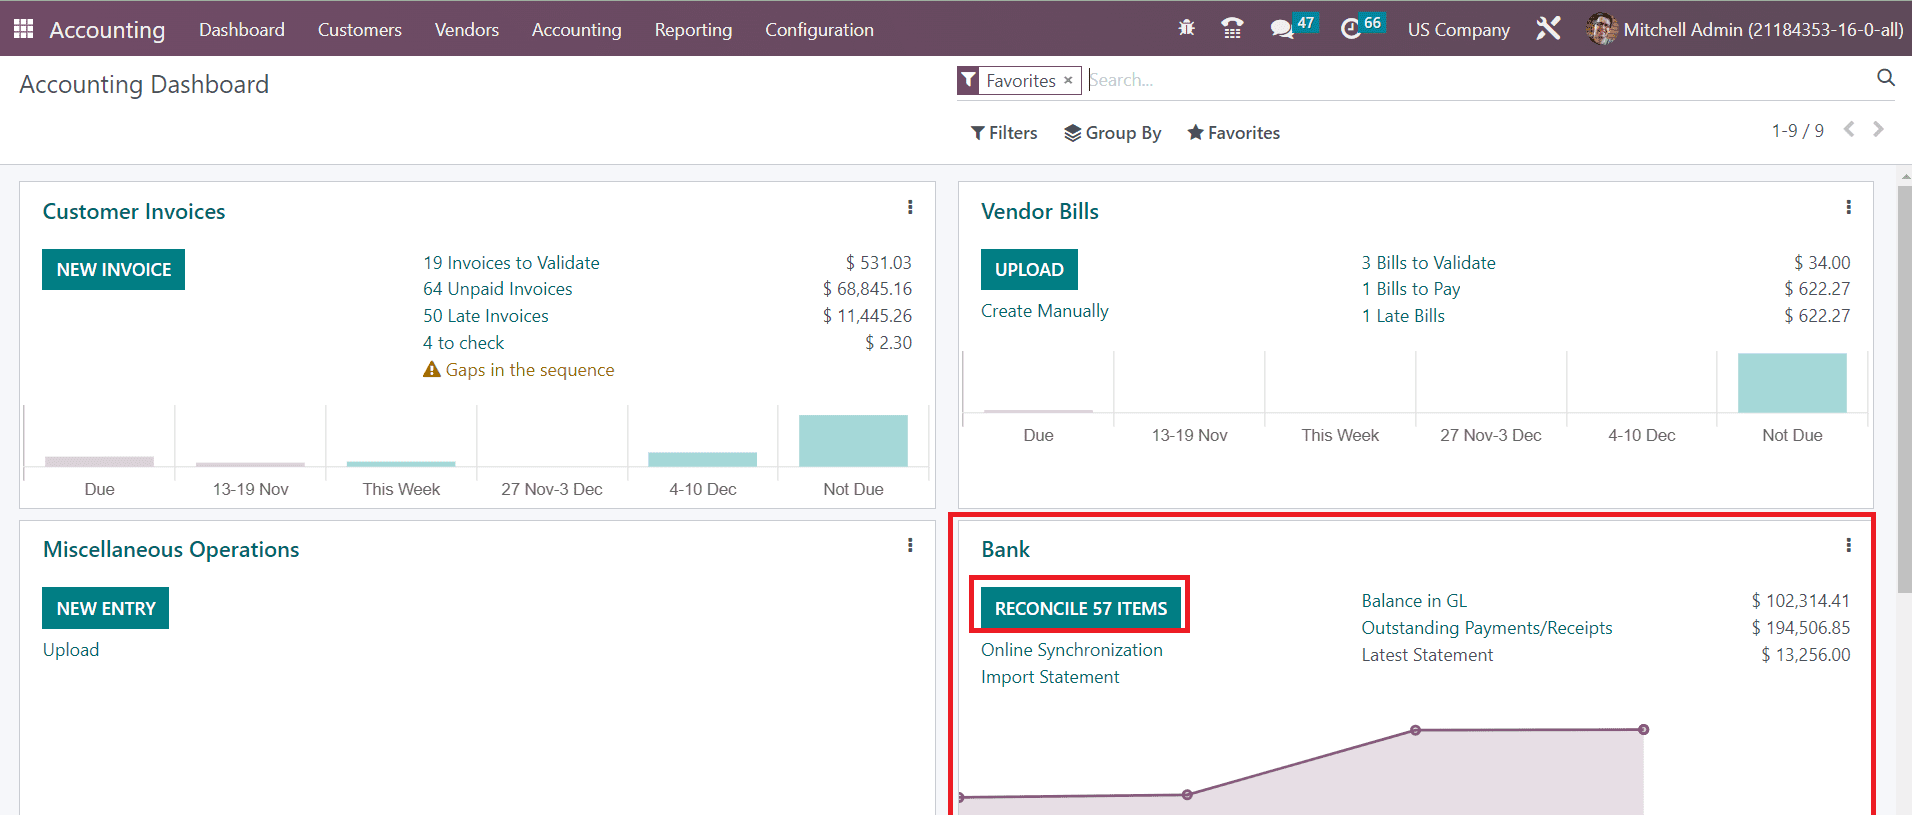
Here, you will get the list of statements that need to be reconciled in the Reconcile button as shown above.
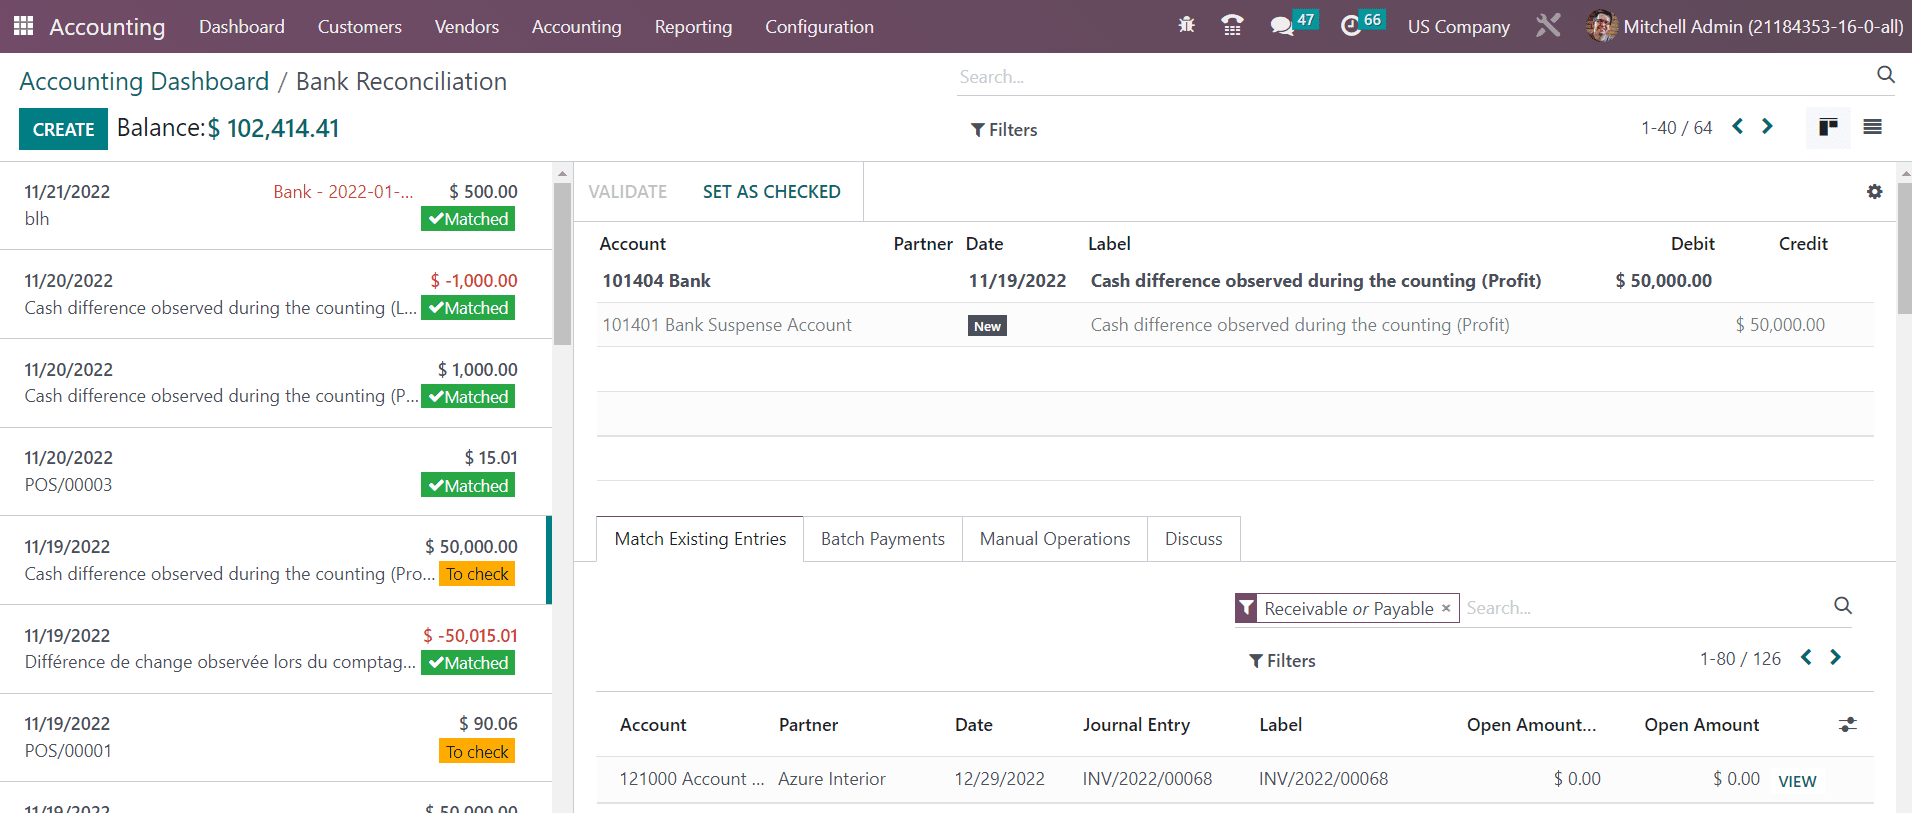
You can observe the bank statement reconciliation in this window. On the left side of the screen, the statements can be seen as arranged based on the accounting date. You can see the ‘Matched’ label on the statements which indicate that the statements are already matched with bank accounts. The statements which need to be checked and reconciled will be labeled as ‘To Check’.
In order to make the reconciliation process easier, you can configure a suitable reconciliation model first. This can be done from the Reconciliation Models option available under the Configuration menu.

The already available reconciliation models can be seen in this window with the details of the Name, Type, and Auto-validate status. Use the Create button to get a new configuration window.
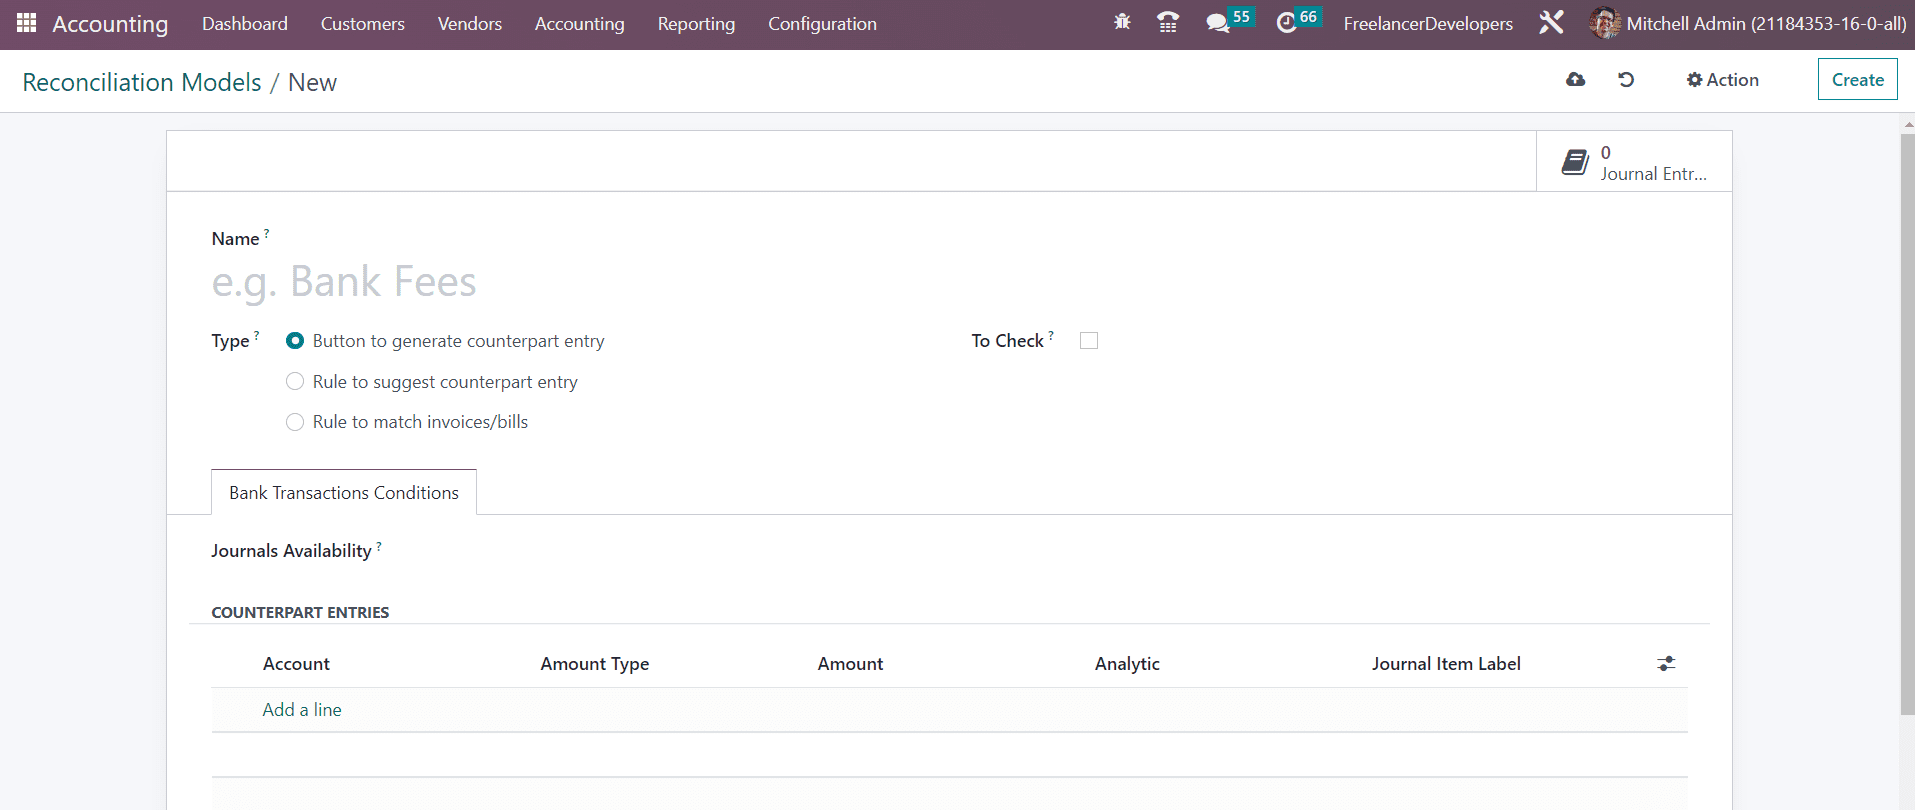
After mentioning the Name of the reconciliation model, you can select the type from the given options. The remaining configuration options will change according to the type you select.
Button to generate counterpart entry
In the case of the Button to generate counterpart entry option as the model type, you will get the Journal Availability field, where you can add a journal as Cash or Bank. The reconciliation model will only be available from the selected journals.
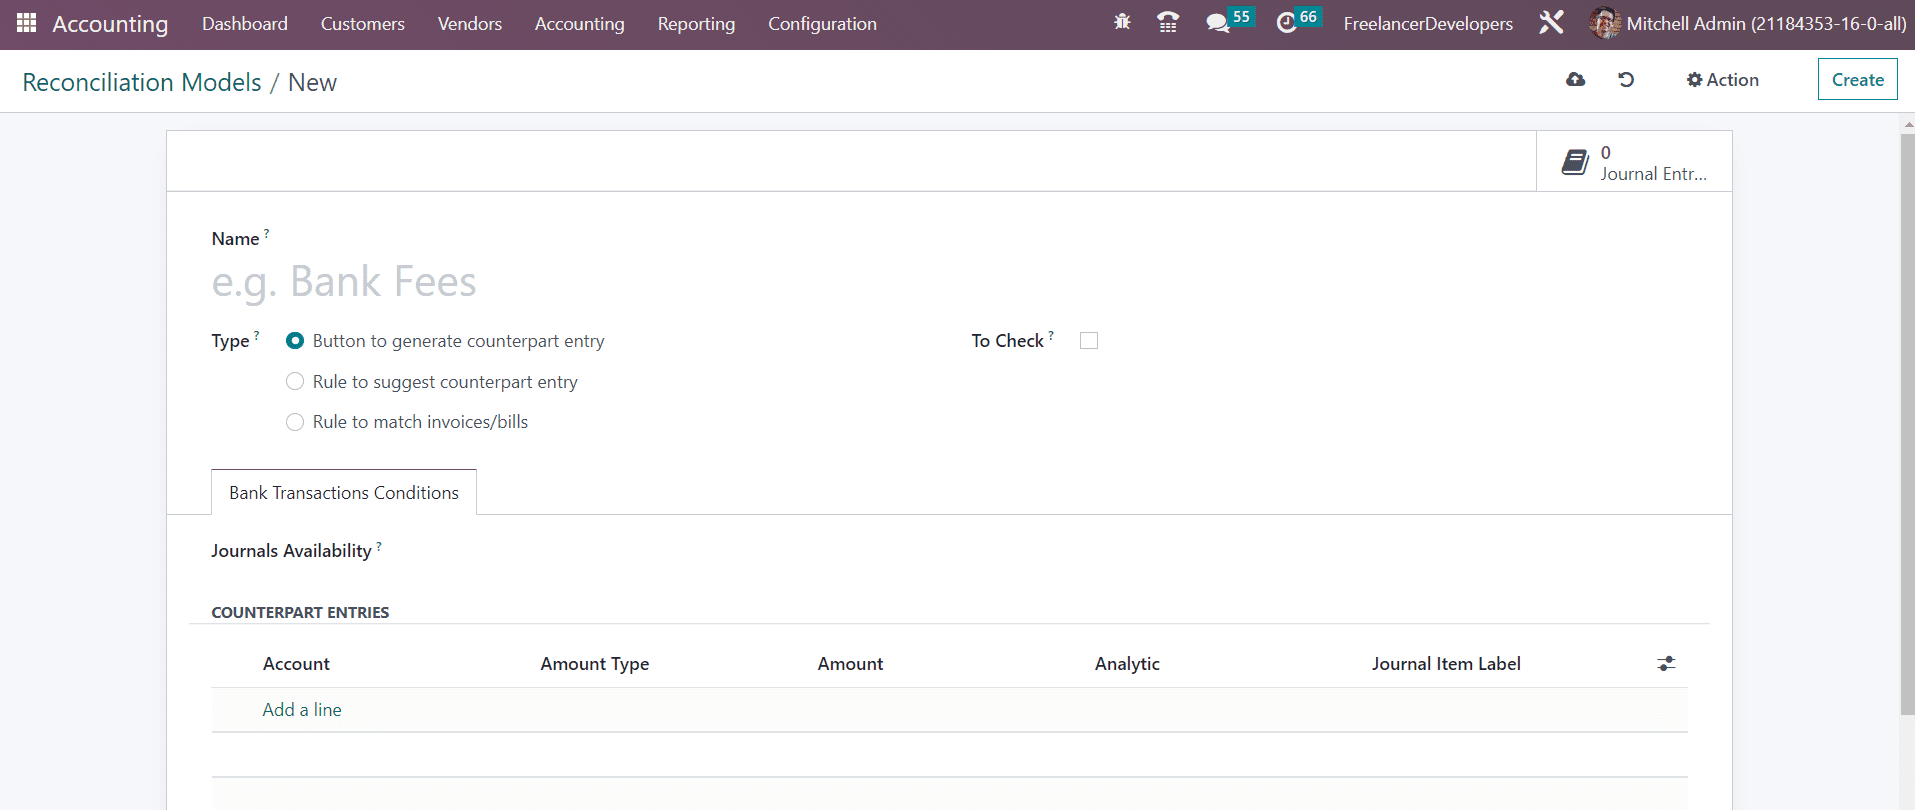
Under the Counterpart Entries tab, you are allowed to specify the Account, Amount Type, Amount, Analytic, and Journal Item Label. The Account Type can be Fixed, Percentage of Balance, Percentage of Statement Line, or From Labels. Once the configuration is completed the Button to generate counterpart entry model for reconciliation is ready to use.
Rule to suggest counterpart entry
In the case of the Rule to suggest counterpart entry, the available configuration options are shown in the screenshot below.
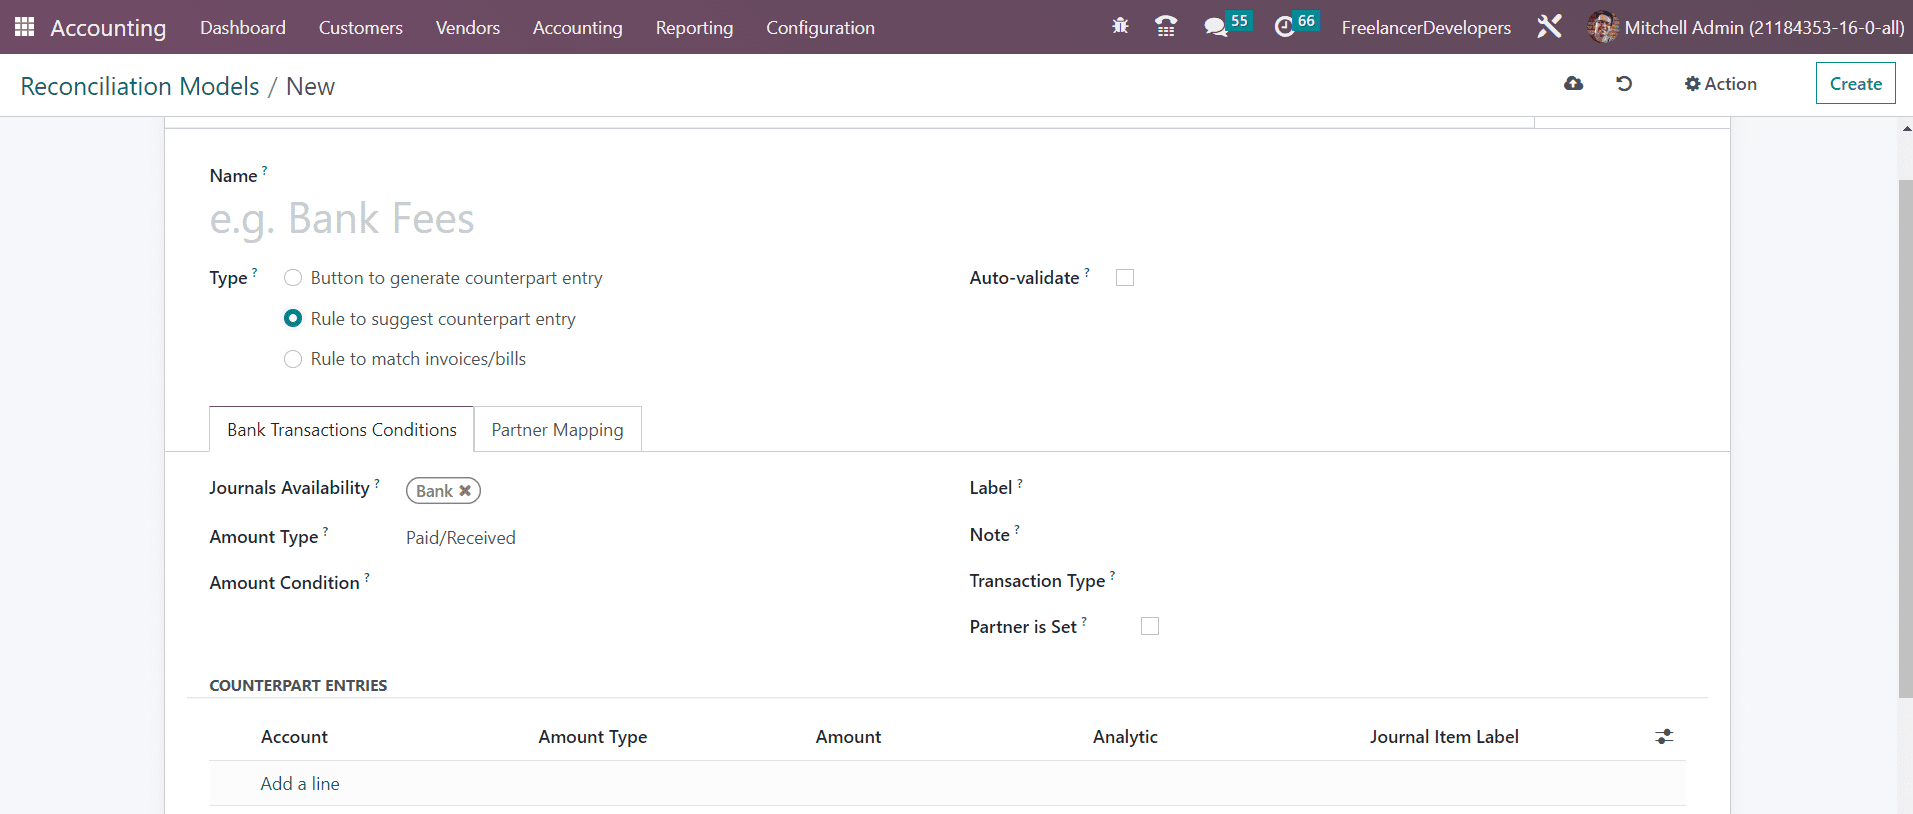
Here, you will get the Auto-Validate option to activate to validate the statement line automatically. After mentioning the Journal Availability, you can select a suitable Amount Type from the given options which are Received (only applied when receiving an amount), Paid (only applied when paying an amount), or Paid/Received (applied in both cases). By doing so, the reconciliation model will be only applied to the selected transaction type. In the Amount Condition, you can mention a specific amount and the reconciliation model will be applied when the amount is lower than, greater than, or between the specified amount. You can set rules for Label, Note, and Transaction Type as Contains, Not Contains, or Match Regex. By activating the Partner is Set field, the reconciliation model will be applied only when a customer/vendor is set. By activating this option, you will be able to get additional fields to mention the Matching Partners and Matching Categories. Add Counterpart Entries in the given space using the Add a Line button.
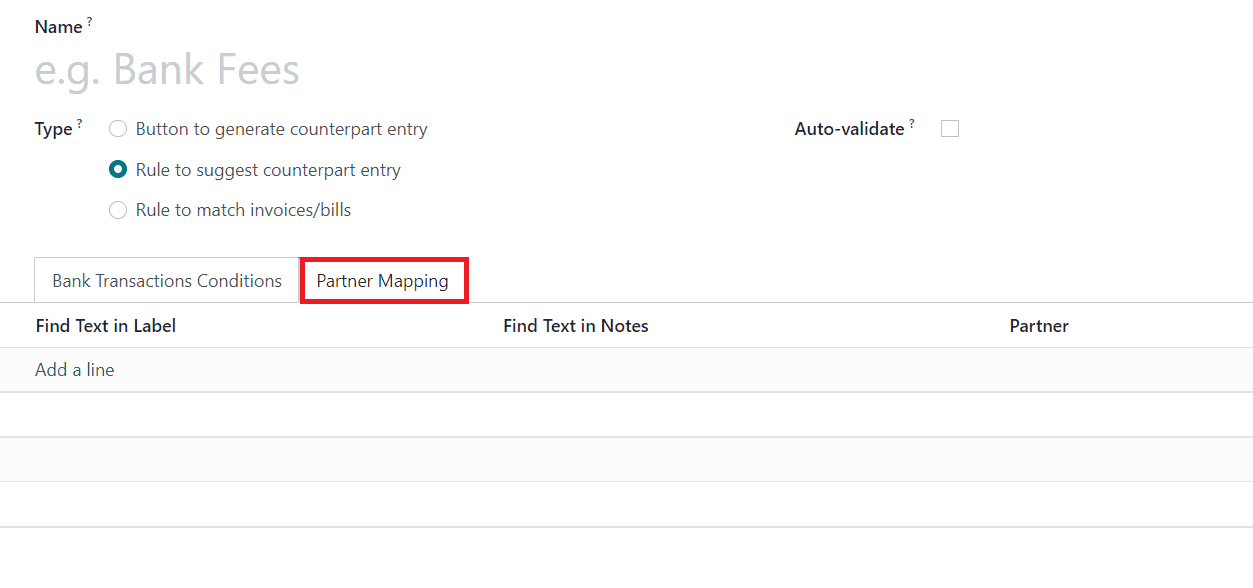
Under the Partner Mapping tab, you can add Find Text in Label, Find Text in Notes, and Partner using the Add a Line button.
Rule to match invoice/bills
The configuration window of the reconciliation model type Rule to match invoice/bills is shown below. In order to validate the statement line automatically, you can enable the Auto-Validate field. In the Search Months Limit, you can set a number of months in the past to consider entries from when applying this model.
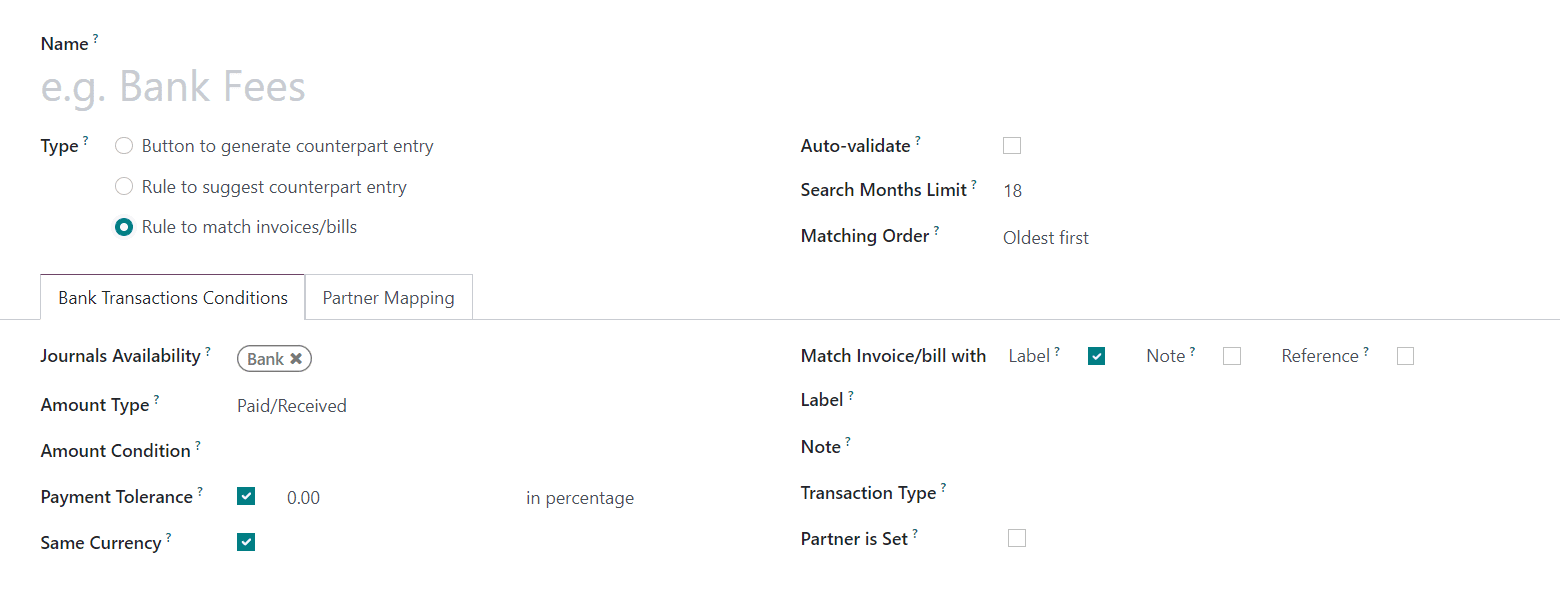
The Matching Order can be set as Oldest First or Newest First. Under the Bank Transactions Conditions tab, you can find similar options as that we discussed earlier. Additionally, you will get the Payment Tolerance to activate to accept differences in case of underpayment. The Same Currency field can be activated to restrict propositions having the same currency as the statement line. In the Match Invoice/Bill with field, you can activate the Label, Note, or Reference to match the invoice/bill. The configuration can be completed by configuring the Partner Mapping in the respective tab.
In order to get the list of all statements to be reconciled, you can go to the Reconciliation option available in the Accounting menu.
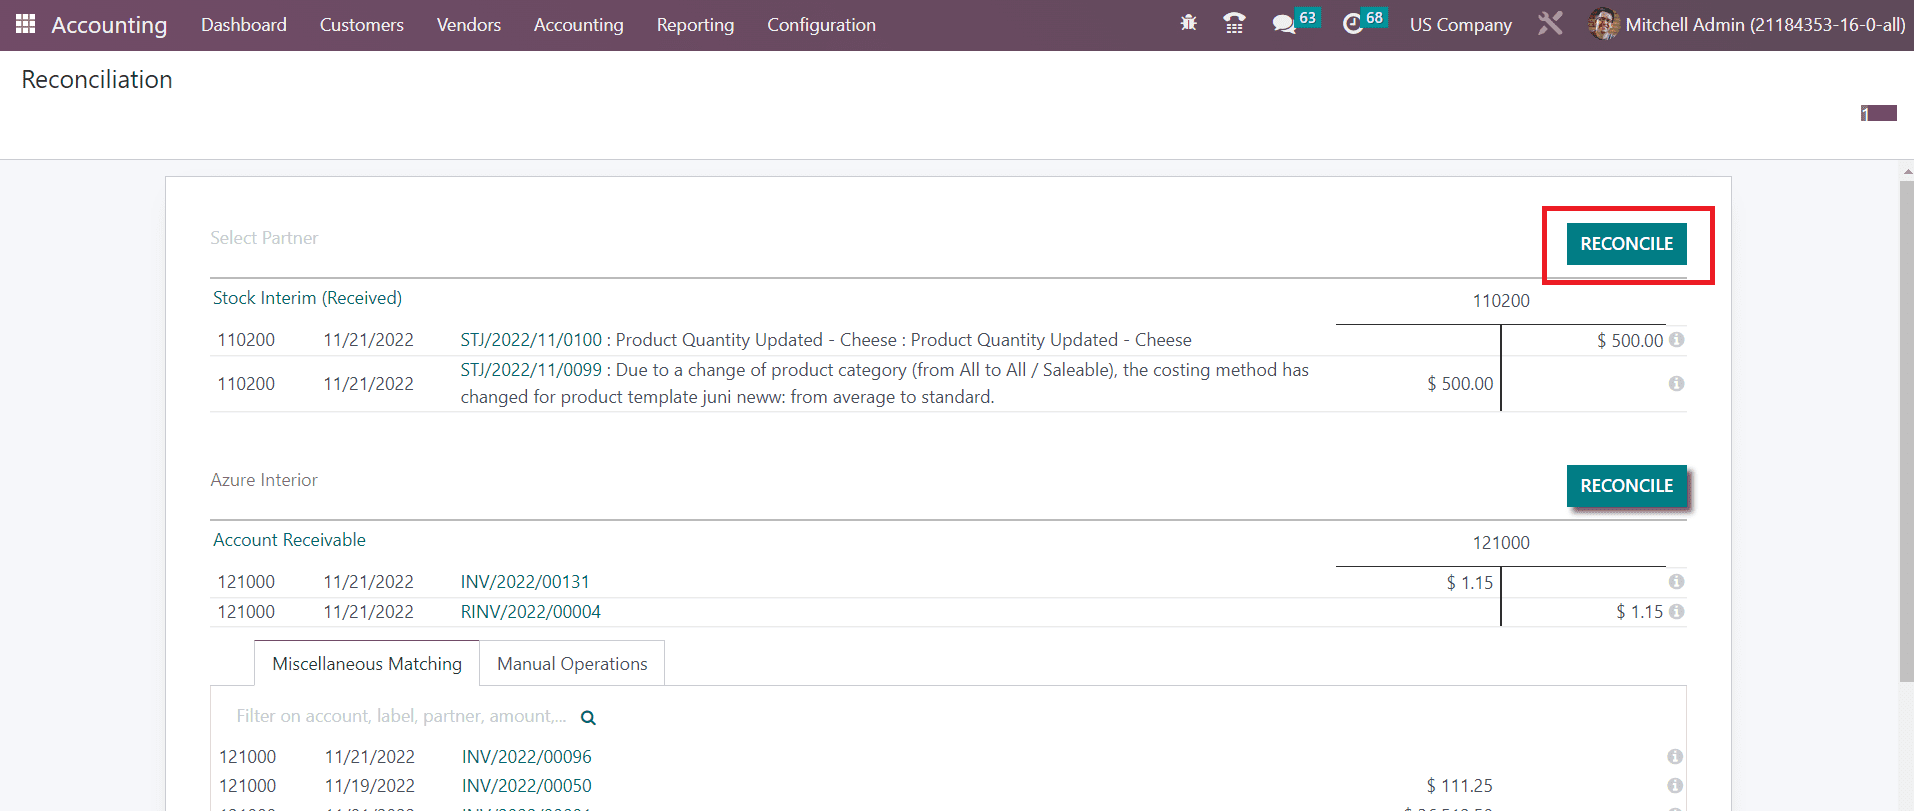
Here, you can use the Reconcile button to perform the reconciliation of statements with bank accounts.
From the Accounting Dashboard of the module, you can easily import bank statements to your system, which can be used for the reconciliation process later. You can import your bank statements in CSV, OFX, QIF, and CAMT based on the option you activate from the Settings menu of the Accounting module.

The corresponding options can be found in the Bank & Cash tab as shown in the image above.
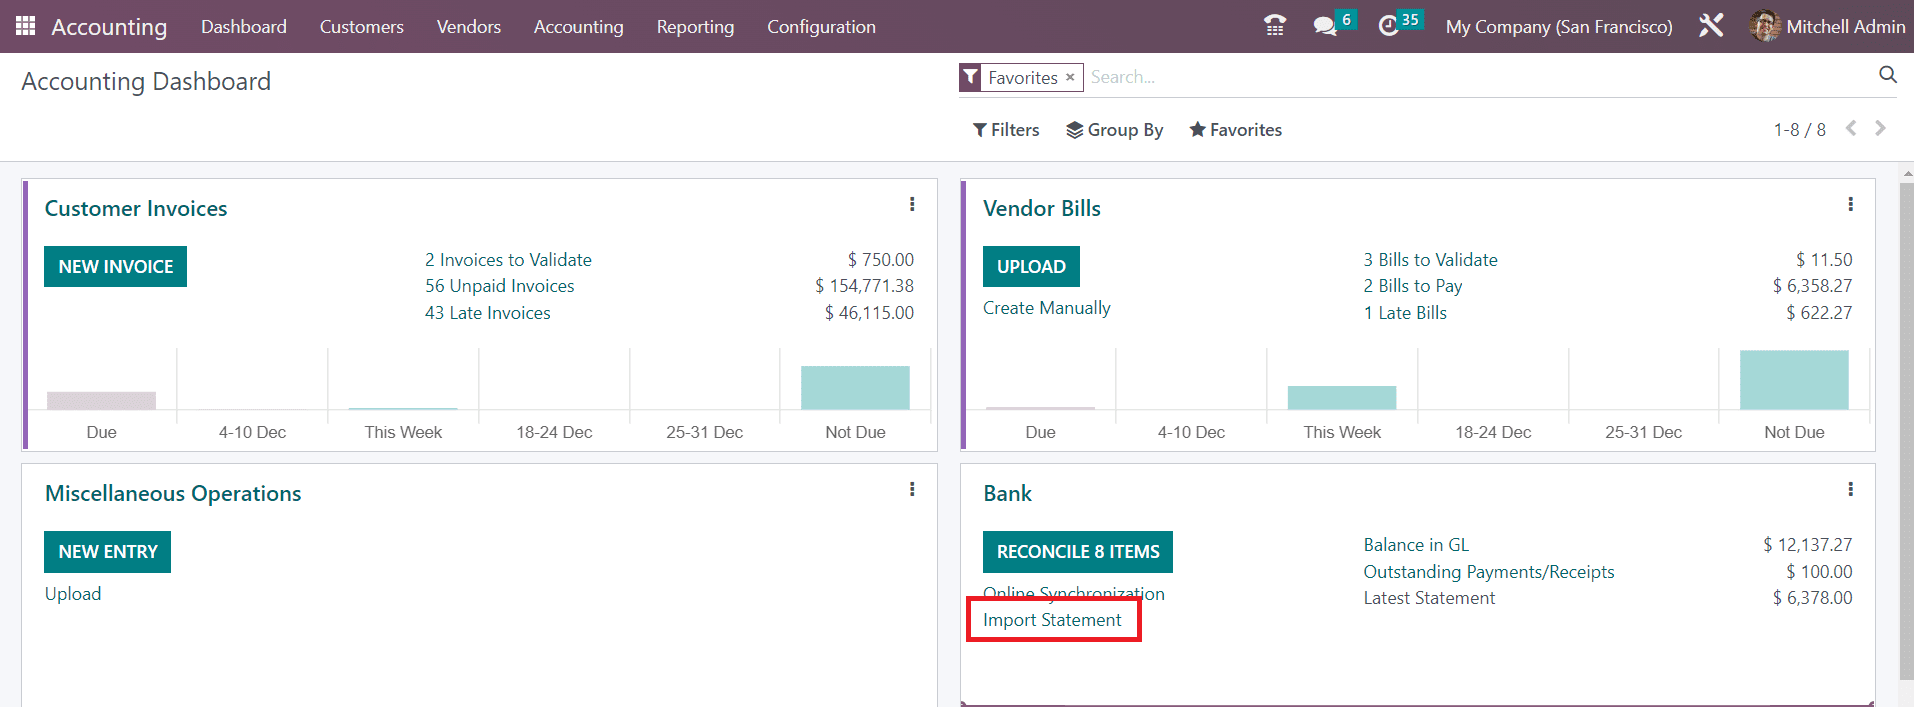
Once you activate this feature, you will be able to get a button to import bank statements from the Accounting Dashboard.