Follow-up Reports
The Follow Up Reports in Odoo will help you to identify and manage delayed payments. Odoo allows you to send reminders to the respective customers on due. The Follow-up Reports option available under the Customers menu will show the list of customers with overdue payments. Before sending reminders to the customers, Odoo permits you to reconcile all bank statements so that you can avoid sending reminders to customers who are already paid.

The list view of the reports gives details regarding the Name, Responsible, Reminders, Follow-up Status, Next Reminder, Follow-up Level, Total Due, Total Overdue, Company, and Activities.

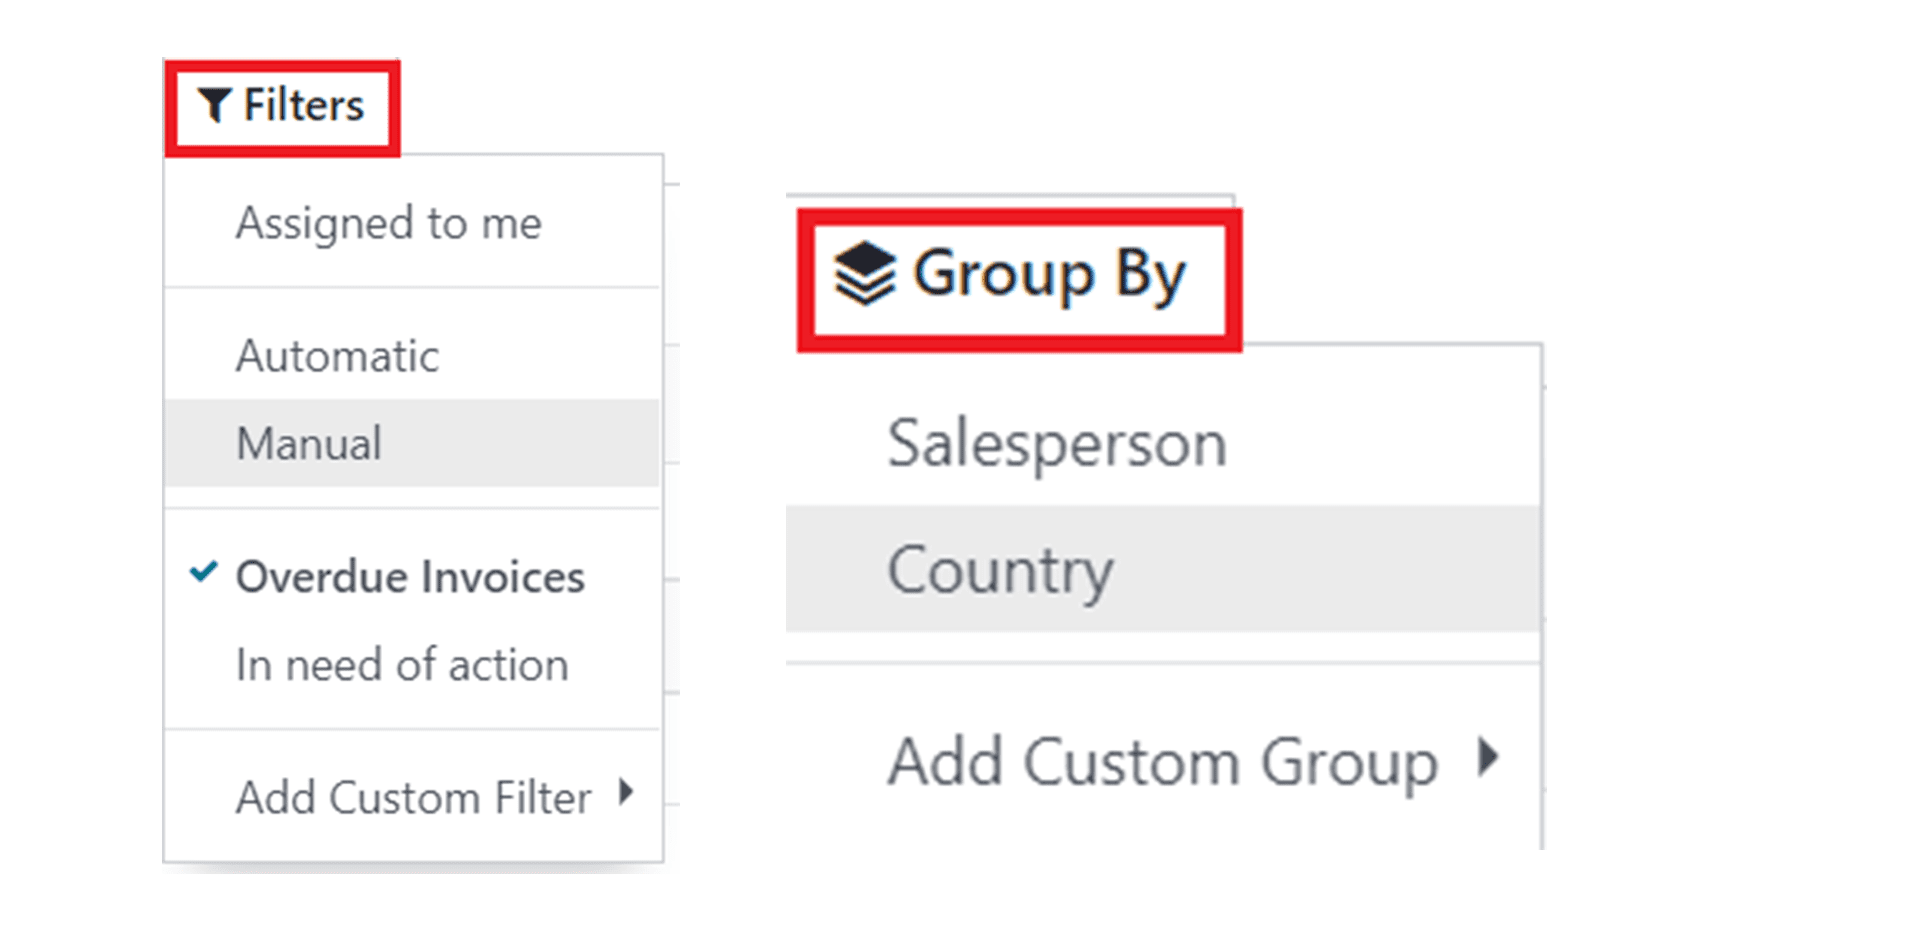
You can use default as well as customizable Filters and Group By options as sorting options highlighted in the screenshot above.
To get a detailed view of the overdue report, you can select the required report from the list.

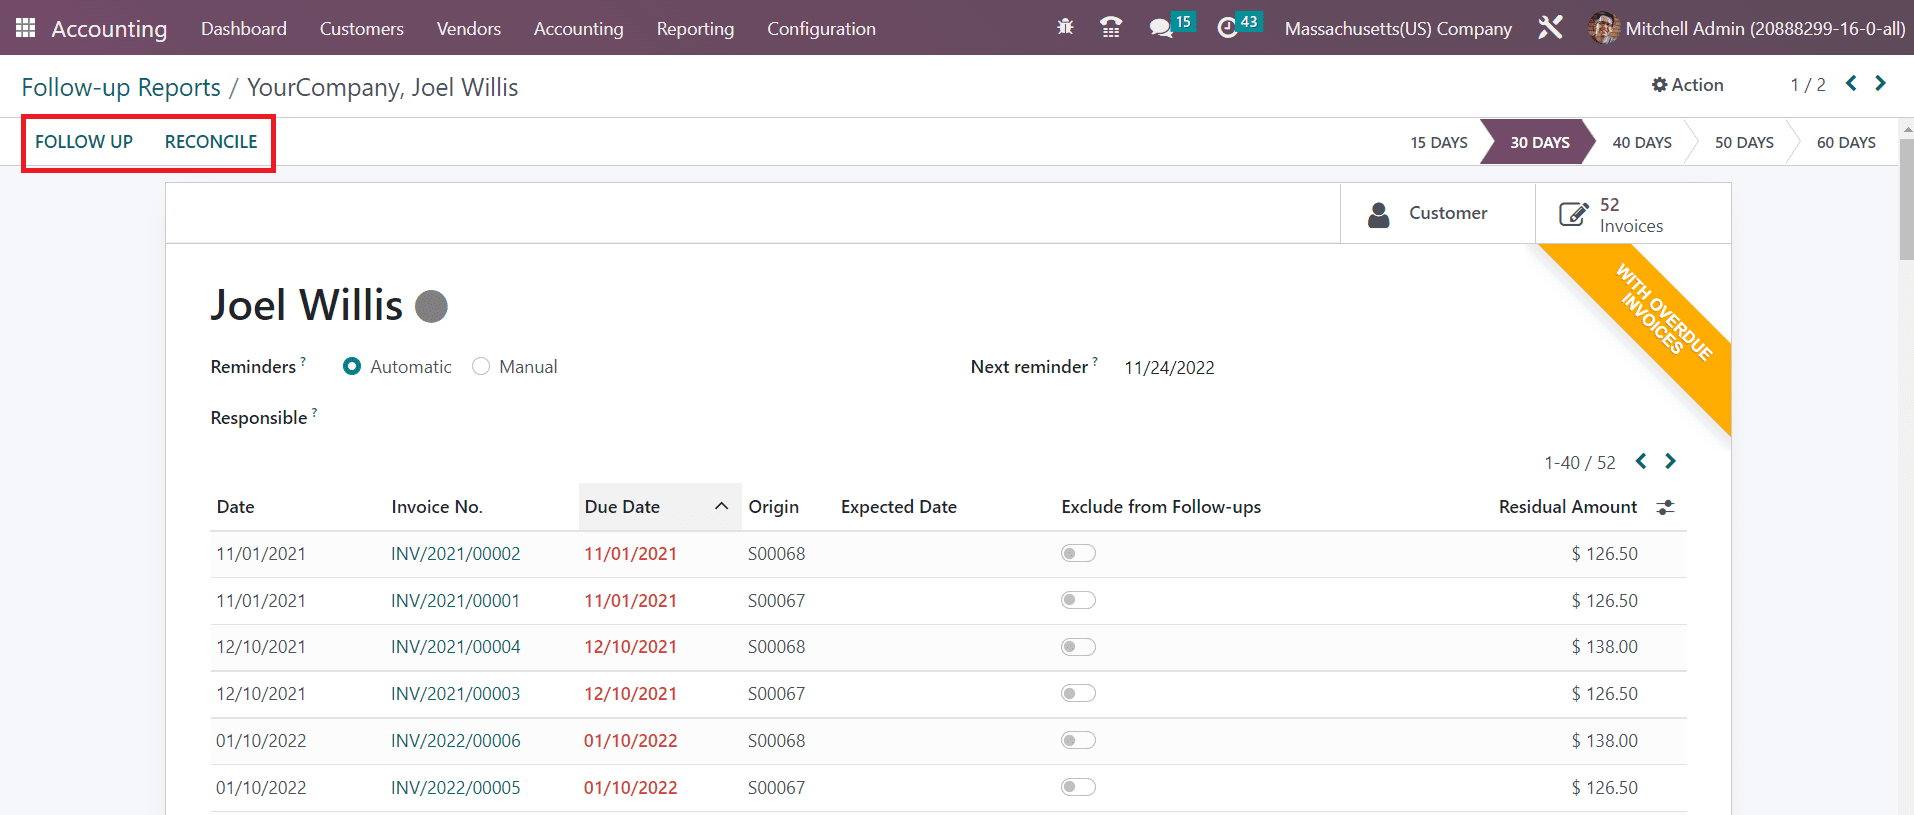
In this window, you will get the list of overdue invoices with the details of Date, Invoices No, Due Date, Origin, Expected Date, and Residual Amount. If you want to exclude any of the invoices from the follow-up activities, you can enable the Exclude from Follow-ups button given on each invoice line. The Next Reminder field will show the date before which the next follow-up action should be taken. The assigned user responsible for the follow-up activities is mentioned in the Responsible field. The smart button Customer gives the customer details and the Invoices gives the list of invoices generated for this particular customer. Using the Reconcile button, you can reconcile the payments of the customer with the bank.
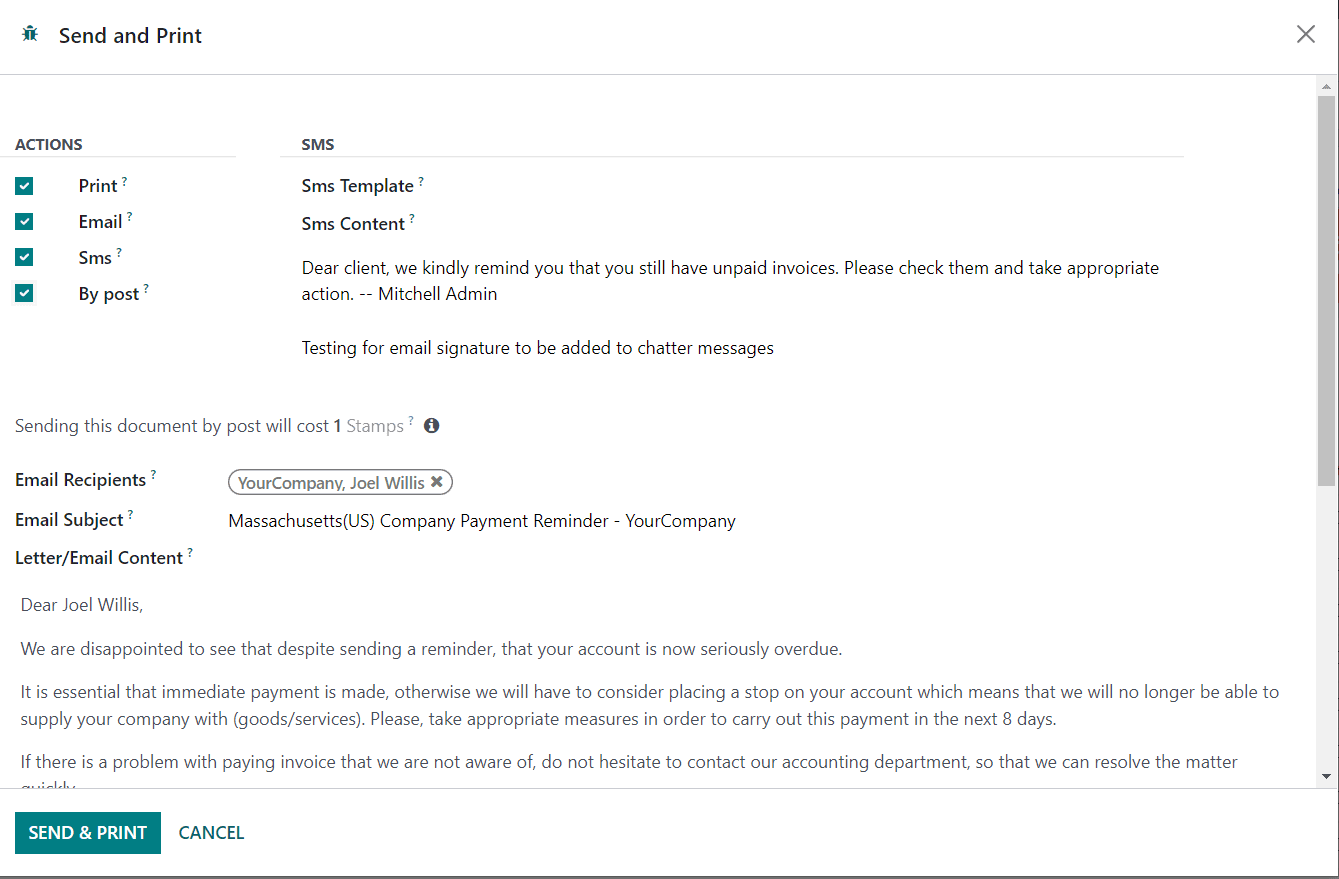
You can take follow-up action by clicking on the Follow-Up button. You will get an automated mail to send a reminder to the customer with the attachments of the corresponding overdue invoices.

Clicking on the Send button, you can send follow-up reports to the mentioned follow-up address. The action will be triggered automatically based on the number of overdue days.
In the Configuration menu of the Accounting module, you will get the Follow-up Levels button to configure different levels for the follow-up actions.

The preview of the list shows the Description, Activity, and Company of each follow-up level. The number of days after the due date of the invoice to wait before sending a reminder can be seen in the Due Days field. The Send Email, Send SMS Message, Send a Letter, and Automatic fields can be observed as enabled or disabled according to the actions configured on the corresponding level.
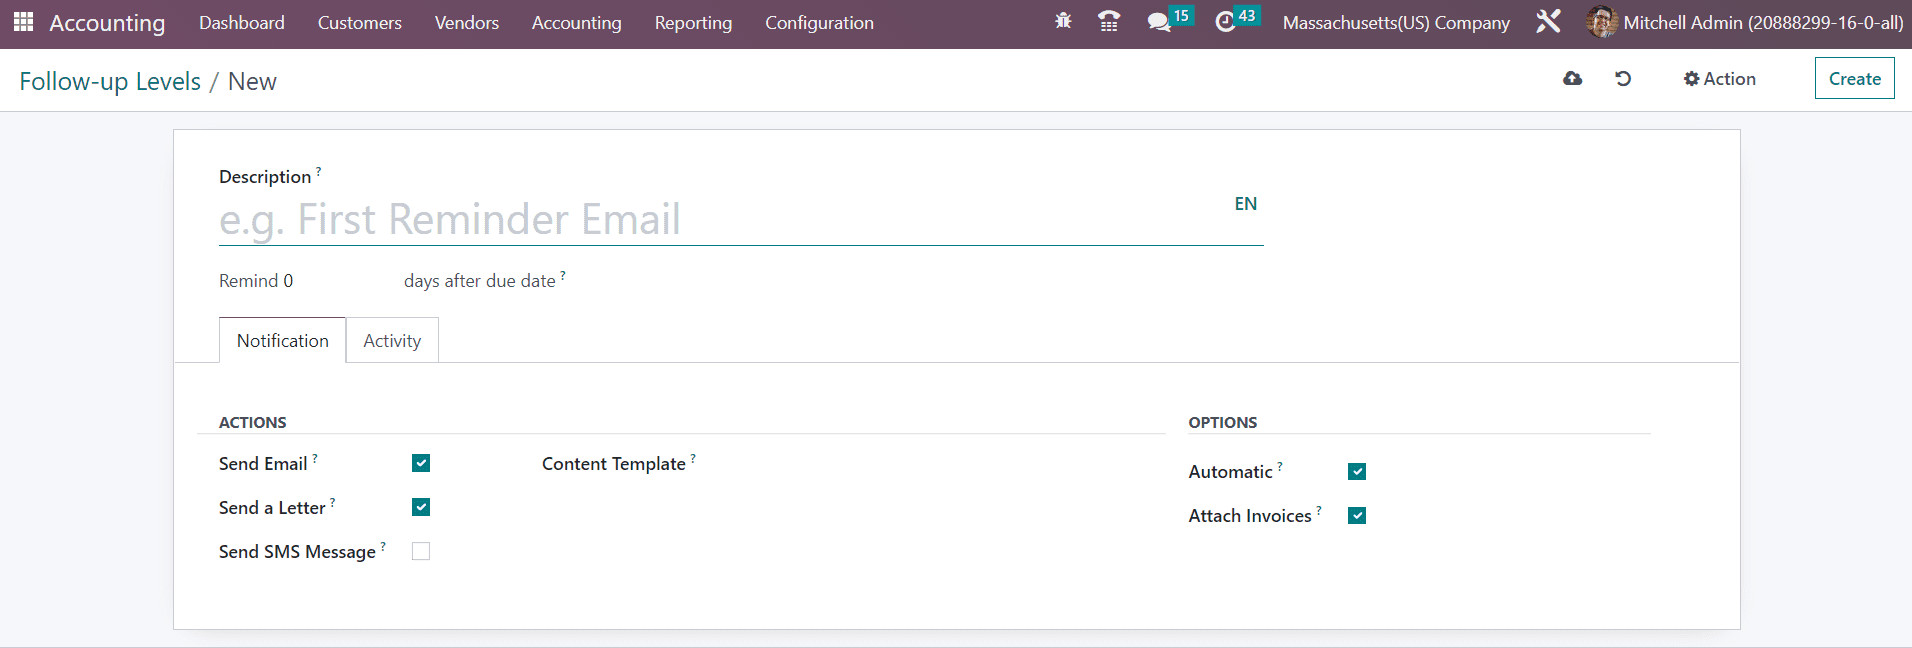
Click the Create button to create a new follow-up level. You can specify the description of the follow-up level in the Description field and set Due Days in the given space.

Under the Notifications tab, you can enable the Actions to be taken as follow-up activities. By activating the Send Email and Send a Letter buttons, you will get an additional field called Content Template where you can mention the content template for the mail and letter. Similarly, activating the Send SMS Message gives an additional option to specify the SMS Template. If you want to automate the follow-up activities, you can activate the Automatic option. The Attach Invoices feature can be enabled to attach overdue invoices by email.
The Activity tab shows the Schedule Activity option to activate if you want to plan scheduled activities on the follow-up reports.

In the Responsible field, you can determine to whom this activity can be assigned. You can set Follow-up Responsible, Salesperson mentioned on the invoice or the Account Manager as the Responsible. Select a suitable Activity Type from the drop-down and specify its Summary in the given space. Additional notes related to the scheduled activity can be added in the Activity Notes field.
This is how the Odoo Accounting module manages Follow-up Reports. Now, let’s check the Direct Debit Mandates option in the module.