Approvals
Once the Time Off request is created, it can be sent for getting approval to the concerned authority or manager. By viewing this request he can approve the request or refuse it based on the rules defined in your company. Odoo designed the Approvals tab for managing all the time off requests and approvals. Under this tab, you can view two sub-menus such as Time Off and Allocations. Let us discuss each of them in detail.
Time Off
The Time Off menu available under the Odoo Time Off module's Approvals tab will help you view and approve your employee time off. When you click on this menu, you will depict the ‘All Time Off’ window. This window will be the best way to keep track of your employee’s paid time offs, sick days, and approval status. All the time off requests are displayed in the window. The window also provides multiple defaults and customizable sorting functionalities, which will help you find out your required data quickly.
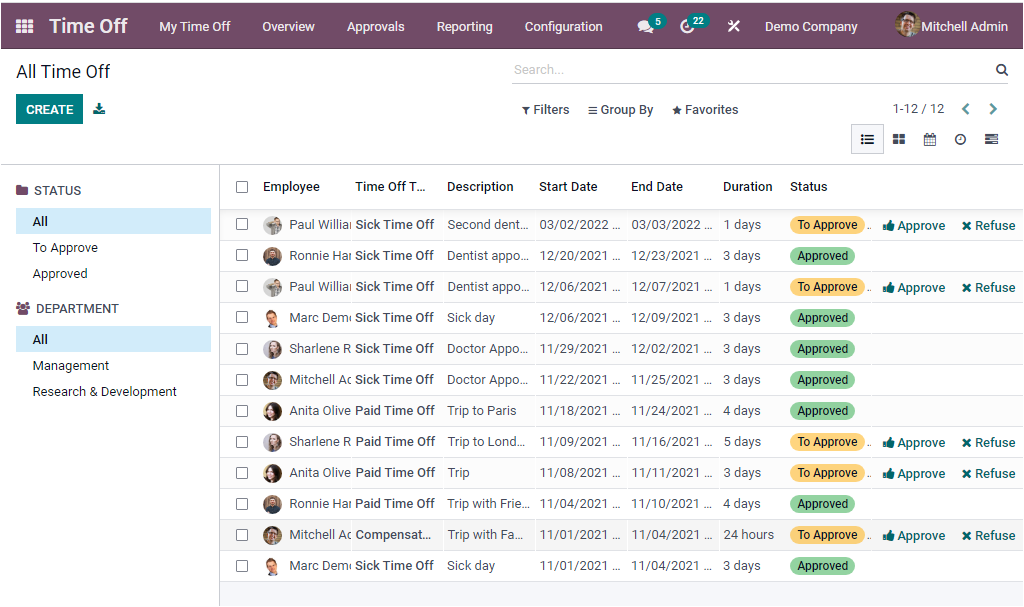
With the help of this window, the managers or concerned authority can easily manage the approvals or rejections of your employee time-off requests. This window also allows you to Filter and Group your data using various default as well as customizable options. Moreover, Odoo set up so many options in the left portion of the window to allow you to view the time off records based upon their status and Department. The manager can view the approval requests, and they can check the request and Approve or Refuse the time-off request.
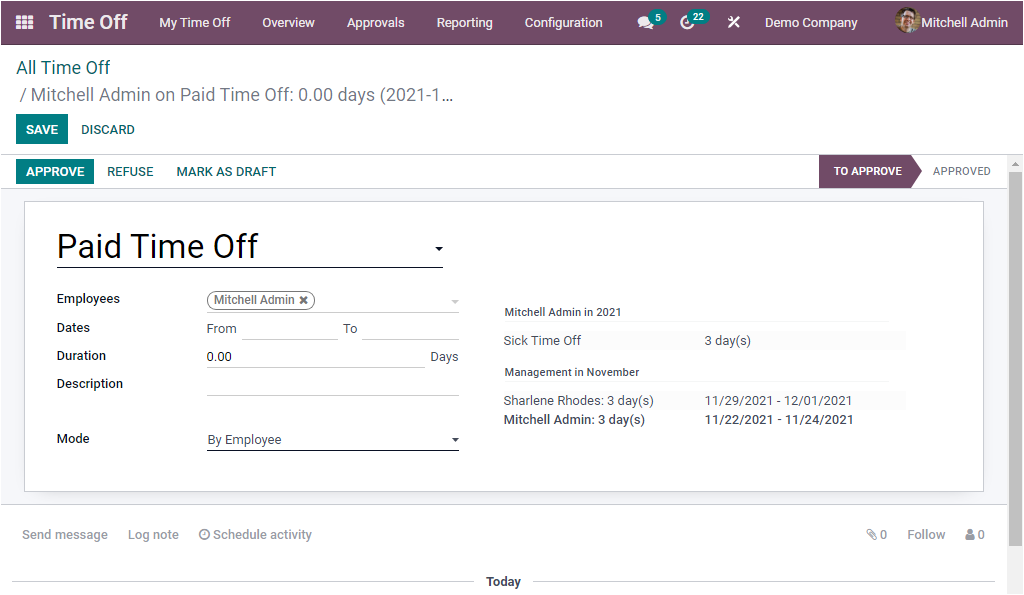
If you click on the APPROVE button, it will be marked as Approved, and the status will be changed into SECOND APPROVAL.
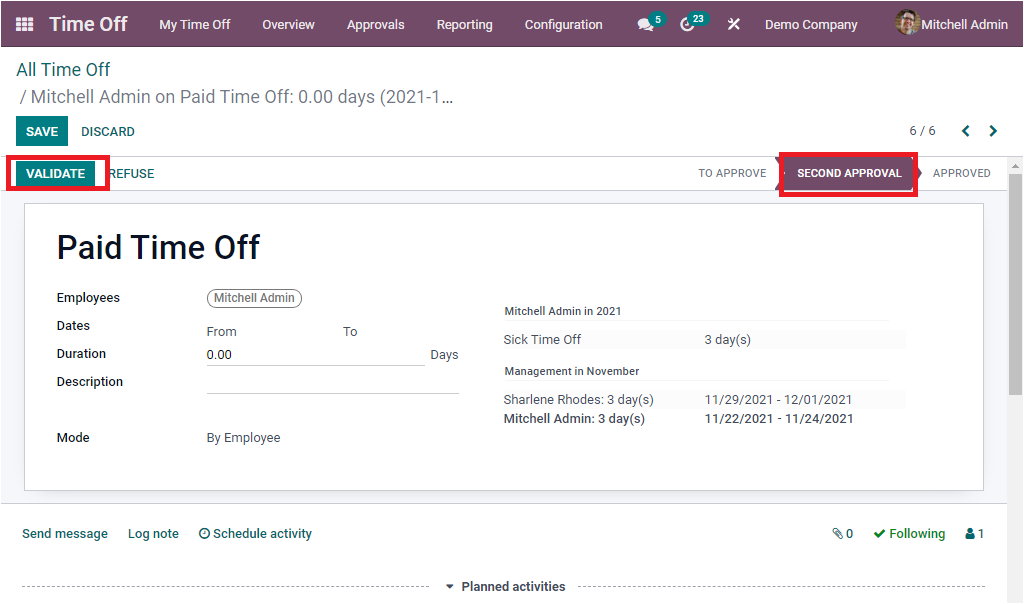
Now it is in the Second approval stage, and if you Validate, it will change into the APPROVED stage. That means the Time Off approval is done.
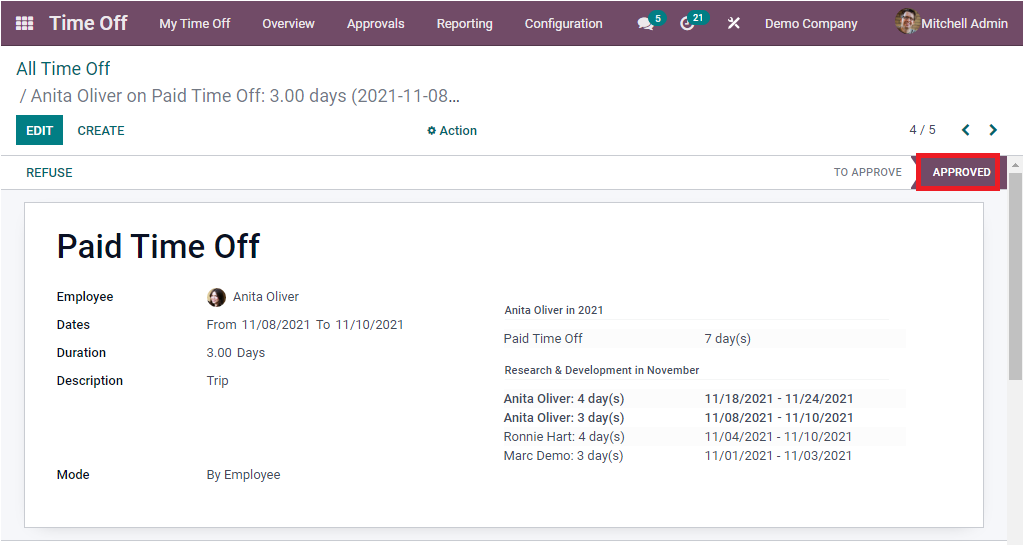
Now we discussed the Time Off menu available under the Approvals tab of the Odoo Time Off module. Now let us look into the Allocations menu that can be accessed under the Approvals tab.
Allocations
The Allocations menu available under the Approvals tab of the Odoo Time Off module will help the managers or concerned authorities Validate or Refuse the employee allocations. Here in this window, the managers can view all the Allocations along with the details.
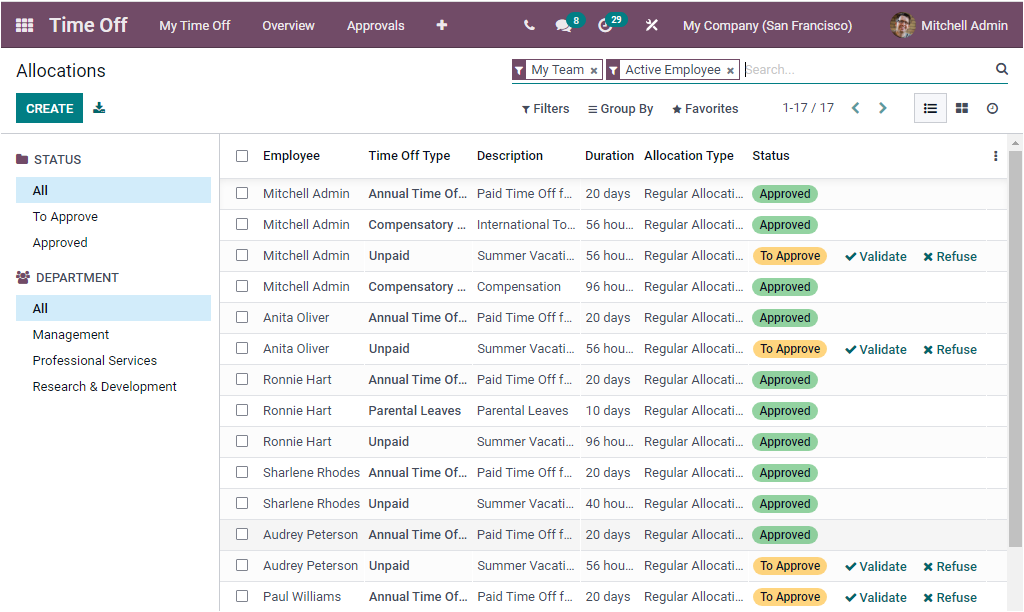
The Managers or concerned authorities can also create new Allocations using the CREATE icon. The screenshot of the Allocations window is depicted below.
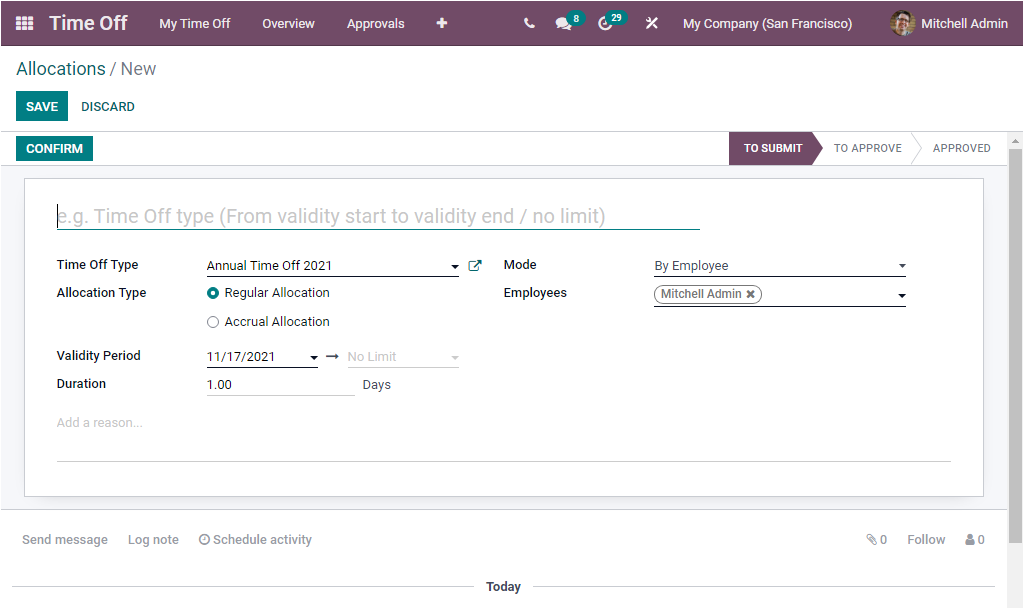
For creating a new Allocation, you can provide a Name, and then you can allocate the Time Off Type then you can choose the Allocation Type. Here Odoo allows you to define whether it is a regular allocation or an accrual allocation. If it is a Regular Allocation, you can provide the Validity Period and duration. If it is chosen as Accrual Allocation, you should specify the Accrual Plan along with the Start Date, Run until, and Duration. After providing all these details, you can select the Mode. Odoo allows you to create requests in batches. The different modes that can be specified are
By employee: For a specific employee
By Company: All employees of the specified company.
By Department: All employees of the specific department
By Employee Tag: All employees of the particular employee group category.
Based upon the mode selected, you can allocate the Employee, Company, Department, or Employee Tag.
So far we have been discussing the options available under the Approvals tab and now let us look into the Configuration aspects of the module.