Receiving Products
After confirming the Purchase Order, the next step is to send the product to the company location and receive the products. The product receiving is also well managed by the Odoo system. When the vendor sends the products to the company location, you will be depicted with the RECEIVE PRODUCTS button in the respective Purchase order.
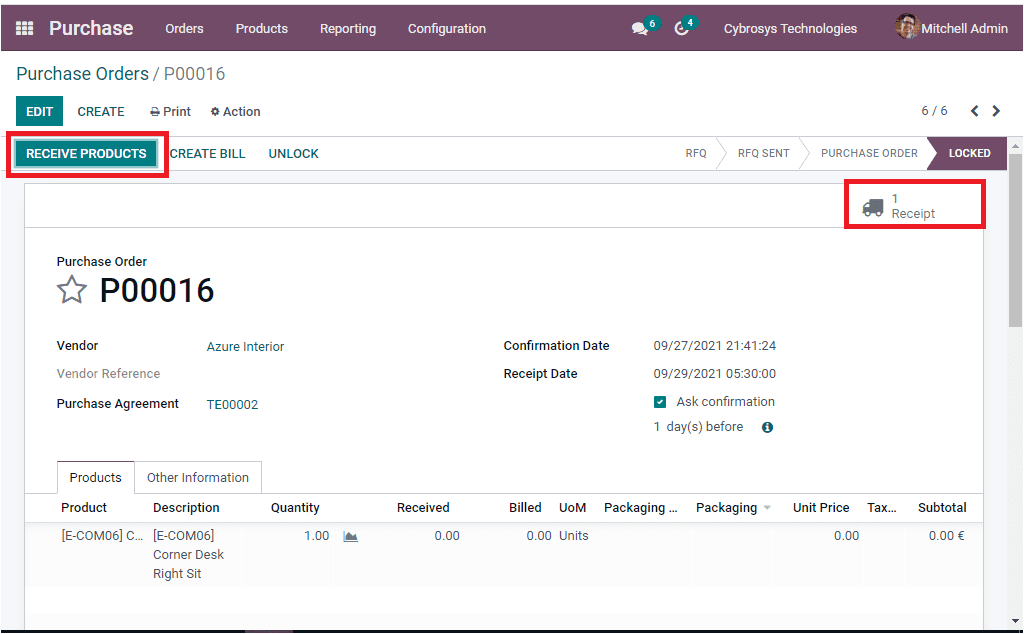
The smart button Receipt available in the window will also enable you to view the Incoming Shipments. The image of the purchase order receiver window is depicted below.
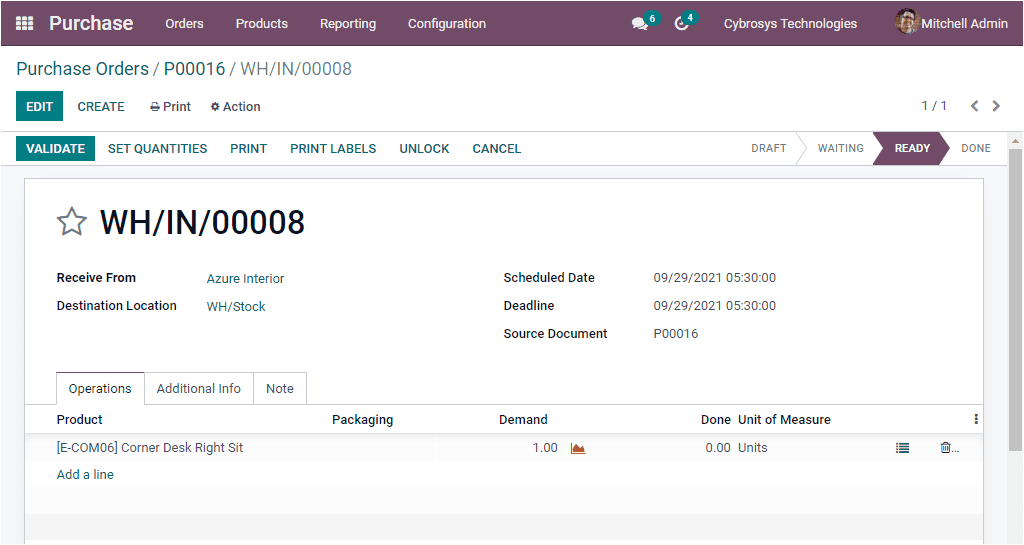
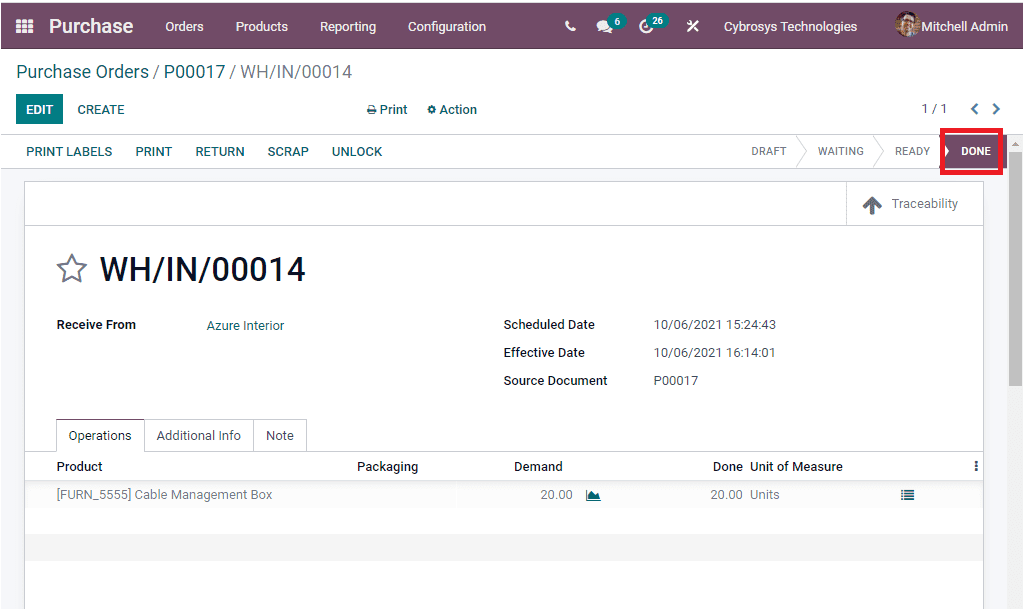
In the Receipt window, you have the VALIDATE button on the top left side. Using this button you can validate your delivery after checking the details. This window will depict every detail regarding the purchase orders. If the tracking feature of the respective product in the purchase order is activated, you might be able to assign the lot /serial numbers for the done quantities. This can be performed by selecting the icon available next to the unit of measure field as highlighted in the below image.
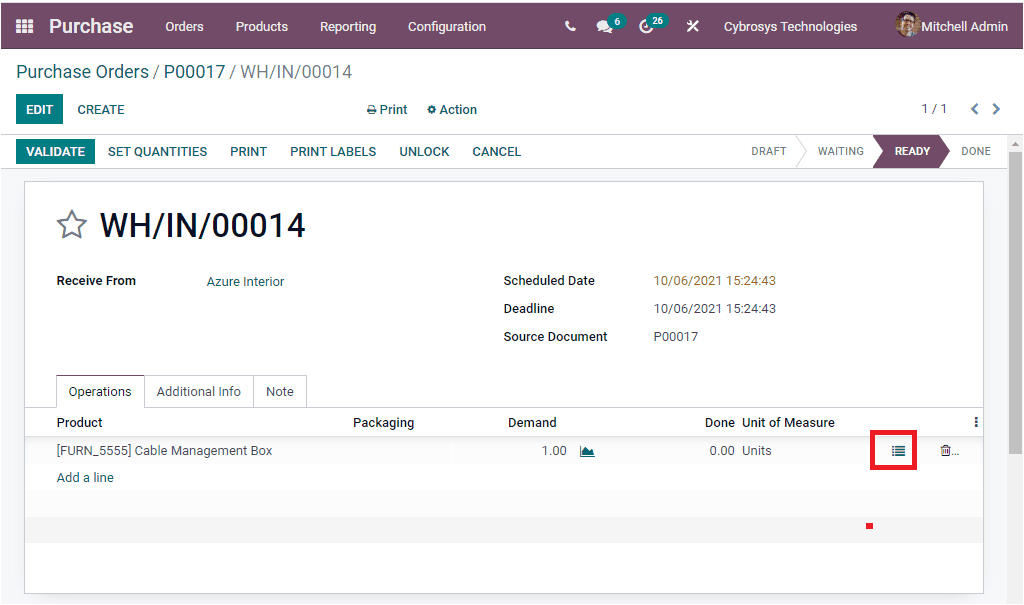
Upon selecting this icon, you will be depicted with a pop up window as depicted in the below image.
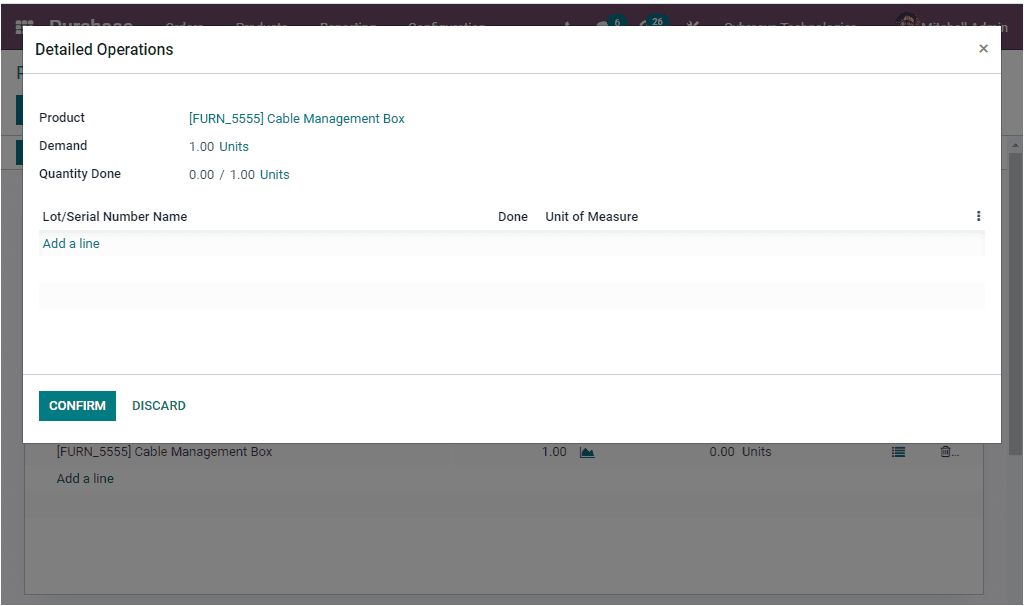
In this Detailed Operation window, the product details, quantity of the product and the done quantities are auto allocated. Also you can provide the Lot/Serial Number Name details and other information by selecting the Add a line option available. After providing all these details, you can click on the CONFIRM button. Now you can click on the VALIDATE button on the Receipt menu for completing the purchase order procedures. Also you can view that the status changes from READY to DONE. When the Purchase order is done, the product will be added to the inventory and also to the respective warehouse location.
So far we were discussing how to create Purchase Order using Odoo Purchase module and now let us have a look into the feature Warning Messages and how Odoo allows you to raise warnings on purchase orders.