3 way matching purchase receptions and bills
The extremely business oriented Odoo software completely supports each of the purchase operations in a well secure manner. The advanced Purchase module in the platform has the ability to make sure that your company only pays the bills for the products which are delivered to the company. This predefined functionality in the Odoo can be activated from the Purchase settings. In the settings window of the Purchase module you can view the 3-way matching: purchases, receptions and bills option under its Invoicing tab.
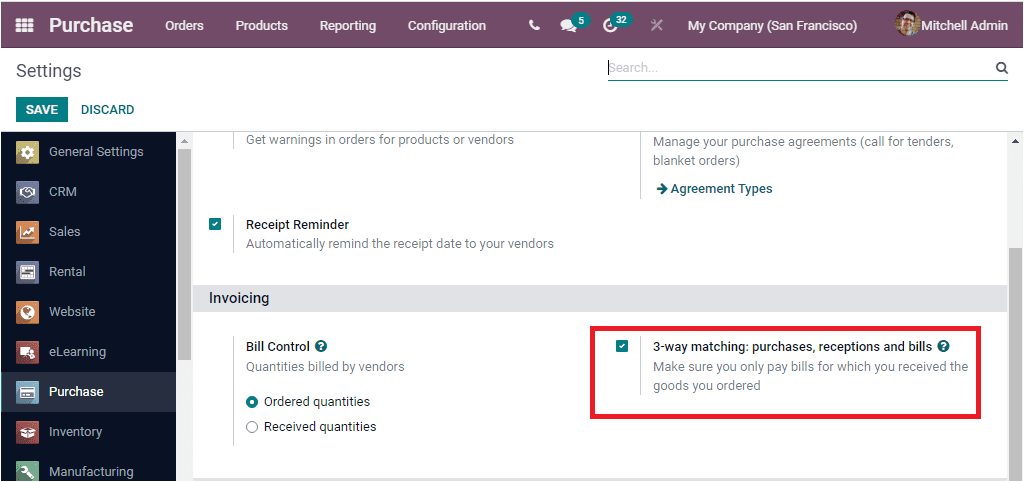
If you activate the option from settings, you can have many advantages in your vendor bill operations. There must be some instances where you may receive bills from the vendor even before receiving the ordered products. But, you did not pay the bill until the products have been delivered. To define whether the bill is paid or not, we can make use of the advanced method 3 way matching. By activating this method, the Odoo system will compare the information displayed in the Purchase Order, information appearing on the Receipts and Vendor Bills to make sure that you only pay bills for which you received the products you ordered. This feature also assists you to prevent paying incorrect or fake vendor bills.
When you activate the option from settings, the data should appear on the Vendor Bills. Where you can specify whether the bill should be paid or not. For that Odoo provides you three possible ways. They are
Yes : Yes means that you have received the product. So that you are required to pay.
No : It means that you have not received the product and you should not need to pay the bill.
Exception: in this case, there shows a difference between ordered, billed and received quantities.
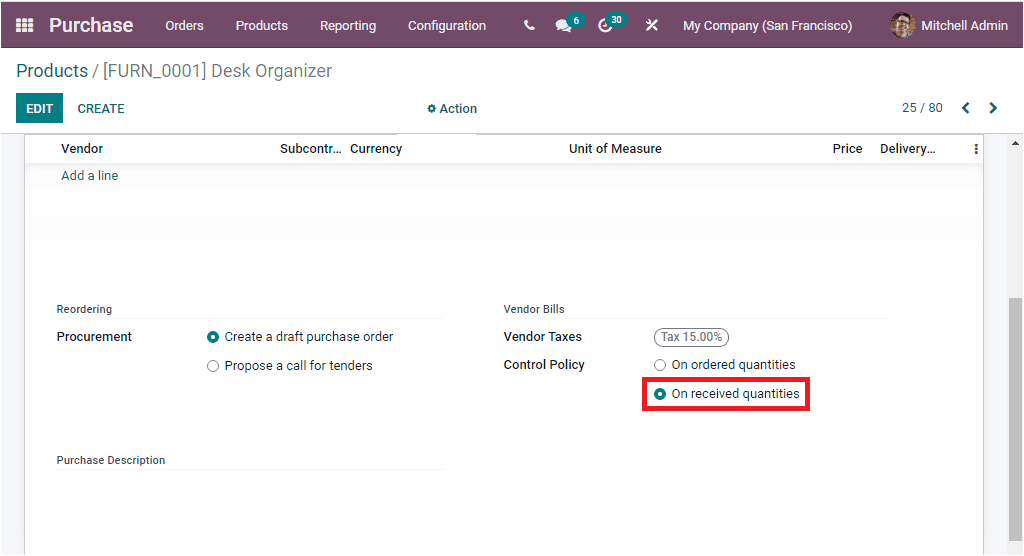
Now let us have a look into the workflow of 3 Way matching. For this first of all we can create a product and can set up the control policy on the basis of received quantities as highlighted in the below image.
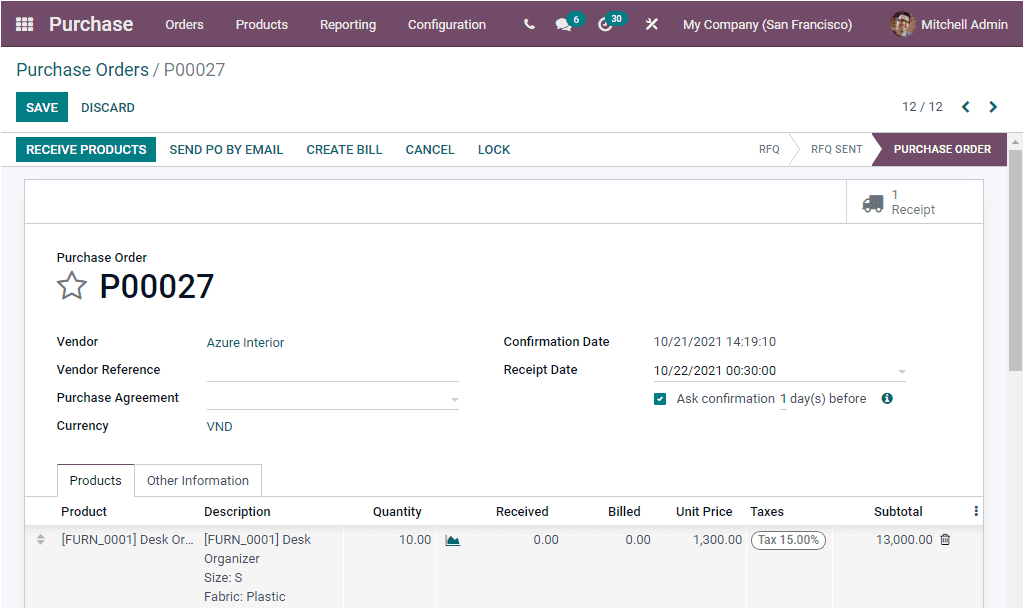
Then you should create a Purchase Order for the respective product Desk Organizer and you should set up the Quantity and Unit Price. After that you can conform to the order.
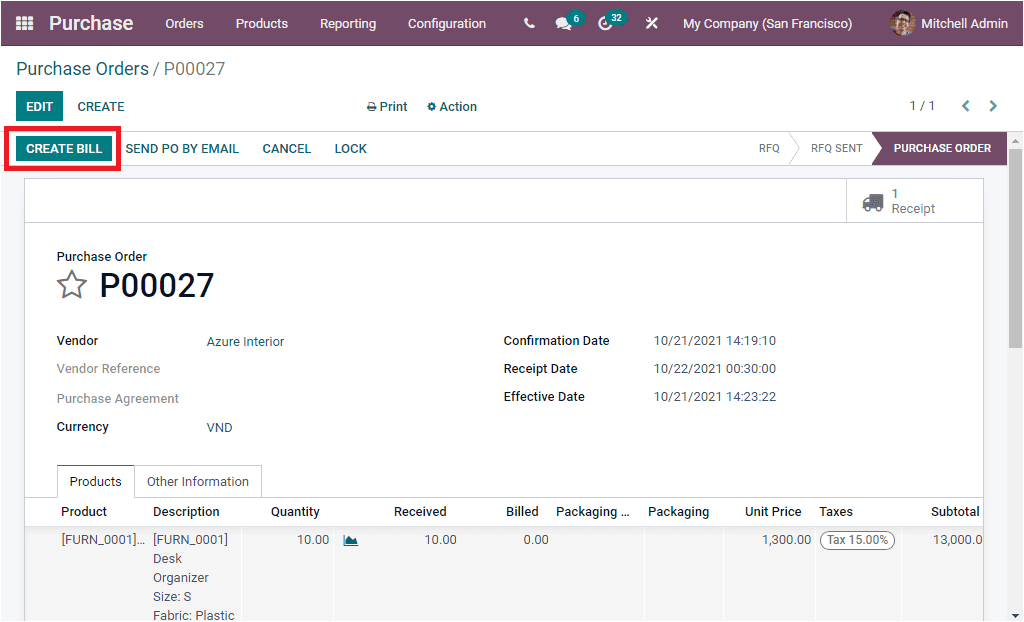
After confirming the order, you can receive the product by selecting the RECEIVE PRODUCTs button available. After that you can create a Vendor bill for the particular product by clicking on the CREATE BILL button available.
Now under the Other Information section of the Vendor Bill you can view the option Should Be Paid option as highlighted in the below image and where you can view that the value of Should Be Paid field is automatically set to the corresponding value.
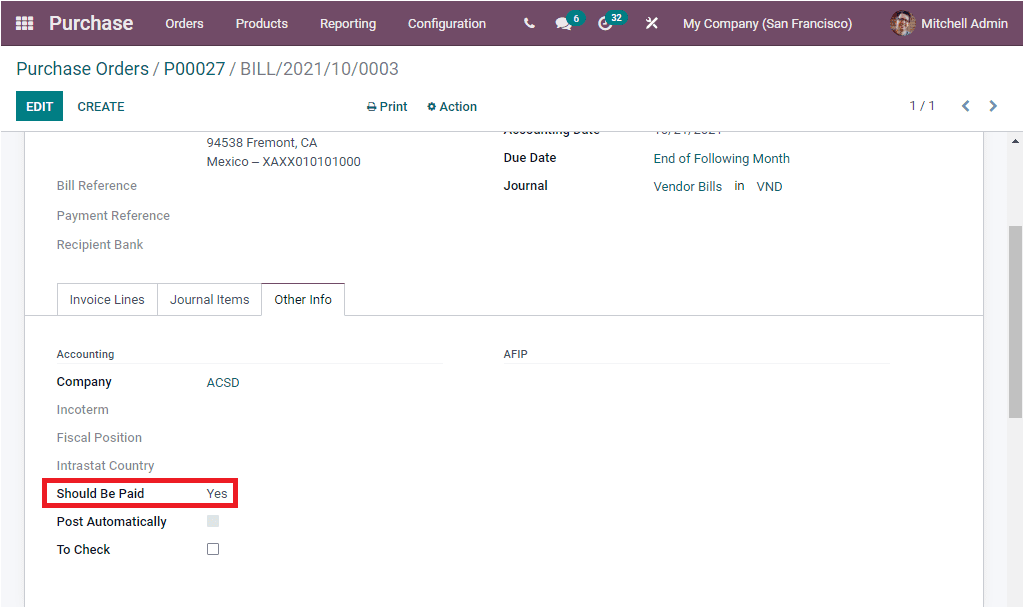
This way Odoo manages whether you want to proceed with the bill payment or not.
So far we were discussing one of the relevant 3 way matching: purchases, receptions and bills features available in the Odoo Purchase module. Now let us have a look into how Odoo manages Dropshipping