Mailing Lists
The Mailing Lists tab available in the Odoo SMS Marketing module includes two sub-menus:
Mailing Lists and Mailing List Contacts. Odoo exclusively designed the Mailing Lists
option to create a group of contacts to send SMS inclusively. So it will be very
convenient to send a large number of SMSs with just one click. This will help you to
save more time and effort. All the Mailing Lists created in the platform will be listed
in the Mailing Lists window. When you look at the Mailing Lists window, you can view and
find the various mailing lists created in the platform for marketing programs. Odoo
depicts the Mailing Lists window in both Kanban and List format. The Kanban view is
depicted below.
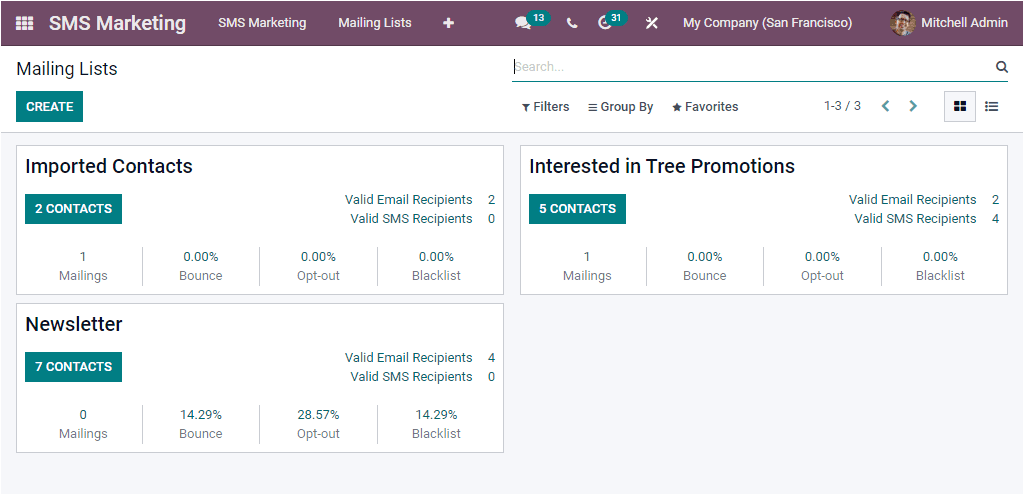
The window will give you a sneak peek of the mailing lists that we already described. It
includes the details such as the Name of the mailing list, the Number of contacts
available in each mailing list, and other details. To access the list in the List view,
you can click on the List view menu icon available in the top right corner. The image of
the List view is depicted below.
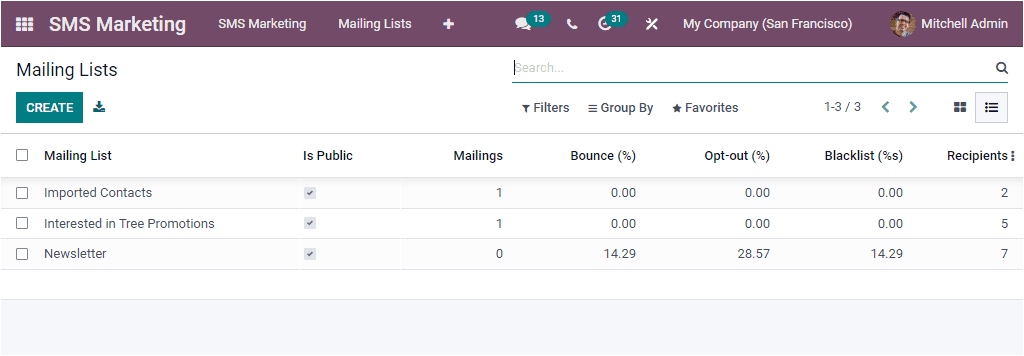
Here also, you will get a sneak peek of the already described SMSs. If you want to create
a new Mailing List, click on the CREATE button.
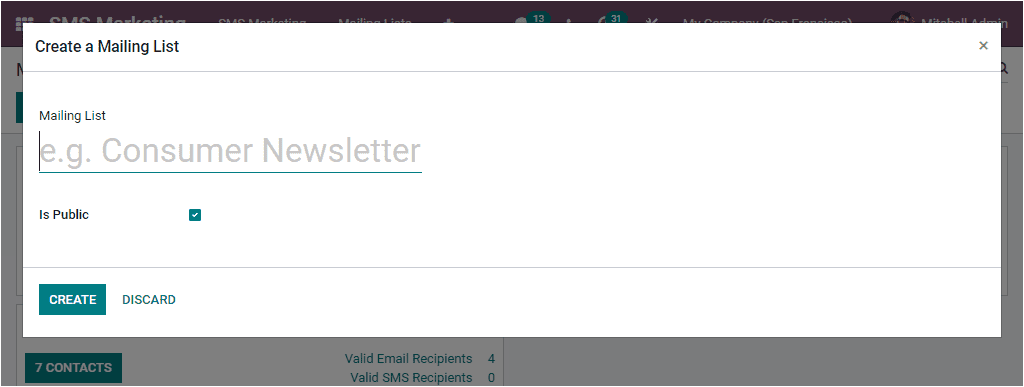
You can provide the Name of the Mailing List in the provided space. After providing the
name, you can activate the Is Public for making this mailing list accessible for the
recipient in the unsubscription page to allow him to update his subscription
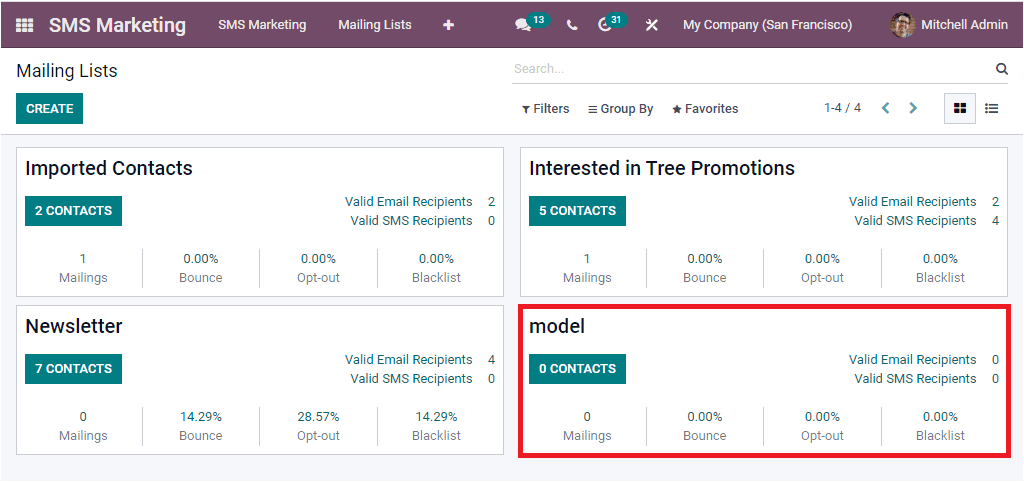
preferences. After enabling this option, you can click on the CREATE button. Now the
newly created Mailing List will be saved into the Mailing LIsts window as shown in the
image below.
Let us open the Mailing List Contacts window. You can click on the Mailing Lists Contacts
menu available under the Mailing Lists tab to open this window. Let us have a look into
the Mailing List Contacts window.
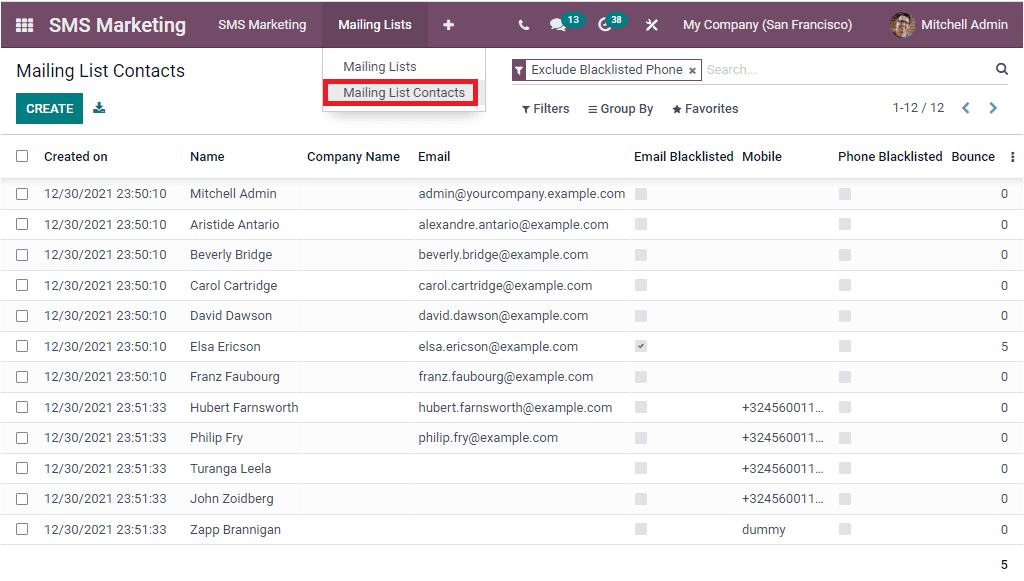
The Mailing Lists Contacts window will depict a list of already configured contacts in
the system. You can also view the important details of the contacts such as created date
and time in the Created On field, Name, Company Name, Email, Email Blacklisted, Mobile,
Phone Blacklisted, and Number of Bounce. You can view and edit each of the records by
clicking on them. The Phone Blacklisted field can be activated for not receiving the
mass mailing SMSs to the respective contact anymore. The window contains various default
as well as customizable Filters, categorizing options, and other options for conducting
various actions. These options can be accessed under the Filters, Group By, Favourite,
and Search options. It is also possible to export all the details in the window to an
excel file. For doing this, you can click on the Export All icon available near the
CREATE BUTTON. To create a new mailing list contacts, you can click on the CREATE
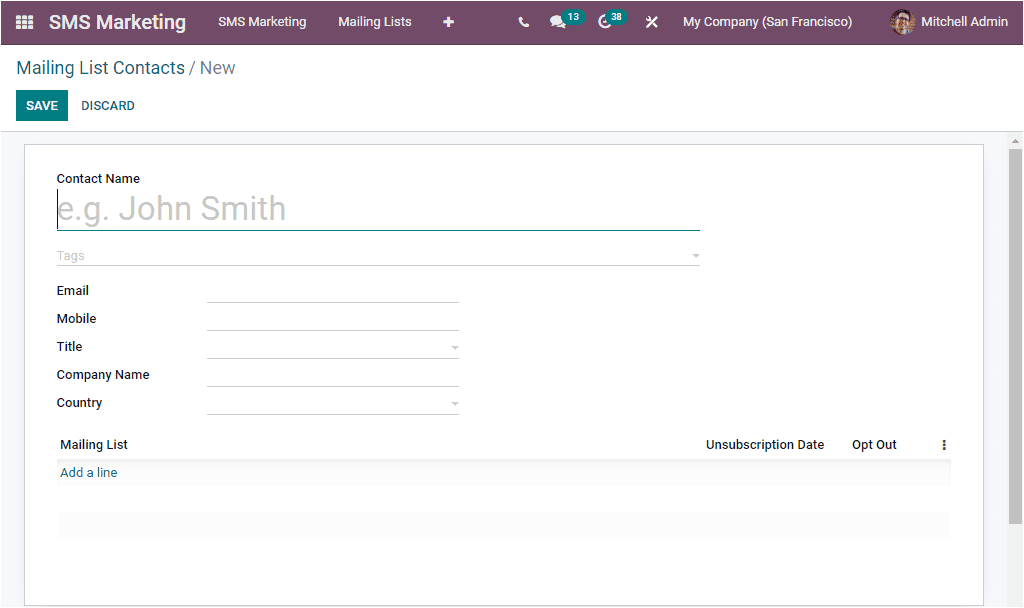
In the creation window, you can mention the Contact Name, Tags associated with this
contact, Email, Mobile, Title, Company Name, and Country. You can also include
appropriate mailing lists along with the Unsubscription Date, under the Mailing Lists
tab. You can also activate the Opt Out field. All these can be done by clicking on the
Add a line button. Once you provide all the important details, you can click on the SAVE
button to save the contact details.