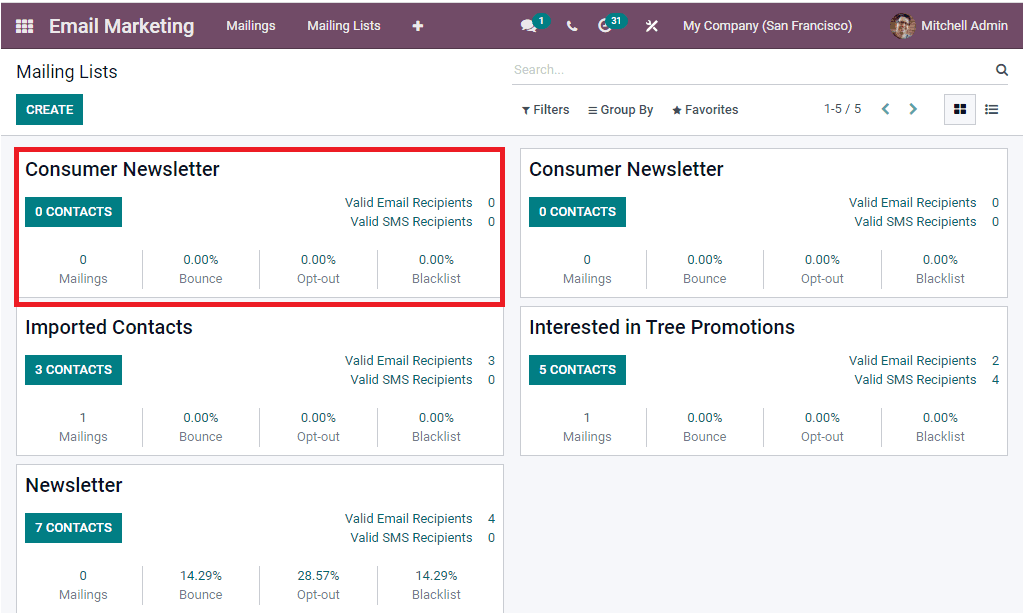
Mailing Lists
The Odoo Email marketing platform provides you the provision to send mail individually or
in a group as mass mailing. The mass mailing option is very useful for the authorities
or responsible persons because it will bring down all human efforts and also help you
save more valuable time. If you want to send a marketing email to a large number of
people, Odoo email marketing module will help you to create and send it to a community
with a few clicks, and it will take only a few seconds to complete.
The system allows you to configure the email address of these defined groups using the
Mailing List feature. Using this tool, you can create different mailing lists for
various operations like events, company promotions, business promotions and for
advertising without any difficulties.
The Mailing Lists menu can be accessed from the Mailing Lists tab available on the main
menu bar of the Odoo Email Marketing module.
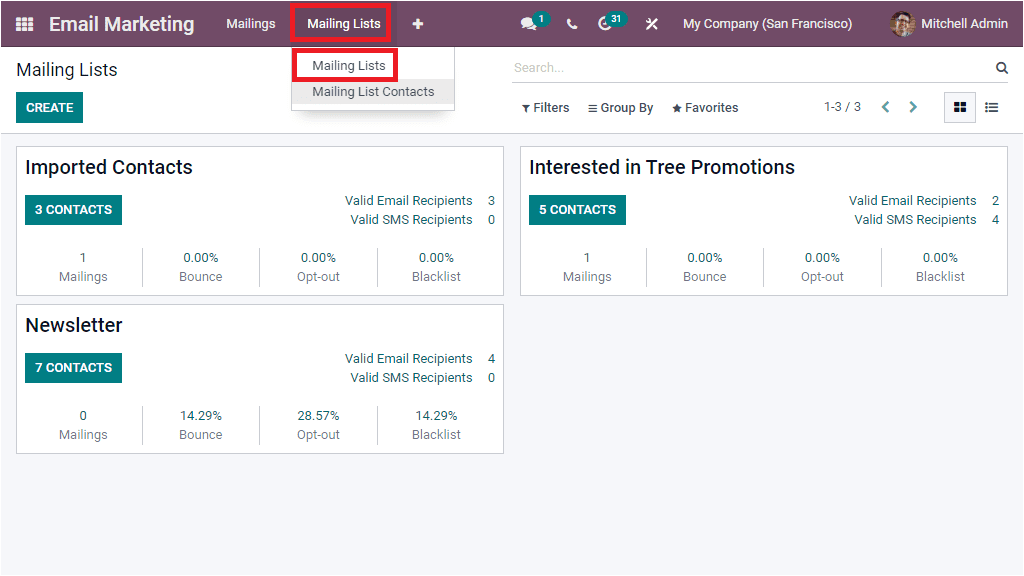
The Mailing Lists window will depict all the previously configured Mailing Lists. The
system allows you to access the window in both Kanban and List view formats. The above
image shows the Kanban view of the page, and here, you can see that each of the Mailing
Lists are arranged in separate cards. Each of these cards will display all the essential
details of that particular Mailing Lists. The mailing list's name and the number of
contacts, Valid Email Recipients, Valid SMS Recipients, and other details are described.
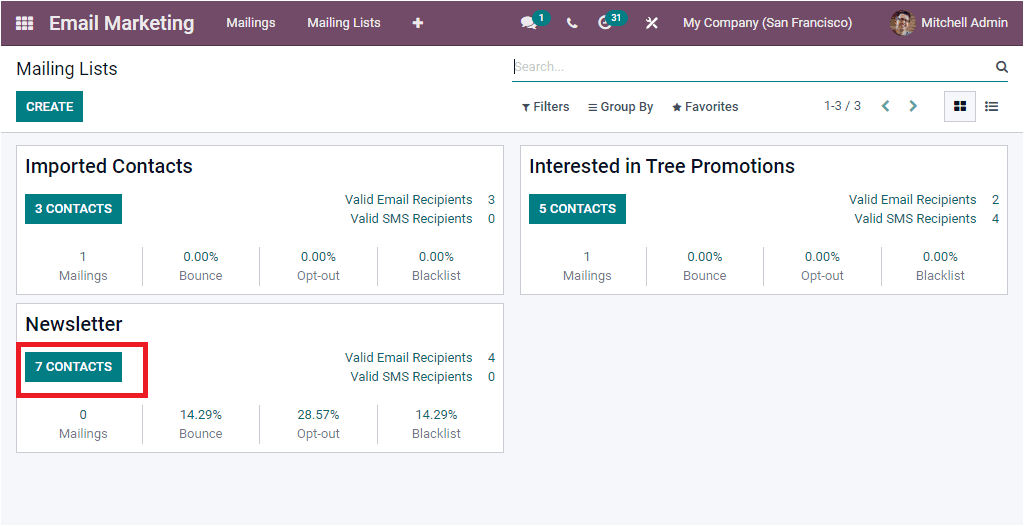
To view the contacts in the mailing list, you can click on the respective CONTACTS
button. For example, to view the contacts of the Newsletter mailing list, you can click
on the respective CONTACTS button as shown in the image below.
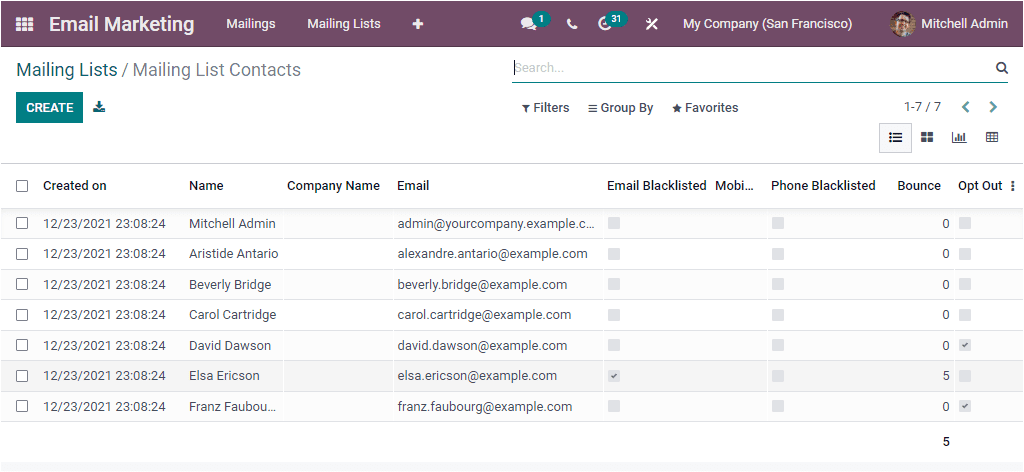
As soon as you click on this button, you will depict the contacts window as shown in the
image below.
Back to the Mailing Lists window, here the window provides you all the default and
customizable options to quickly sort out and categorize your data. For accessing these
options you can click on the Filters, Group By, Favourite, and Search tab. To view the
window in List format, you can click on the List icon available in the top right corner.

In this list view, you can see all the predefined Mailing Lists along with the important
details such as Mailing List, Is Public, Number of Mailings, percentage of Bounce,
Opt-out, Blacklist, and Recipients. To create a new Mailing List, you can select the
CREATE icon that can be accessed on the top left corner of the window. The image of the
creation window is depicted below.
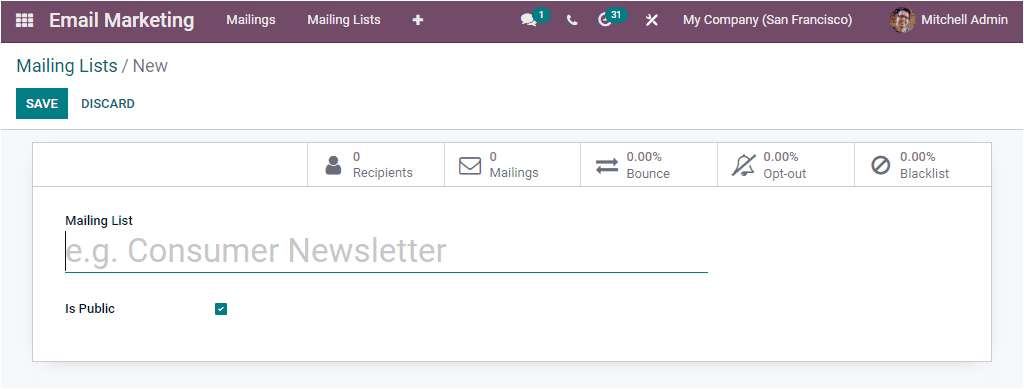
In the creation form, you can provide the Mailing Lists name and activate Is Public
option. If you activate this option, the mailing lists will be accessible by the
recipient on the unsubscription page to allow him to update his subscription
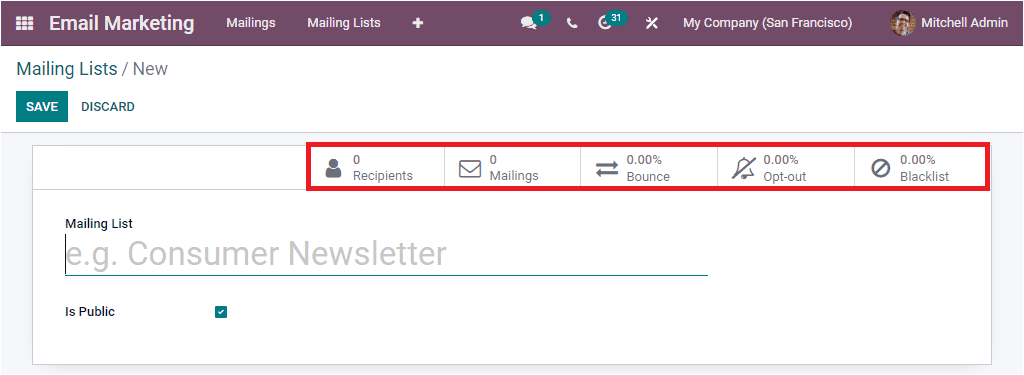
preferences. The window also displays some smart buttons (based on the modules you
installed in your system). Here you can view the Recipients, Mailings, Bounce, Opt-out,
and Black list. These all buttons are the direct link to the respective windows. These
smart buttons are highlighted in the below image.
Once you give all the details, you can save the new mailing list by clicking the SAVE
button on the top left. The newly created mailing list will be held on the Mailing Lists
page, as shown below.
