Workspace
The Workspaces menu in the Odoo Document module can be accessed from the Configuration tab. The Workspace option will help you to manage workspaces. When you click on the Workspace menu, you will directly enter into the Workspace window as shown in the image below.
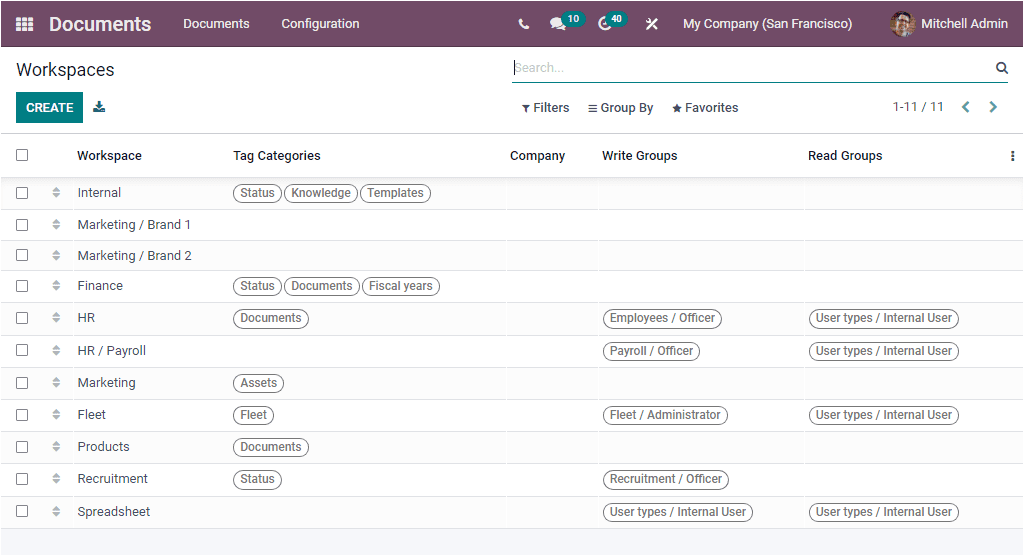
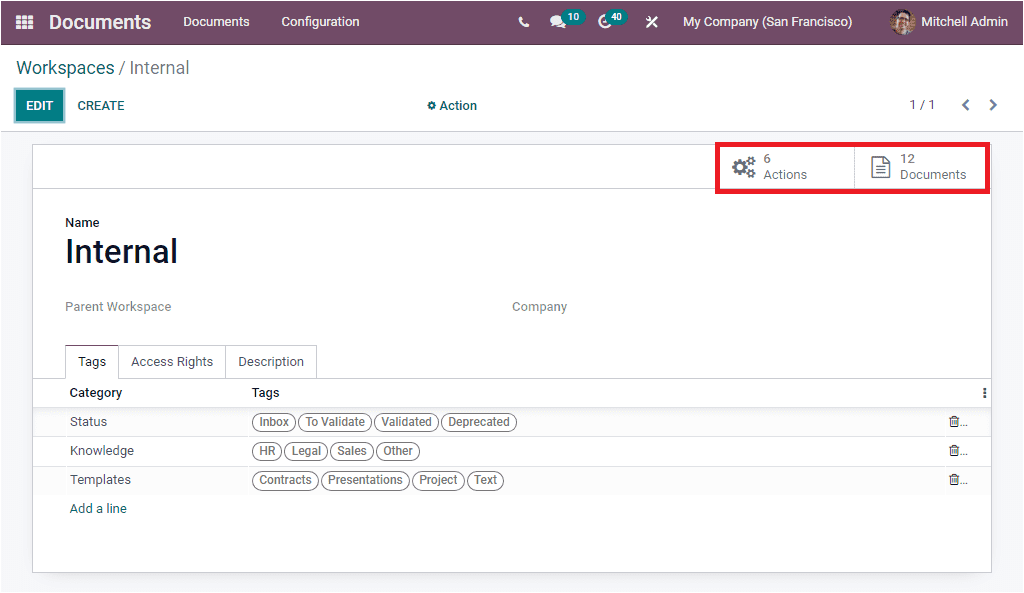
Odoo builds the Workspace tool to create and keep all the Workspace details without missing a single one. When you look at the window, you can view a sneak peek of the already defined Workspaces. The window will list each record and the important notes such as Name of the Workspace, Tag Categories, Responsible Company, Write Groups, and Read Groups. If you want to view the defined Workspaces in detail, click on the respective one. Now you can view the selected workspace in detail, and if you want to edit the details, you can use the EDIT button. The Filters tab allows you to customize a filter. Similarly, you can categorize the data in the window using the Group by tab. The default Group By option available here is Parent Workspace. When you select the Parent Workspace, the window will arrange the records on the basis of the Parent workspace as shown in the image below.

Furthermore, a CREATE button can be viewed on the top left corner of the window. You can use this window for creating new Workspaces. By clicking on this button, you will navigate into the Workspace creation window as depicted in the image below.
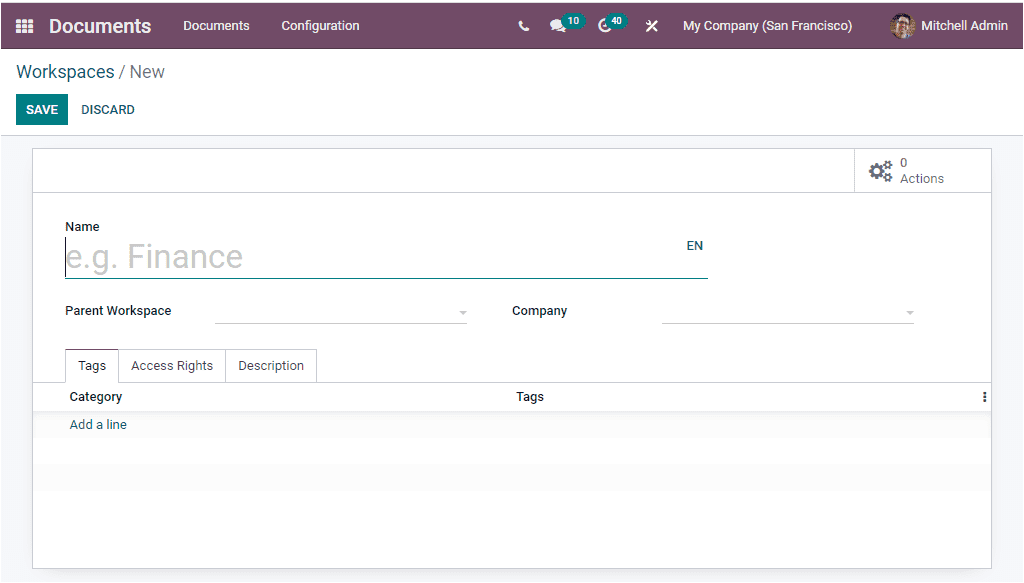
You can quickly create a workspace for any document category using this creation window. You can fill in the necessary details in this form, including the workspace's name and Parent Workspace. And the Company associated with this workspace can be defined so that the workspace will only be available to the selected company. Now you can view different tabs and click on them to view the fields included under each tab.
The Tag categories can be defined specifically for the workspace under the Tags tab. To do this, you can click on the Add a line option. Now you will find a pop-up window for creating Tag Category.
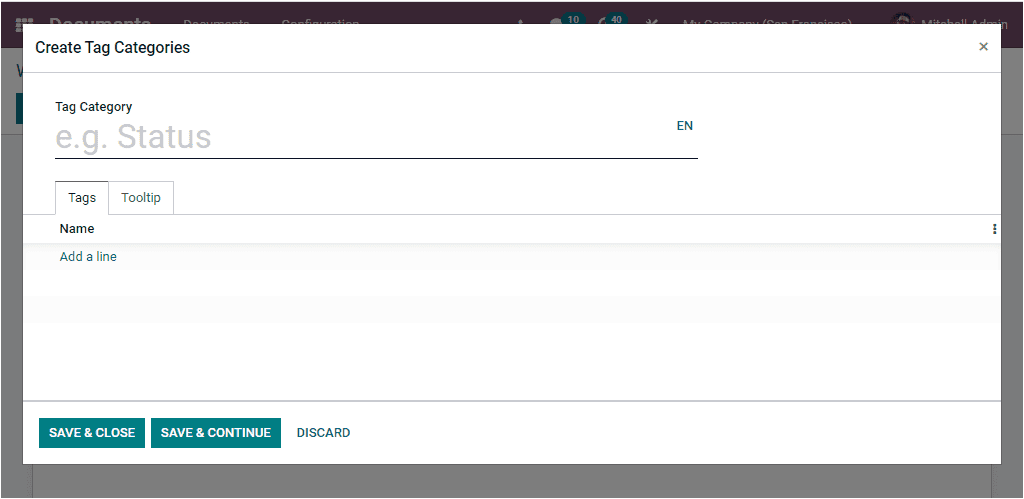
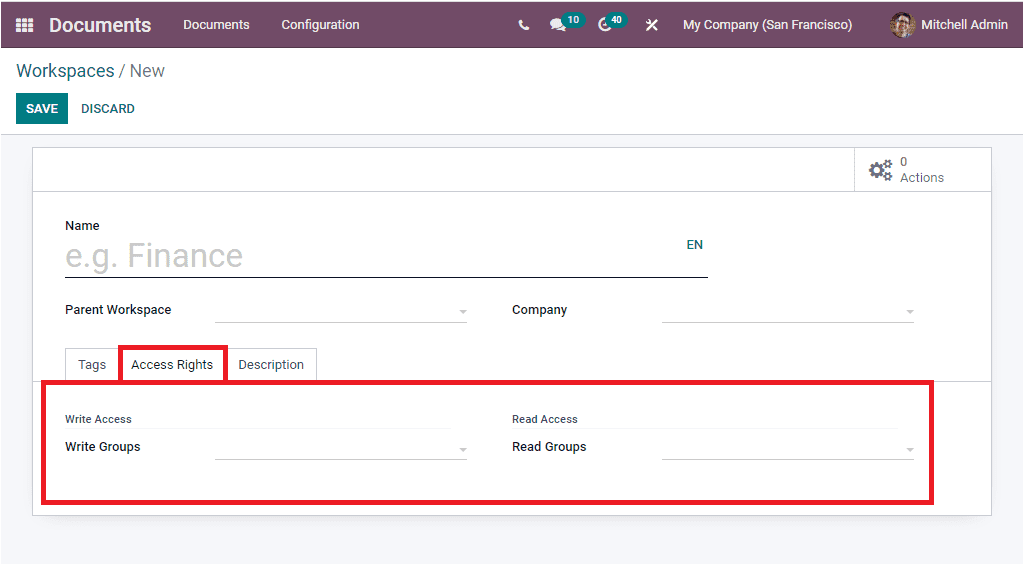
You can provide the required details and create Tag Categories. In the Access Rights tab available under the Workspace creation window, you can view the Write Groups field in the Write Access and Reads Group in the Read Access. Using these options, individual access rights can be defined. You can allow access groups for both write access and read access. The Write Groups are able to see the workspace and read, create, or edit its document. The Read Groups can see the workspace and read its documents without creating or editing rights.
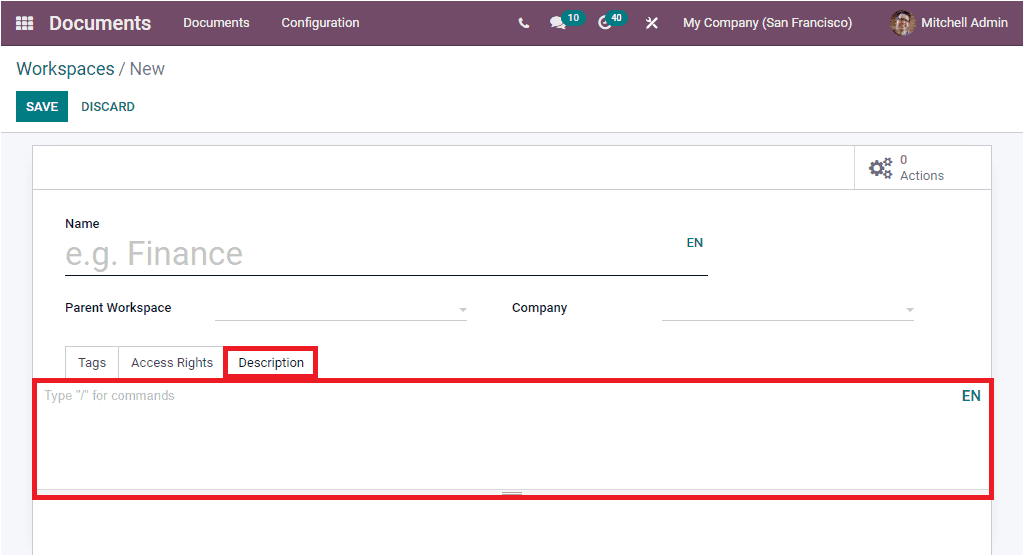
Moreover, the Description tab allows you to give a description on the Workspace.
After providing all the required information, you can save the Workspace into the system by clicking on the SAVE button. Now you can view the newly created Workspace in the Workspaces list. In addition to these options, the window also provides you the direct link to the Documents and Actions window via two smart buttons, which can be accessed from the top right corner of the window.
