Landed Costs
The Landed cost of the product is considered as the aggregate amount included in bringing a product to the buyer's warehouse aside from the product cost. That means this is the total amount of the product after finishing off all the required procedures that are needed for getting the products.It is the integrating of additional costs to products. The Landed Costs feature in the Odoo platform will allow you to include all the additional costs that will include all the purchasing costs such as the purchase amount, amount of the product, shipment, insurance, custom duties, service charges, currency conversions, transportation fee and many other aspects.
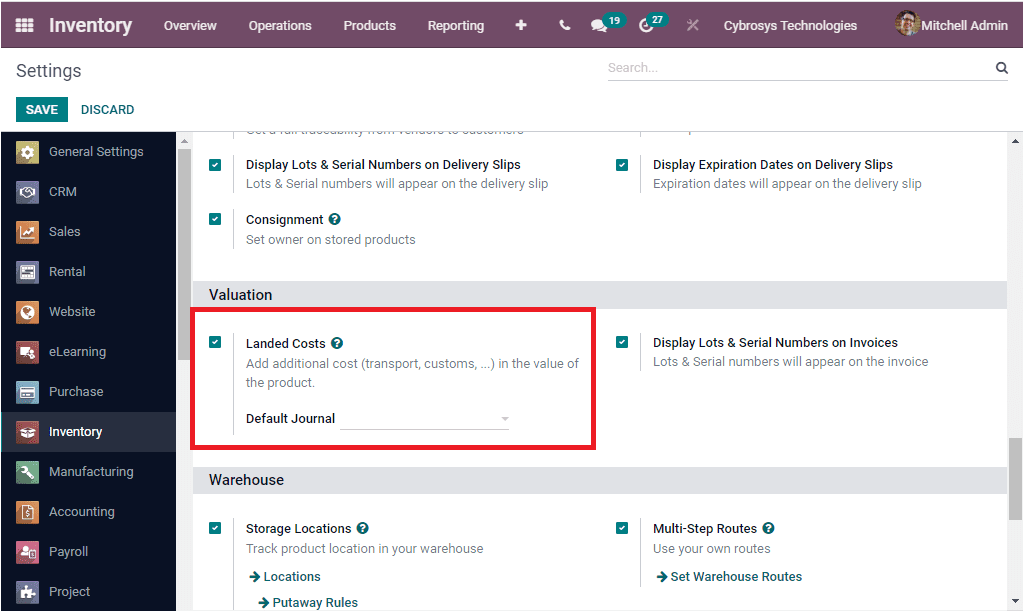
The landed cost can be calculated based on your company specifications. So it may differ from one company to another based on the company policies, specifications and product type. For configuring the Landed Cost in Odoo, initially you should need to go to the Inventory Settings to activate the Landed Costs feature. So first of all we can go to Inventory -> Settings -> Valuation -> Landed Costs.

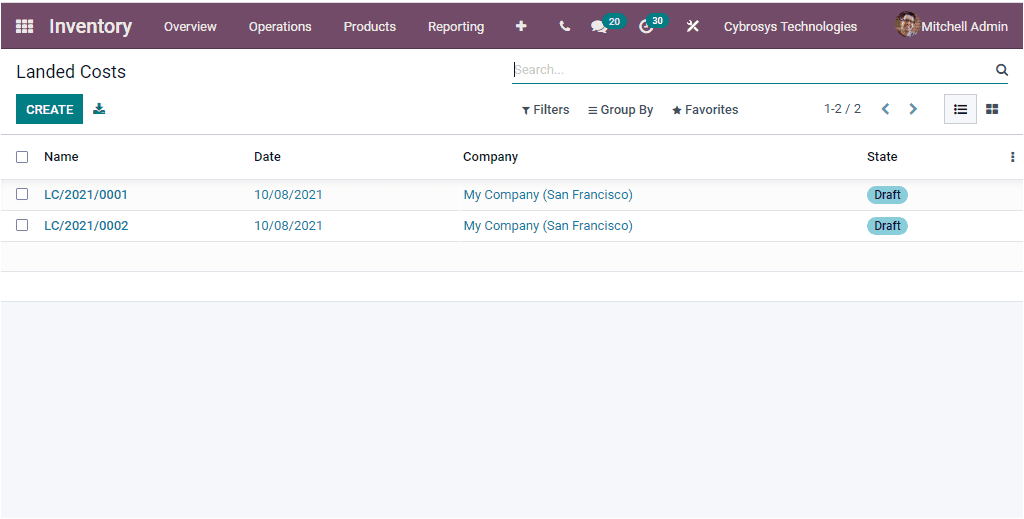
You can enable the check box for activating this option. You are also able to determine the default journal in which the landed cost accounting entries will be recorded. When you activate the Landed Cost option from Settings you will be able to define various landed costs in the Landed Costs menu which can be accessed from the Operation tab of the Odoo Inventory module.

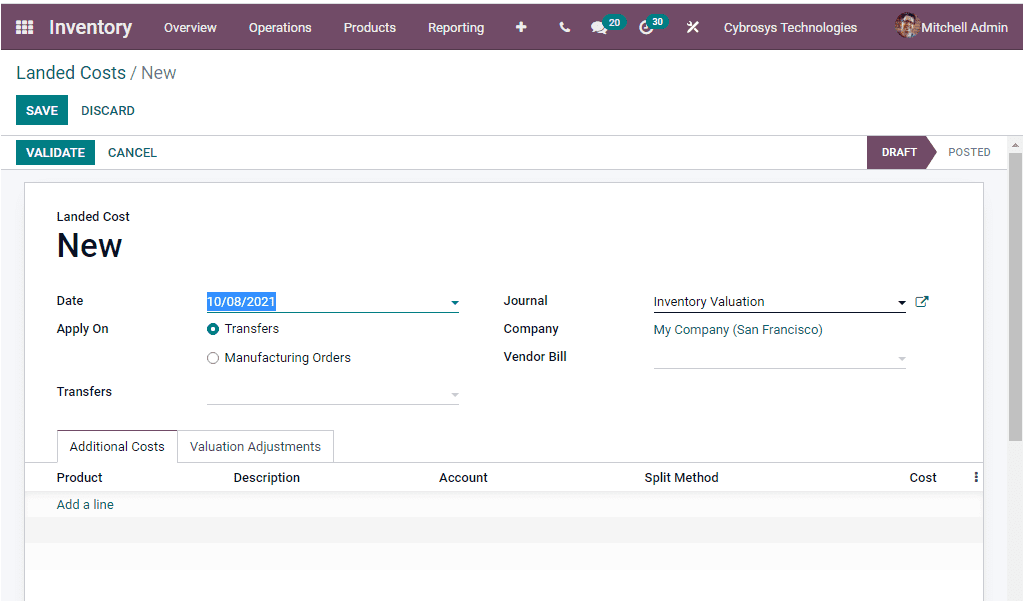
The above image depicts the Landed Cost window in the Odoo system. Where you can view all the described Landed Costs along with the details such as Name, Date, Company and State. The CREATE icon will assist you to access the Landed Cost creation window. The image of the window is depicted below.

In the creation form you can provide the Date and then you have to apply landed cost either on the Transfer or in the Manufacturing Orders. Additionally, you can select the Transfers and can allocate the Vendor Bill along with the respective Journal where the entry should be put together can be chosen.
Under the Additional Costs tab, you can add the product and the details such as Description, Account, Split Method and Cost by clicking on the Add a line option available. The Split methods available in the platform are listed below.
- Equal: If you set this option, it will enables you to equally divide the land cost
- By Quantity:Choosing this option enables land cost division based on product quantity.
- By Current Cost: Landed cost will be created based on the product's current cost.
- By Weight: By selecting this option you can define the land cost depending on the products weight
- By Volume: In this option, the landed cost will be divided depending on the product's volume.
As we clear on the Landed Cost terminology available in the Odoo Inventory module and now let us discuss the Scheduler option available.