Subscription
Odoo gives you solutions for all types of business communication platforms and business
models. The assistance for subscription model of business is an example. Most often,
a business venture depends on a subscription option when a customer is directed
to pay a certain amount as subscription price. This amount is charged in order to
get access to a service or product. Odoo subscription app ensures the best subscription
management option by efficiently handling the subscription business model.
A user can start using the Odoo subscription app by installing the app from the
app store.
On entering the dashboard of the application, the user can view the subscription
in different stages.
A user can activate a subscription easily. For this, the user will first have to
create a Subscription Template and a Subscription Product.
After fixing the template, the user can assign template to the subscription product
The user can create a new quotation template under sales to bind everything and
to sell the subscription.
Subscription Template
A user can create subscription template in simple steps
Go to Subscriptions> Configuration> Subscription Templates
The user can also view already created subscription templates here. The user can
also edit the template by clicking the three dots on the right side.
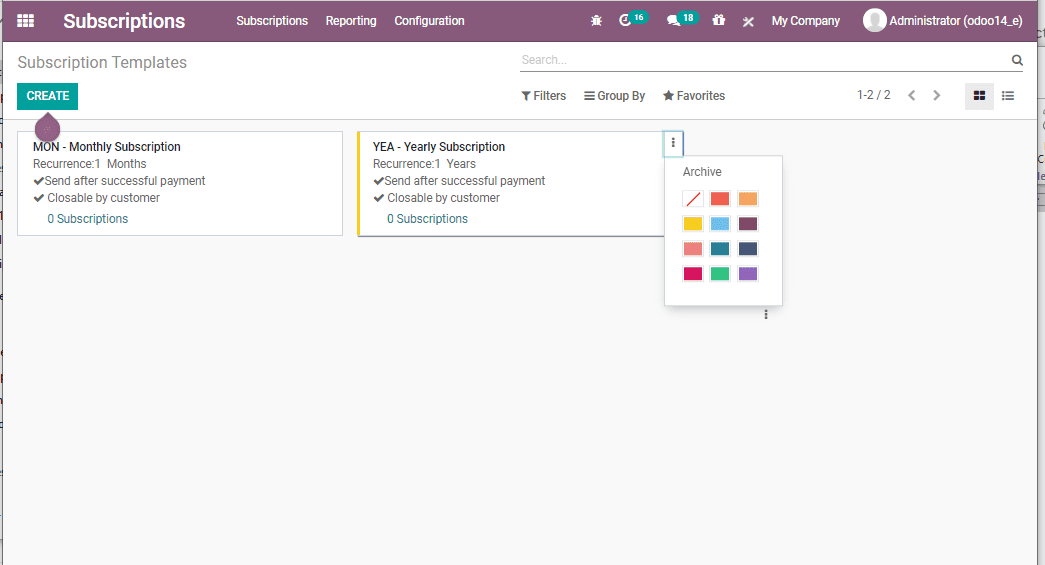
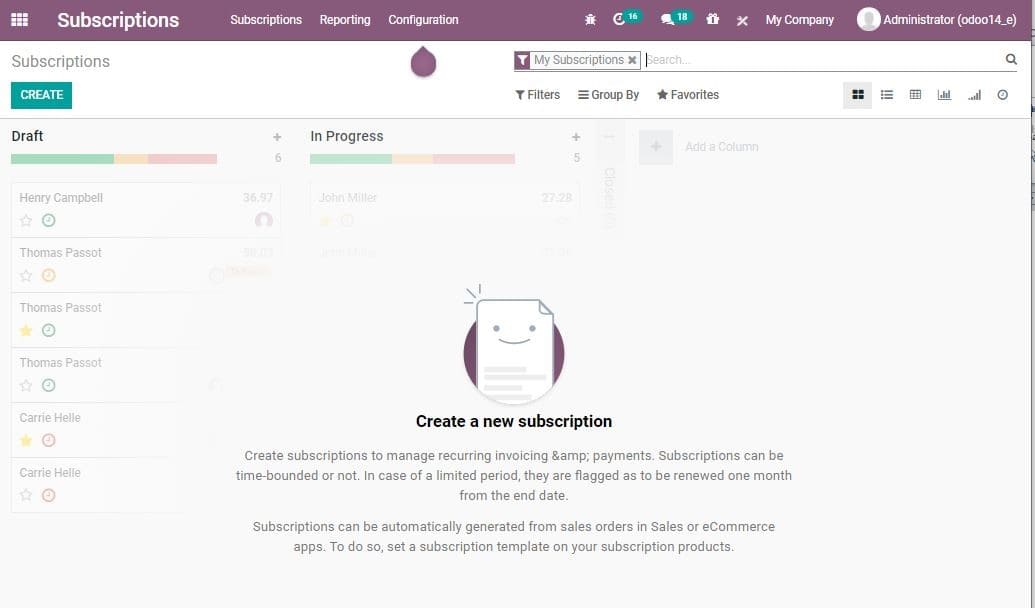
The user can create a new template by clicking on the CREATE button.
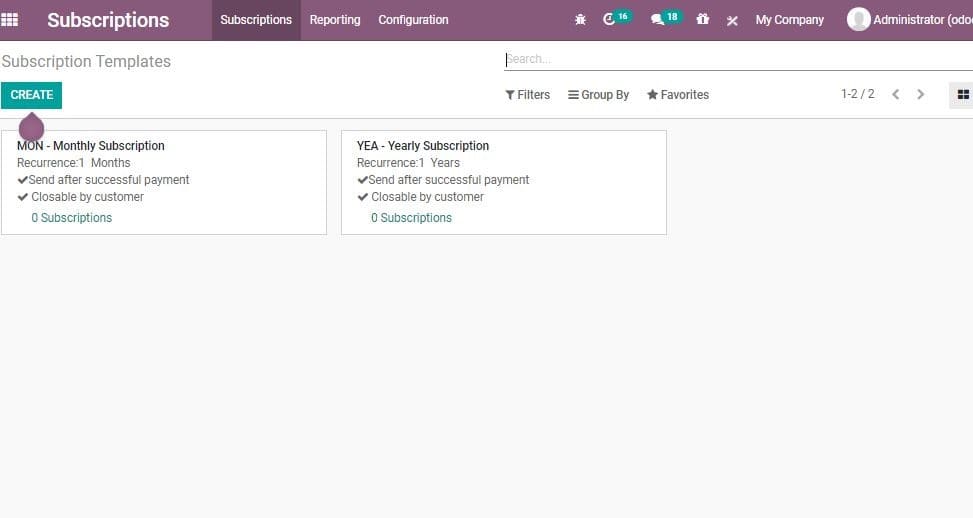
The user can add the following fields in the CREATE form.
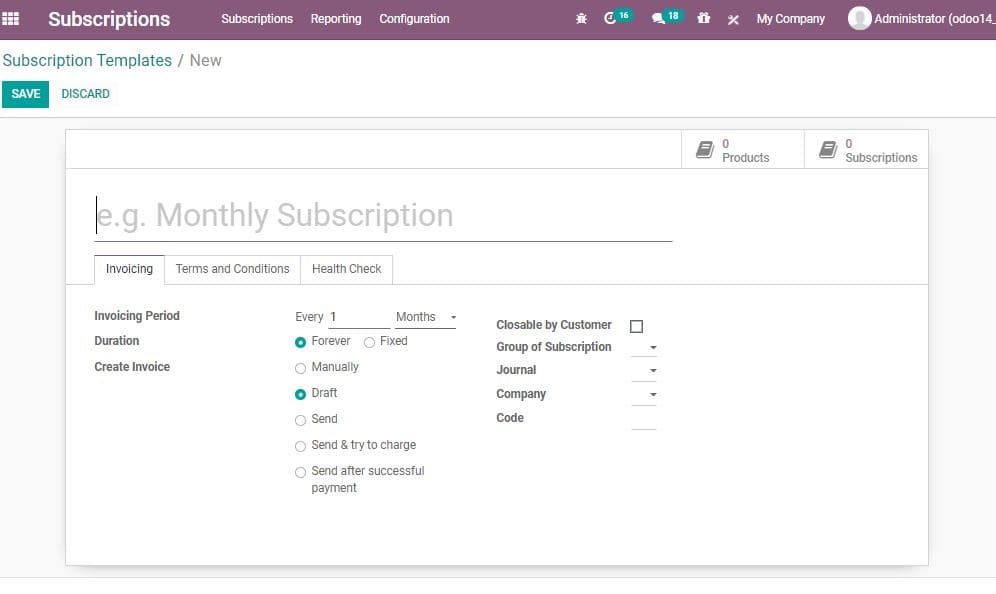
Subscription name: Provide the name of the subscription template
here.
Invoicing Period: It decides the period of invoice. It can Repeat Every Day/Week/Month/Year.
This indicates if the subscription is weekly, monthly, or yearly.
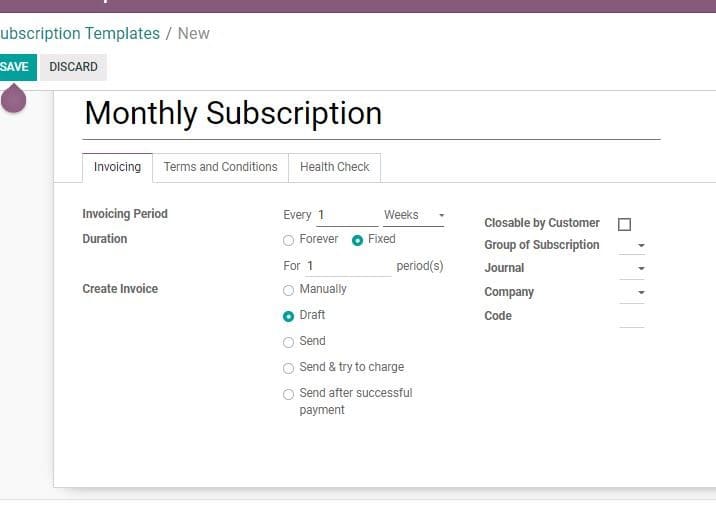
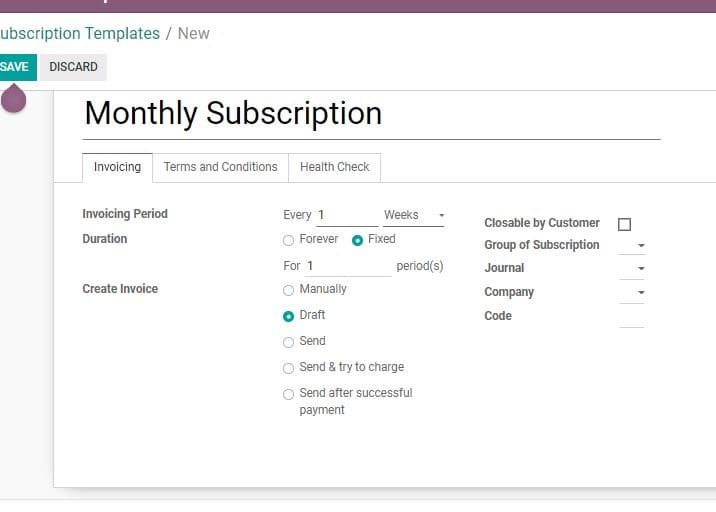
Duration: Duration of the subscription decides whether the subscription
is for ever or for a fixed period. On clicking forever, the subscription runs forever
until it is manually closed. Meantime, if you tick the Fixed column, then you will
get a few additional fields to be filled.
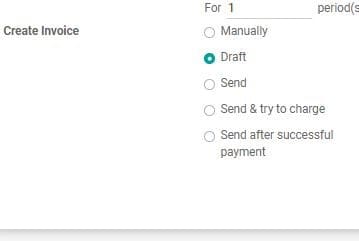
Then we will get several options to create Invoices. The options are Invoices, for
example: manually, draft, send and try to charge and so on.
Closable by the customer: On checking this field, the user can close his payment
from the Website.
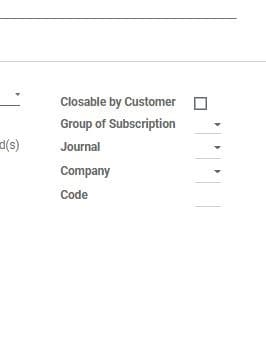
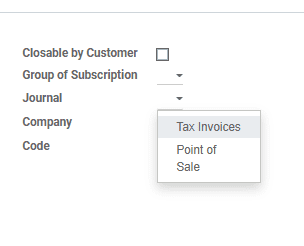
Journal: On setting journal, the subscription with this template
will get invoiced in this journal. If not, the system will use a sales journal with
the lowest sequence.
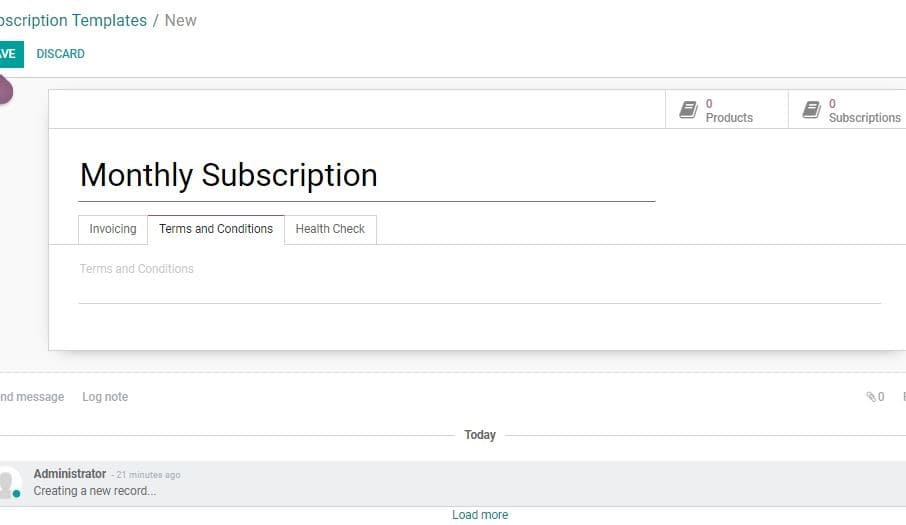
Under the terms and conditions tab, the user can add the terms for this particular
template.
Health Check: The user can modify the rules.
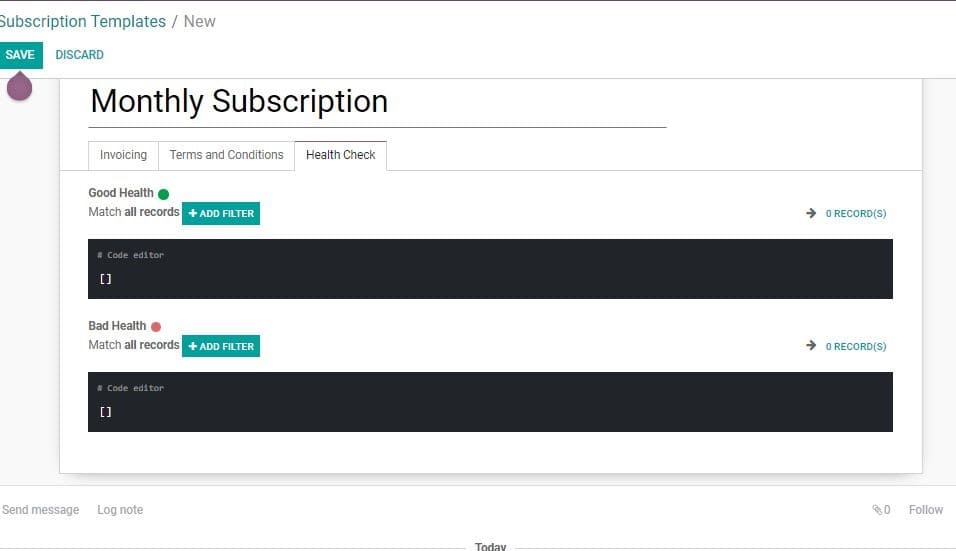
After entering all, click SAVE to mark the changes.
At this stage the user can assign a subscription template to different products.
Subscription Product
Create Subscription product. First go to Subscriptions> Subscriptions> Subscription
Products> Create.
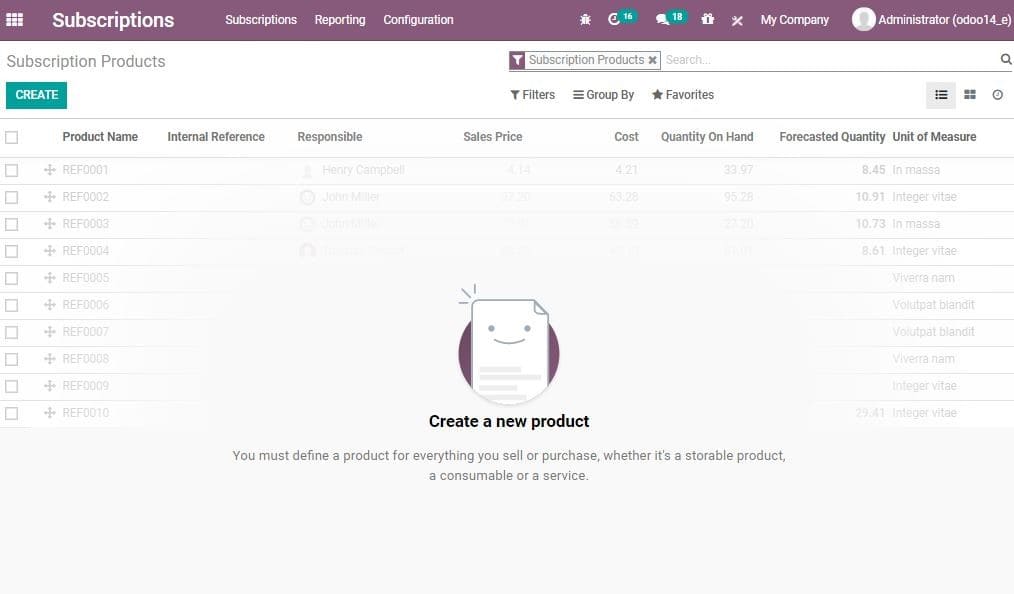
Then click CREATE button,
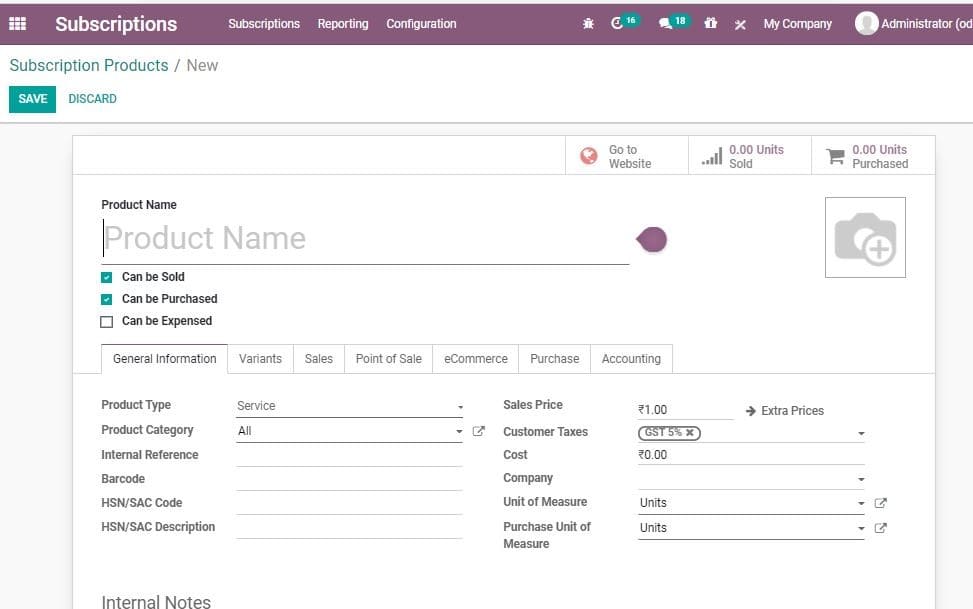
Here, the user will be navigated to the product create from.
The user can specify the product type as SERVICE in this form. Then you have to
enter the product category, internal reference and other required details.
Then go to the variants tab, here, one can add the product variants.
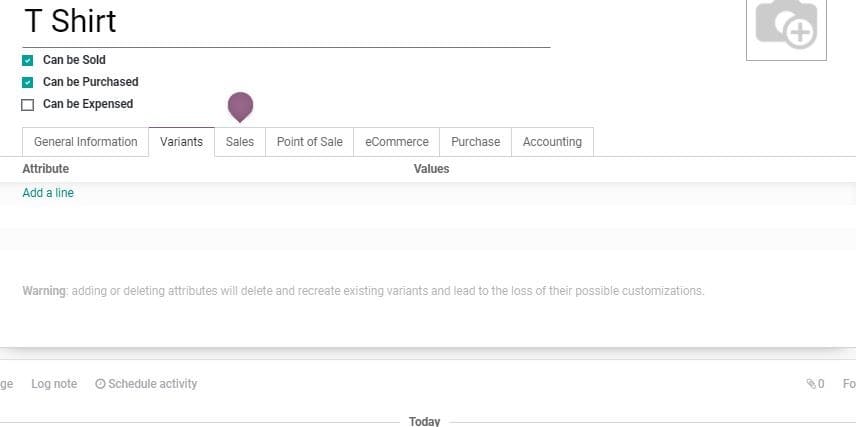
Then move to the next tab, SALES TAB,
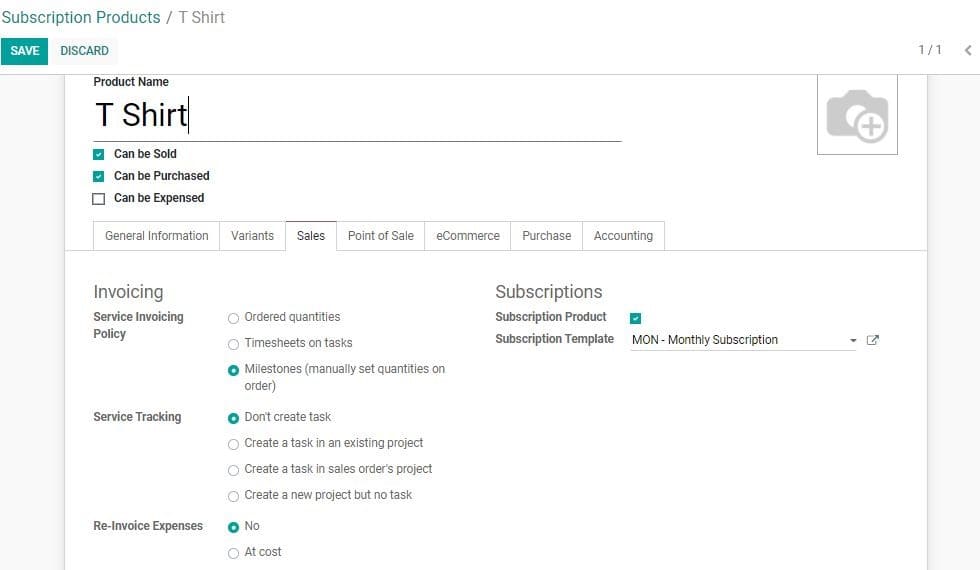
Here the user can find the subscription section. Then the user can Tick the option
subscription product. This will facilitate the subscriptions. Then under the field
Subscription Template, select the desired template created by you.
After entering the entire details click save to mark the changes.
Subscription Stages
A subscription stage helps a user to identify the progress of a subscription. The
status of a subscription can be viewed easily after configuring stages. A user can
create subscription stages in a few steps. Go to Subscriptions> Configuration> Subscription
Stages
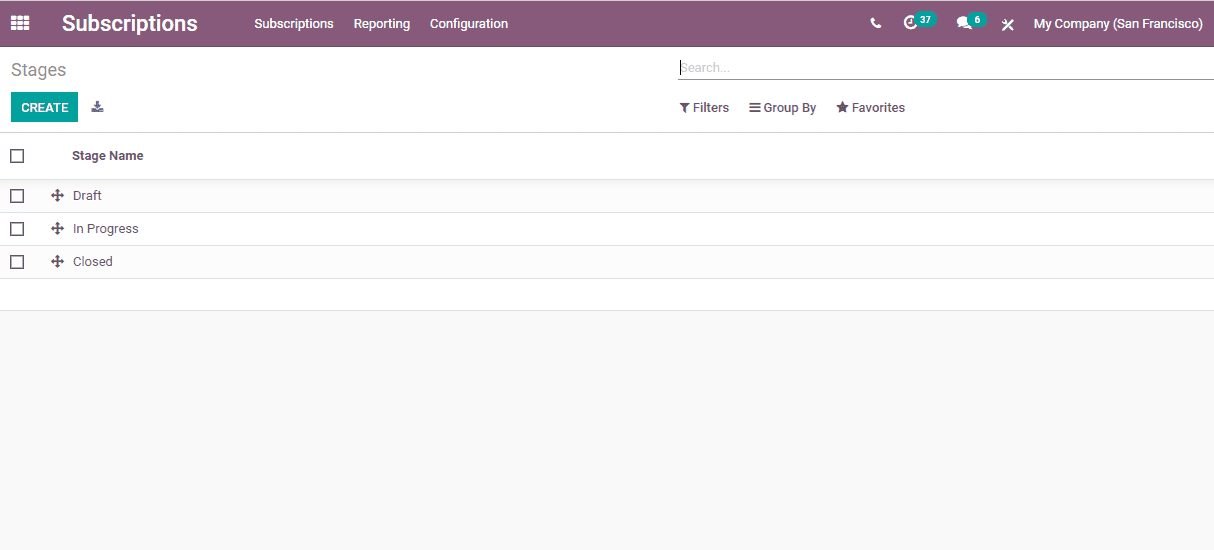
In the above given window a user can find already created subscription stages. If
the user wants to create a new stage, then click CREATE.
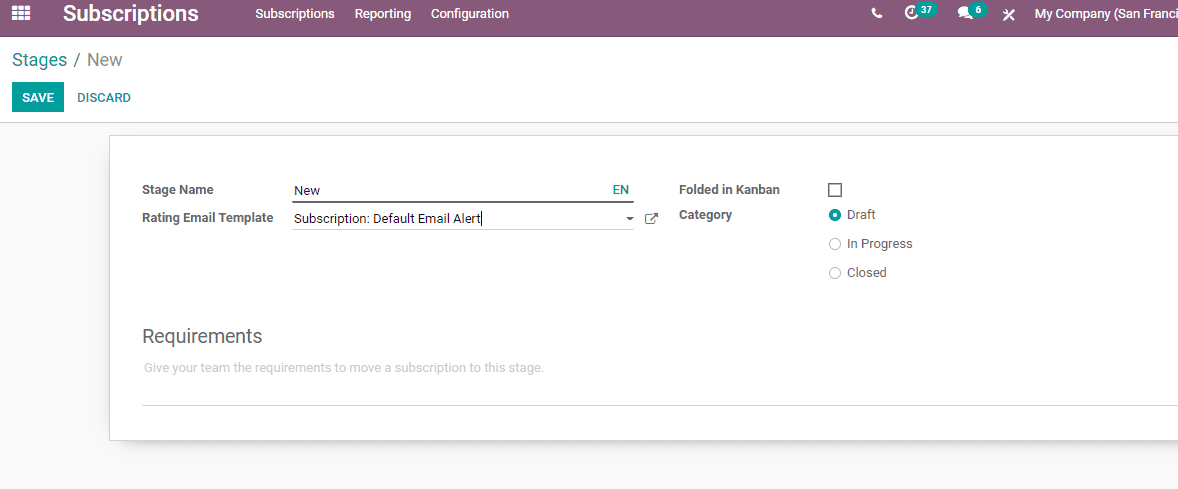
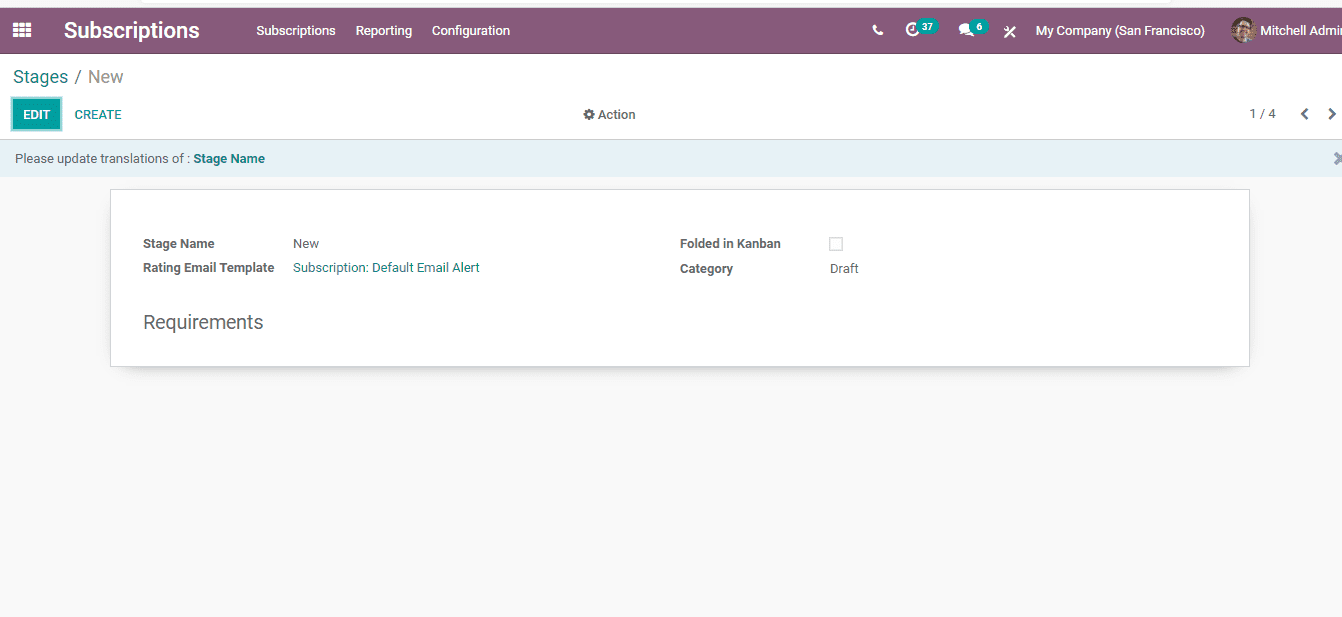
Fill the form and Save. Then on clicking the newly created stage you will get a
window as given below
Subscription Alert
This is a feature that a user can make use of to send alerts about subscriptions.
If a subscription payment is due or the subscription period is about to end the
user can send alert to the customer
The user will have to create a subscription alert. For this go to Subscriptions>
Configuration > Alert
Then the user will get a window where all already created alerts can be viewed.

The user can create a new subscription by Clicking Create button.
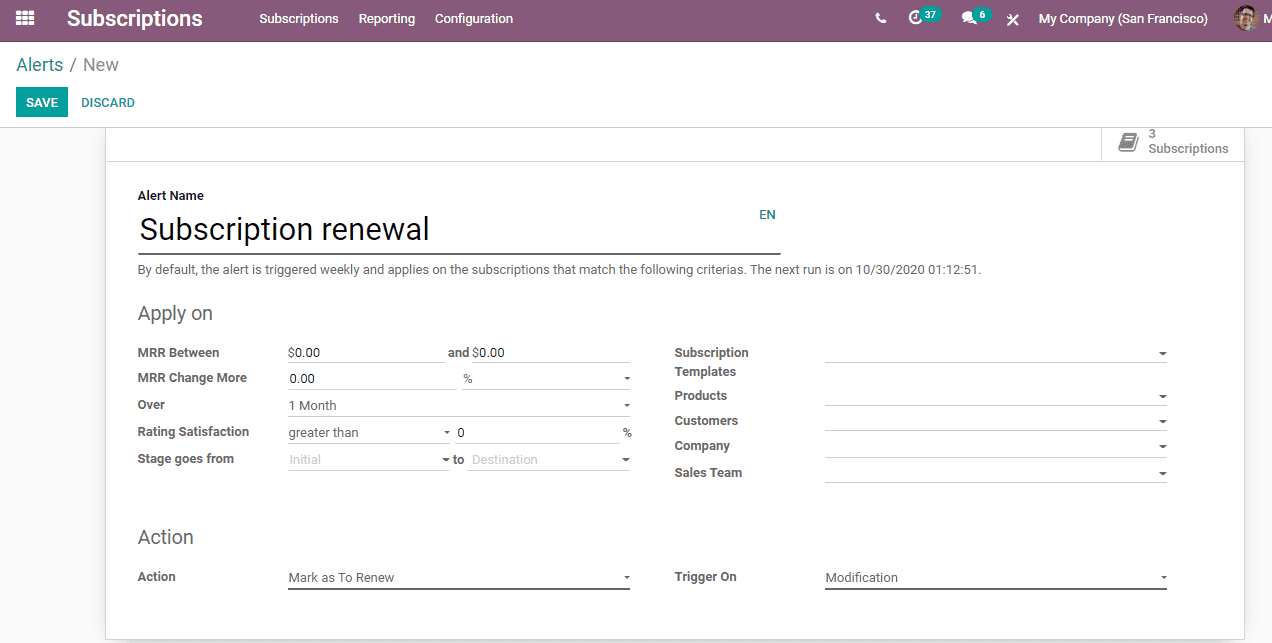
By default, the alert is triggered weekly and applies on the subscriptions that
match the criteria given in the form.
Quotation Creation
For this you have to go to the sales application,
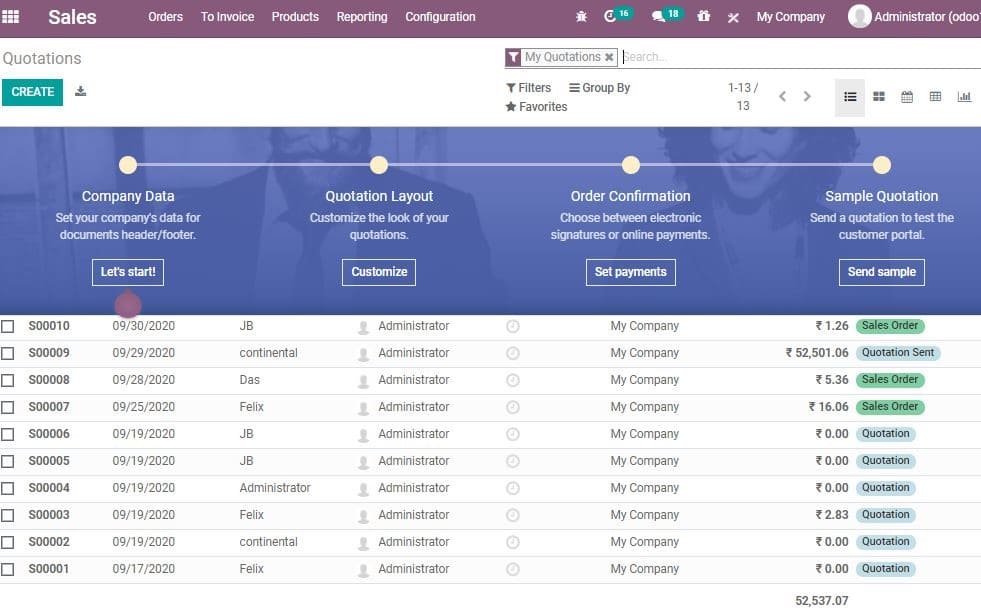
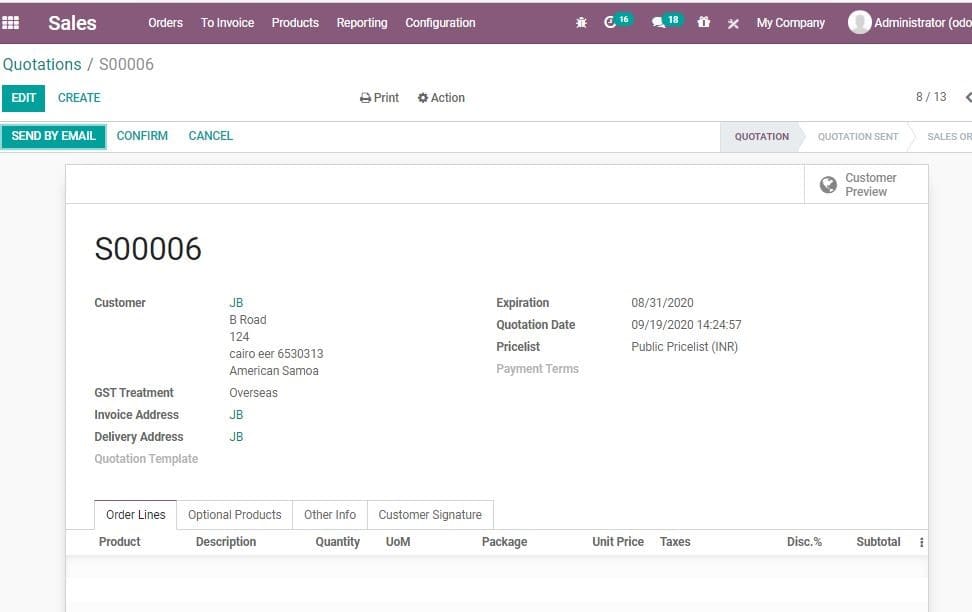
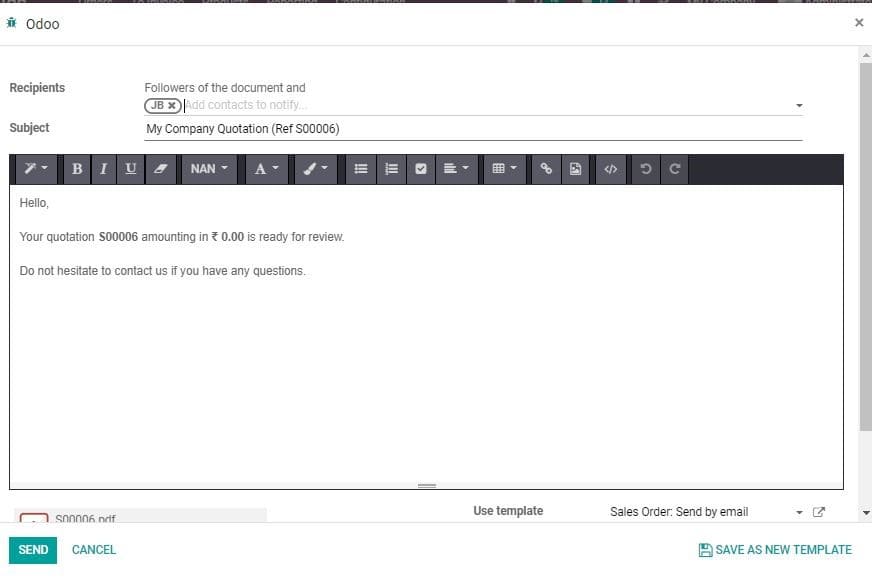
Now, Send the quotation and confirm.
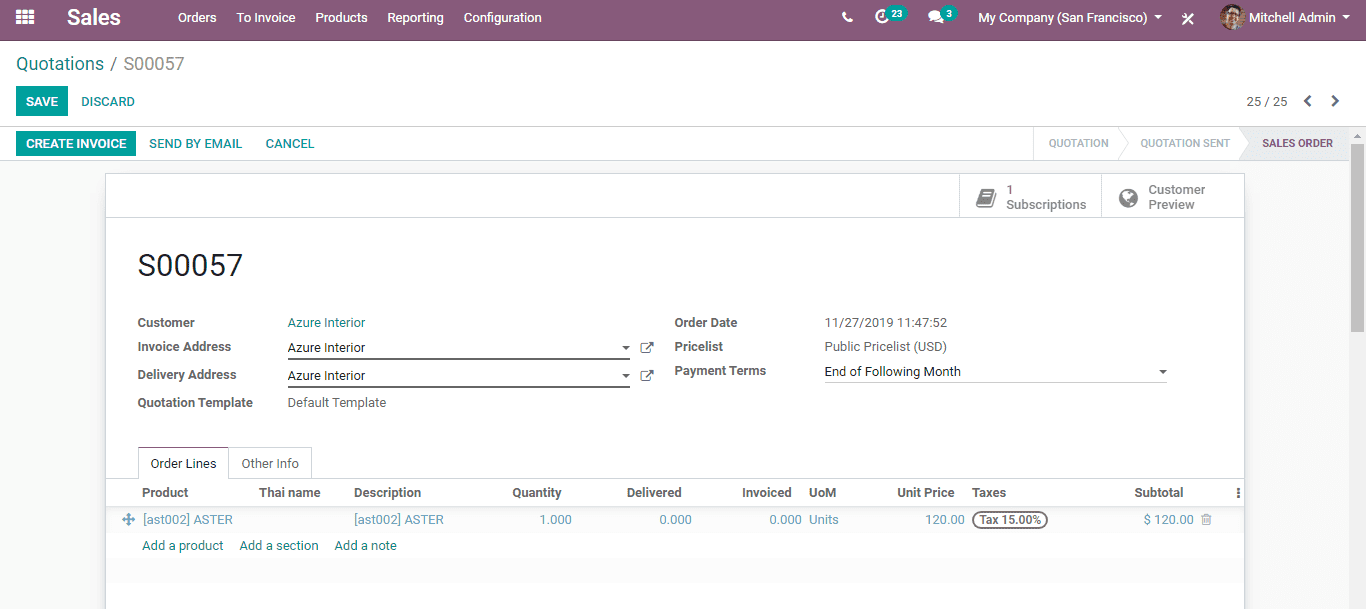
You can see the subscription on the top right end.
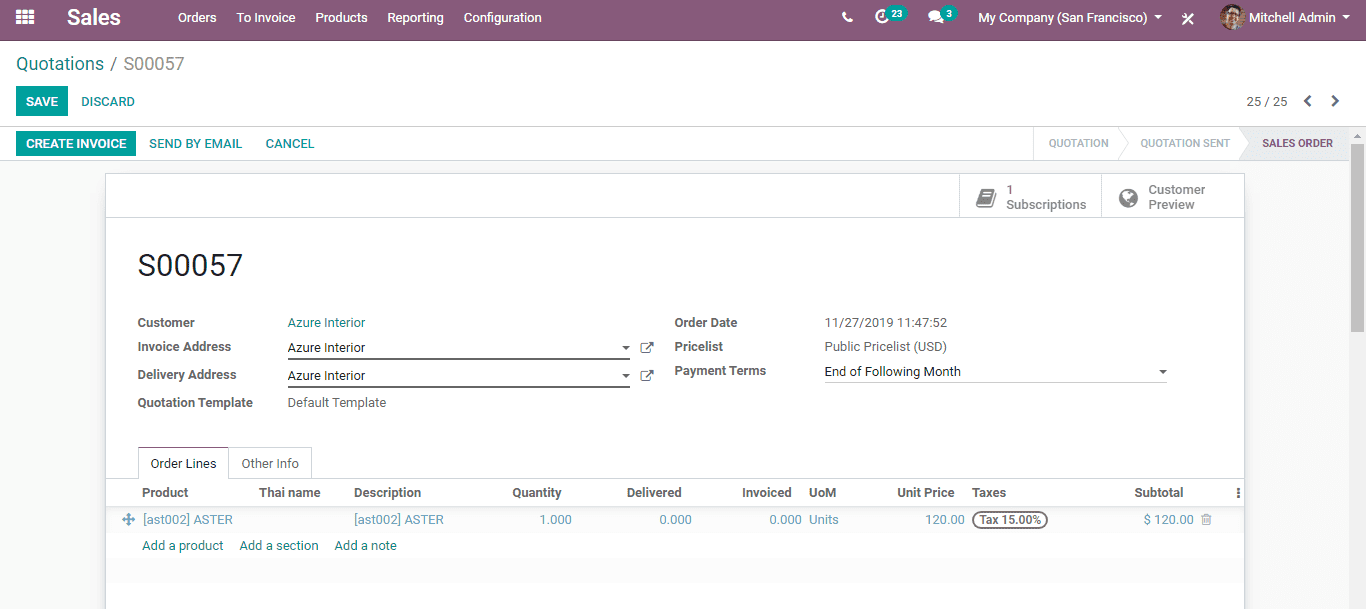
Then you can find the subscription in PROGRESS.
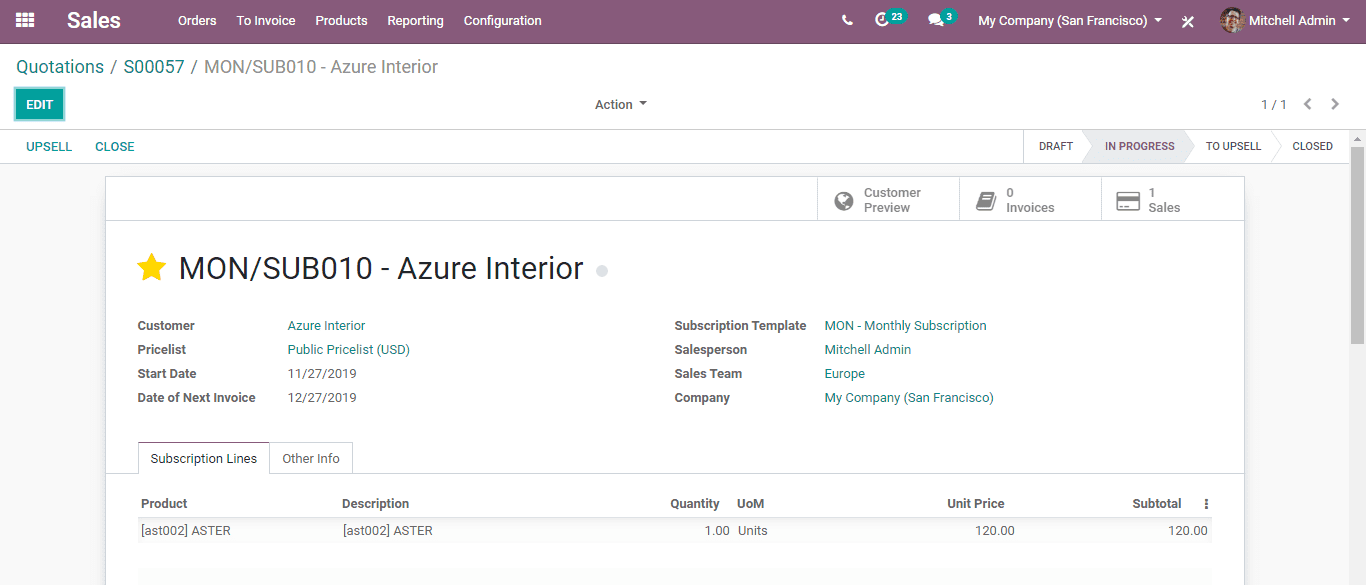
Then, you can click on the EDIT button, and make changes to the subscription.
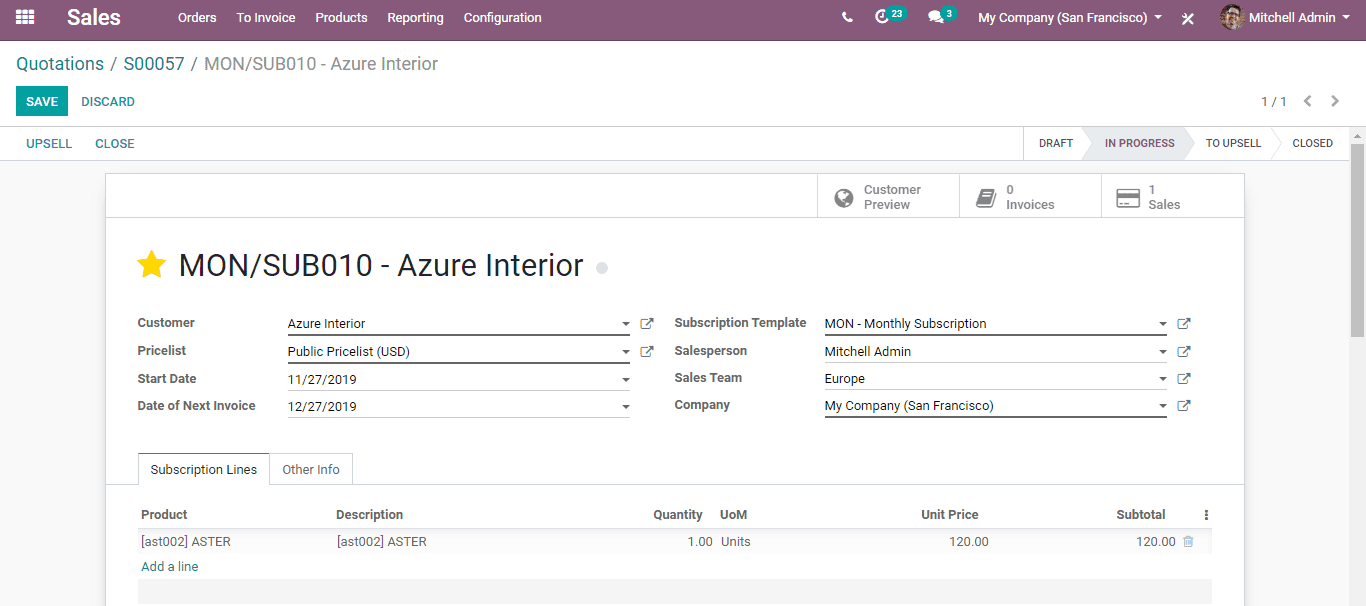
Here, the user can either UP SELL or CLOSE the subscription.
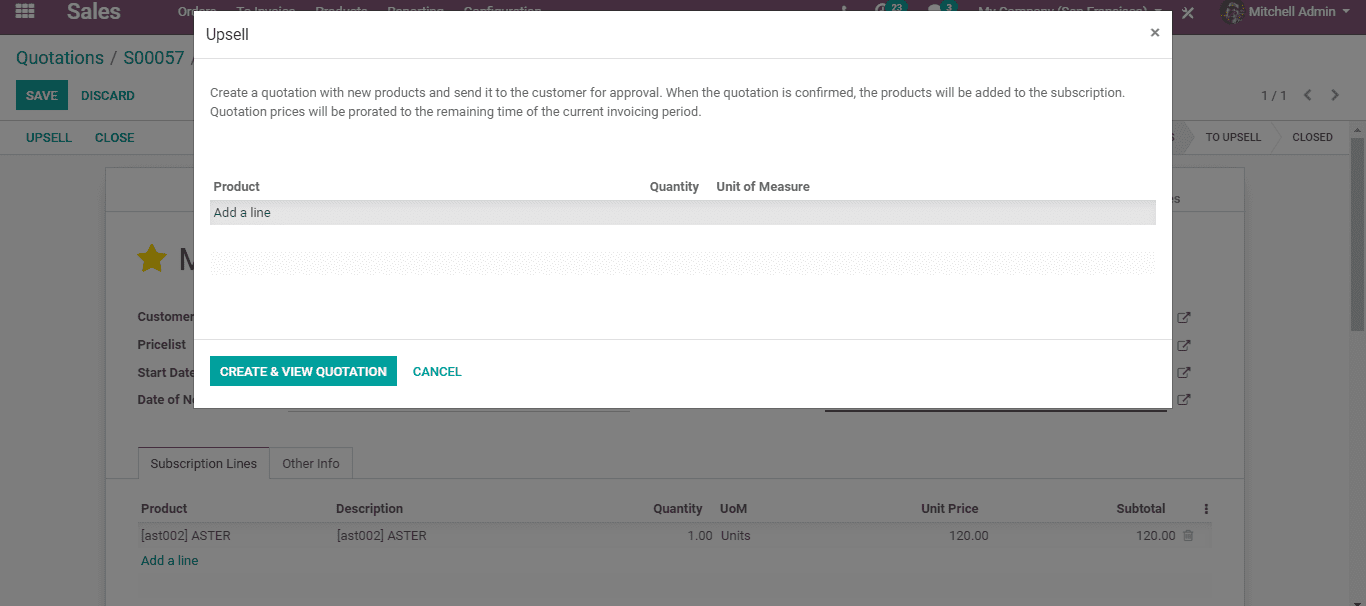
By clicking upsell,
The user can create a new quotation for a new product. This product can be sent
to the customer for approval. On getting approval, the products can be added to
the subscription.
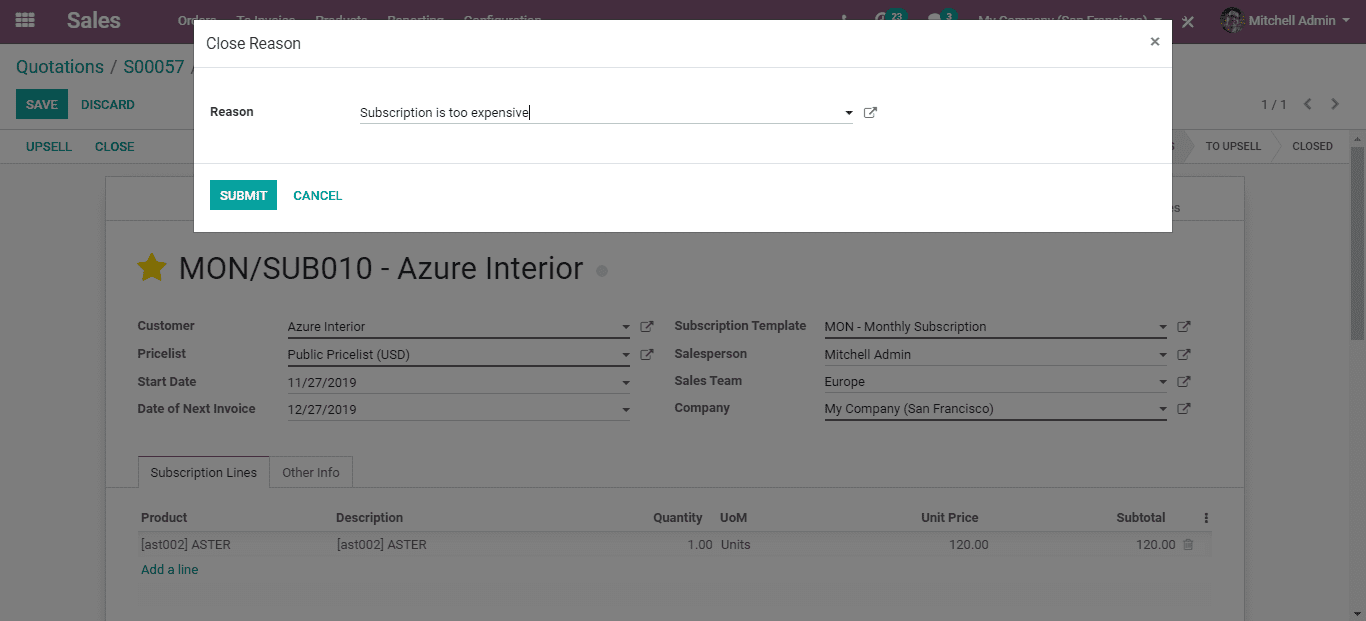
The user can close the quotation via clicking CLOSE
The user can also give the reason for closing the quotation.
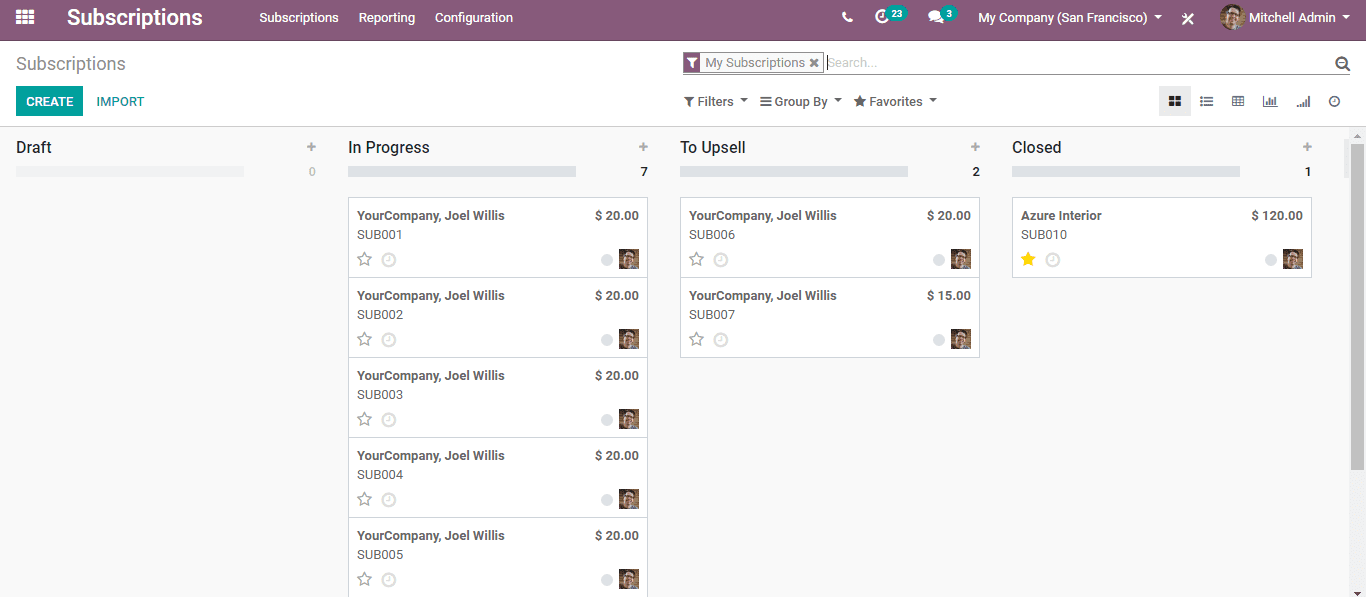
Going back to the subscription module the user can find the subscription status
as closed.
Closing Reasons
Odoo 14 Subscriptions also help a user to give closing reasons, which means the
reasons for closing a subscription. This option is given to the customer to understand
the customer opinion and satisfaction rate. On realising the closing reason, the
business can either introduce better schemes or give offers.
To Configure Closing Reasons
Go to Subscriptions> Configuration> Closing Reasons
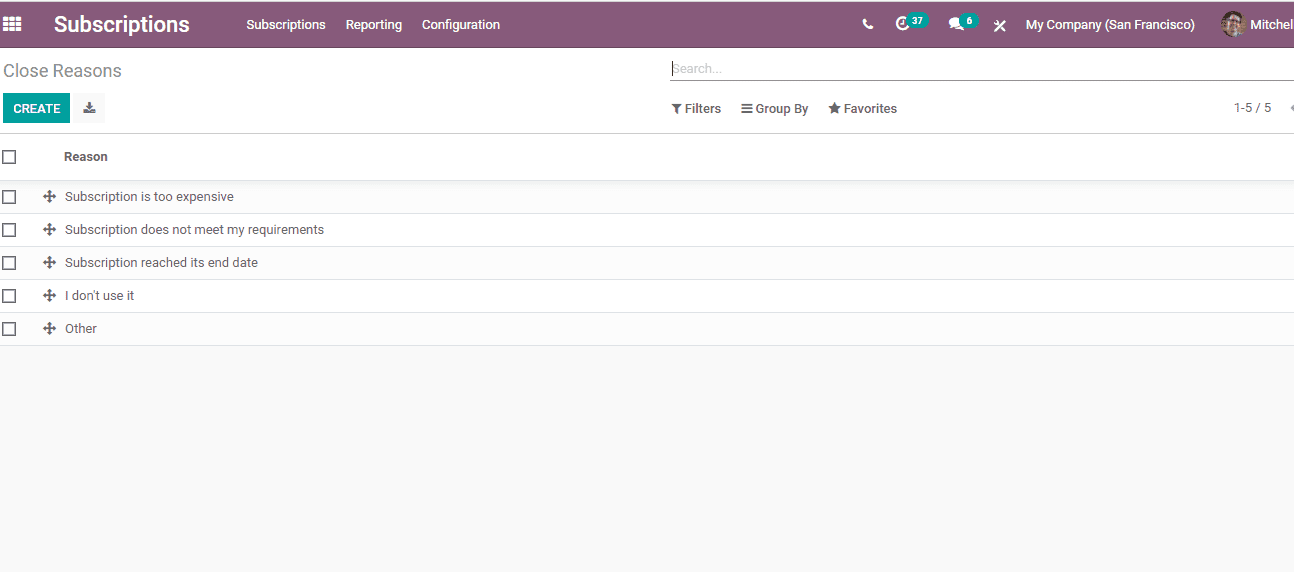
Here, the user can create new closing reason by clicking Create
On clicking the button, a new line will be added as given below where the user can
add a new reason

Reporting
Reporting helps a user to get a clear picture of the statistics. This helps to generate
reports in different ways. To understand report generation in Subscription in a
proper way we can first take a look at the following elements
MRR (Monthly Recurring Revenue): It can be considered the most important metric
for any kind of subscription business. This feature helps to understand monthly
revenue earned from subscription based business.
ARR (Annual Run-Rate): It helps us to get an idea of the yearly revenue
Non Recurring Revenue (NRR): Revenue generated from everything except subscription
Customer Retention: It is the initiatives taken to retain a customer
Customer Churn Rate: It helps us to compute the percentage of customers who discontinued
subscription in a particular period of time.
Customer Lifetime Value (CLV): The total expected revenue from a customer during
the contract period. This helps to design customer retention plans.
Report on Subscription, retention, Revenue KPIs and Sales person’s dashboard can
be generated with a click.
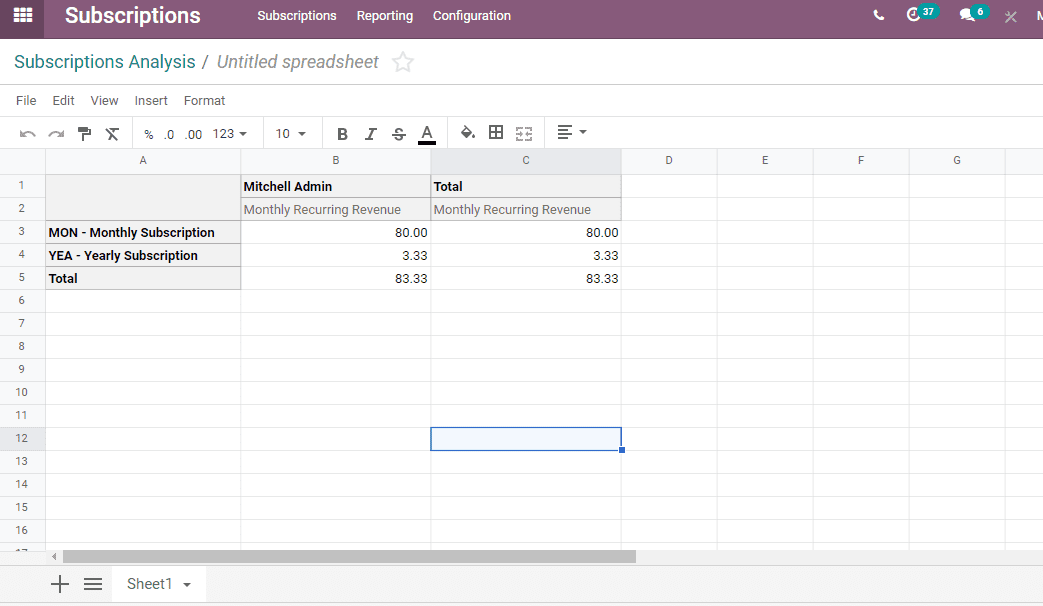
Subscription Analysis
This feature helps to get a report on all subscriptions. The monthly subscriptions,
yearly subscriptions can be viewed.
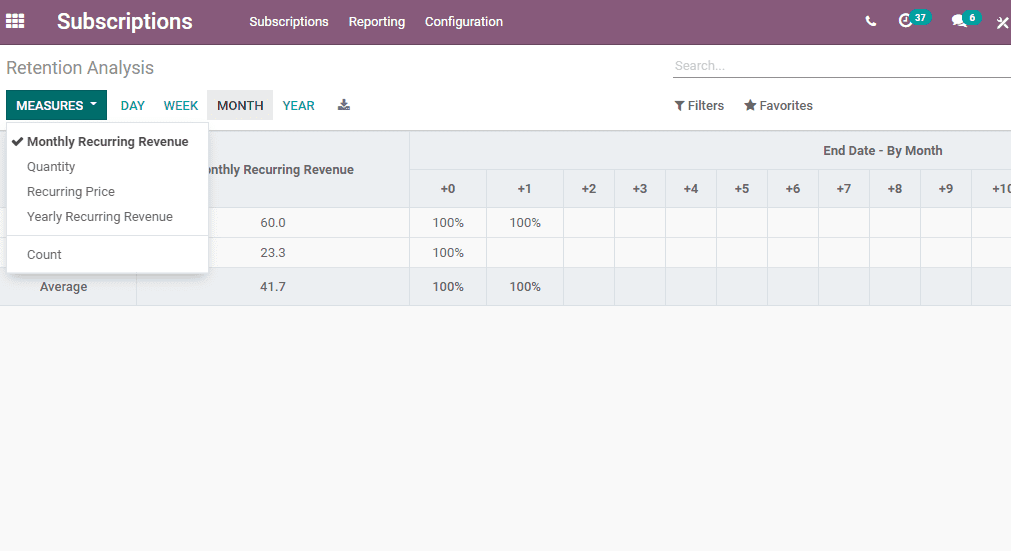
Retention analysis
Go to subscriptions> Reporting> Retention
In Odoo the default measure is Count. However, we can change it with a suitable
one.
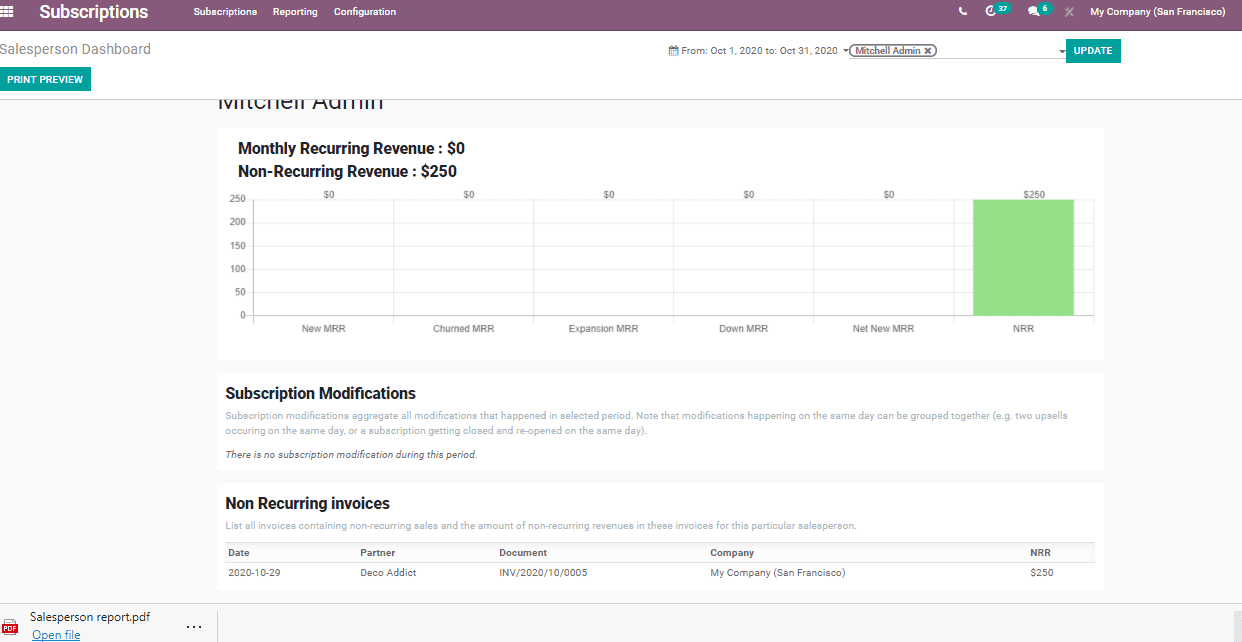
Salesperson Dashboard
Salesperson dashboard helps a sales person to get a view of all subscriptions managed
by him. The monthly recurring revenue (MRR) non-recurring revenue and other revenues
can be viewed.
The subscription modifications made and the invoices can also be viewed from this
dashboard.
Revenue KPI
Revenue KPI or Key Performance Index is the documents that a user can generate with
the help of Odoo. A user of the subscriptions module can access this report by going
to Subscriptions> Reporting> Revenue KPIS.
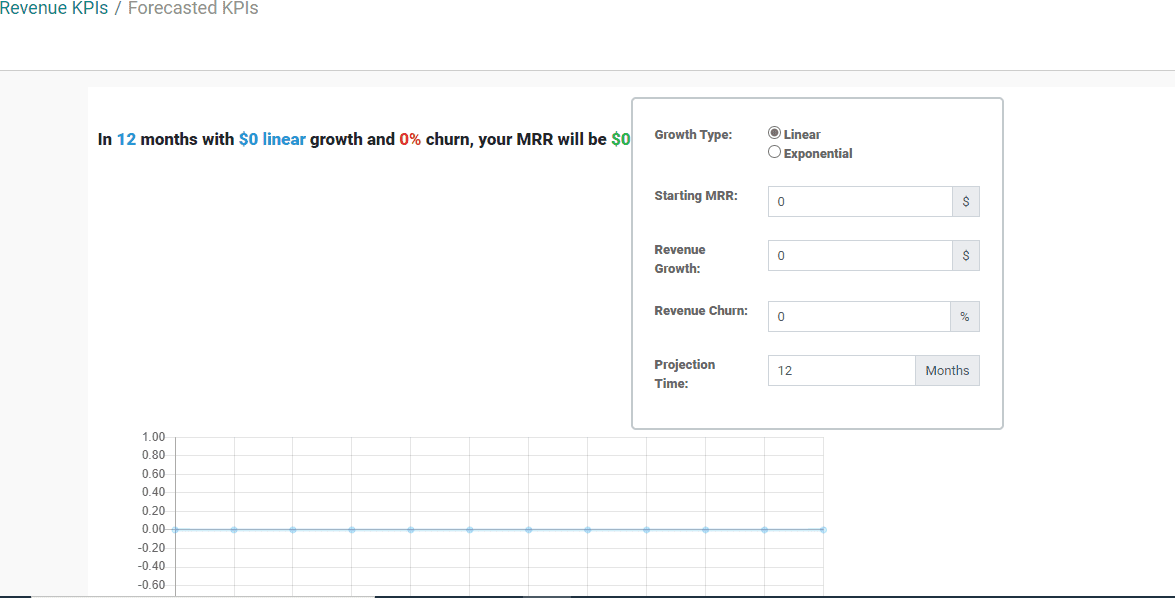
On opening the Revenue KPI, the user can easily check different KPIs as given below
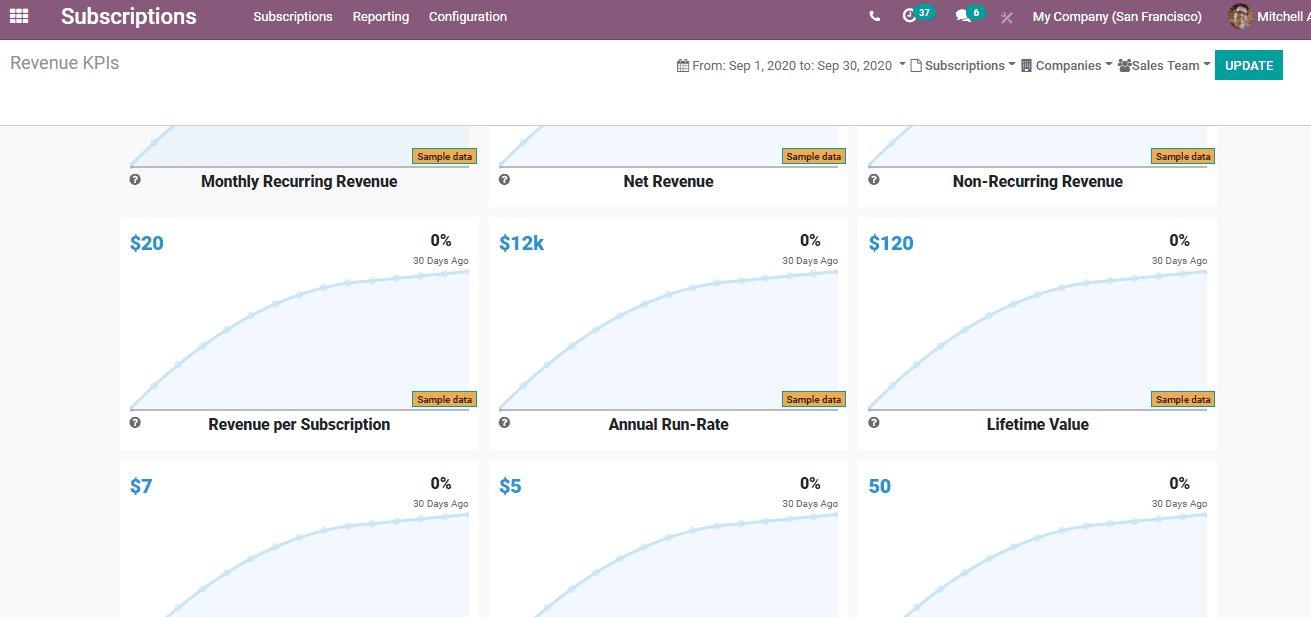
In the above given image, we can get the report of Monthly Recurring Revenue, Net
Revenue, Revenue per Subscription, Annual Run-Rate, Non- Recurring Revenue, Lifetime
Value, Customer Churn, Revenue Churn, Subscriptions, Forecasted Annual Subscription
Growth, Forecasted Annual MRR Growth etc.
On clicking on each of these KPIs the user will get a detailed report of the particular
index.
