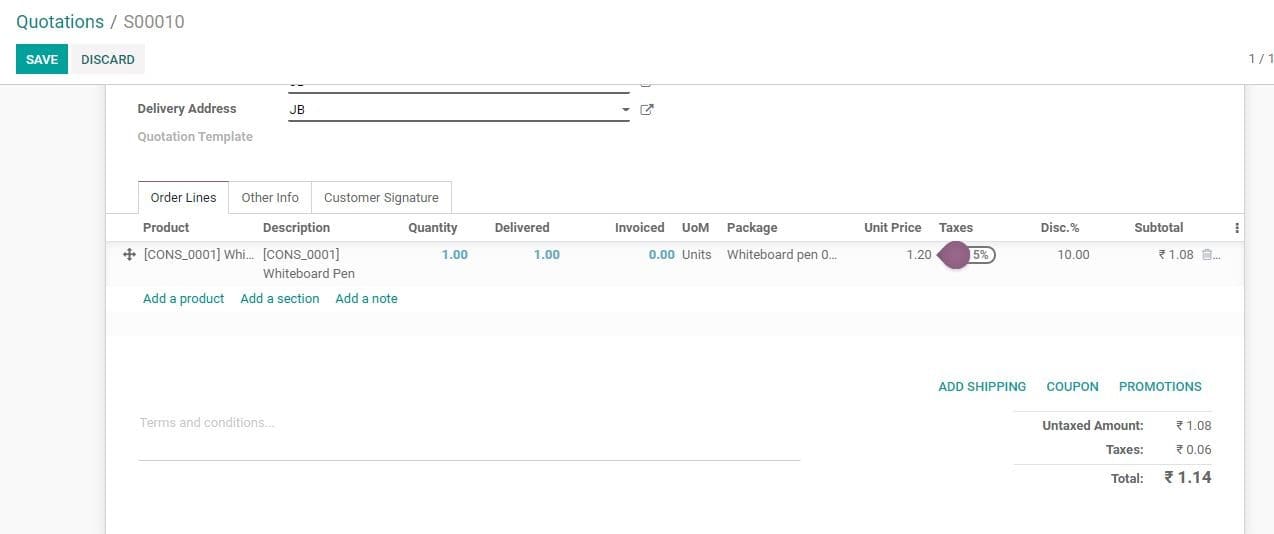
Customers
Under Odoo 14 a user can choose the customers from the given list of customers.
The user can also create a new customer easily.
Create New Customer
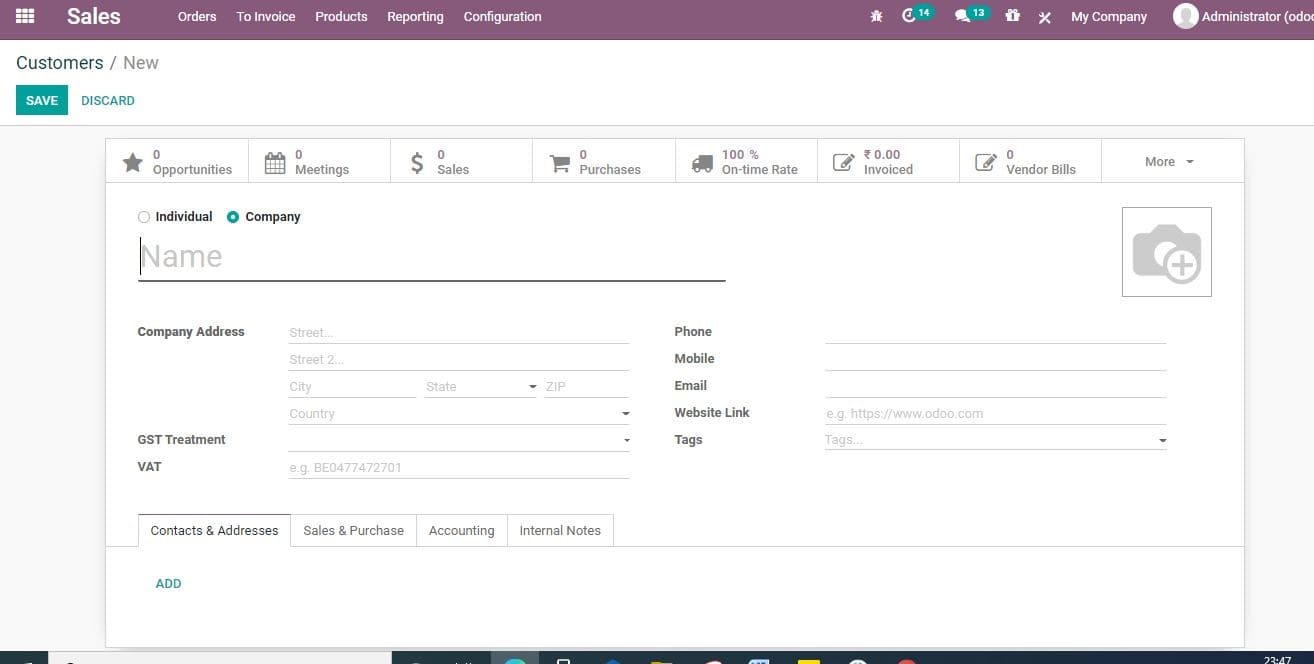
In Odoo the user can select two types of customers:
1. Individual
2. Company
Here you get an option to create a new customer of yours by adding his name, address,
phone, mobile, email id, website link GST, treatment and other details.
Under Contact and Address tab
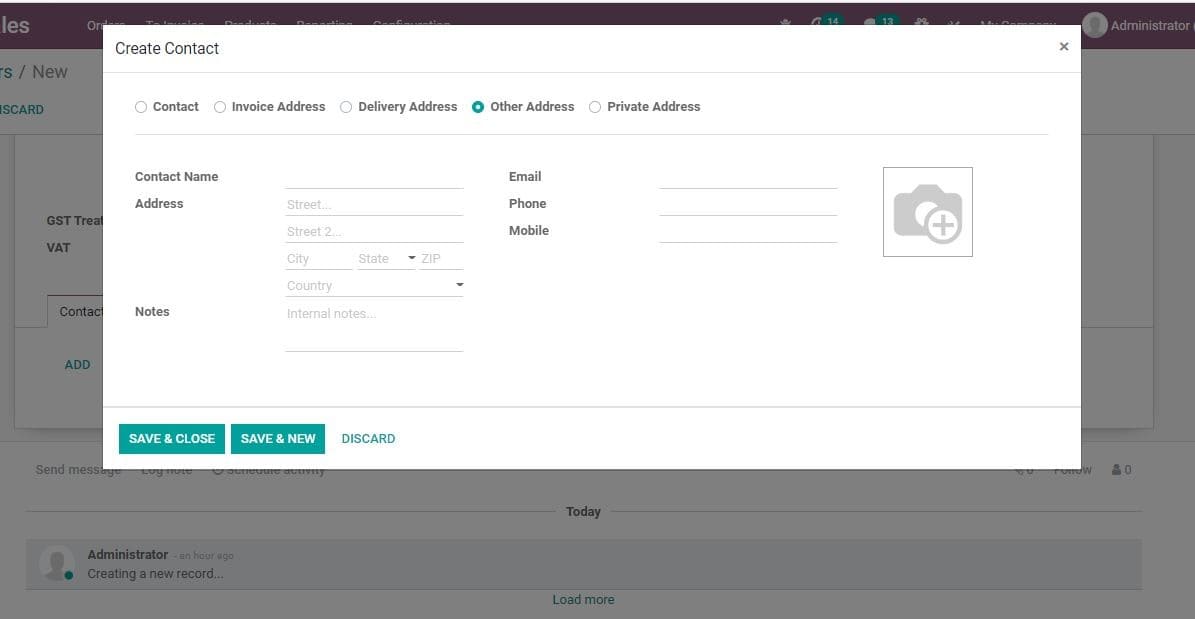
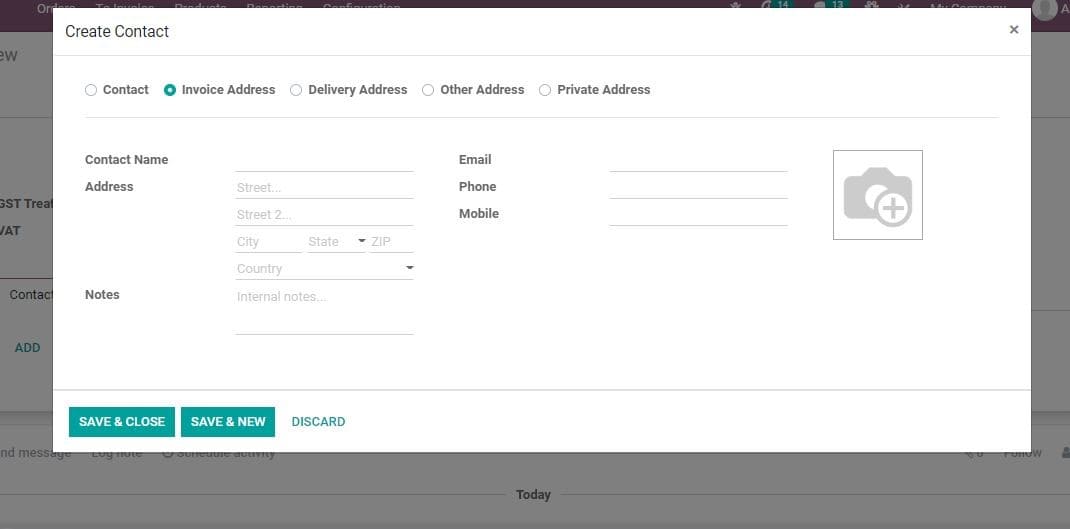
Contact creation also enables you to add invoice address, delivery address, private
address and other address for the same contact.
Under Sales and Purchase Tab
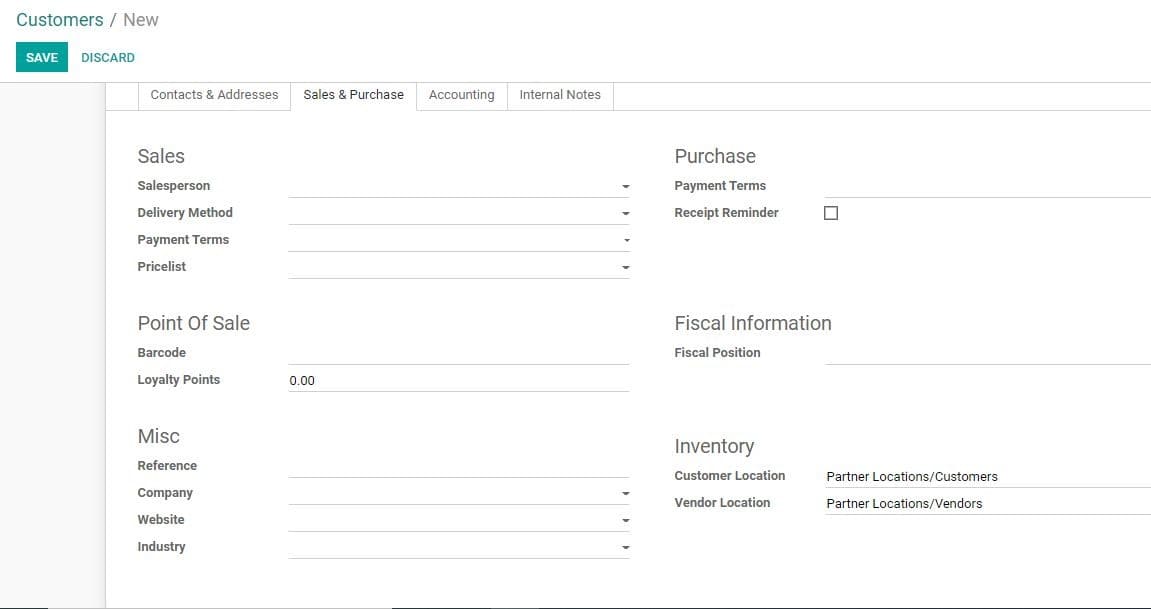
Sales Person: Employee who is in charge of this contract.
Delivery Method: It can be the default Delivery method used in
sales order.
Payment Terms: If a buyer wants to use a payment method which is
not included in the default method, this field can be used.
Pricelist: Pricelist field can be used against the default one.
Barcode: Barcode helps to identify this product from POS.
Fiscal Position: Fiscal position calculates the taxes/accounts
for this particular contract.
Under Accounting Tab
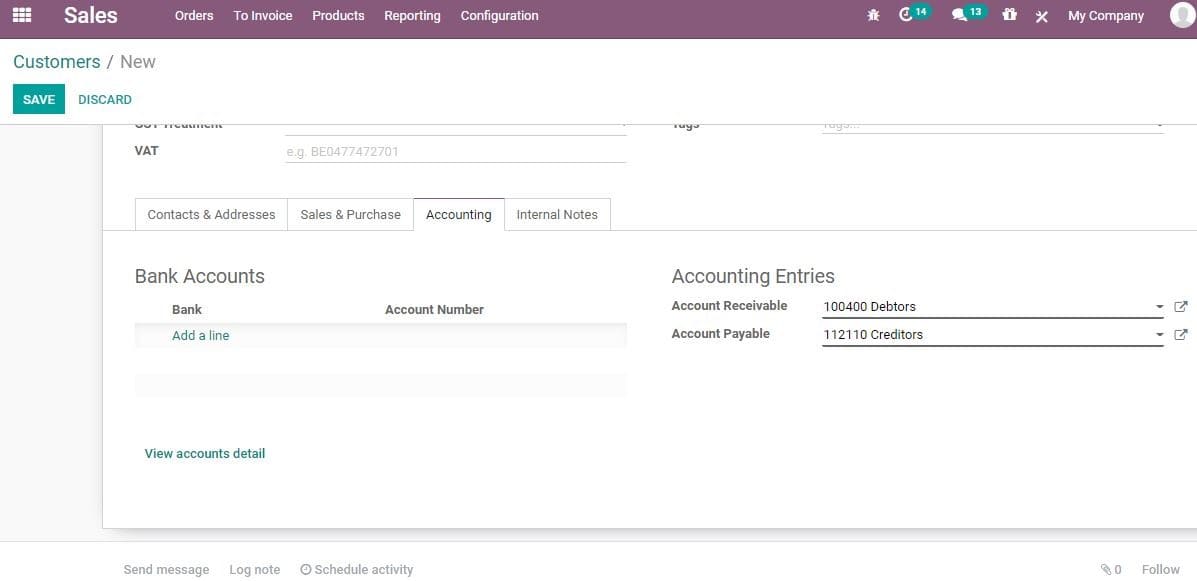
Bank: Here you can fill the name of the bank, where the customer
holds the account.
Account number: The registered account number of the customer.
Account Receivable: You can use this account instead of the default
one as the receivable account.
Account Payable: This account can be used instead of the default
one as the payable account for the current partner.
Internal Note Tab: It is a functional feature enabling you to add
a comment without disturbing followers. This helps you to notify a particular seller,
instead of disturbing all others. Moreover, you can insert an internal note in the
customer form using this feature.
Sales quotations
Sales Quotation is the official communication in a prescribed format that provides
a purchaser with the information on the actual expenses for a product. It can also
be the price of a service. Different businesses offer the same service at different
costs. The cost differs due to reasons like the material used and the labour charges.
A user can select QUOTATIONS from the Order list in Sales Module.
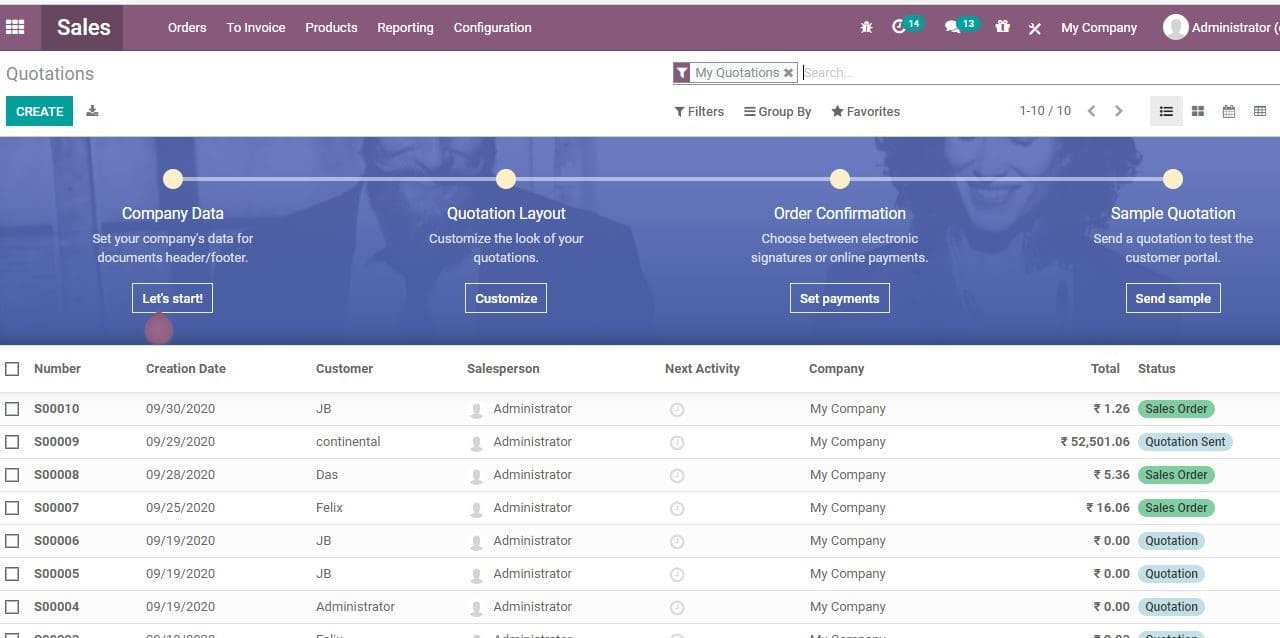
Create New Quotation
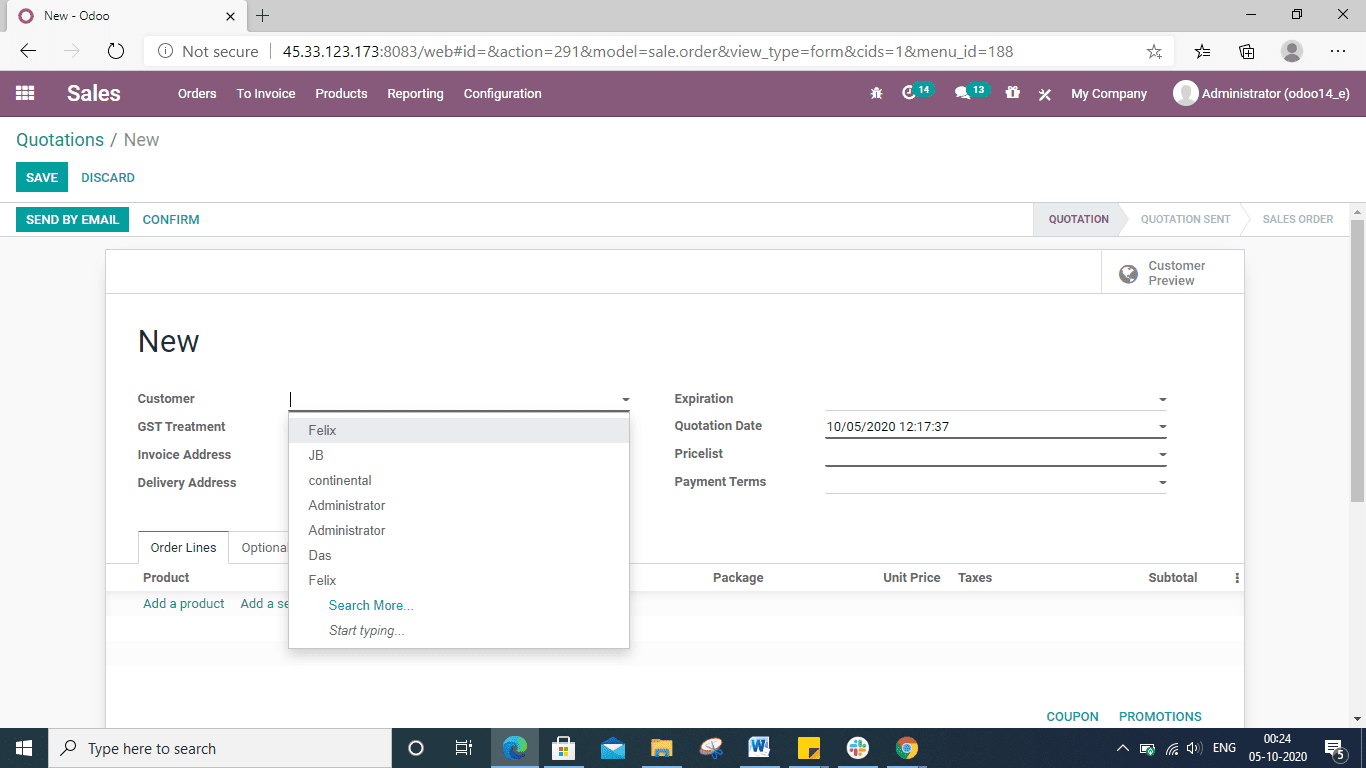
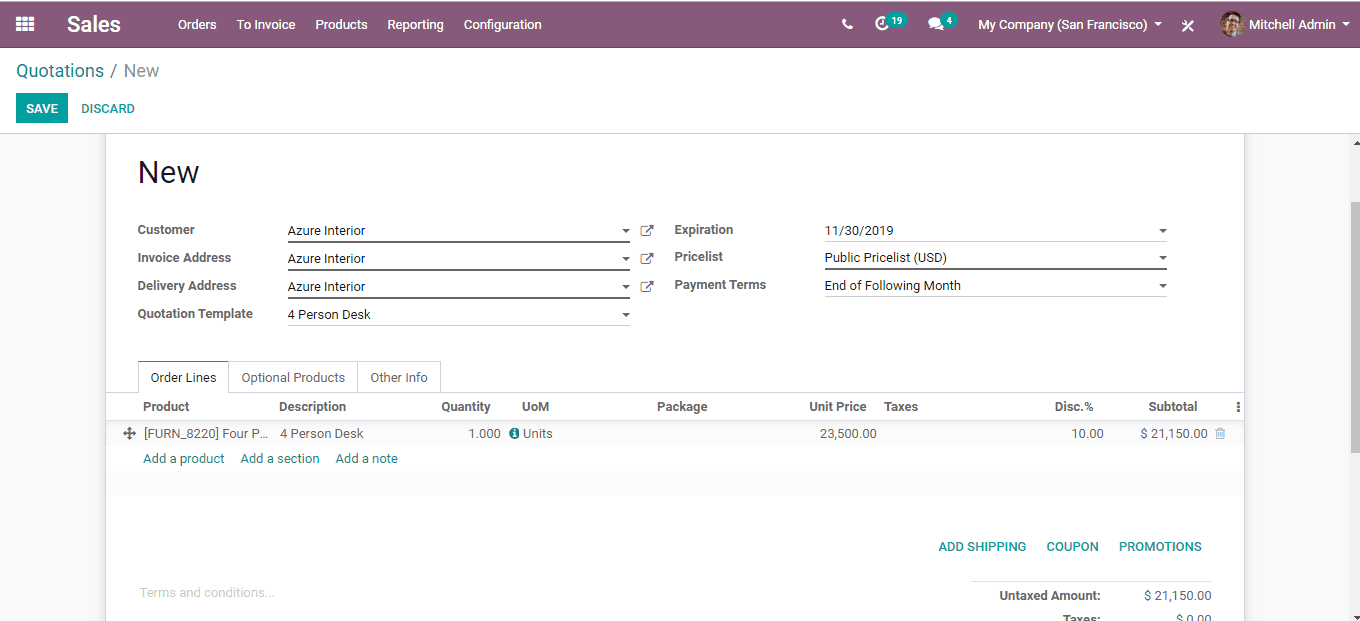
To create a new quotation, you can go to Sales> Quotations> Create
Then you will get a create form as given below.
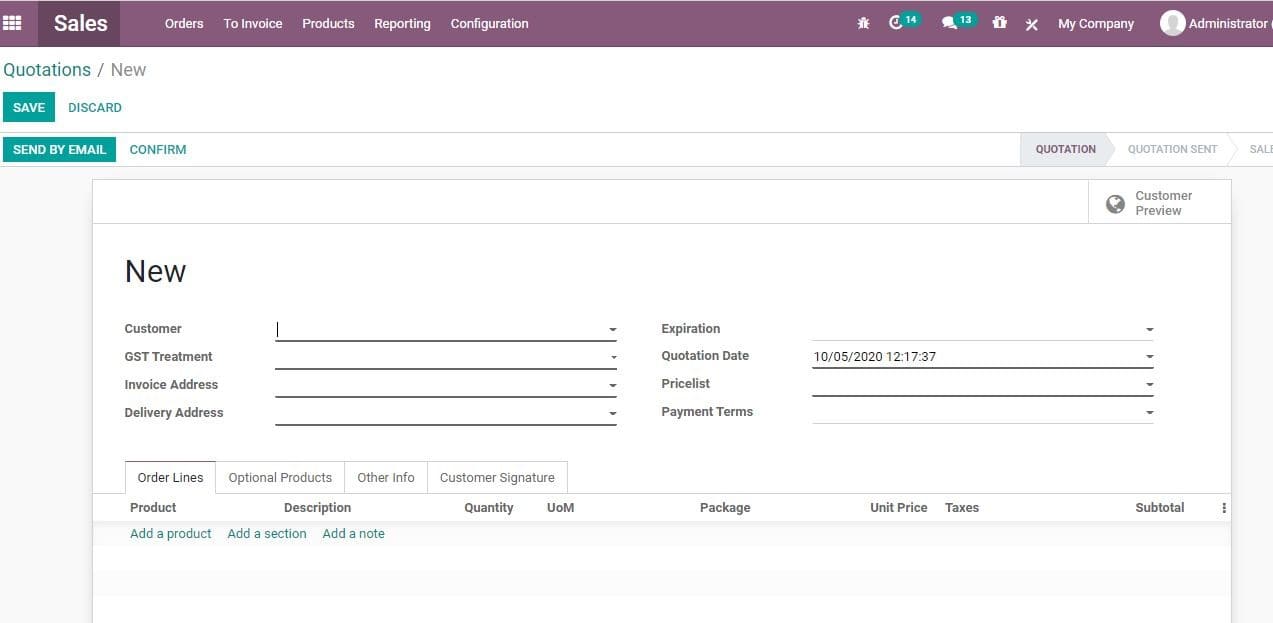
Here, the user will be able to give the details including customer name.
You can also add, GST treatment, invoice address, delivery address, Expiration date,
quotation date, price list and payment terms.
Under the Orderline

Here you can give the product details, description, quantity for sale, unit of measure,
package, unit price and taxes. This also helps to generate the subtotal. Here the
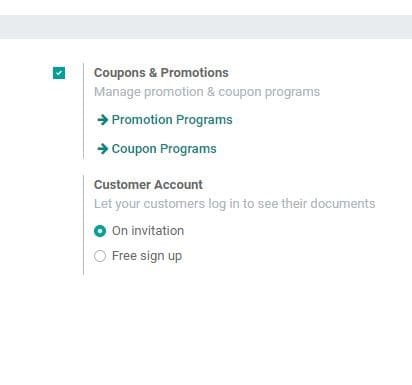
user can also add coupons and promotions.
Quotation template
You can create a quick quotation template if quotation templates are required frequently.
Create Template
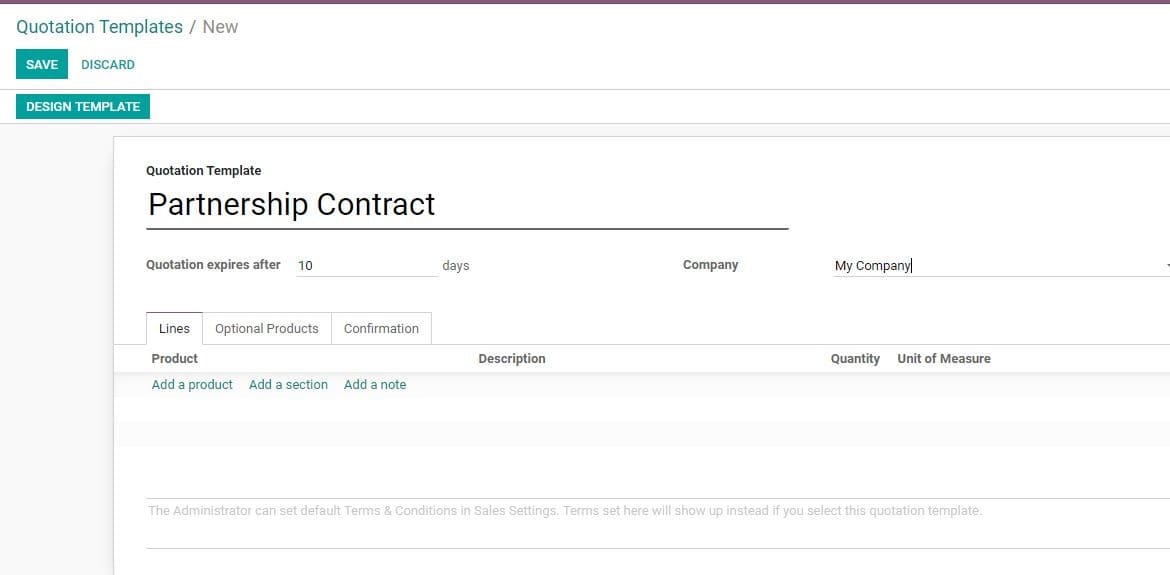
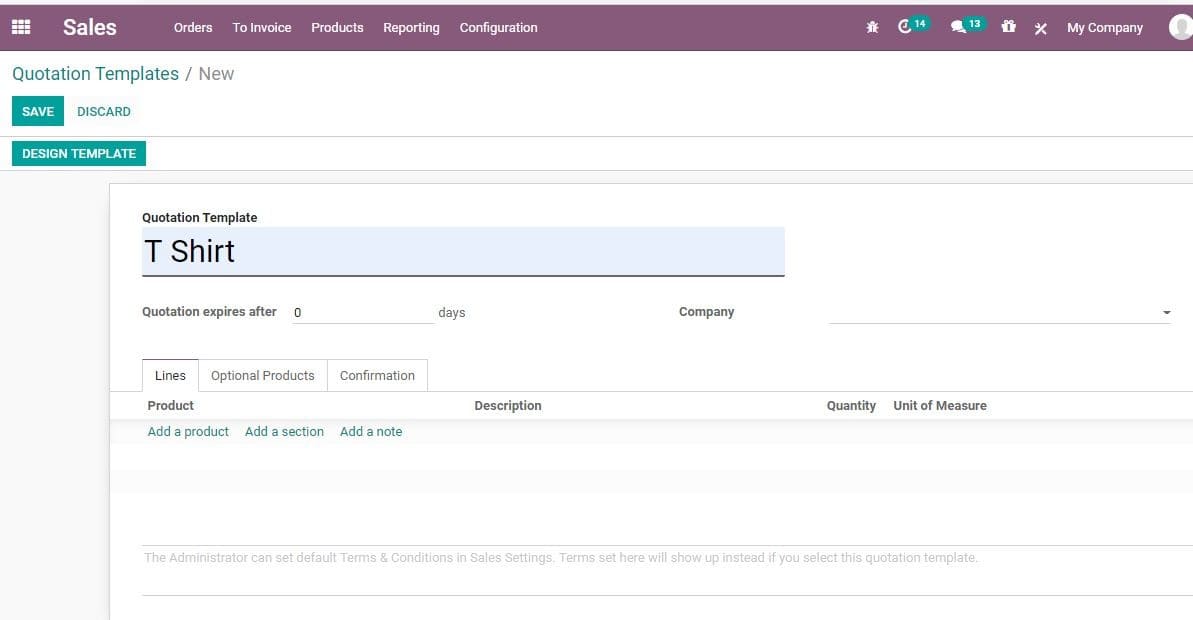
You can create template by going to Sales> Configuration Quotation Template
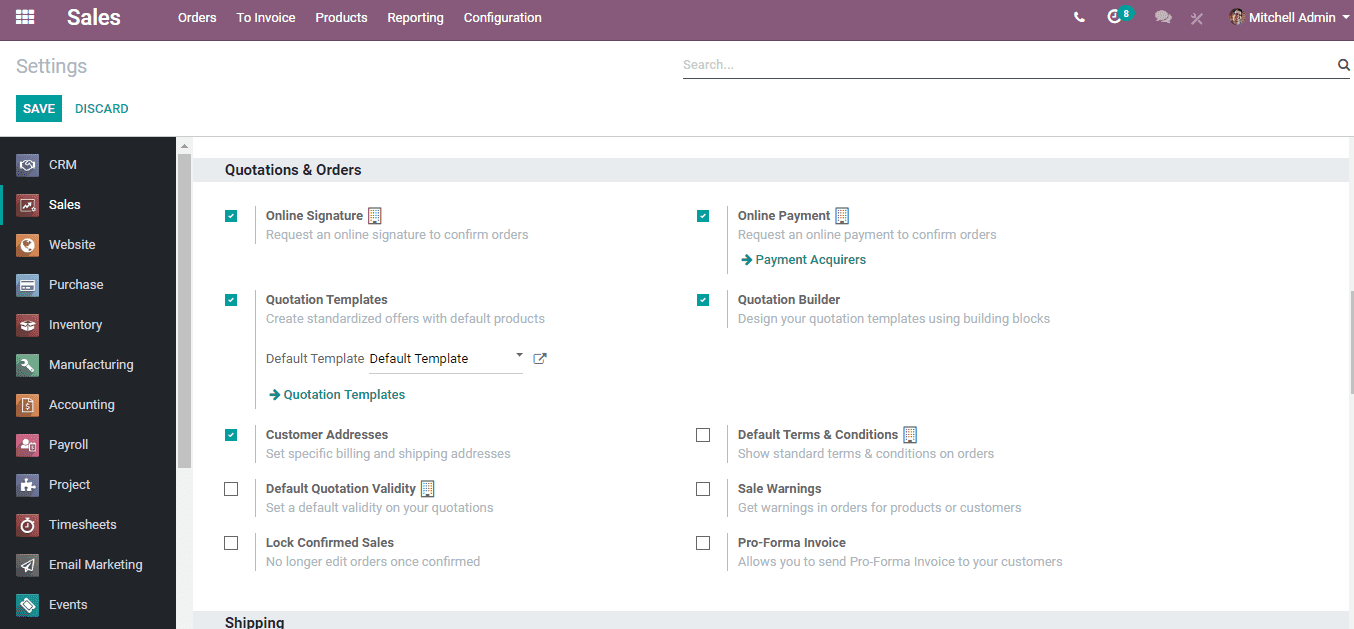
Create first template
The template menu can be found under Sales >Configuration> Quotation Templates.
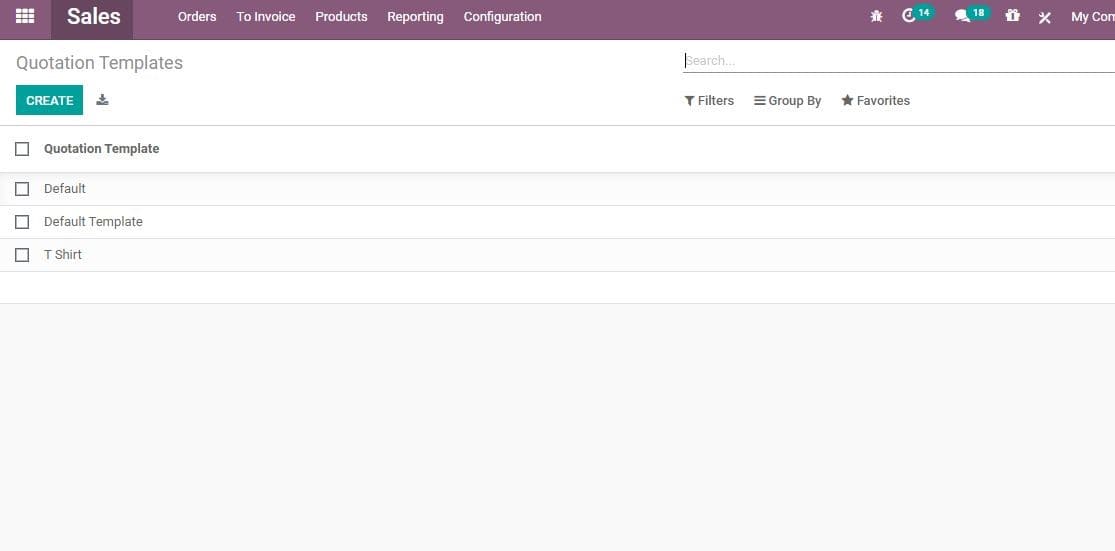
One can either create a new quotation template or edit the existing one.
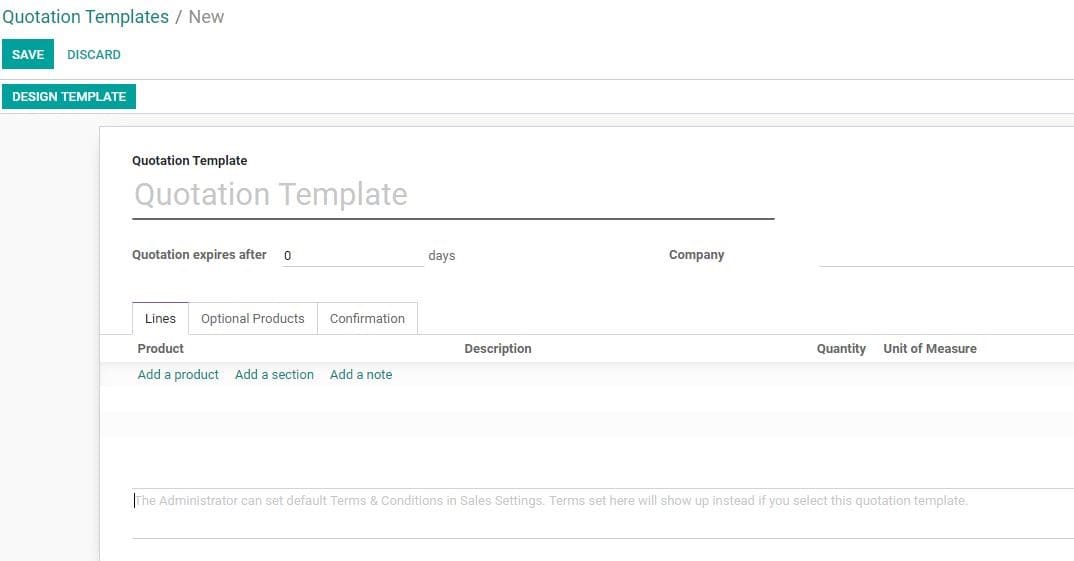
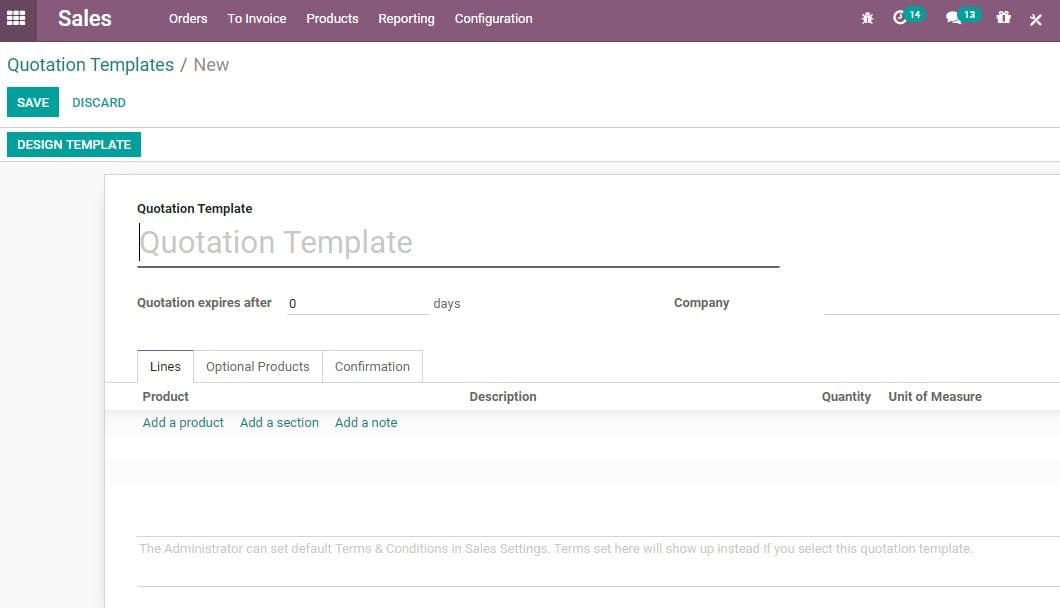
First you have to name the quotation template. Then you can select the product,
product quantity and the expiration time for the quotation.
The same way add discounts to the products also here if you have activated the discounts
option in the sales settings. The base price can be set in the product configuration
and this can be changed by the customer pricelists.
Set Expiration date
On each quotation or sales order, one can include an Expiration Date.
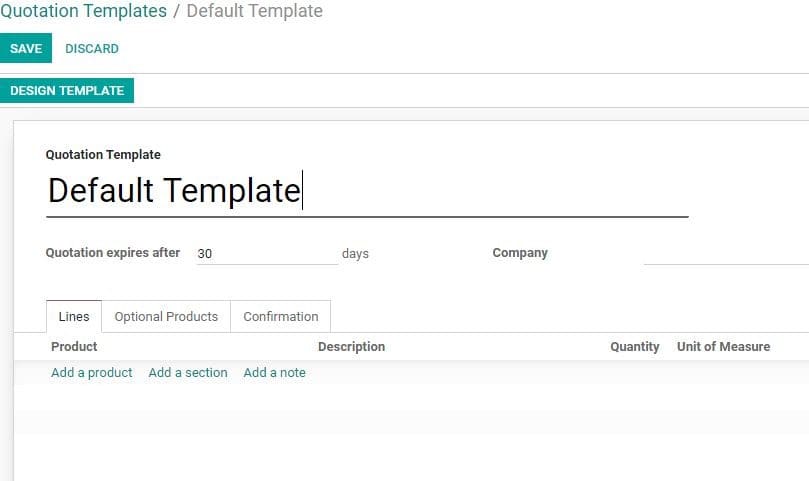
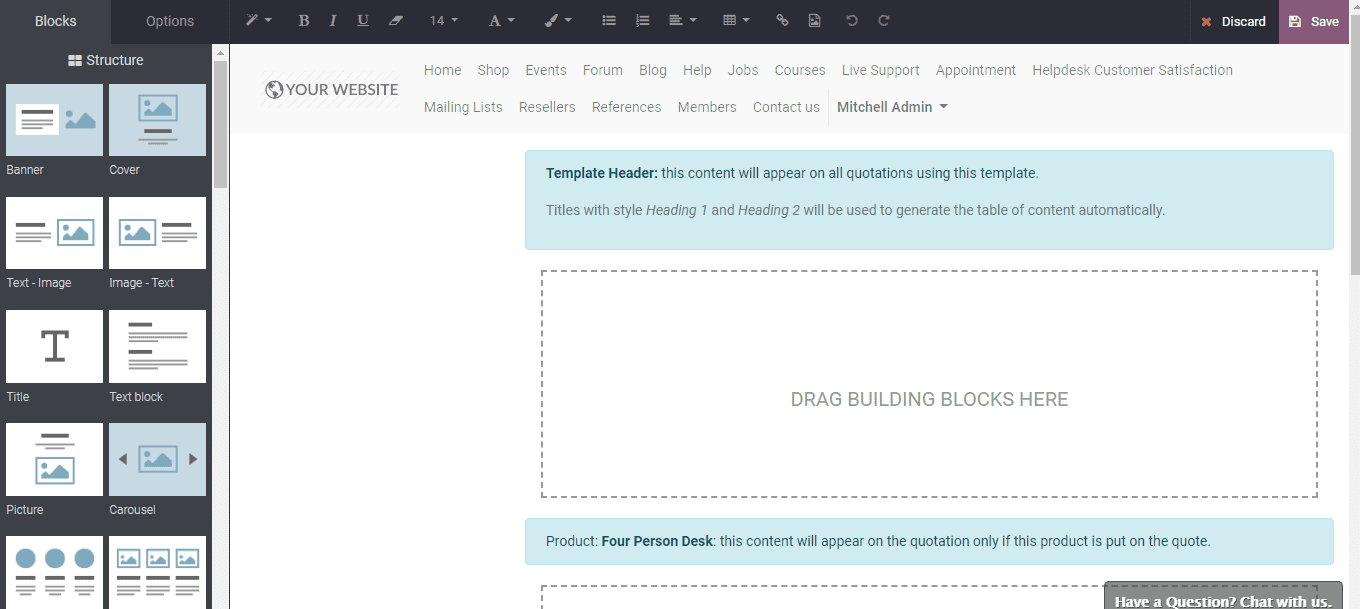
Editing Quotation Template
A user can edit the customer interface of the template by clicking the Edit Template
button
Use a quotation template
You can create a quotation template by selecting the desired template. All product(s)
included in the template will automatically get added to your quotation.
You can also set a confirmation process within the template. This can be done with
the help of digital signature or online payment.
Pricelists
Price lists indicate the price of products which are put on sale. Price list feature
of Odoo helps to manage the price of the product easily. It helps to control and
modify the price of the product for a specific customer or for a specific transaction.
All changes can be made based on the requirement of the company.
You can manage the price lists in Odoo in a few steps.
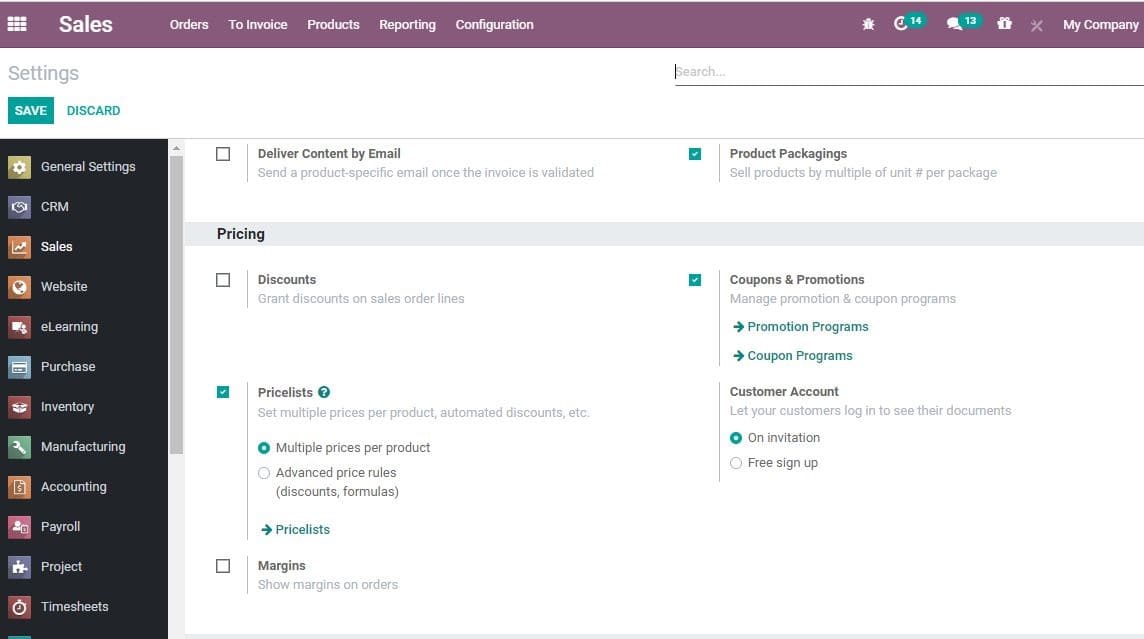
Go to Sales>Configuration>Settings. Here, you should tick the check box- Multiple
Sales Prices per product and save changes.
In Odoo, there are two types of sales price list.
Multiple prices per product are the first category. This allows customer segments
and use of different price lists for different countries having different currencies.
Prices computed from formulas (It is used for discounts, margins, rounding): This
option in Odoo helps the user to set price change rules. Changes can be made relative
to public price, product cost price, or to another pricelist. Odoo supports the
change calculation based on discounts and the price changer rules. Besides, Odoo
allows the user to round the prices based on the nearest cent or dollar or even
the multiple of both.
Pricelists Under Multiple prices per product
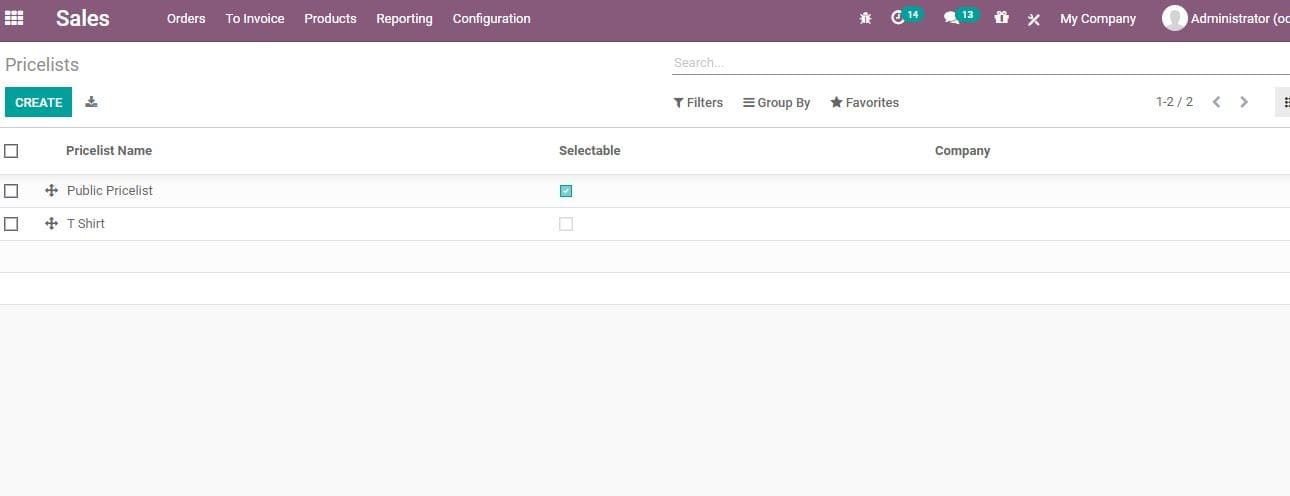
You can create a new pricelist by going to Sales>Products>Price Lists
To Create a new price list click the CREATE button. A create form will appear as
given below.
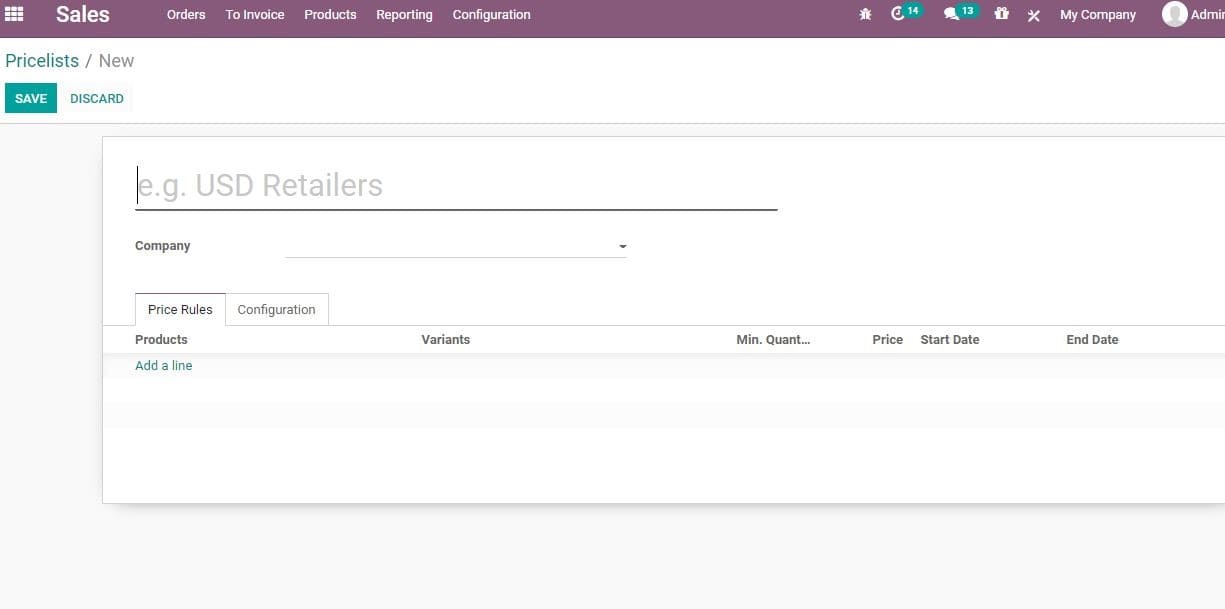
Here, the user can create a price list by filling the fields in the form. The details,
including the company name, price rules for the product can be added. You can add
new products by clicking add a line.
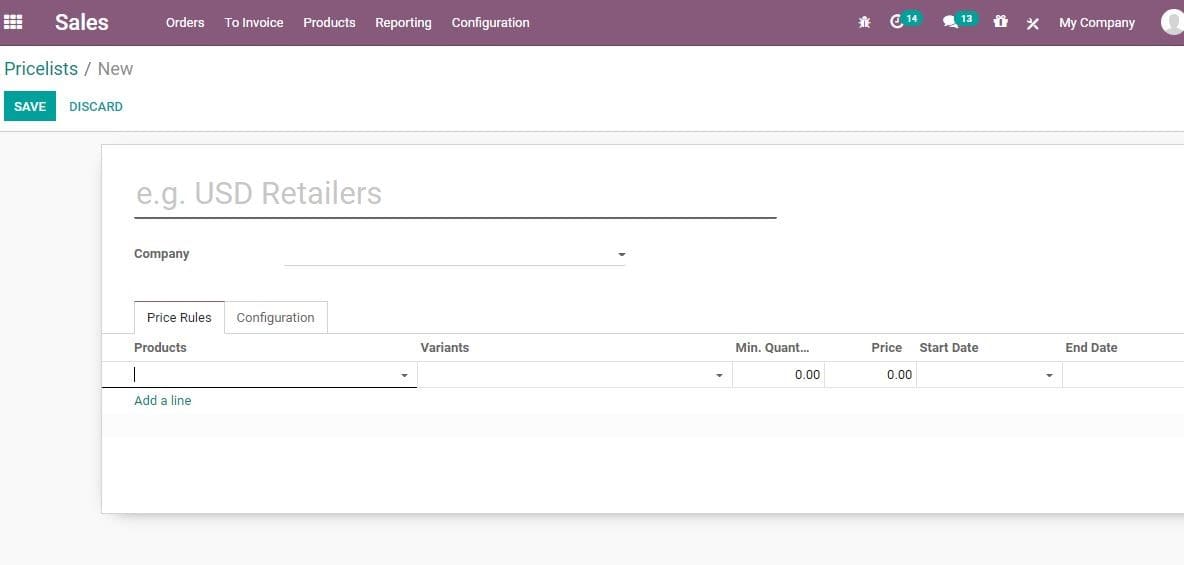
The user can also add product variants if any, minimum quantity, product price and
start date and end date of the product price list.
Under the Configuration Tab
Here, you have many options like,
Country Groups: Here you can select the country group. This will help to restrict
the use of a particular price list in the selected country group.
Website- Once this field is enabled it allows the buyer to view the price lists
from the website.
E-commerce promotional code: These codes enable the use of code for availing discounts.
Now Go to Sales>Products>Price Lists and activate Prices computed from formulas
option (discounts, margins, rounding’s). Tick the option and save changes.
Now, to create a new price list, Go to Sales>Products>Price Lists
Click the CREATE button to create a new pricelist.
A form will appear like below
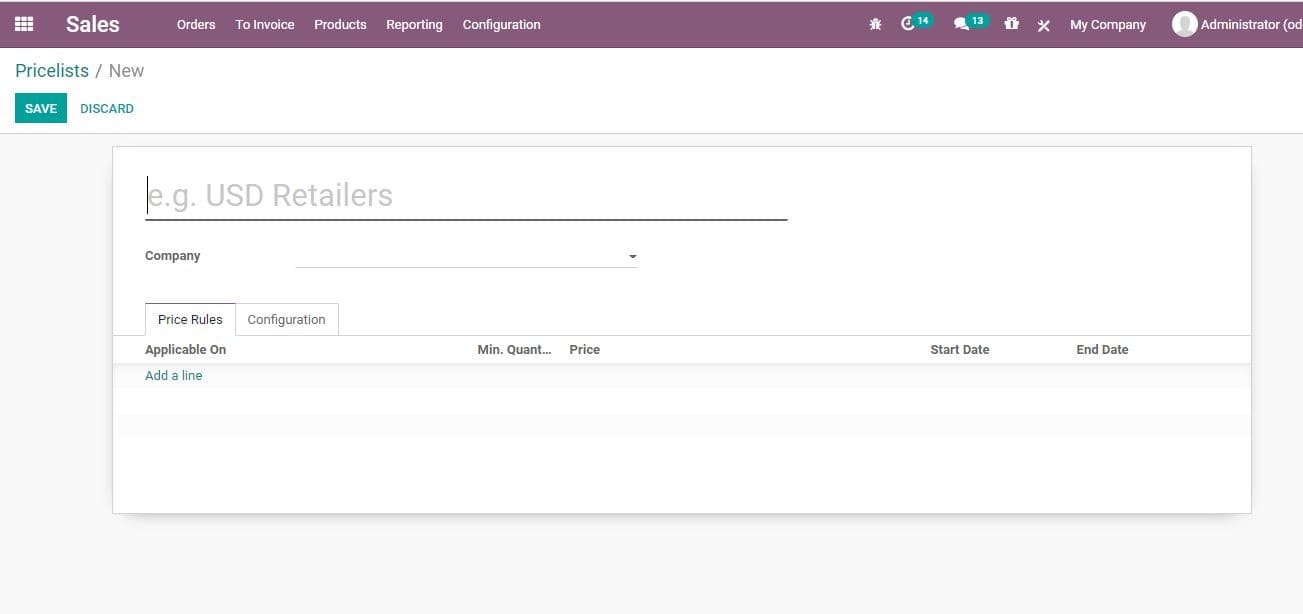
Here you can click add a line to give more details.
A new window will be opened then
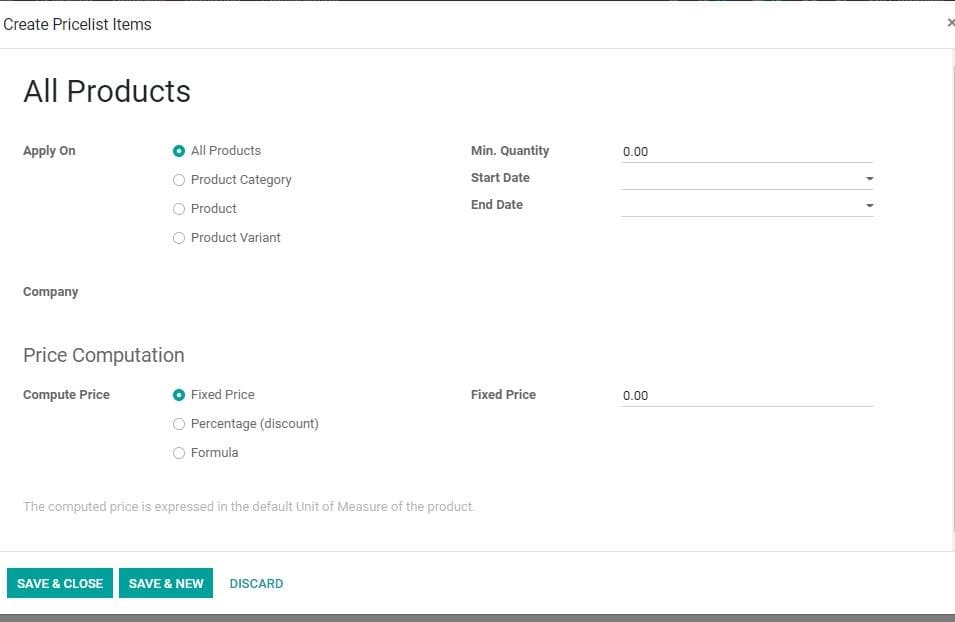
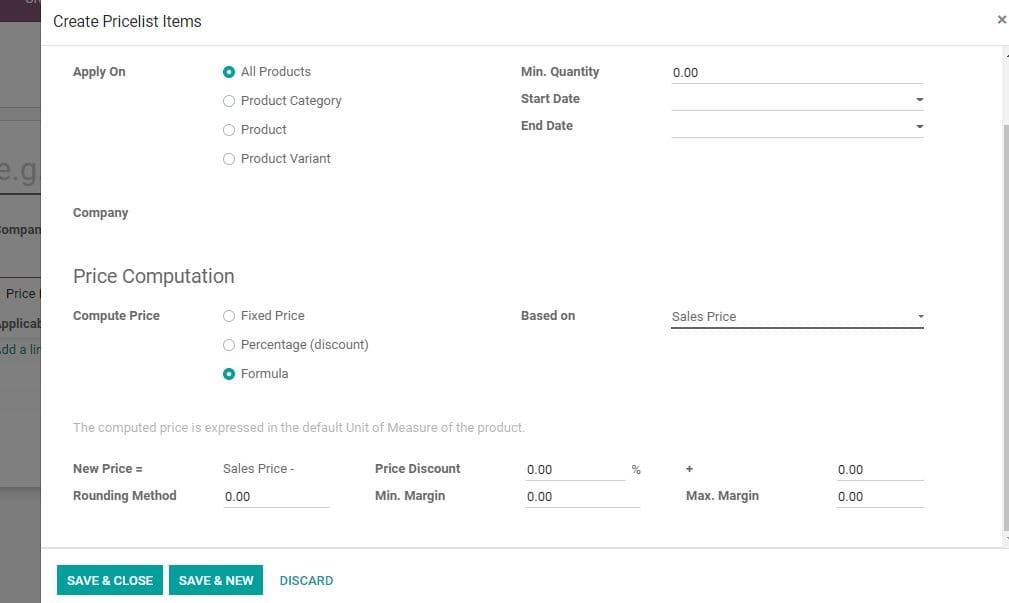
Here we can define certain parameters for creating the pricelist.
Apply on: The user can apply a rule here based on the given criteria.
All products: This activates the price list on all products.
Product Category: This activates price list on selected product
category (eg. sealable, fruits, electronics)
Product: This helps to enable price lists only for a specific product.
Product Variants: Pricelist will be applicable only for a specific
product variant.
Minimum Quantity: Minimum quantity required to apply Pricelist
rule.
Start Date: The date on which the pricelist comes into force
End Date: The expiry date of pricelist
Price computation: IT is used for calculating the price using different
methods
Fixed price: With this feature, the user can fix a price for a
product or a group of products.
Percentage (discount): IT helps to define a percentage discount
on the sales price of a product or product variant or product category.
Formula: With this, the price of the product can be calculated
by using a formula.
Now, we can go back to framing sales quotations. A user can add payment Terms in
the quotation.
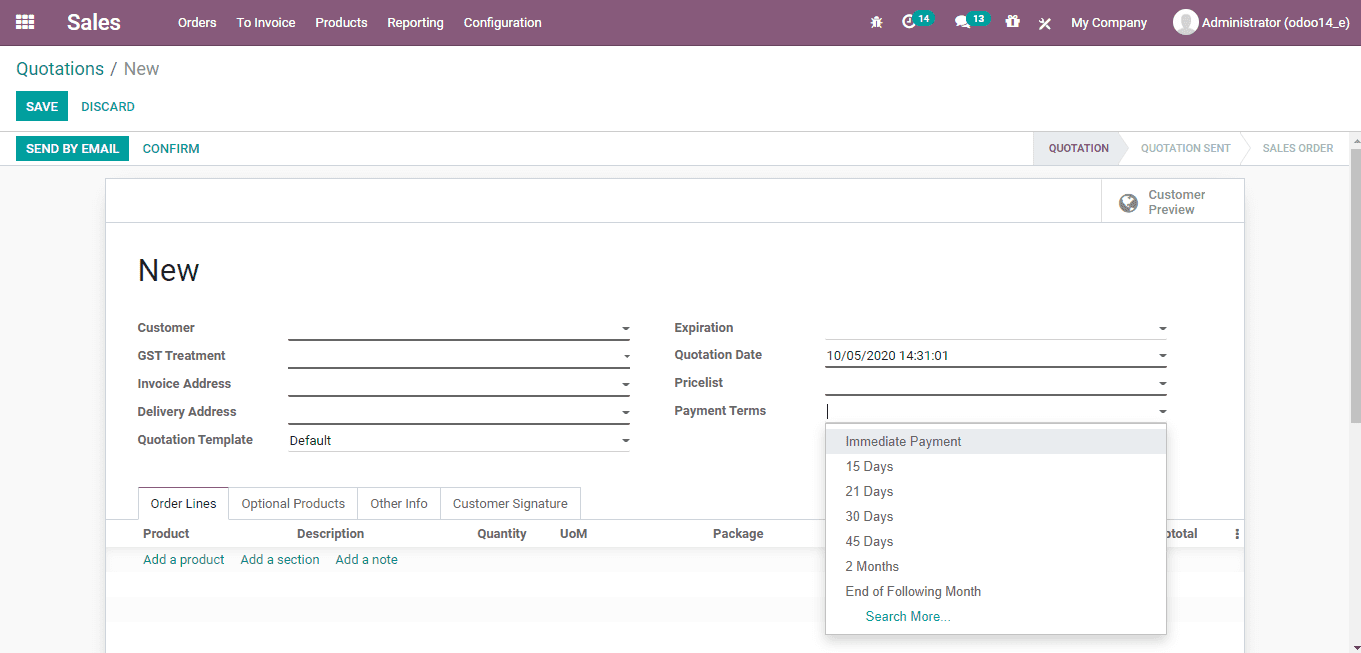
A user can change the payment terms for a quotation by selecting the term form the
dropdown menu. This makes it more adaptable for the dealer.
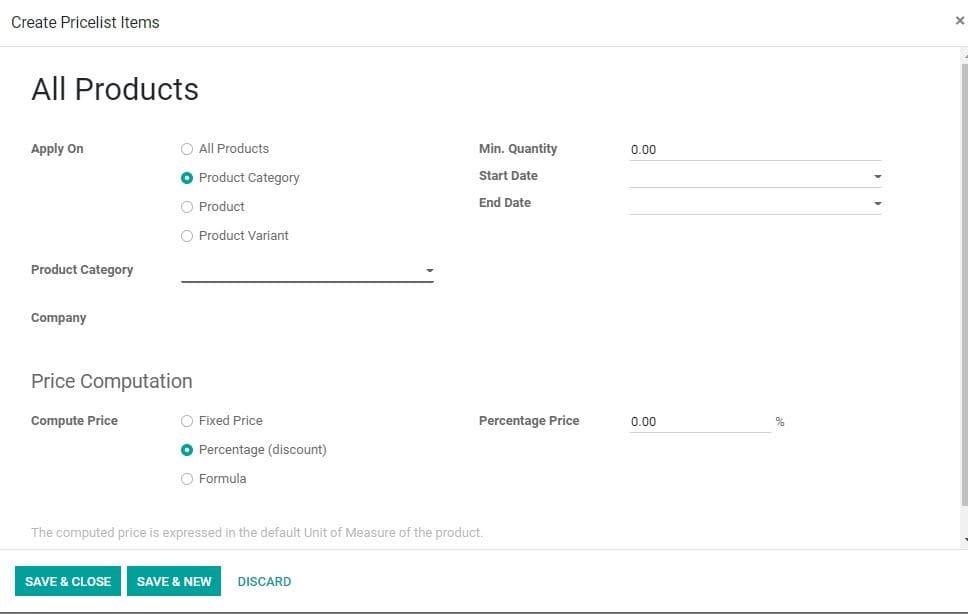
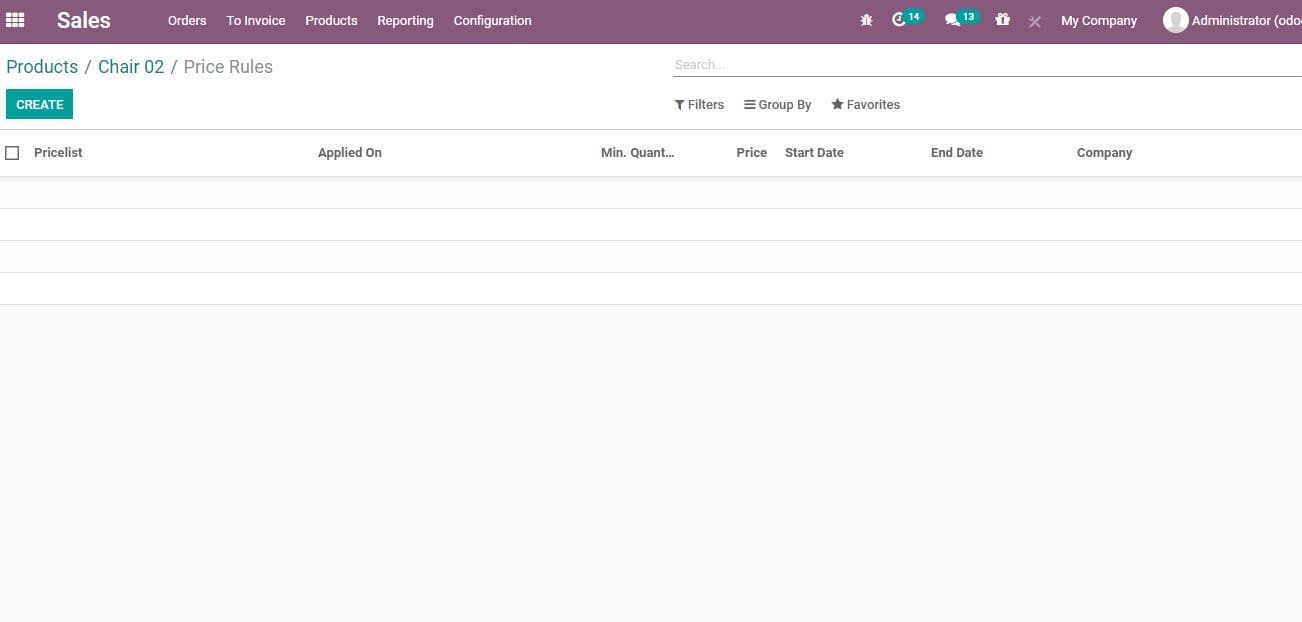
Here, you can click on the Extra Price button
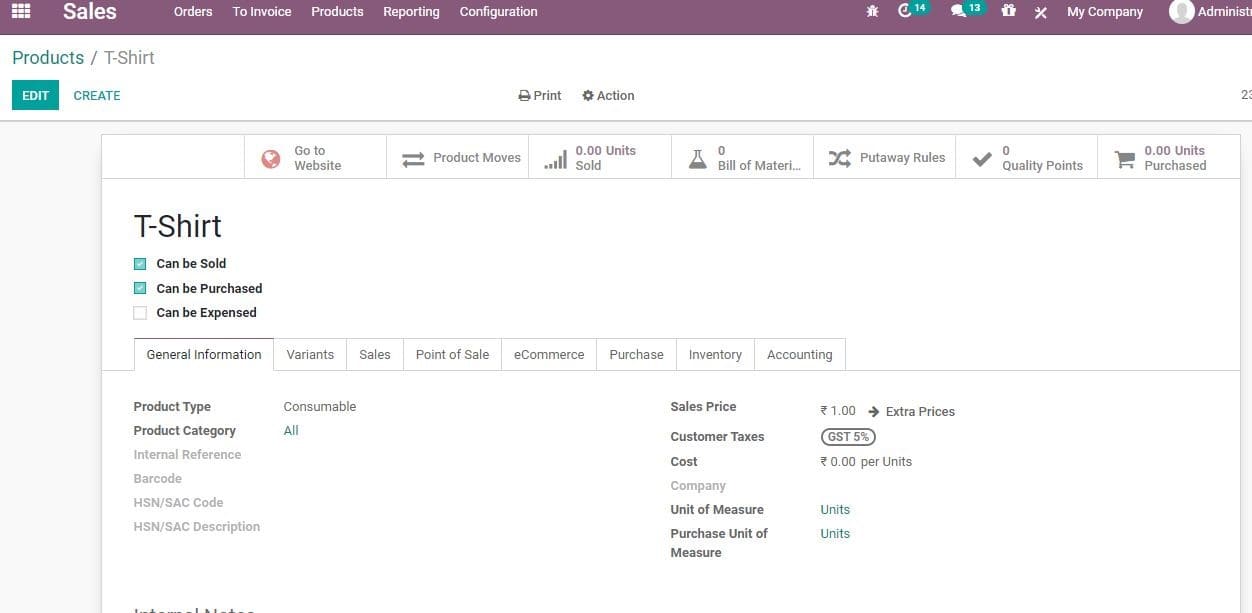
You can create a new price list for the product
Here is another most beneficial feature of Odoo: Optional Products Tab. This enables
you to include related items or services.
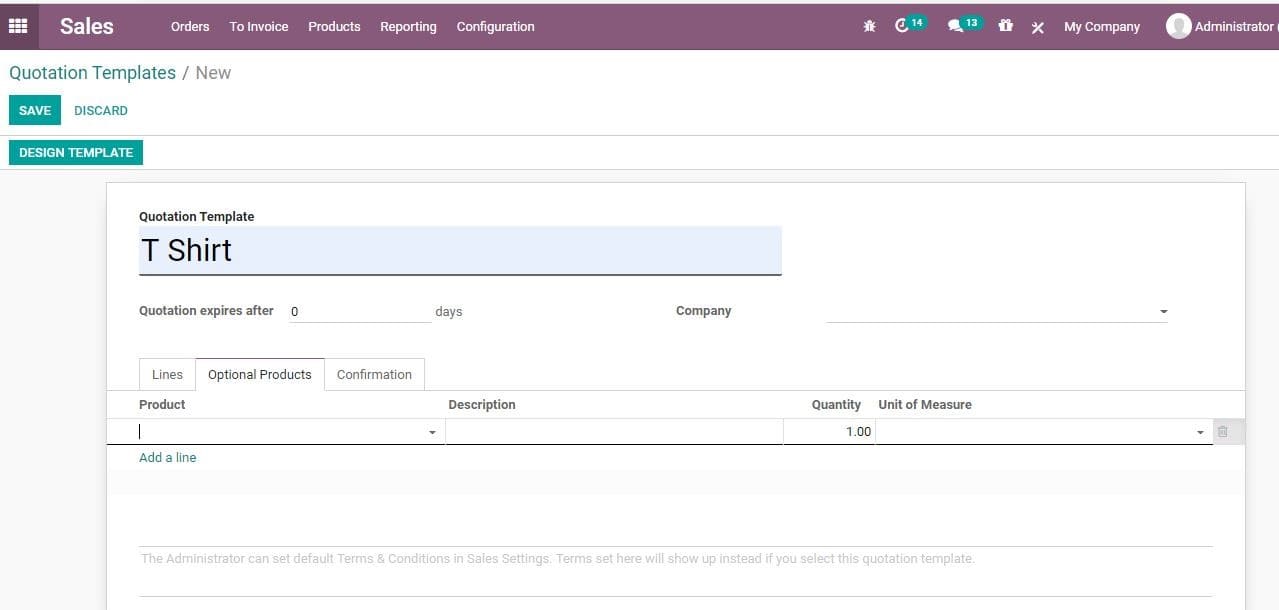
You can also add suggested/ optional products to the quotation
This can be done when they receive an order by email.
Discounts
Permission to use discounts on quotations is sure to improve the prospect of the
business.
you can enable discounts in quotation, Go to Sales>Configuration>Settings
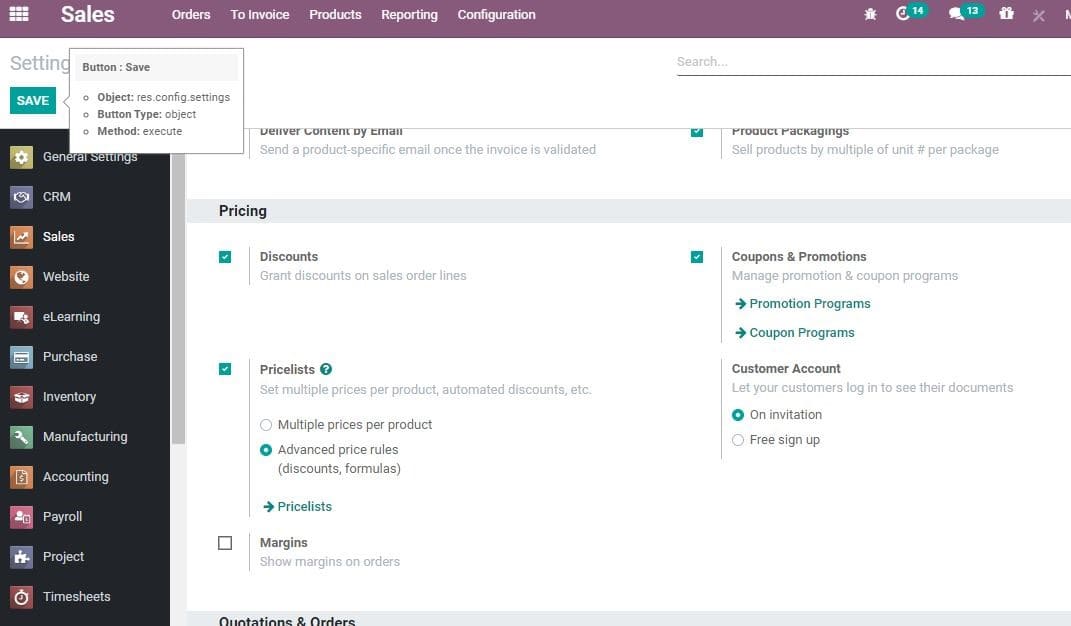
Under pricing, tick the option discounts
Once you enable the option it gets reflected in the sales quotation.
