live chat
Odoo Live Chat helps the user to have direct communication with the website visitors.
A dialogue box will be opened when any user contacts through the website. This simple
dialog box on the screen will help the customer to communicate easily with sales
representatives. This will improve the prospect of the business. The live chat will
also speed up the sale process. IT will also enable the business to ensure direct
communication with the customers.
For availing this facility, install a live chat app.
On entering the application, you can see already created live chat channels. Here,
you can also choose to create a new live chat. This can be done by clicking Create.
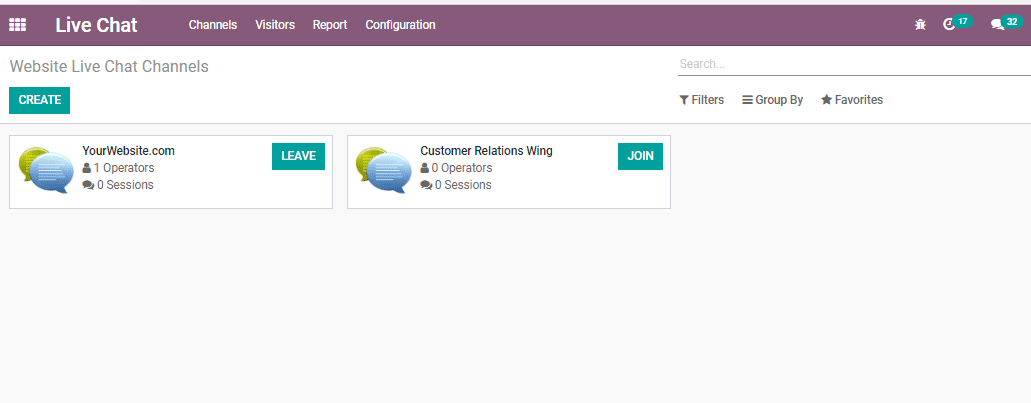
On clicking the CREATE button, the user will be navigated to a fresh window. You
can find the window given below.
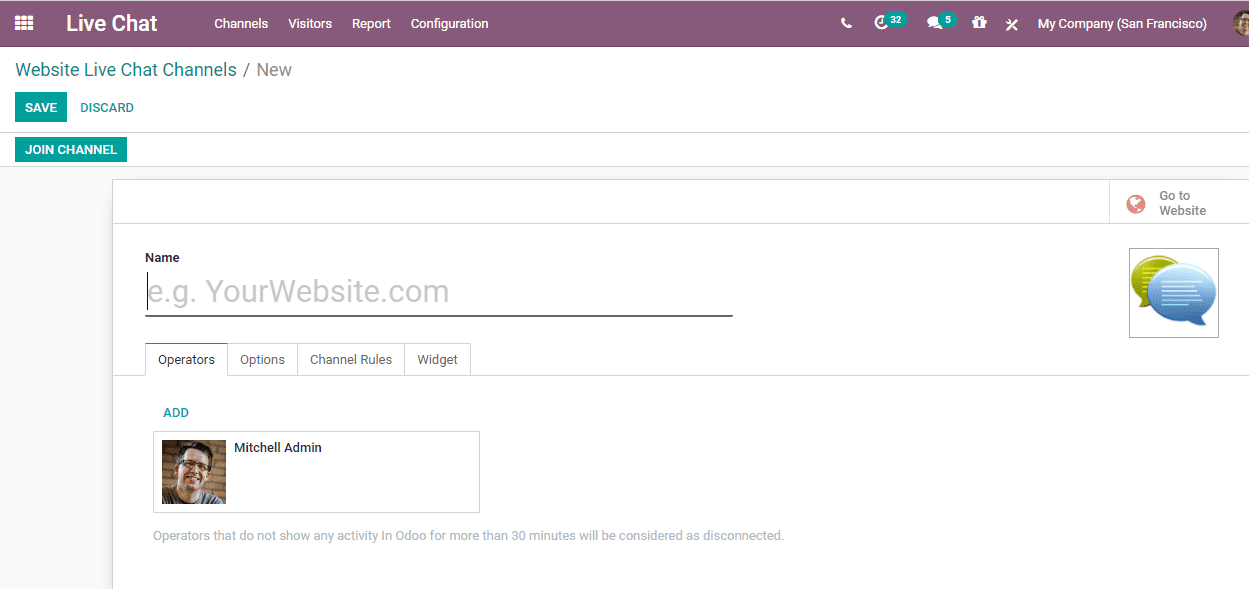
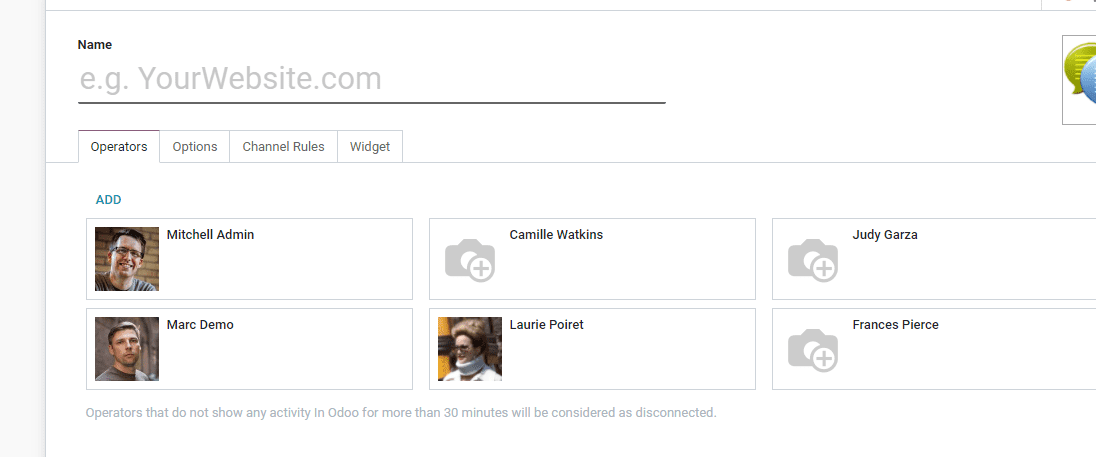
The user can add the name to create a new chat. Then click the add button to add
operators.
Prepare automatic messages
The user can prepare automatic messages using Live Chat. For this go to the Options
section in the channel form. There you can set several messages. The user can make
use of these messages in a way that the message will automatically appear on the
chat when a user visits the website. This attracts the visitors and prompts them
to communicate through a live chat.
The user can also customize the messages at Options.

Text of the button: This is the default Text displayed on the Livechat
Support Button.
Welcome Message: The user can set an automated welcome message
that your visitors can view when they enter the website.
Chat Input Placeholder: This is the text that prompts the user
to start a chat.
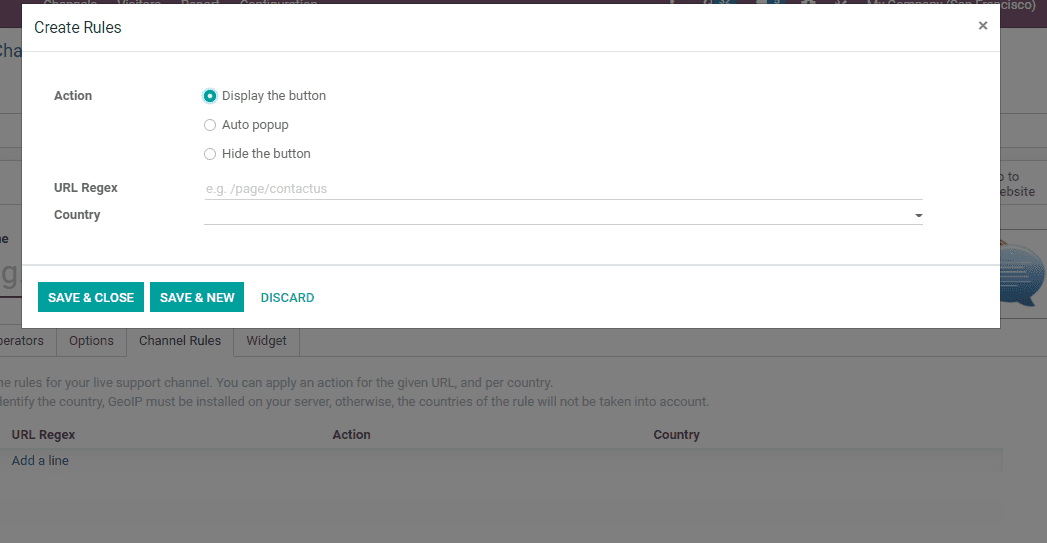
Channel Rules
In the channel form, a user can define the rules for a Live Chat. For example, the
user can enable a chat in selected countries only. This selection can be made based
on the knowledge of the language used in that particular country. If you are not
able to communicate in the local language of a particular country, then the chat
box can be kept hidden for that particular country.
Chatting with customers
In order to start a conversation with a customer, the user will have to create a
channel and publish it on the website. This can be done in a few steps. GO TO WEBSITE
OPTION which can be found on the right top corner of your channel form.
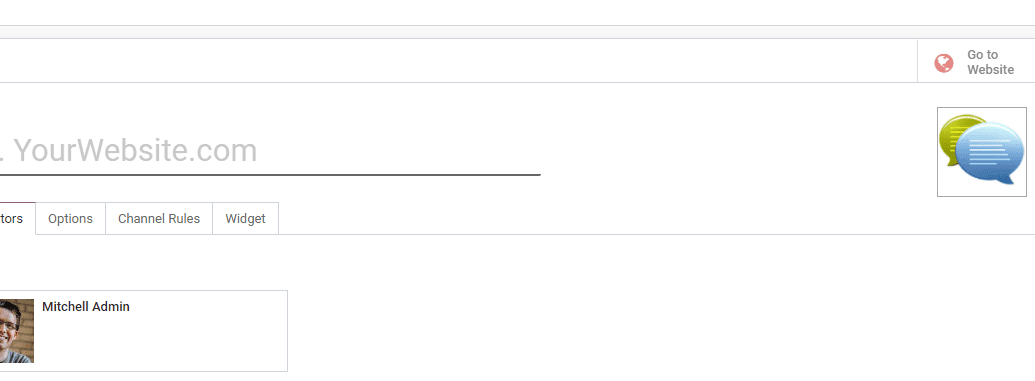
On clicking this, the user will be redirected to the website page as given below.
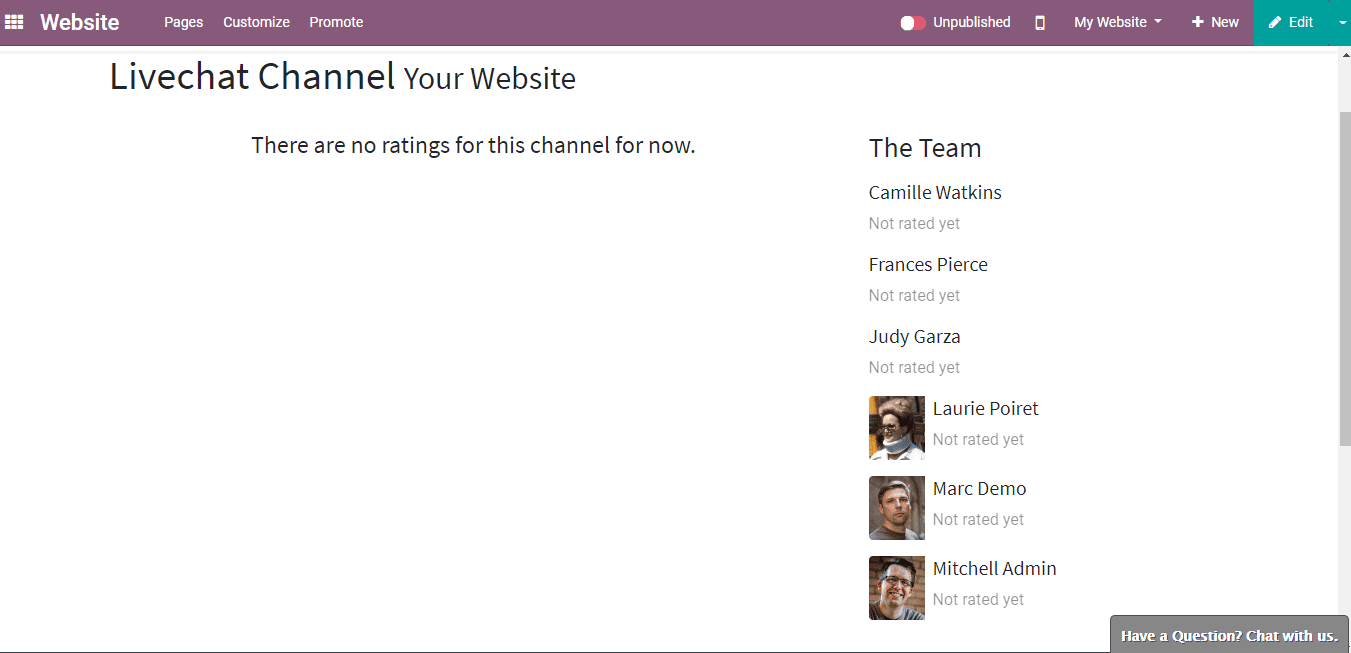
The user can also toggle the Published settings by clicking on the UNPUBLISHED button
on the top right corner.
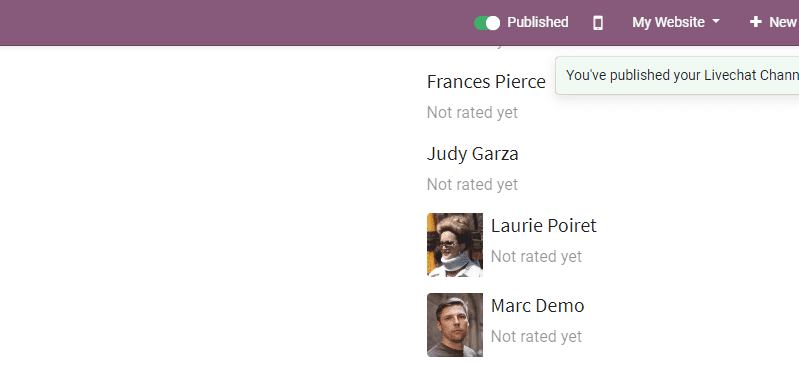
The Live chat will start the moment the operator joins a channel.
The conversations created by the visitors will appear in the Discuss module as Direct
messages.
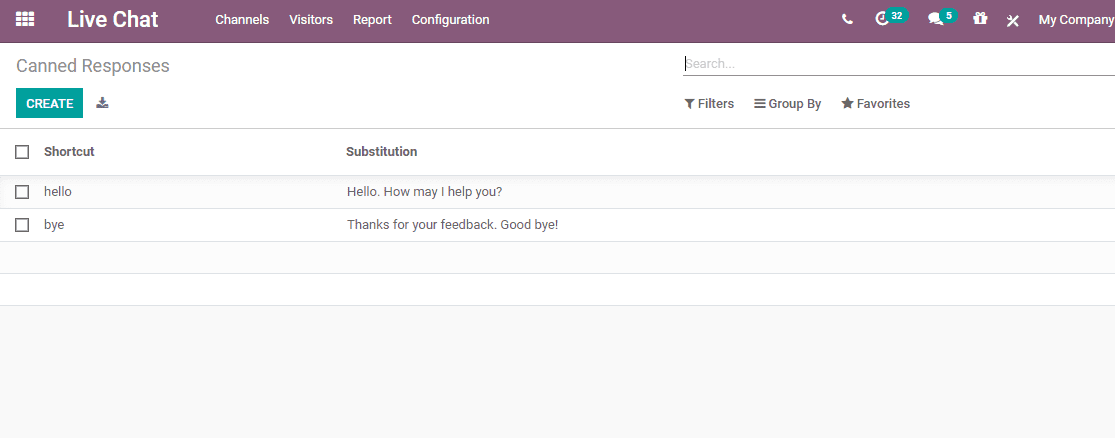
Canned responses
Canned reactions are the reactions that the operator creates to answer to expected
queries. IT can also be defined as predetermined reactions. Composing short messages
instead of long sentences will save the time of the operator.
A user can add canned responses. This can be done in a few steps. Go to LIVE CHAT
> Configuration > Canned Responses.
A user can create as many canned reactions as they need.
To use the canned response, simply type “:” . This will be followed by the shortcut
assigned by the operator.
