Expense Management
Odoo 14 has made the management of the daily expenses of your employees an effortless
task. Odoo Expenses enables you to manage all expenses including travel expenses,
expenses on office supplies and other expenses.
Expense Dashboard helps employees to submit all expense details along with soft
copies of the receipts for approval. The Odoo 14 module makes all the operations
including Create, Validate, Approve and Refuse simpler.
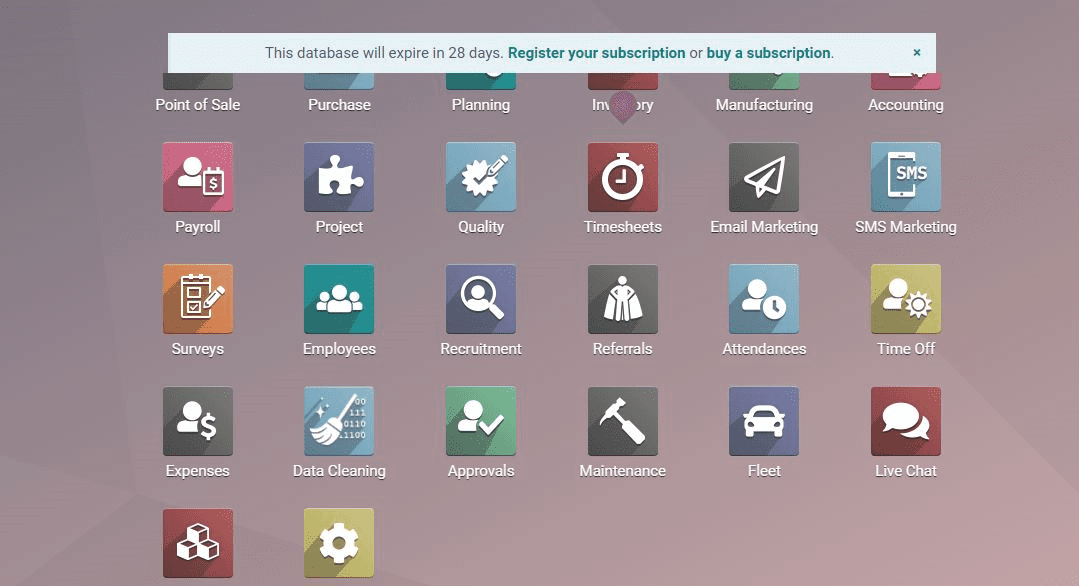
Expenses Module Can Be Installed From Odoo Apps.
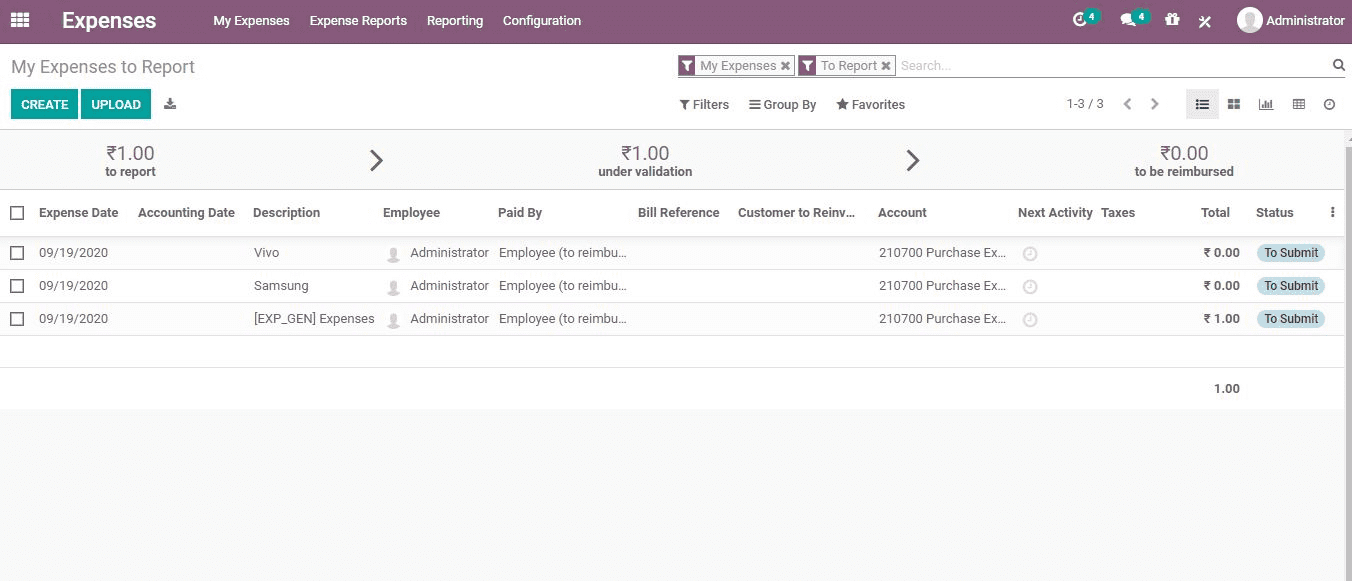
You can find the Expenses Dashboard on clicking the Expense Module. Expense Date,
Accounting Date, Paid by, Bill Reference, Customer to Reinvoice, Account, Unit Price,
Currency, Quantity, Activities, Taxes, Total, Status along with Description, Employee
detail can be listed in an organized way in the Dashboard.
Configuration
Click the Configuration Menu. Then you will get a dropdown where you can select
Activate Incoming Emails and Reimburse in Pay Slip.
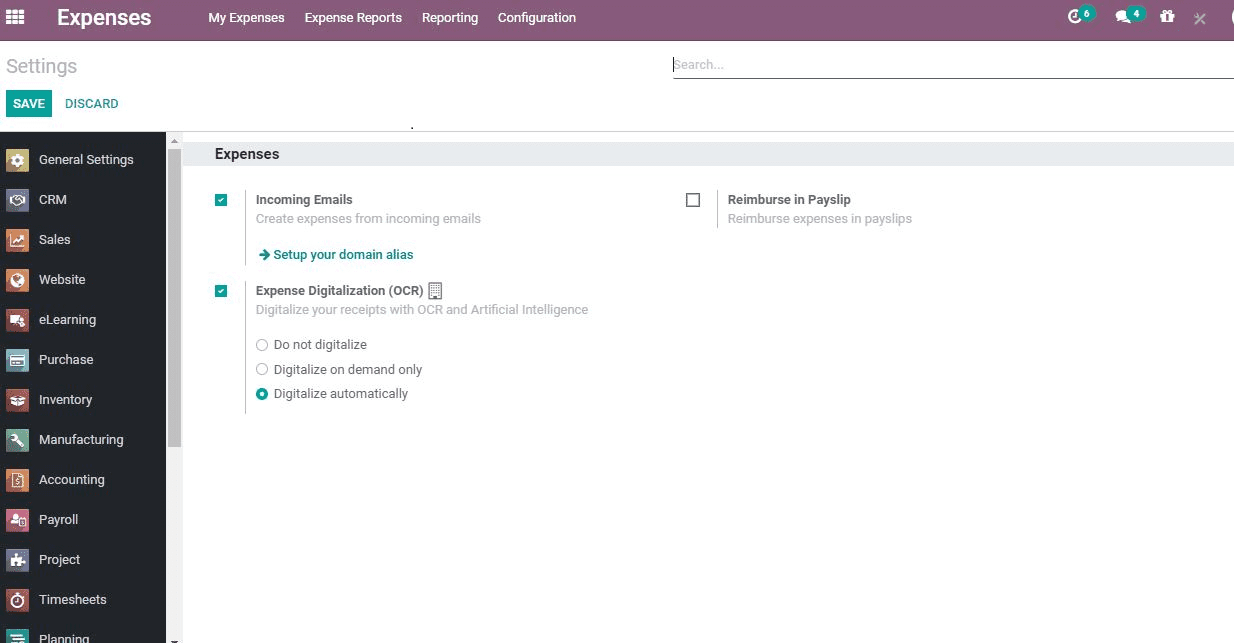
On activating these options employees can record their expenses by sending it to
the email address. The email can be sent to different departments also for processing.
The Reimburse option helps the employee to get their expenses reimbursed.
Generate An Expense
Generating Expenses is important to run a business. With Odoo a user can manage
different types of expenses.
Create Single expense
Expenses > My Expenses > Create
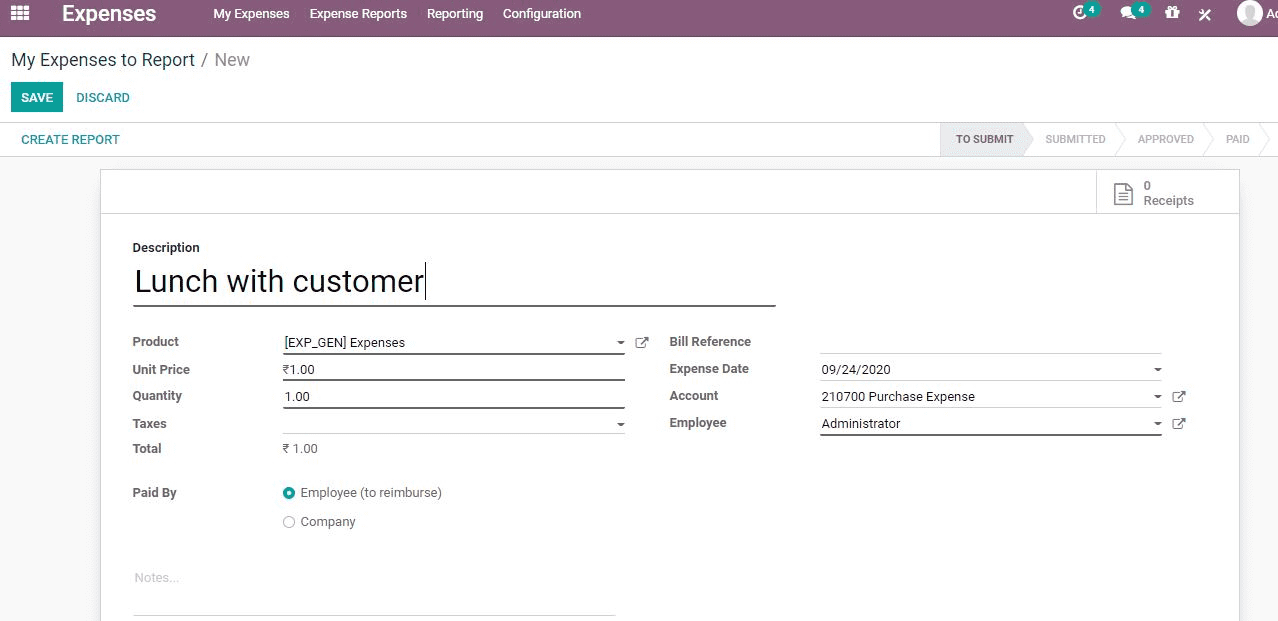
For Creating an Expense an Employee has to fill the columns. While some of the columns
are optional some are mandatory.
Description: This field can be used to provide the details including
reference to bill/ticket.
Employee Name: The purchased product name can be given to specify
the expense type.
Paid By: The person who made the payment
Expense Date: The date on which the expense was made
Unit Price: The price of the product per unit. If the expense is
travel expense, the unit price will be based on the distance travelled.
Accounting Date: The date on which the expense report is accounted
Currency: The currency used for transaction
Taxes: Taxes charged on expenses
After filling all required fields click Save to Create
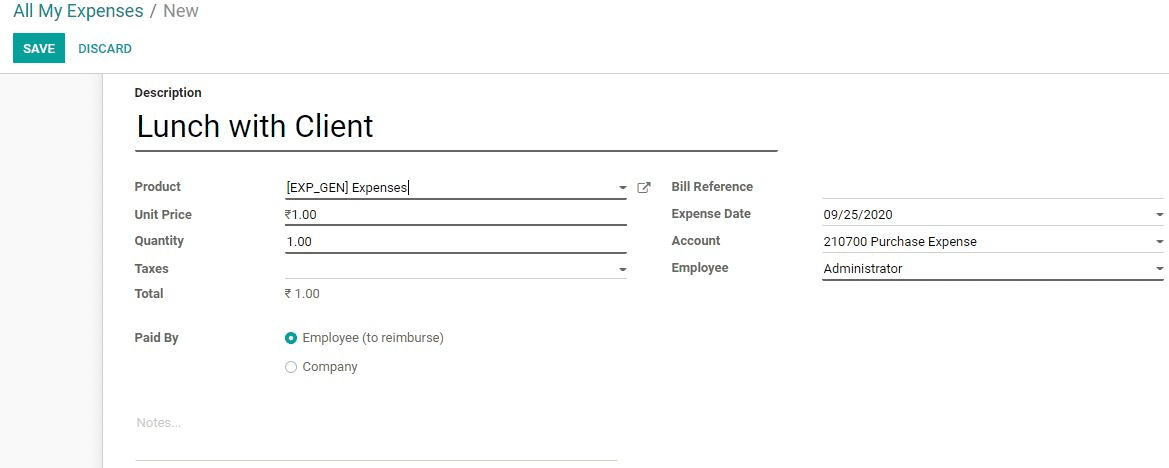
The user will be navigated to a new Window after clicking Save. In the new Window
you will be able to attach bills and other documents.
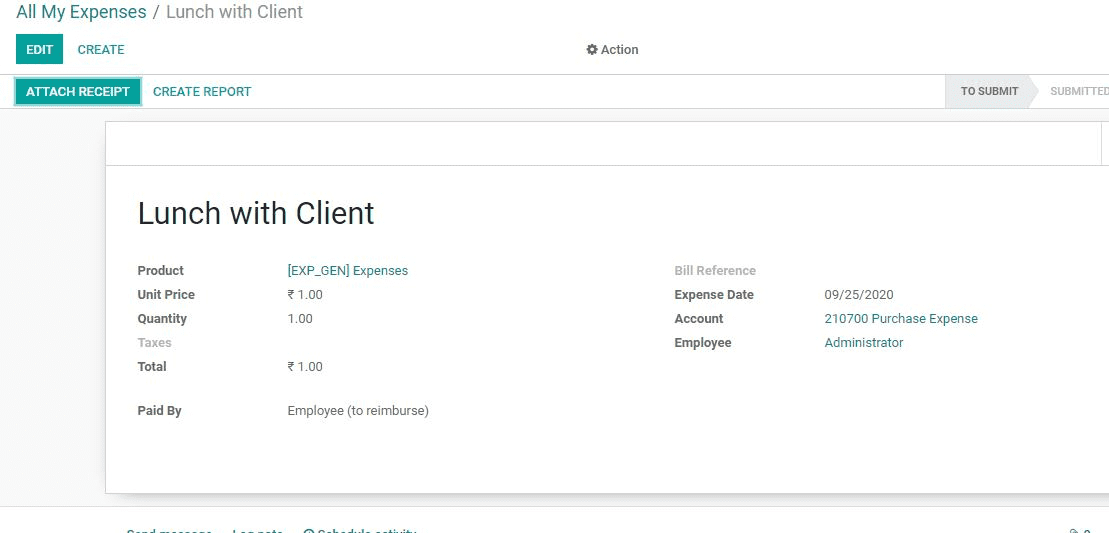
After attaching all required documents, one can Submit by clicking the Submit To
Manager tab.
After submitting the Expense Report the employee will be able to review the status
of the report.
Note:-“After the submission of Expense Report by the employee, the remaining task
has to be completed by the manager. The Manager is responsible for approving or
refusing the report. He can also seek more documents or explanations in the form
of comments.
While reviewing Status, the user can find a few status updates.
Posted: This means the Pay Slip has been Posted in the journal
Paid: This status update indicates that the payment has been made.
Approved: The expense is approved
Refused: Expense is refused
The creation and approval of Expense Report will also have to follow the same steps
My Expense to Report
This feature can be accessed from Expenses> My Expenses> My Expense to Report
Here you can view all your expenses which are yet to be reported. The expense date,
description, Next activity, analytic account details and status of the report. A
user can also create a report here. This feature will help an employee to submit
the report without fail.

A user will be able to create new expenses to report or make changes in the already
created reports from here.
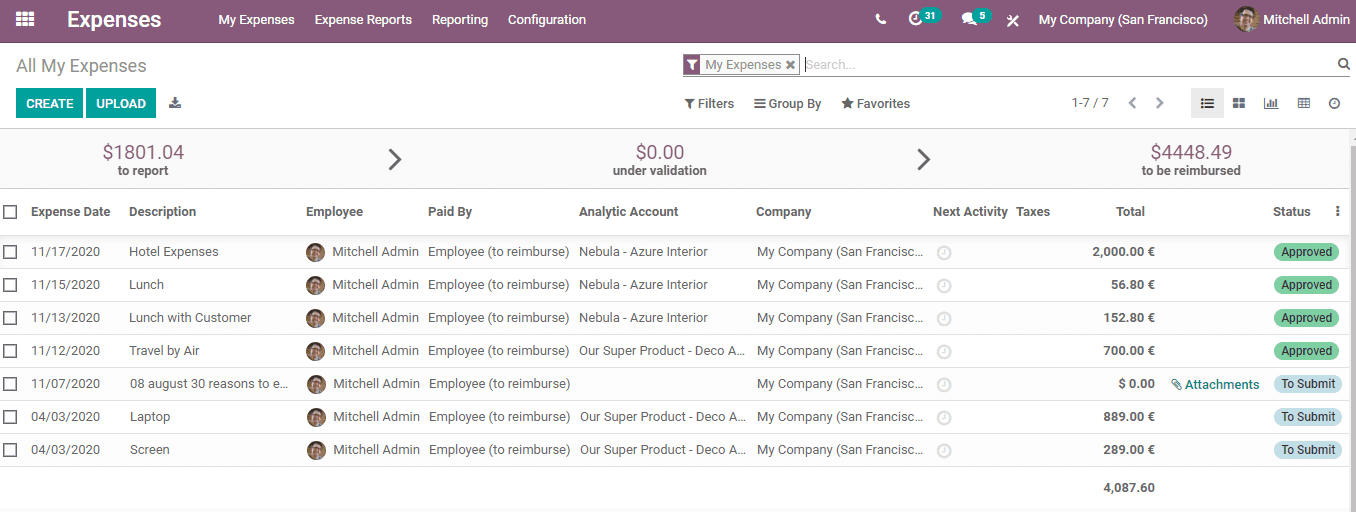
All My Expenses
Using this feature, a user can view all expenses. Here, you can view all reports
sent for approval and the expenses to report.
My Reports
This is a feature under the My Expenses Tab.
This can be used by an employee to view all expense reports prepared by him. The
status of the report prepared by the employee can also be viewed from here.
To access this, Go to Expenses> My Expenses> My Reports
An employee can view the name, accounting date, expense report, next activity, status
and other details here. To create a new report, click The Create button.

A user can create a report by clicking Create. As in other cases, you have to fill
the fields and then submit it. Using My Report feature, a user can also upload an
expense report. This can be done by clicking the upload button.
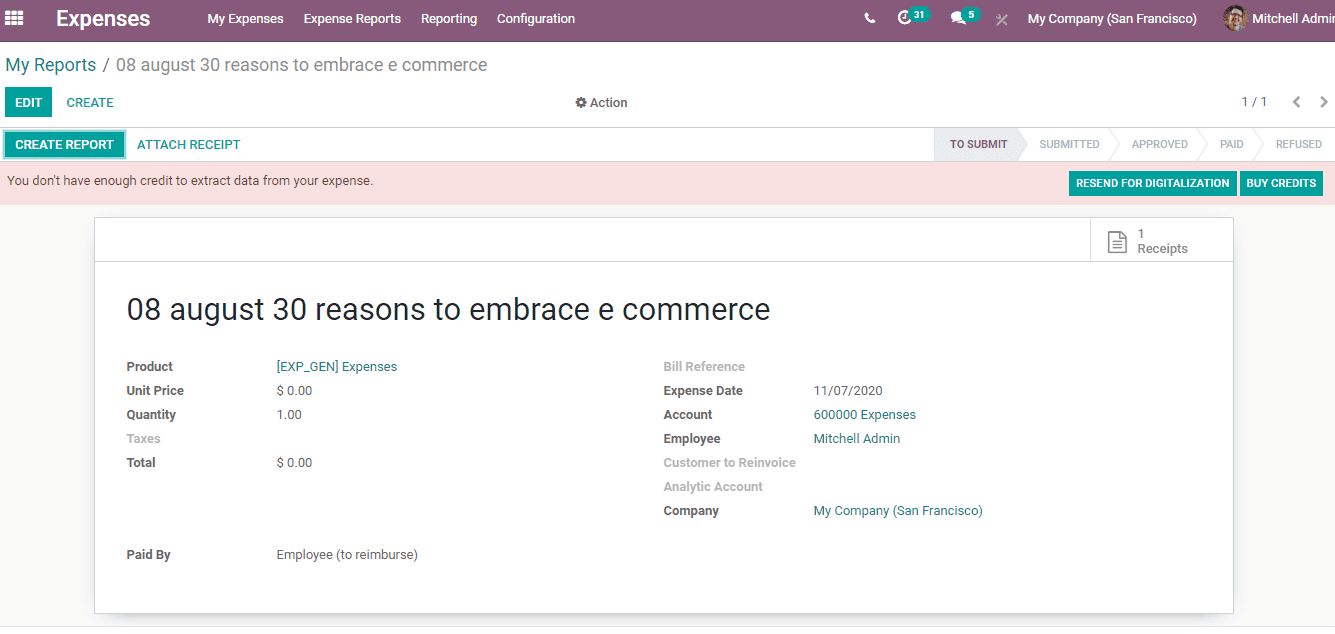
Here, the data will be automatically used by the app. The user can also attach bills
using this feature.
Reports to Approve
Once the Expense or Expense Report is submitted to the manager, he will be responsible
to review the request. The manager will go through the expenses mentioned in the
report and scrutinize the bills attached. The approval is given after these formalities
are completed.
Expense approval by manager
Once the Expense or Expense Report is submitted to the manager, he will be responsible
to review the request.
To Approve
Configuration
Expenses> Expense Reports >To Approve
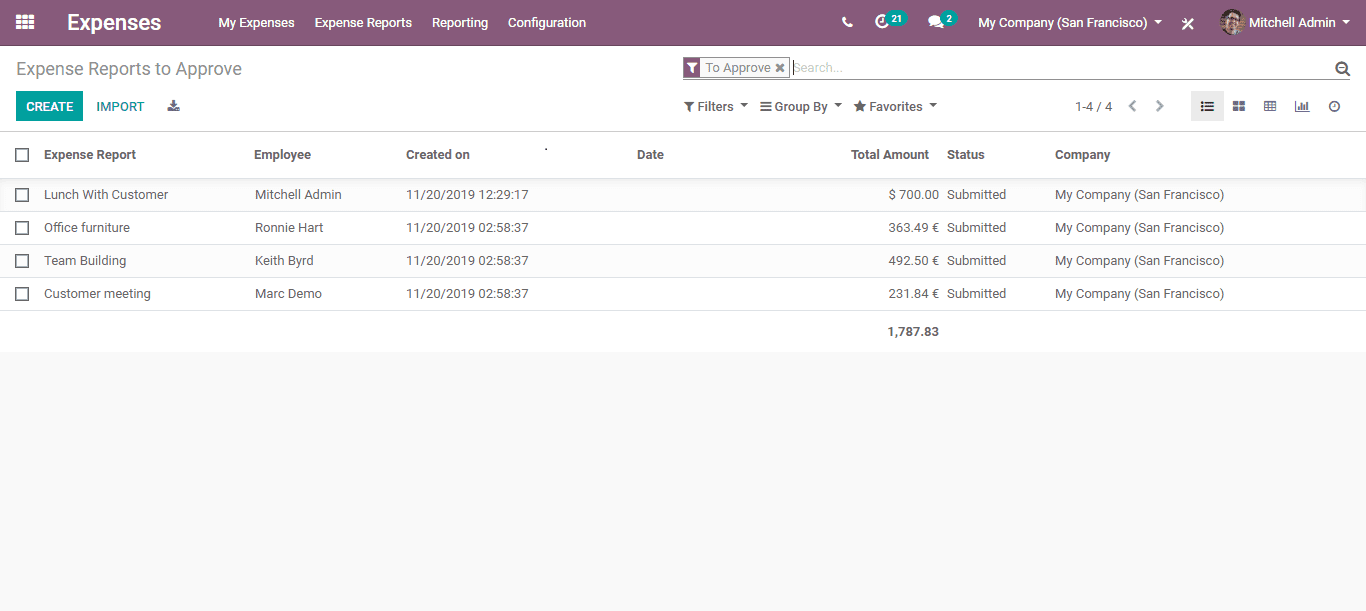
The manager is able to see all the expenses and expense reports awaiting approval.
He can have a view of all the requests. The manager can view the status of applications
and select an application by clicking on it. Then the person can examine and scrutinize
the application and take necessary action. This provisions the manager to oversee
all the expenses that are awaiting approval. From the list, the manager can select
a submitted expense, scrutinize it and take appropriate action.
Reports to Post
The expense management process does not stop after the approval stage. After the
approval stage, an expense report has to be posted. This means, the Expenses Report
has to be entered in a journal to document the report. This process also can be
done in the following way.
To Post
Configuration
Expenses> Expense Reports> To Post
One can find the Expense Report to Post on the Dashboard. This can be selected by
a designated person and post for journal entry.
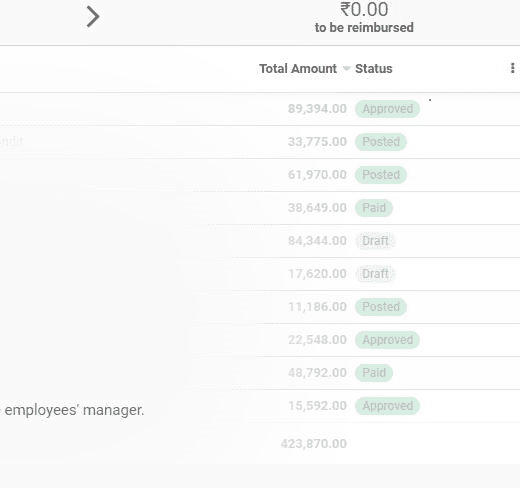
Click the POST JOURNAL ENTRIES button. Then the expense gets POSTED. The status
of the posted entry can be changed using the status bar. The status can be changed
from Approved to Posted.
Reports To Pay
This feature the Expense Reports to Pay feature helps to review the payment status.
The reports paid, the reports submitted, reports in draft and other details can
be viewed.
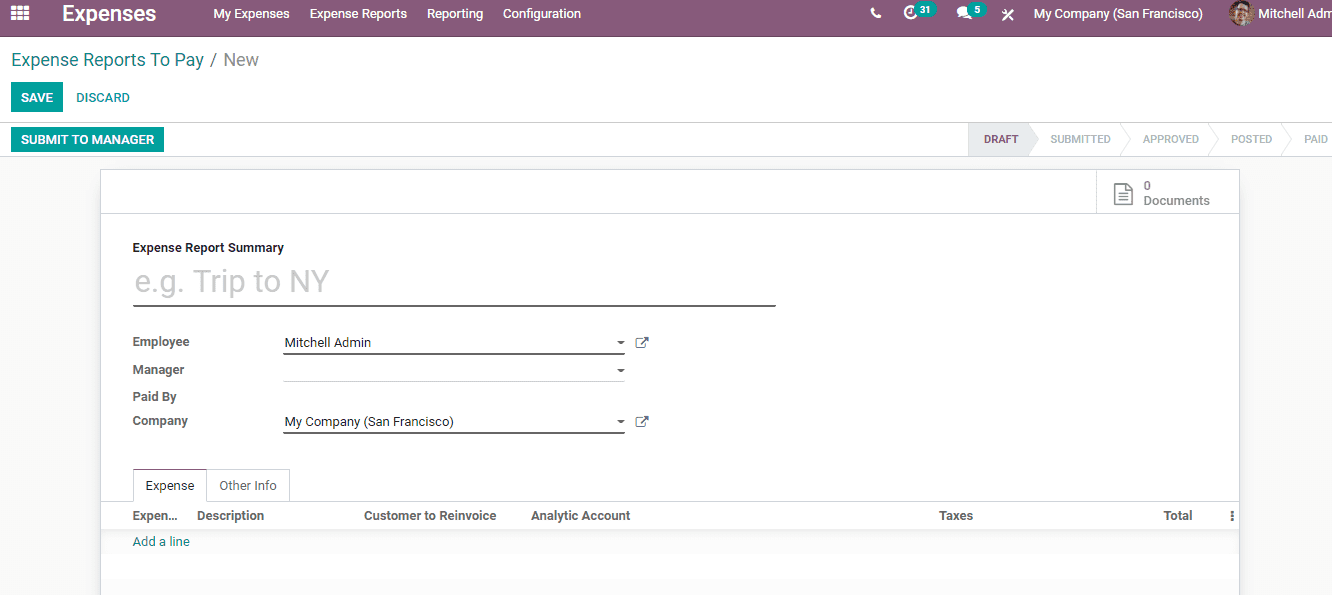
Using this feature, a user can prepare an Expense Report summary. Here, the name
of the employee, manager, paid by and expense details can be added. Here, the payment
will be made based on the approved expense report.
Configuration
Expenses> Expense Reports> To Pay
Select the Expense Report to pay from the listed reports.

All Reports
Under this tab, a user can view or create all types of reports. The status of the
reports. The name of the employee, the accounting date, expense report details and
the status of the report can be viewed here. The total amount to be approved and
the next activity can also be reviewed here.

Odoo also enables a user to create a report from here by clicking the Create Button.
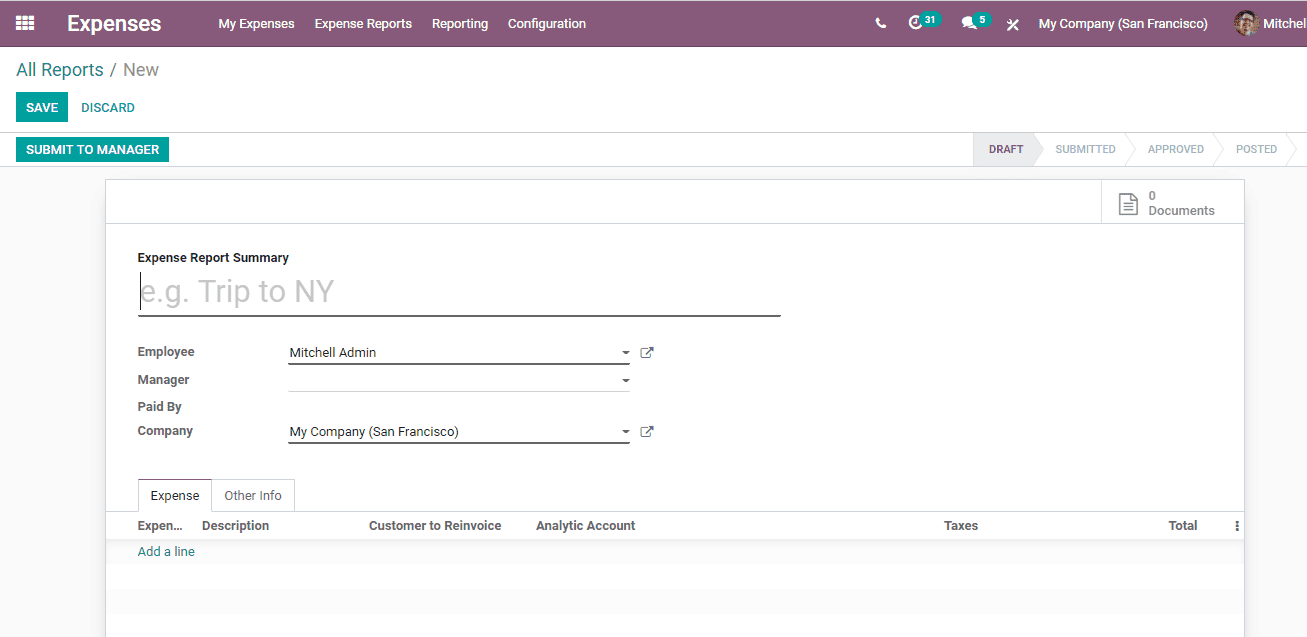
This can be done by filling all fields and clicking the Save button. The user can
also submit the report to the manager for approval.
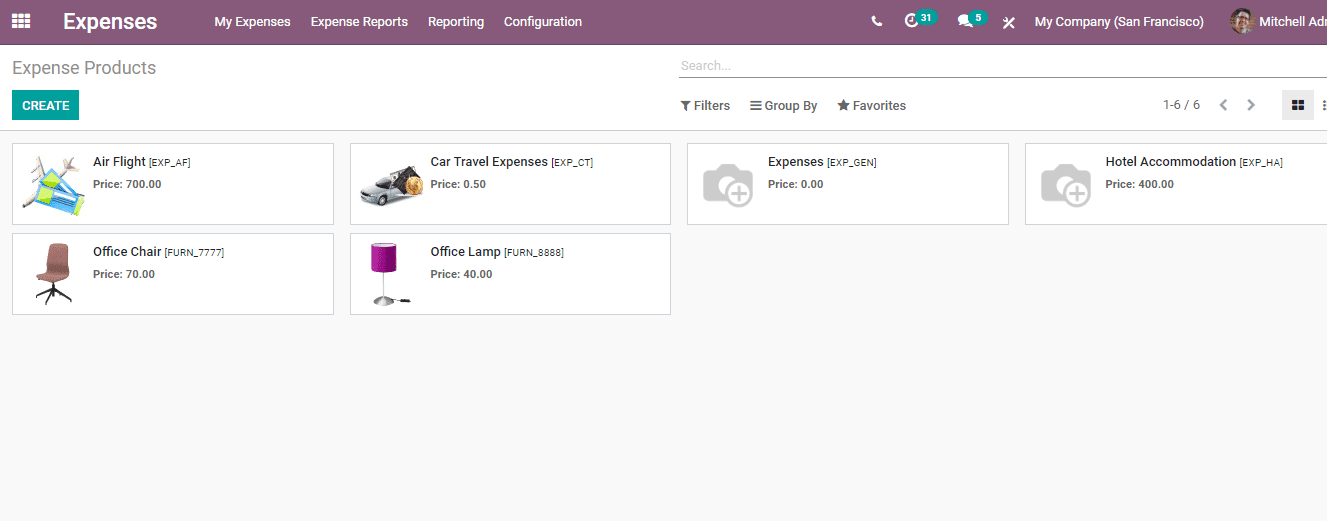
Expense Products
A user is able to configure Expense Products in Expense Module. For this go to Expenses>
Configuration> Expense Products
Then you will get a new window where you can find all already created expense products.
Then click on Create Button to create a new expense product.
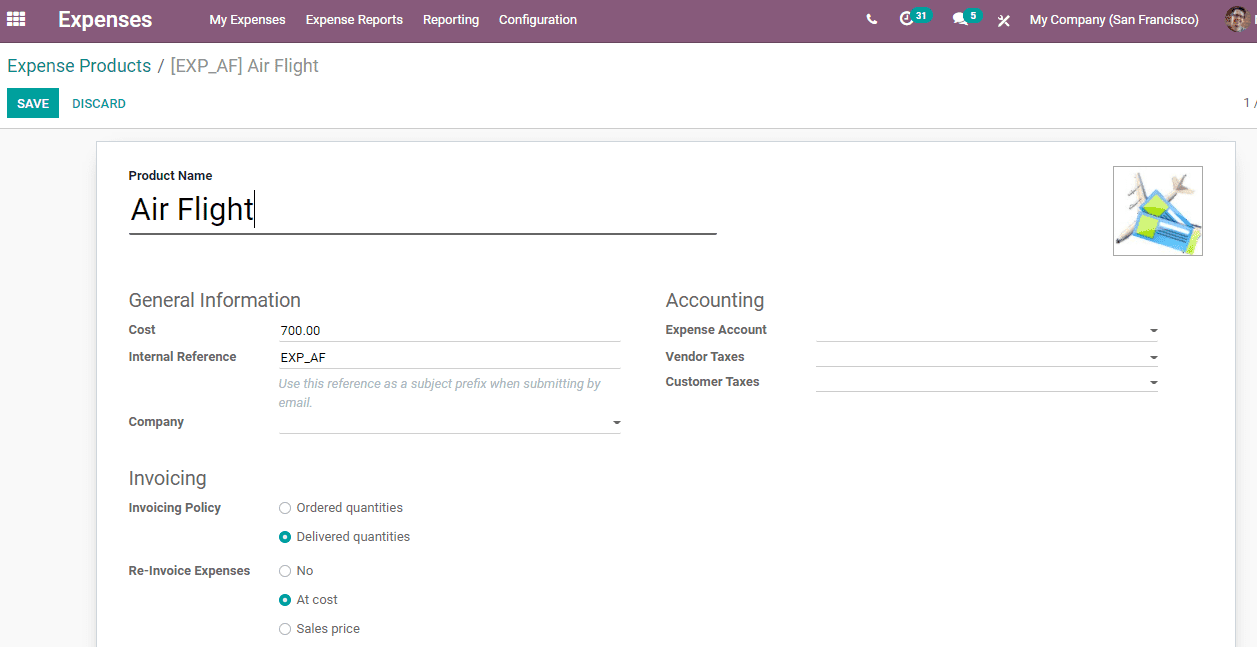
Add all relevant details and save. Then you will get a new expense product.
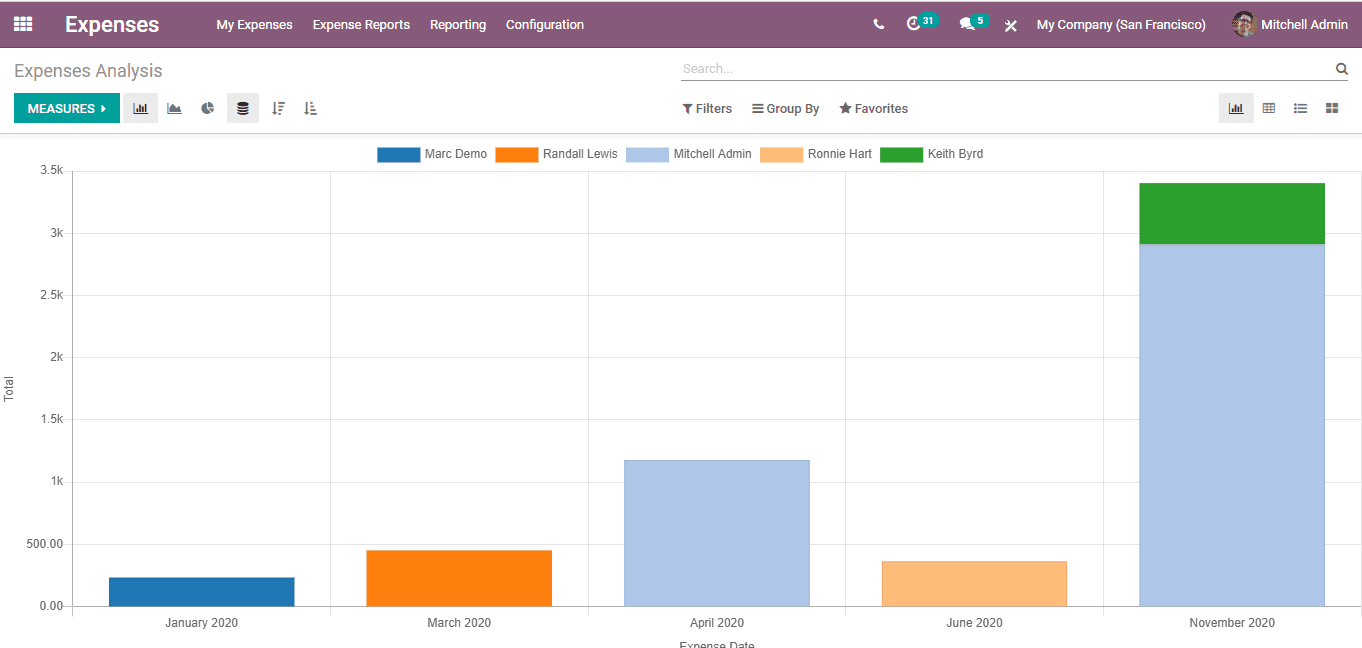
Expense Analysis
Expense Analysis is a feature that helps a user to get a quick graphic view of the
expense reports for a particular period.
Expense Analysis is a feature that helps a user to get a quick graphic view of the
expense reports for a particular period.
