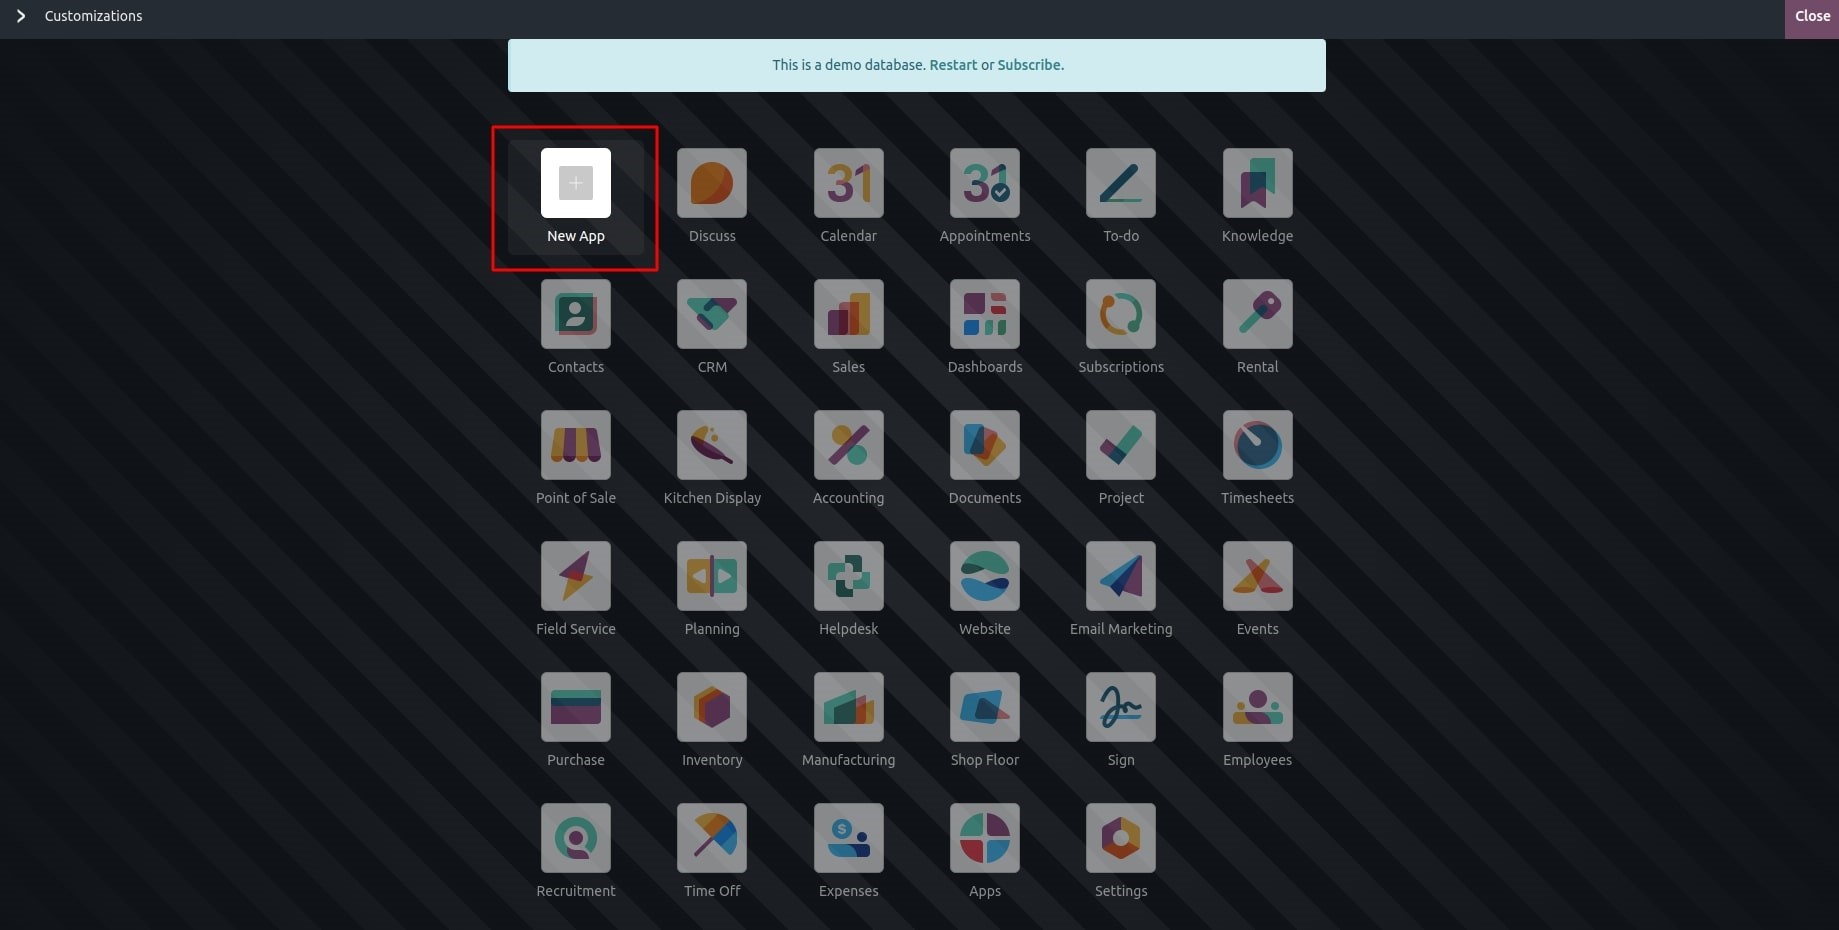
You can use Odoo's built-in features to create custom applications by using the Studio module. When creating a new application, you can incorporate fields, components, buttons, reports, and other elements from an existing one.Click on the ‘New App’ to create a custom application
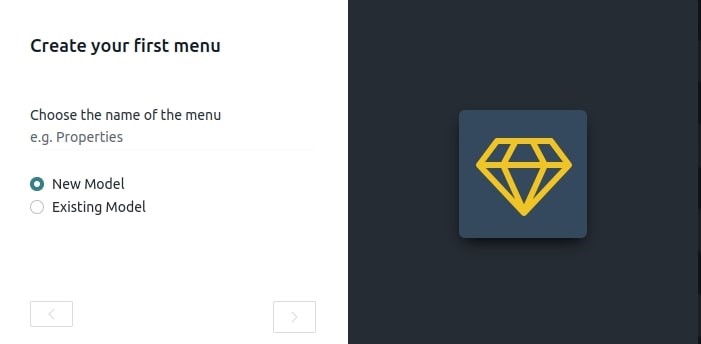
You have the option to use an existing model or create a new one when creating an application's menu. By selecting the "New Model" option when constructing the menu, you can generate new models for your application.
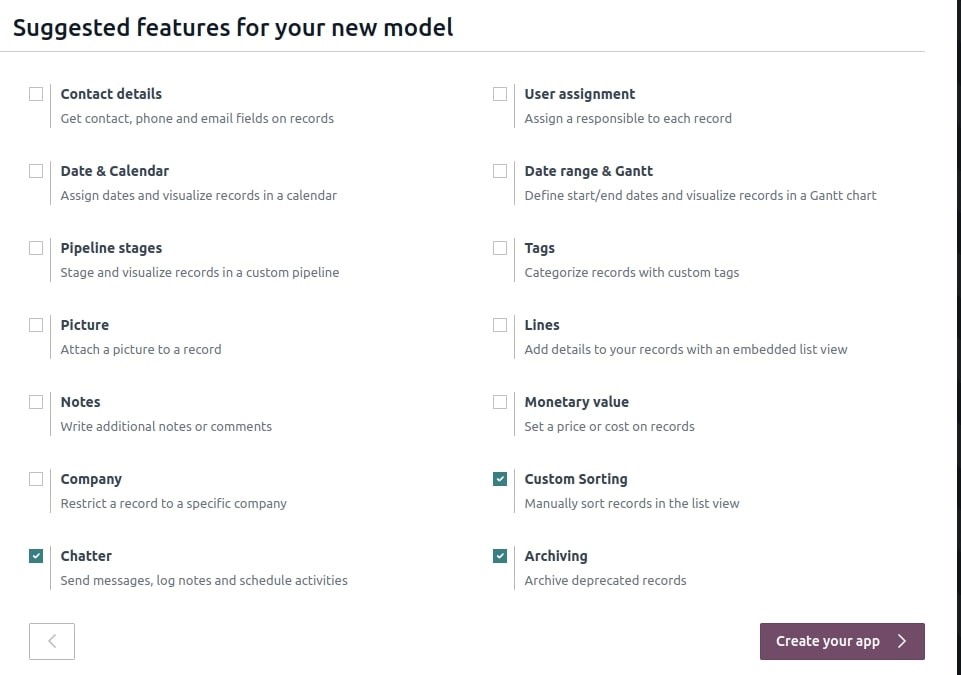
A popup window where we can enable various features will open when we select the "New Model" option, as seen below. In addition to making all the chosen features available in your new model, this will faster the app creation process.
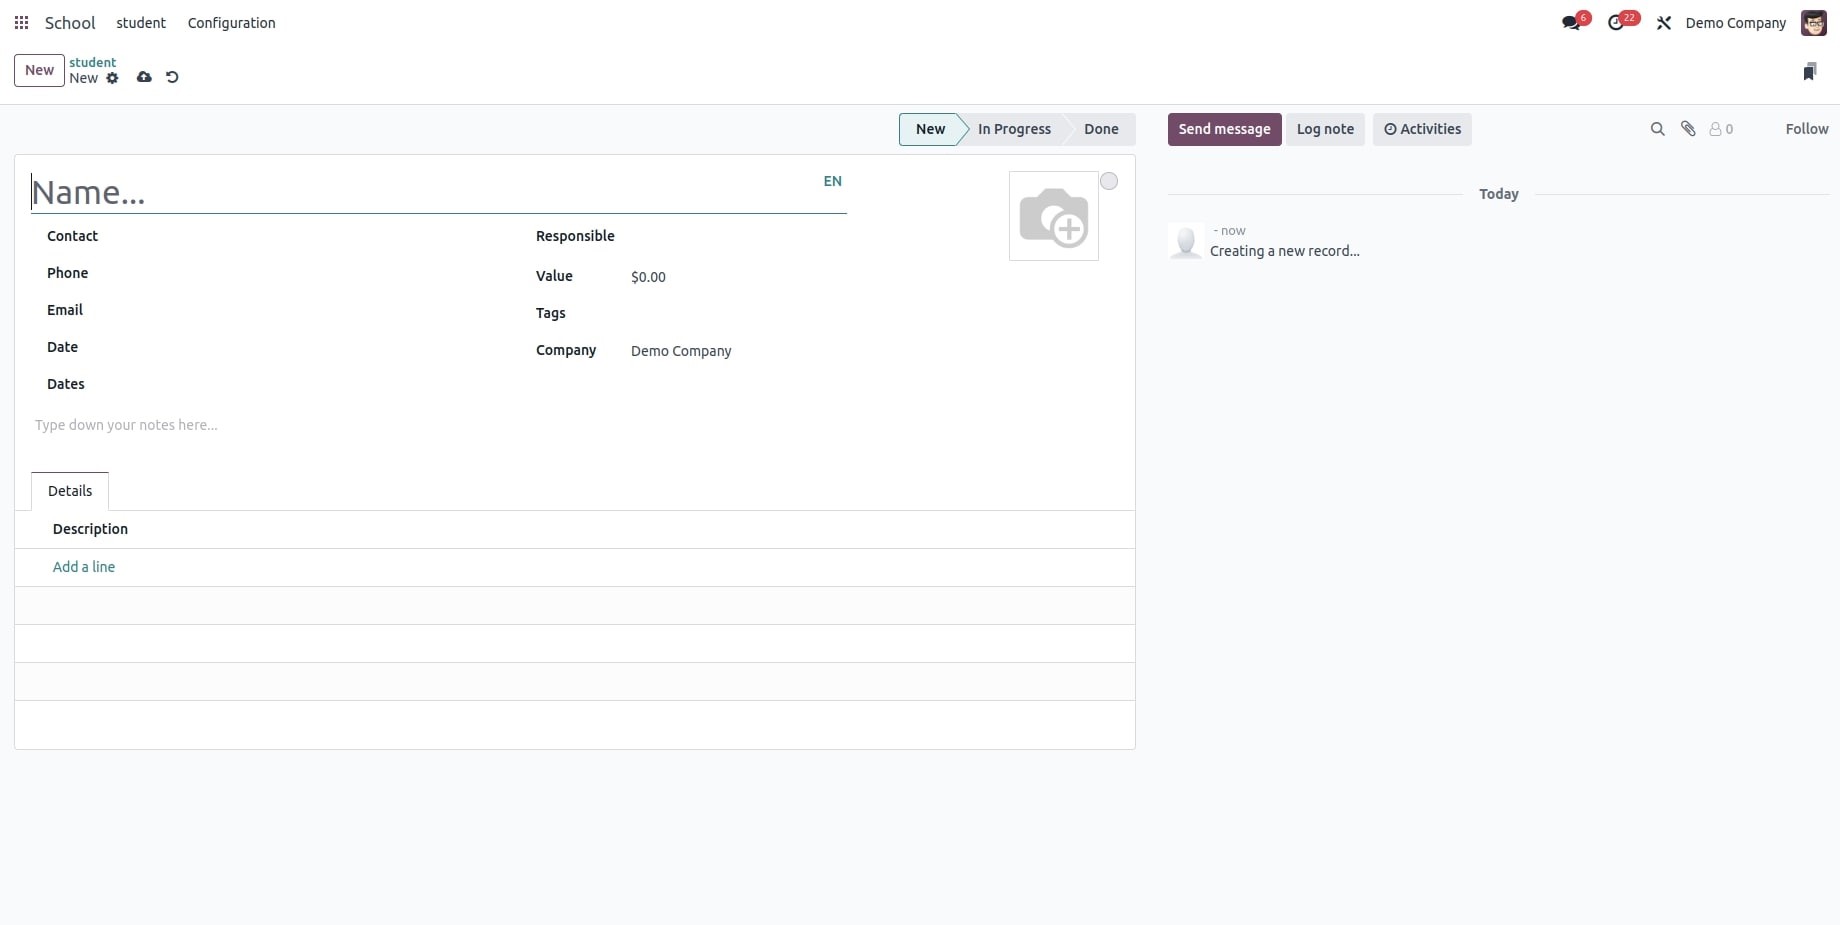
The Form view that results from checking each of the provided features is as follows:
-
● Contact Details: When you select Contact details, two related fields are added to the Form view: Phone and Email. This Many2One field is linked to the model named "Contact." Additionally, the Map view is enabled and the Contact field is added to the List view.

-
● User Assignment: Choosing this option adds a Many2One field that is connected to the "Contact" model and allows you to select Internal Users. The user's avatar is also shown using the many2one_avatar_user widget. Additionally, the List view now has the Responsible field.

-
● Date & Calendar: Choosing Date & Calendar opens the Calendar view and adds a Date field to the Form view.
-
● Date Range & Gantt Integration: When Date Range & Gantt are selected, two Date fields are inserted into the Form view side by side. One field is designated for setting the start date, while the adjacent field is for specifying the end date, facilitated by the date range widget. Additionally, the Gantt view becomes active.
-
● Pipeline Stages: Choosing a Pipeline stage adds the New, In Progress, and Done stages to the Kanban view. The form view now includes the pipeline status bar. And added the Kanban state. The list view also gets a colour field added to it.
-
● Tags: Choosing Tags creates a Tag model with pre-configured access rights and adds a Tags field to the Form view.
-
● Picture: By choosing Picture, the Form view's upper-right corner now has an Image field.
● Notes: When you select Notes, an HTML field that fills the entire form width is added to the Form view.
● Monetary value: Choosing this option makes the Form and List views have a Monetary field. Furthermore, the Pivot and Graph views are enabled.
● Company: Choosing Company enhances the Form and List views with a Many2One field connected to the model 'Company'. When using multiple companies, this is helpful.

● Custom Sorting: When Custom Sorting is selected, the List view displays a drag handle icon that facilitates manually rearranging records.
● Chatter: Choosing Chatter gives the Form view access to Chatter features like note-taking, sending messages, and scheduling activities.

-
● Archiving Integration: Enabling the Archiving feature introduces the Archive action to both Form and List views. It also automatically conceals archived records from searches and views by default.
By selecting the "Existing Model" option while creating the menu and selecting the necessary model, you can also create your application using the pre-existing model.
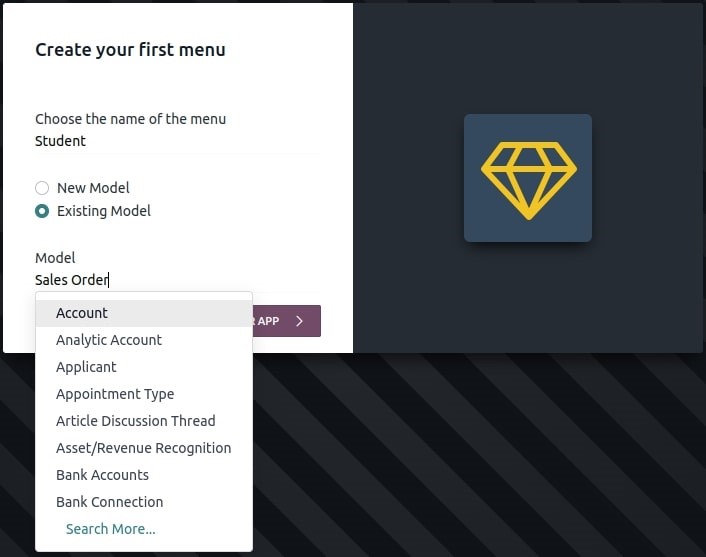
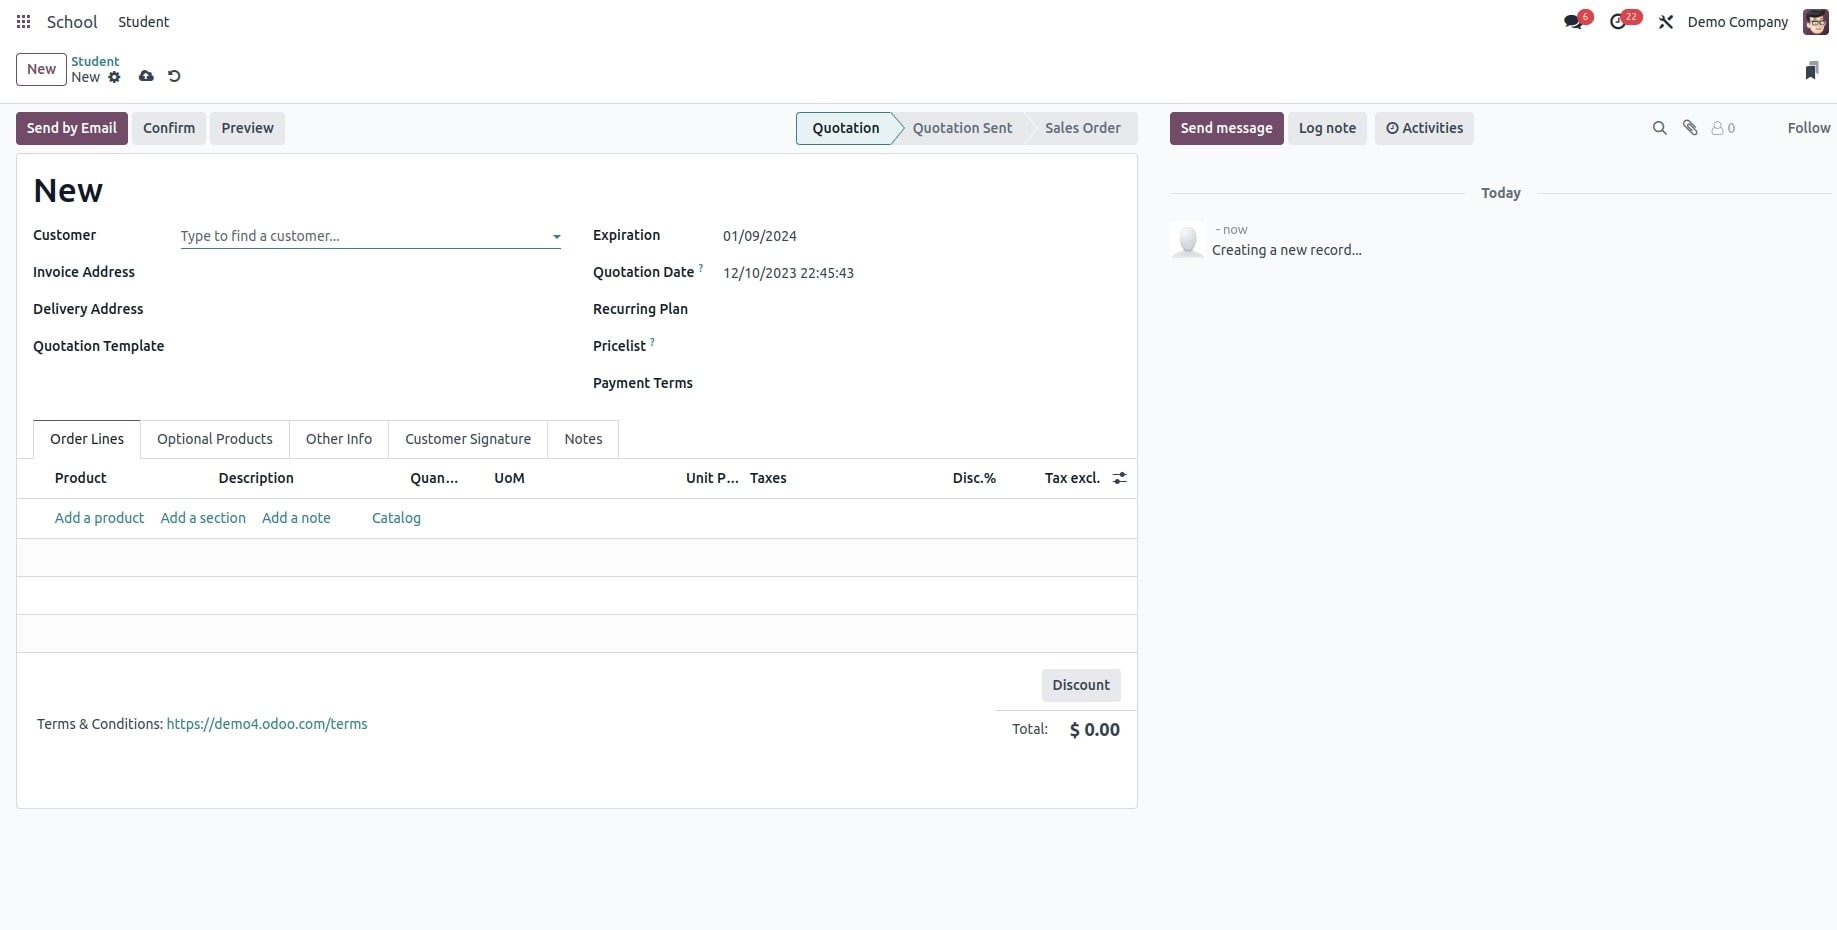
Like , for instance, that you wish to develop an application that incorporates the Sales module's features. In that scenario, you can select the "Sales Order" model to make use of all of its features. Using Odoo Studio, it is also possible to add new features to the app. You have the option to alter views or add more fields, buttons, and menus.
You can also add new features in accordance with this Form view after choosing the "Sales Order" model.
