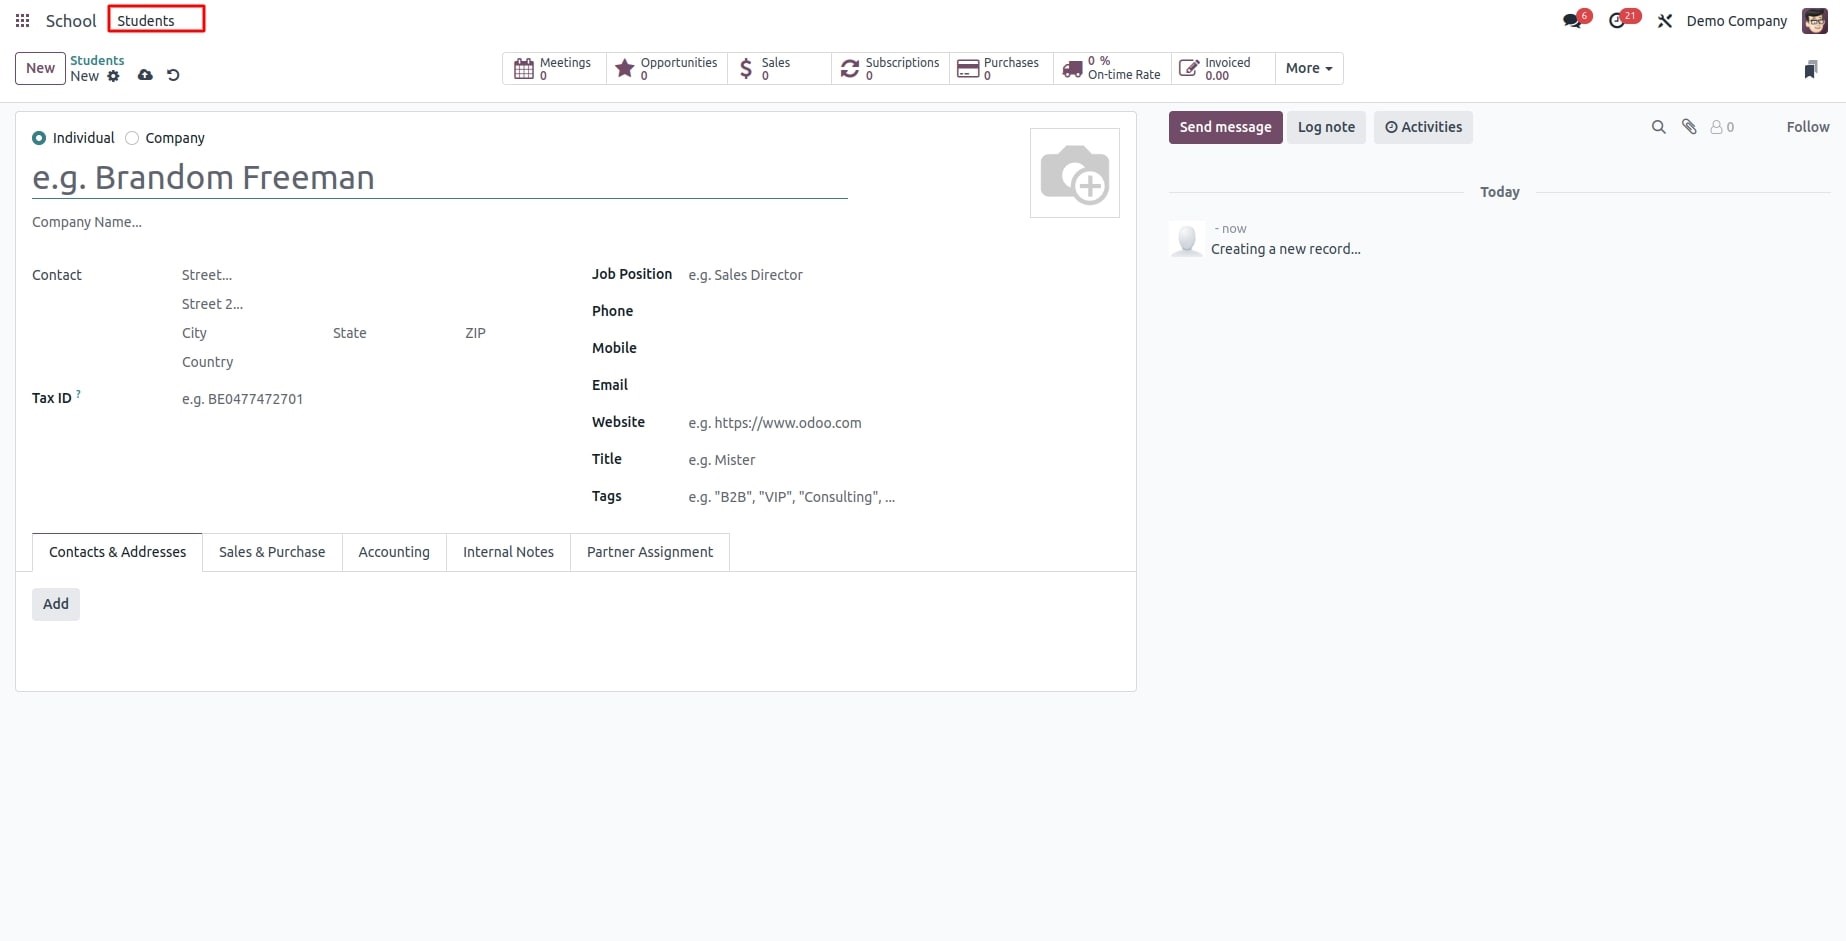
The Studio module allows us to build a new Odoo app without any prior coding experience. After installing the studio app, the 'toggle studio' button will appear at the top. To create your own custom module, click on that button.
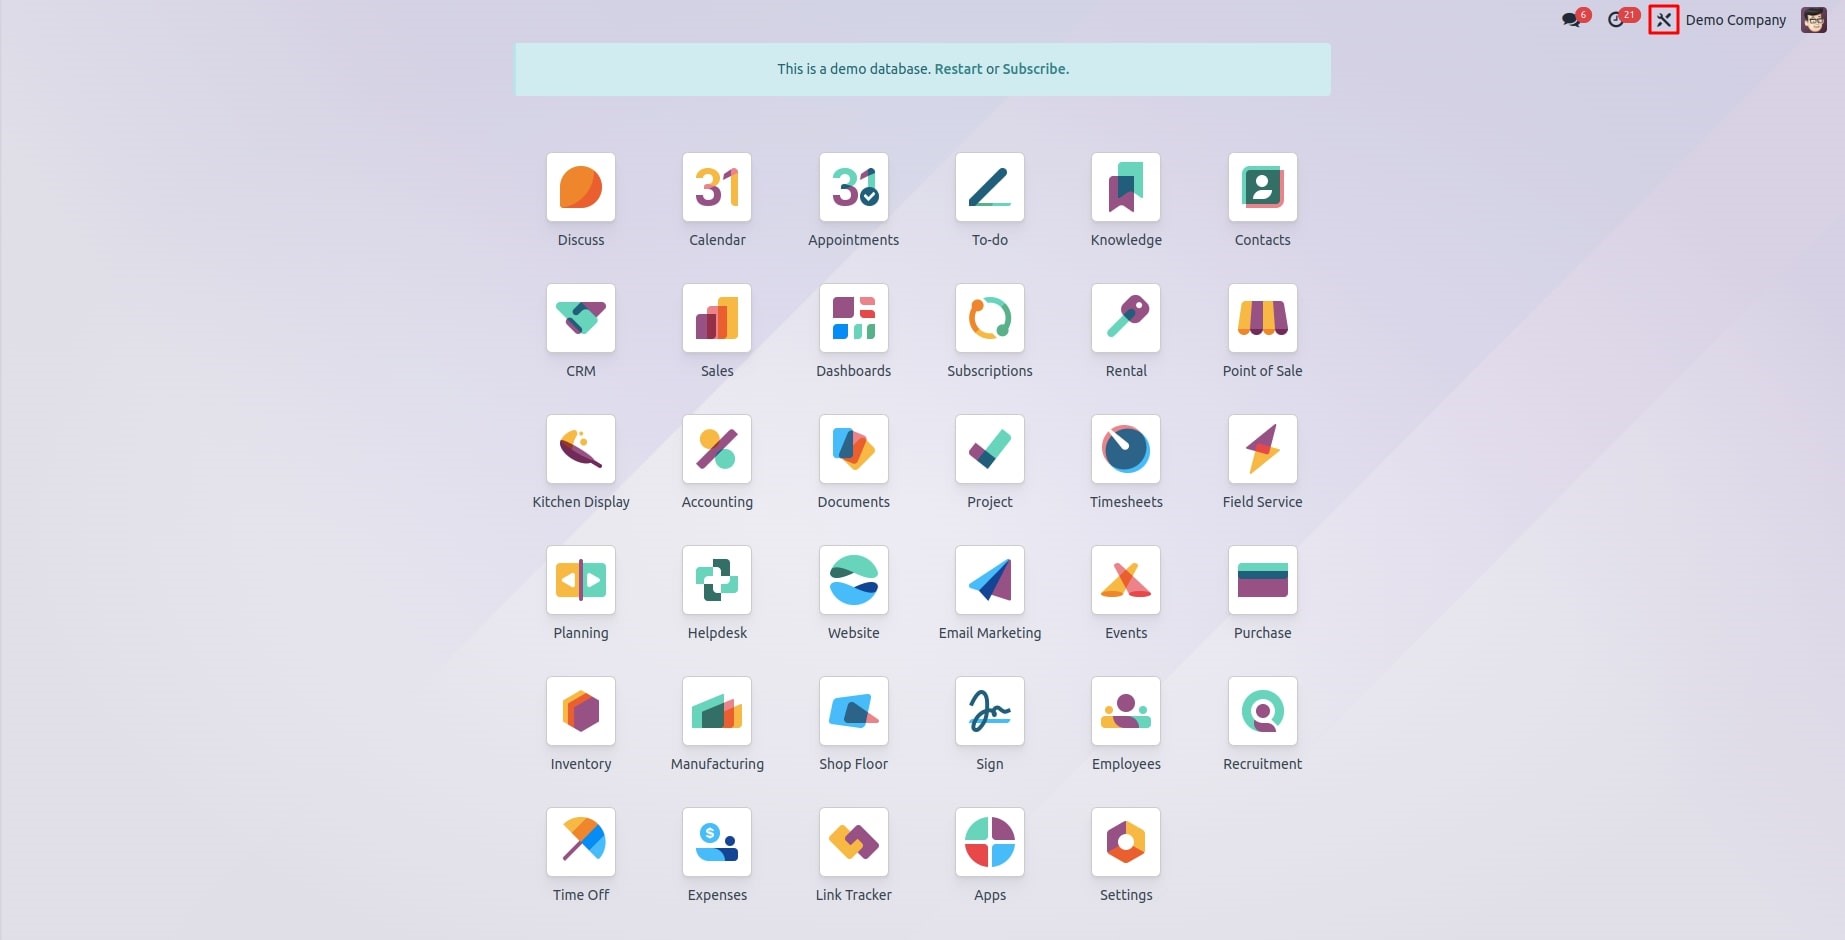
There is a "New App" button that you can click to start creating and designing your own module. Modifying the installed modules also allows you to add new fields, buttons, models, and other elements.
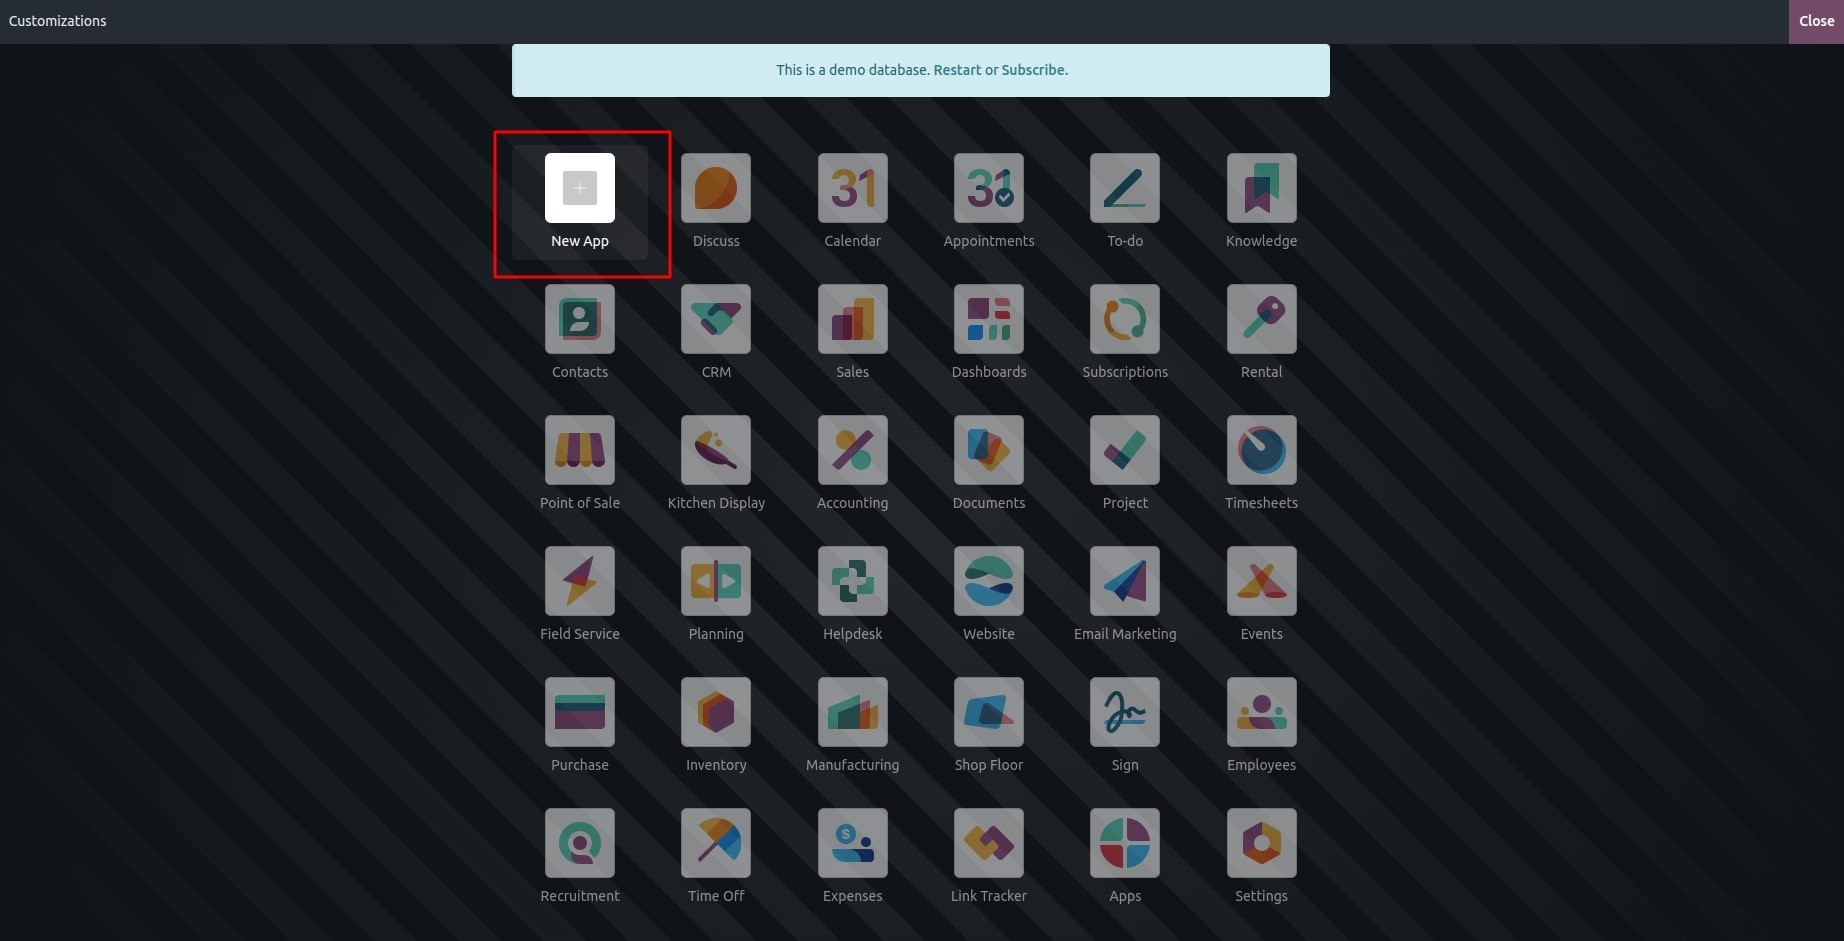
Clicking the "NEXT" button will take you to a new window similar to the one below when you click the "New App" button.
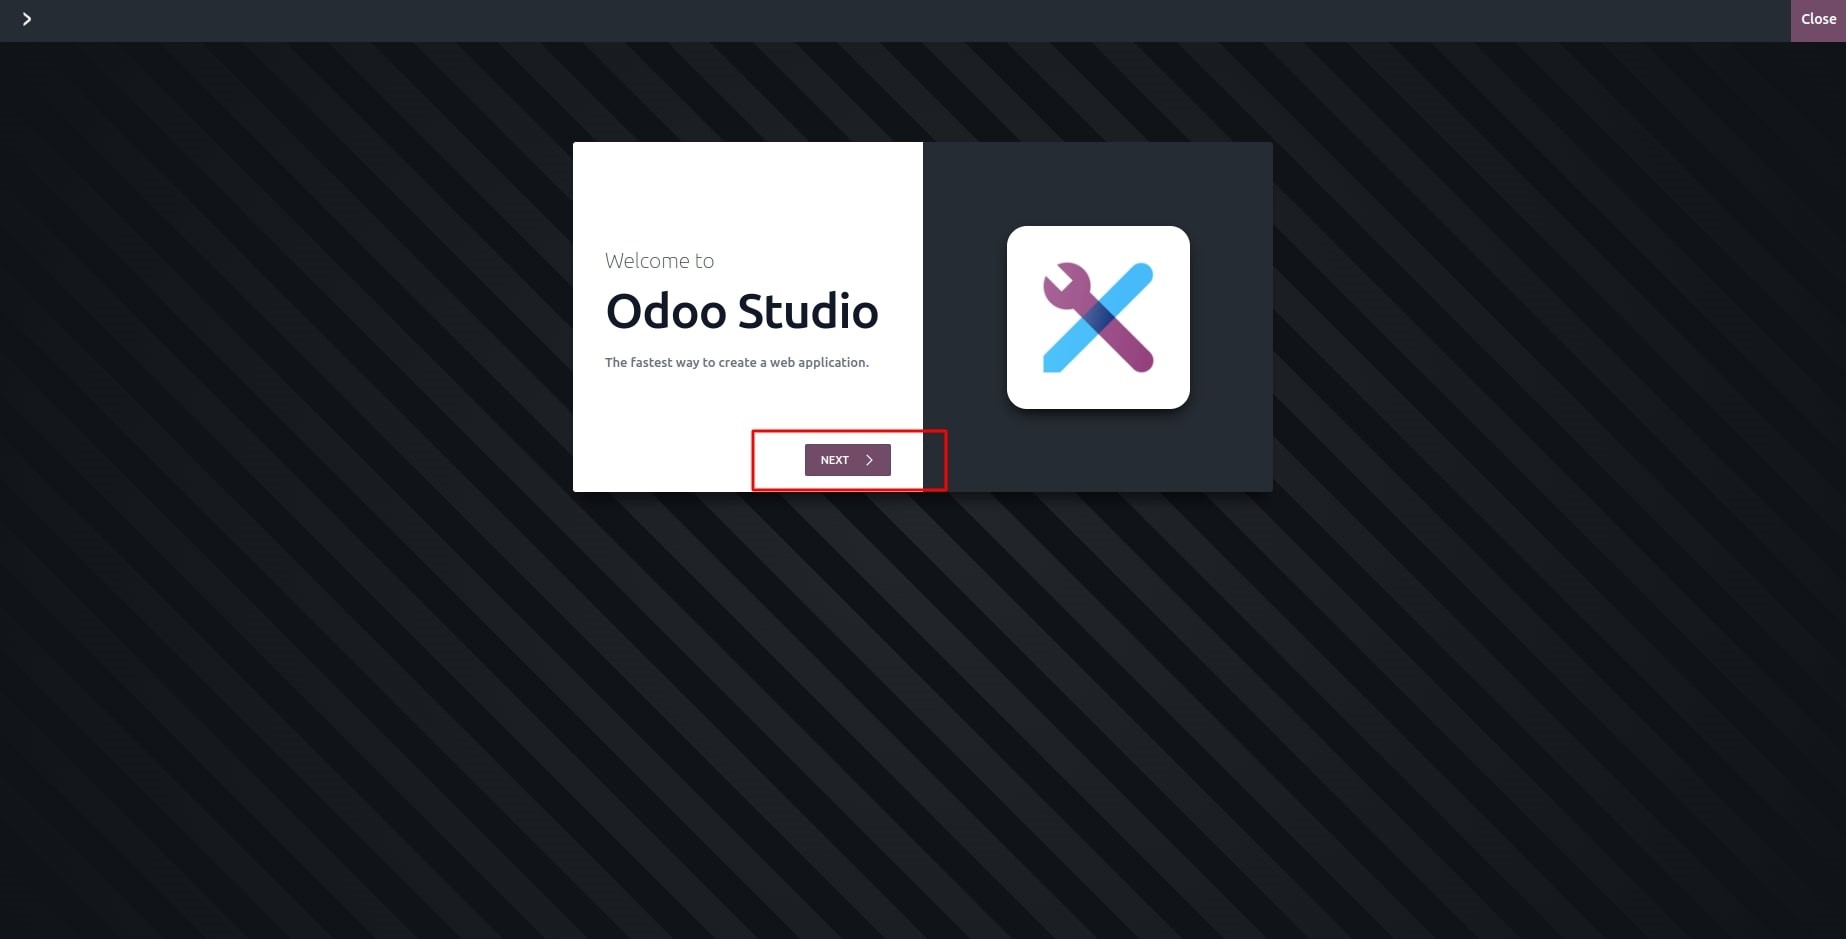
After that, you can give your app a name and an icon. You can select the colour of your icon as well.
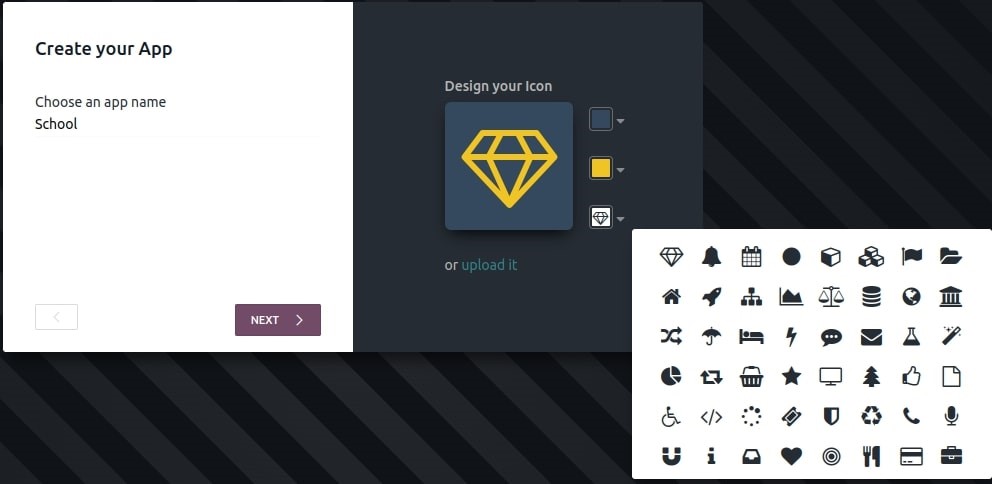
Following that, you can assist yourself in creating the first menu for your new module by clicking the "NEXT" button. It can be made as an already-existing model or as a new one.
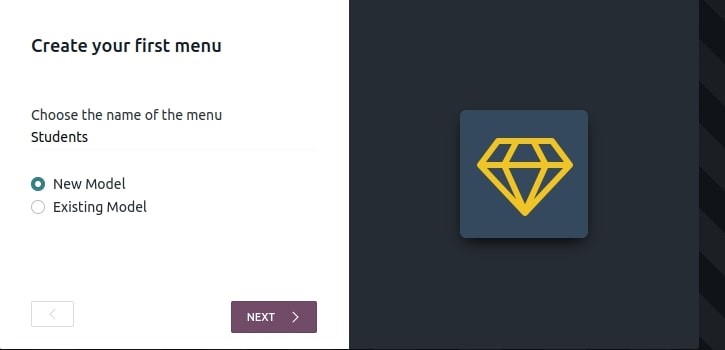
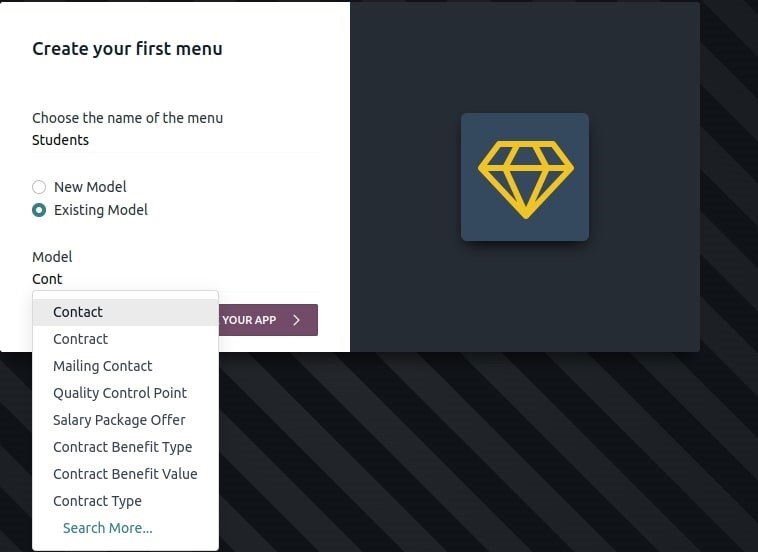
If you choose "Existing Model" in your initial menu, you are required to select one existing model.
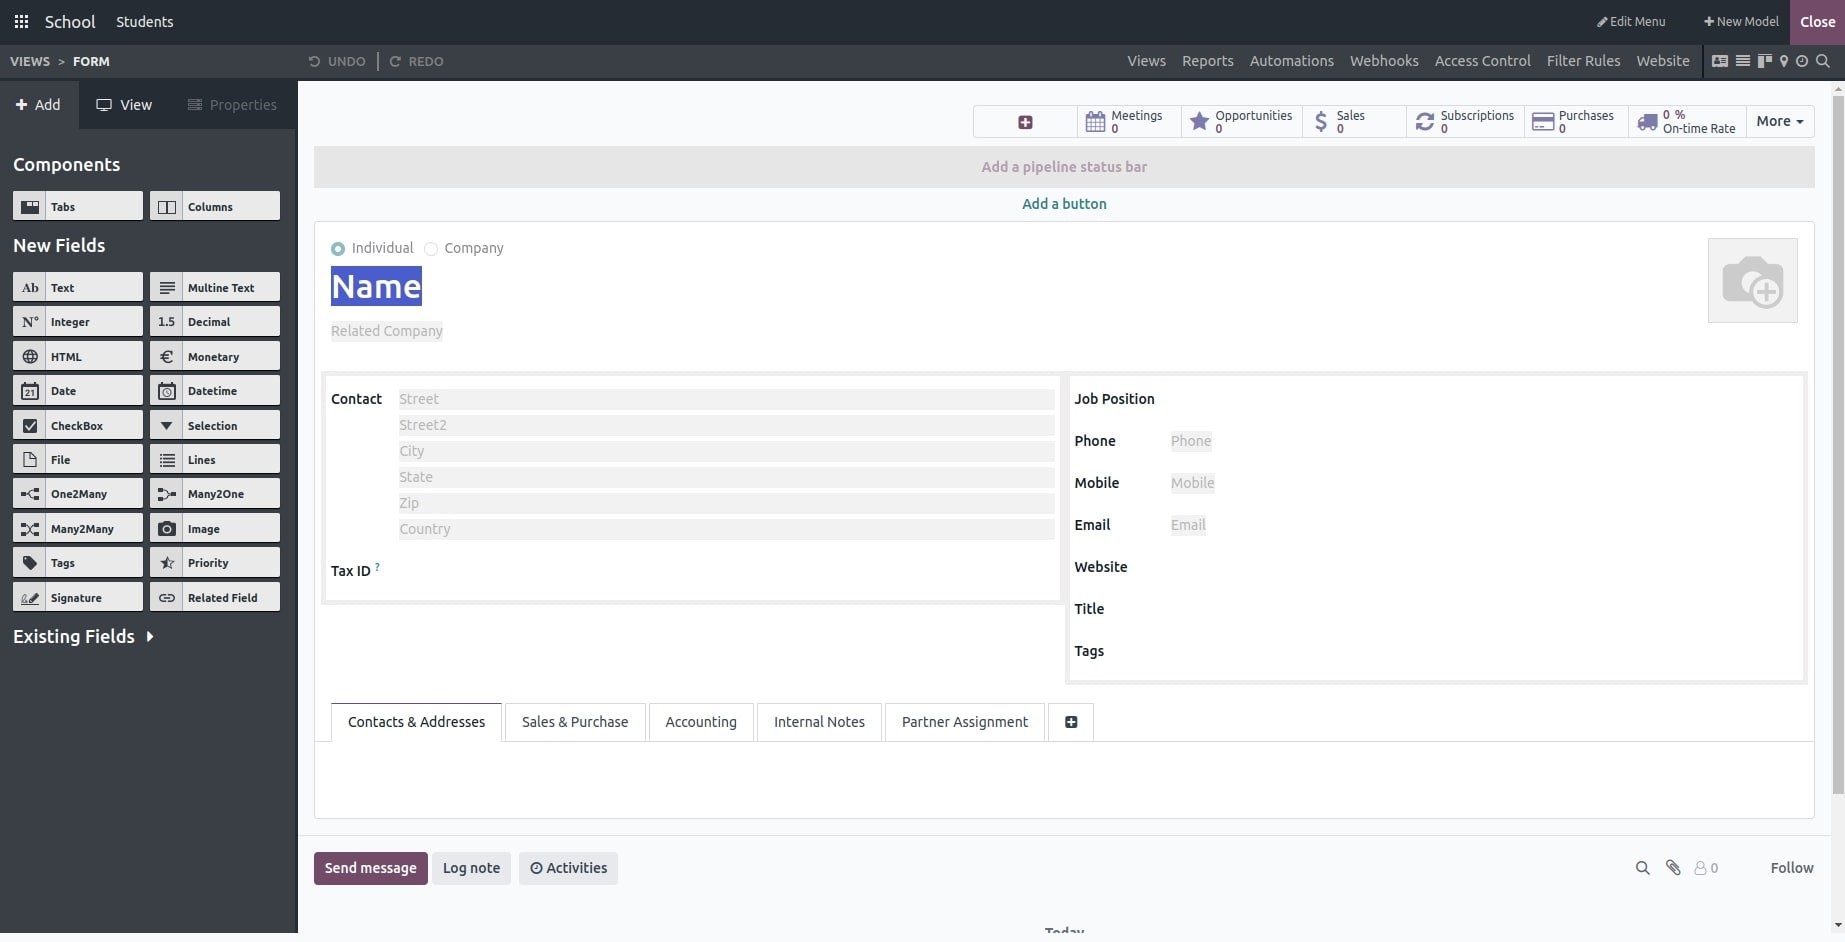
You will then be taken to your model's sample view. The fields from the chosen model are visible here. Fields can be rearranged or new fields can be dropped in from the left screen.
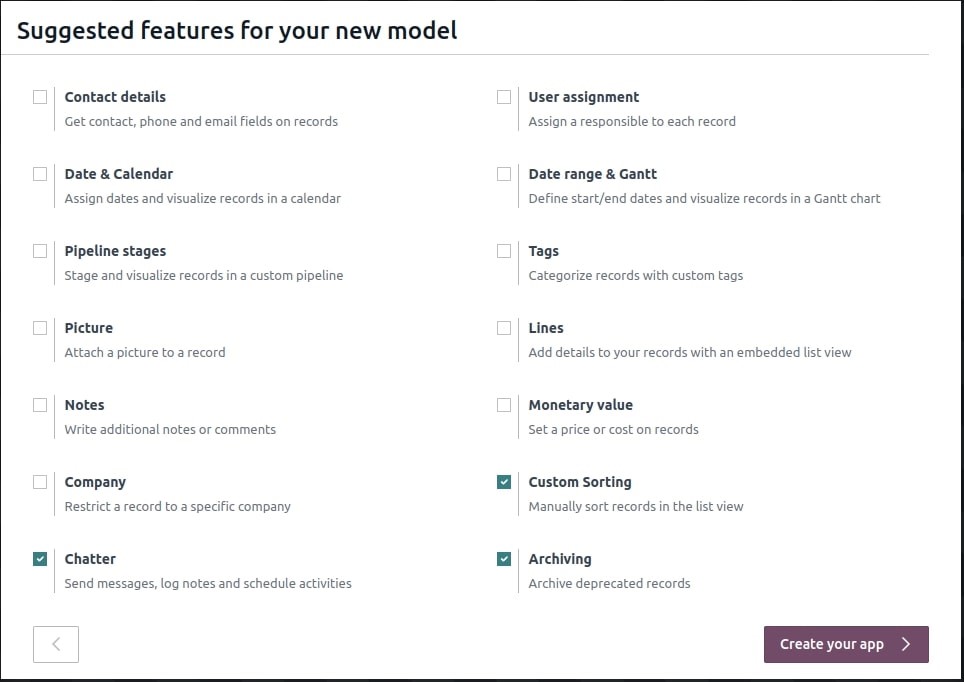
In order to add a new model to your custom application, you must first configure its fields. You'll see some suggested features for your new model in the window that follows.
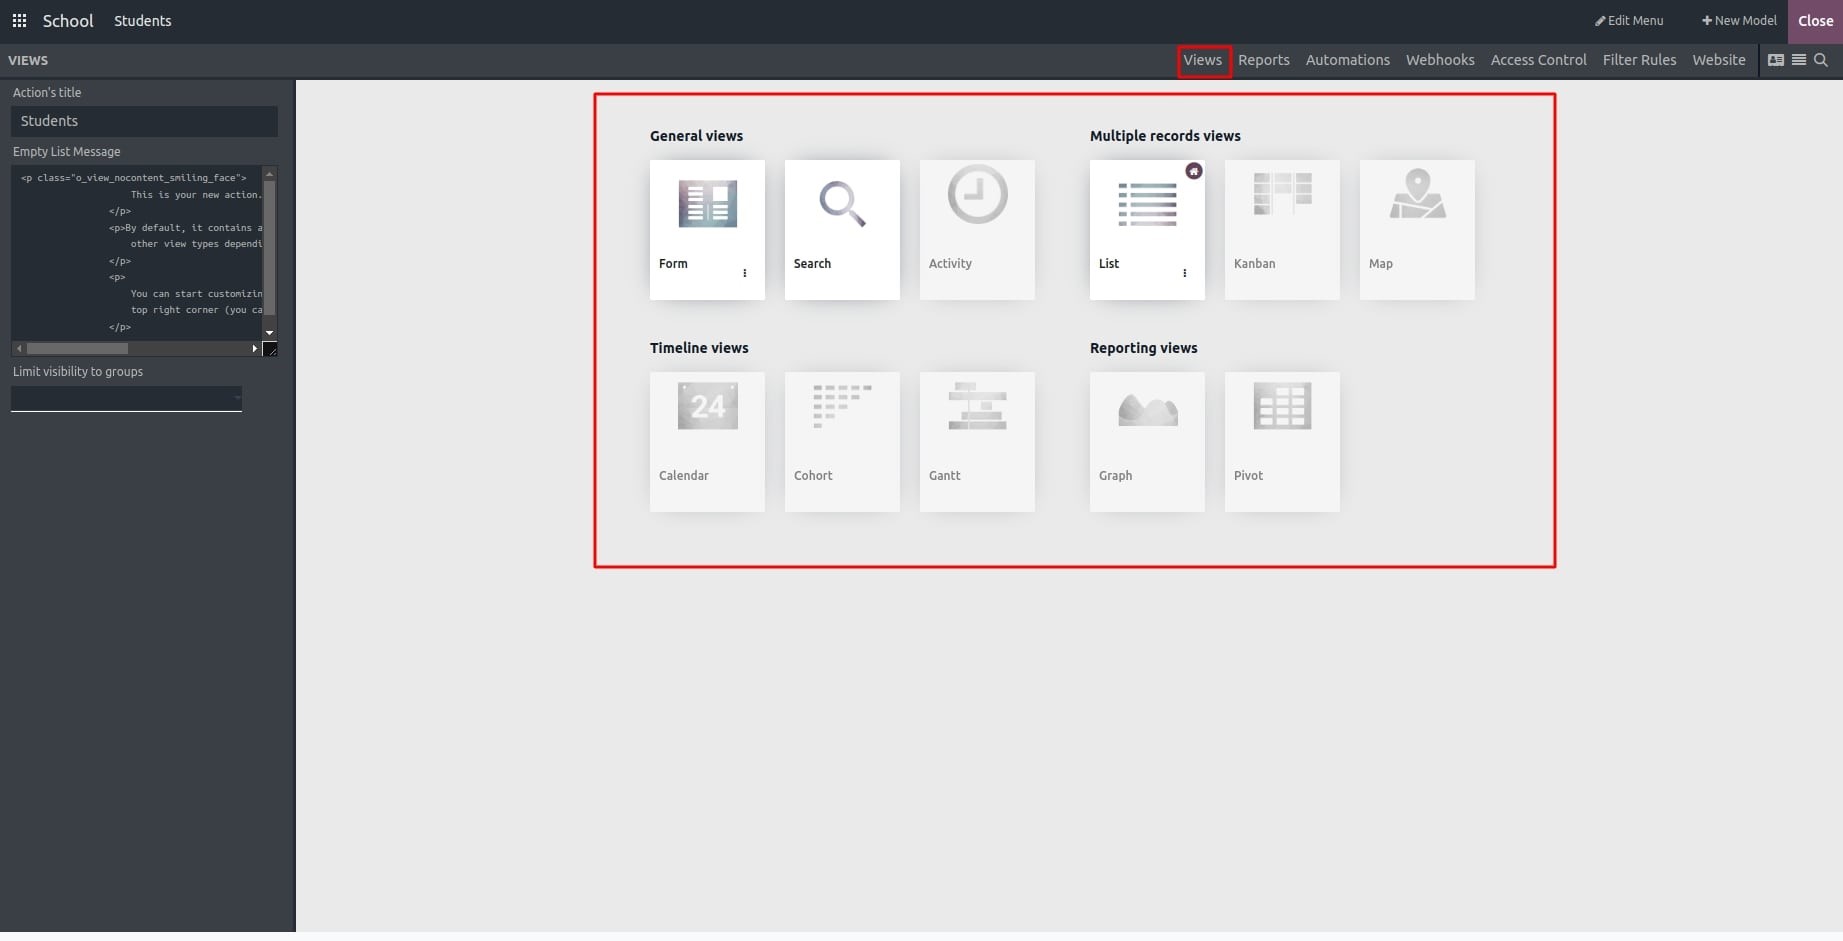
Additionally, the studio module offers designing tools that can improve the convenience and usability of your app. To facilitate the addition of various views, such as a calendar, list, kanban, etc., click the Views button at the top.
You are able to use your first Odoo app made with Studio after closing the studio and being added to the basic menus and models.
