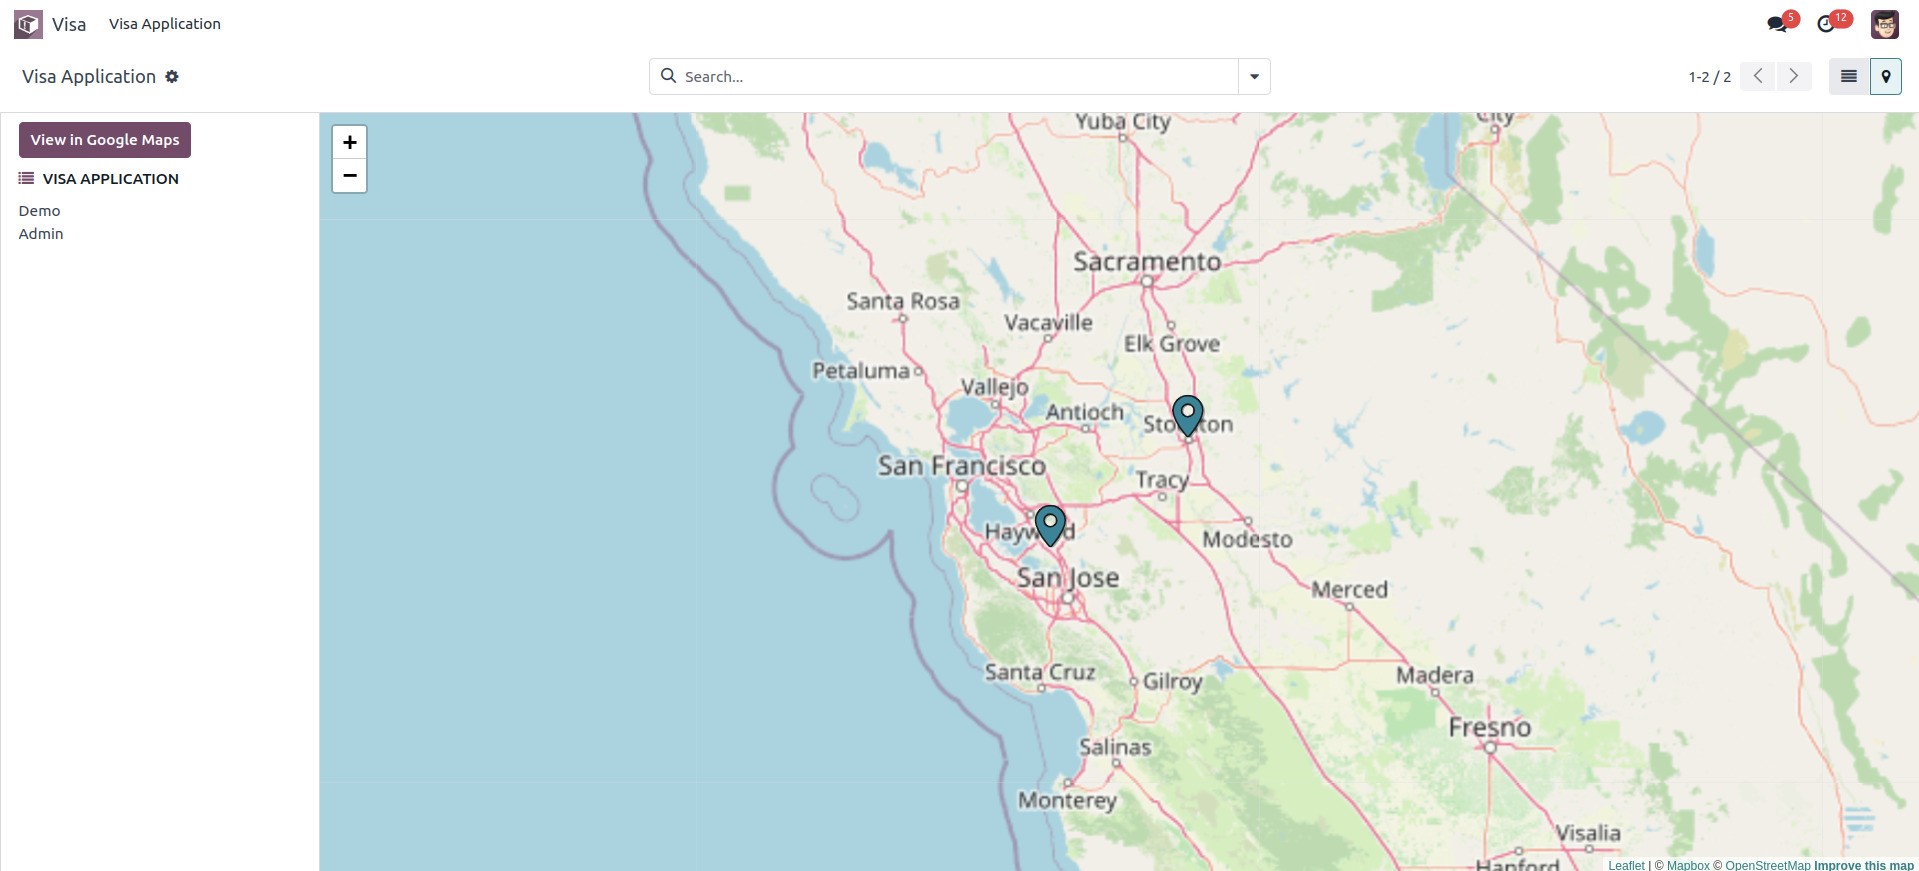
One of the views supported by Odoo is the map view, which displays the record on a map. Its primary element is < map >. Here's an illustration.
Remember to include 'depends': [web_map] in the manifest
To do so, we must first create a model.
                                class VisaApplication(models.Model):
                                    _name = "visa.application"
                                    _inherit = ['mail.thread', 'mail.activity.mixin']

                                    name = fields.Char(string='Name', required=True)
                                    author = fields.Many2one('res.partner', 'Author', required=True)
                                    no = fields.Char('Sl No', required=True)
We can now arrange the model's view and map view.
So, first, we need to design an action for the model.
                        <record id="record_action" model="ir.actions.act_window">
                           <field name="name">Visa Application</field>
                           <field name="type">ir.actions.act_window</field>
                           <field name="res_model">visa.application</field>
                           <field name="view_mode">tree,form,map</field>
                           <field name="help" type="html">
                               <p class="o_view_nocontent_smiling_face">
                                   Create a new record!
                               </p>
                           </field>
                        </record>
We can now customise the map view.
                            <record id="visa_application_map" model="ir.ui.view">
                               <field name="name">visa.application.map</field>
                               <field name="model">visa.application</field>
                               <field name="arch" type="xml">
                                   <map res_partner="author">
                                   </map>
                               </field>
                            </record>
We can see the map view after creating a record in this model.
