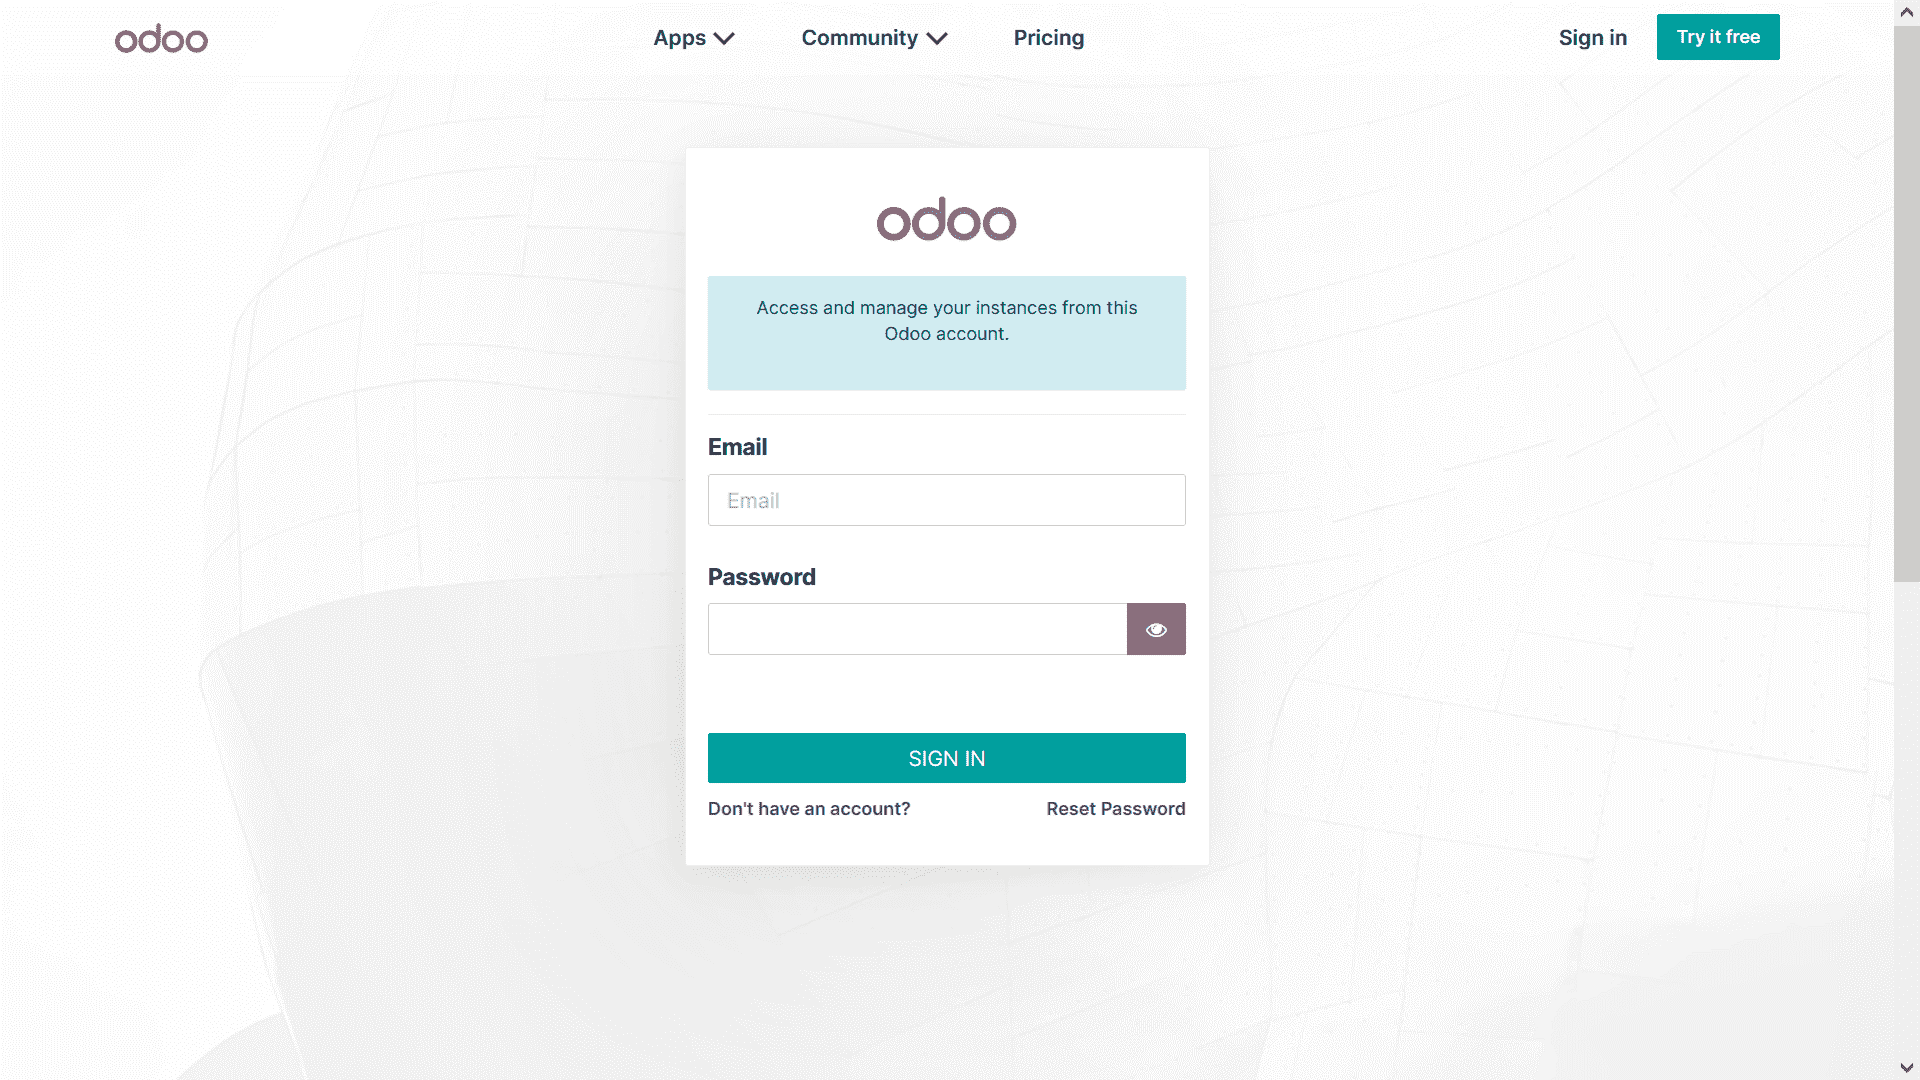
So far, we have talked about hosting and installation elements. Let's continue by looking at the components of creating a database for your company's operations. Once you have received a valid subscription, you can start creating a database on your Odoo platform. If you don't have an Odoo account yet, you can create one in the next window that appears, as shown in the screenshot below.
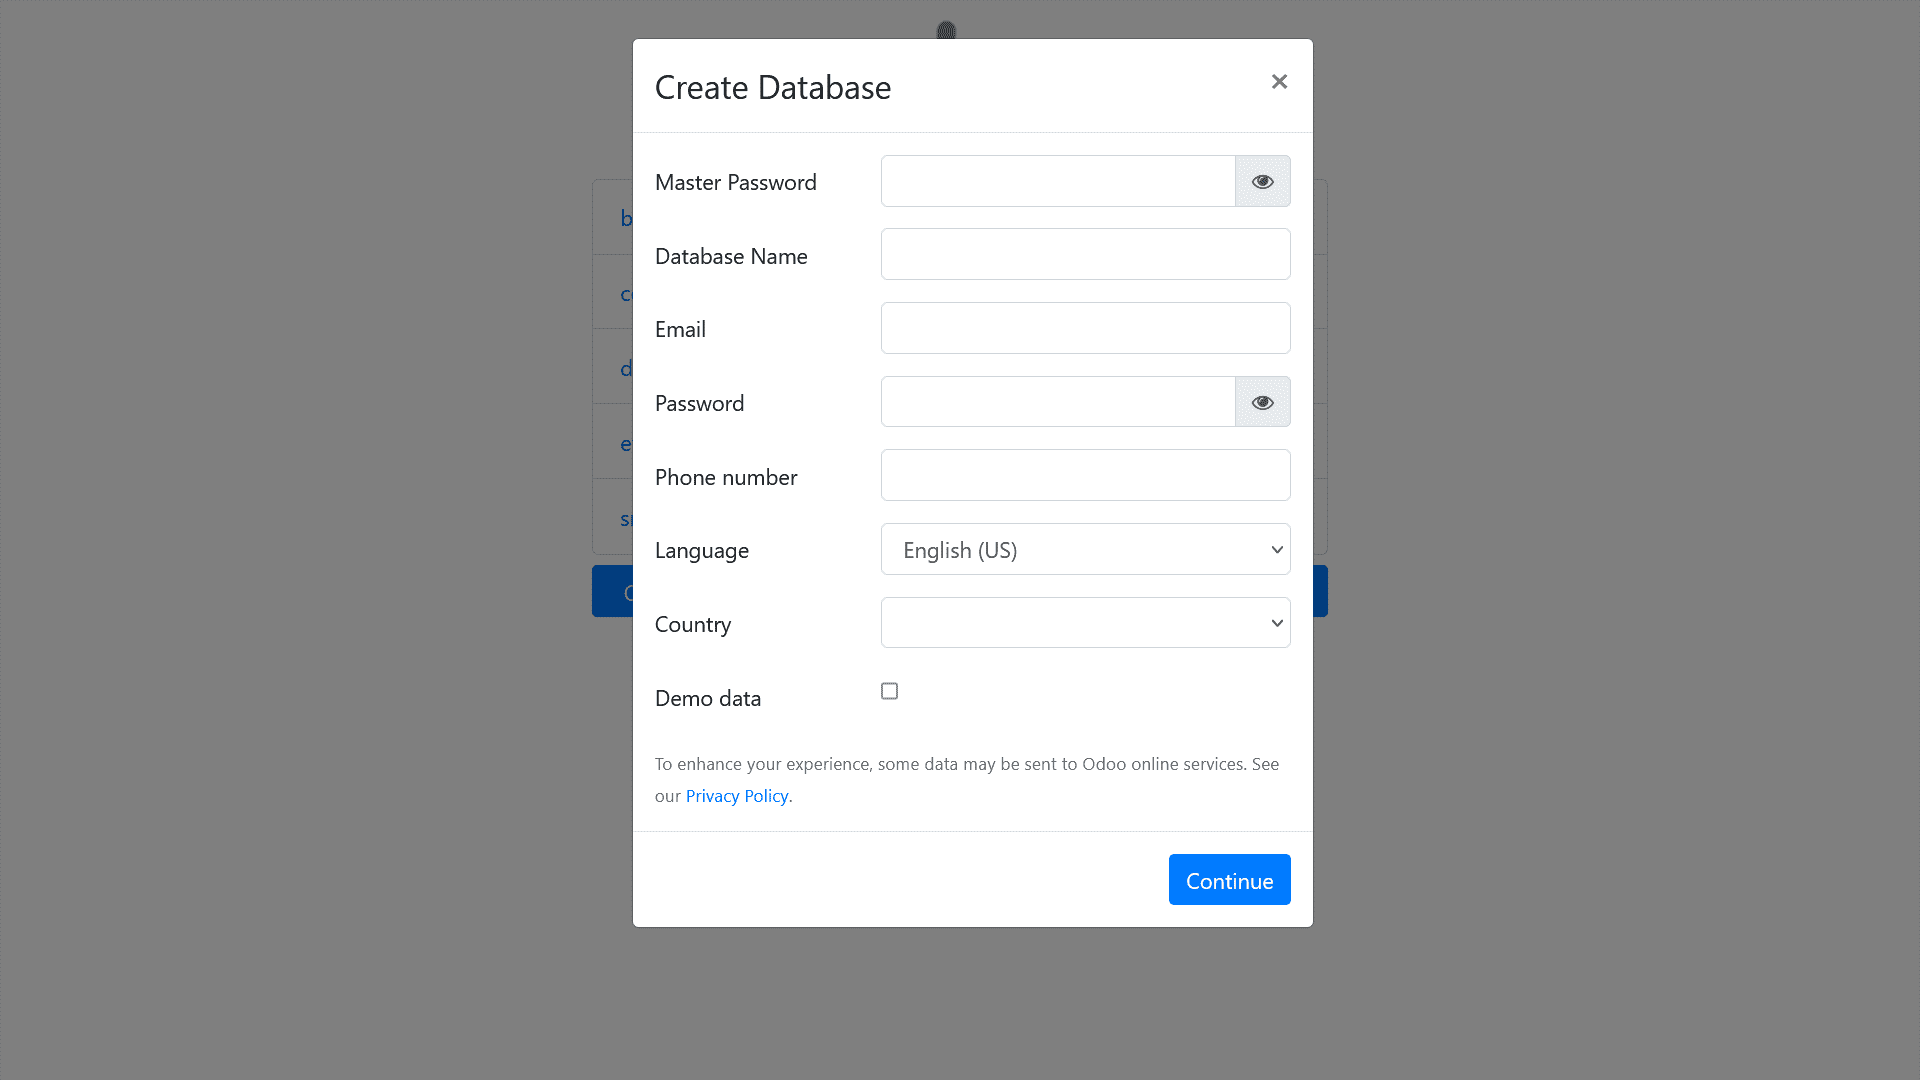
The next step after creating accounts is to create a database for your business. Once the Odoo accounts are created, you can make this selection in the database creation window. First, you need to enter the master password, database name, email address, password, phone number, language, and country in the database creation box shown below. Due to Odoo's localization feature, which is described in more detail in this chapter, the Odoo platform database is configured based on the country you specify.
The ability to define demo data in the database is another important item located in the database creation menu. This information is provided by Odoo itself to help you understand the various aspects of operations management. All types of introductory information can be removed or modified according to your needs.
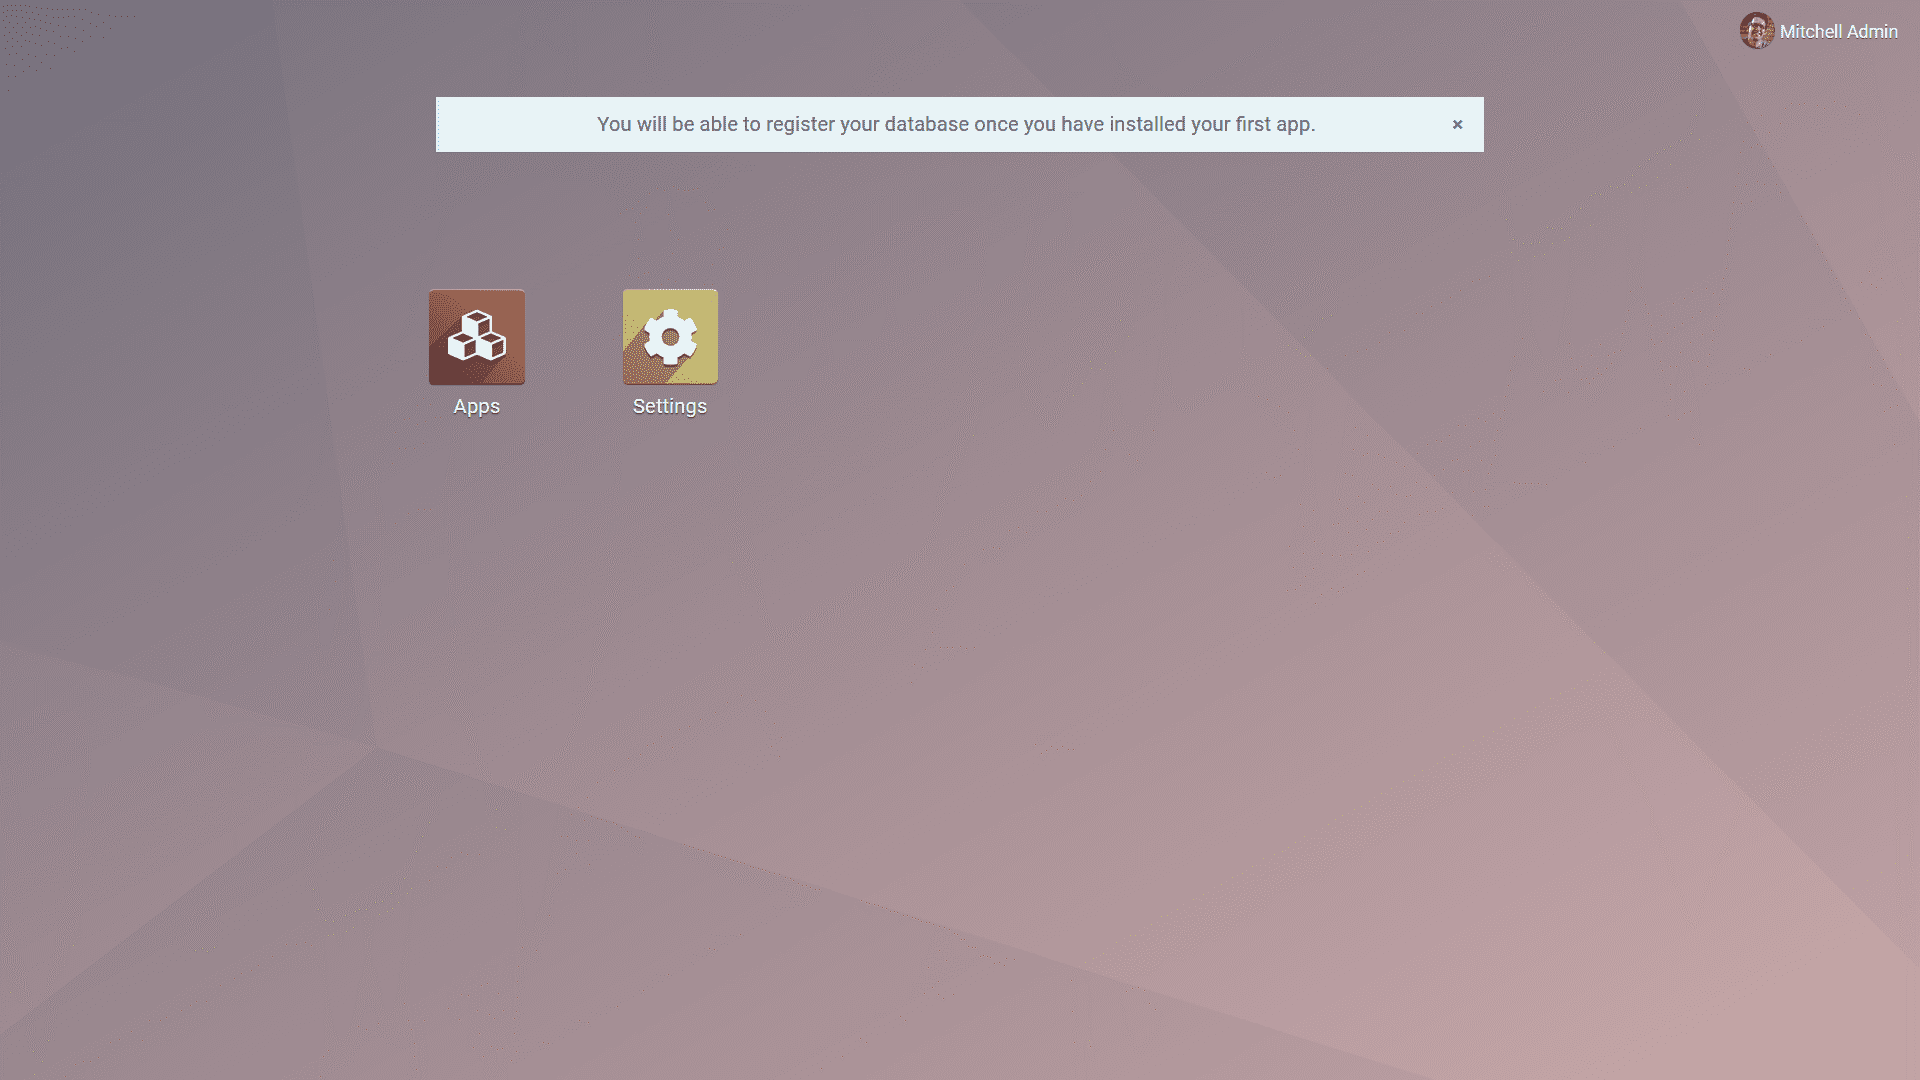
As soon as the database settings are done, you can continue, and the database panel will appear. One thing to remember is that the database is configured according to the country you select, which increases the localization of some module support services facilities. Another thing to remember is that you do not have to enable the Demo Data option if you are using an Odoo platform that you have configured for real-time operational management of your business. There is no module or application installed in the database, and you can only see the application module and related settings, as shown in the following image.
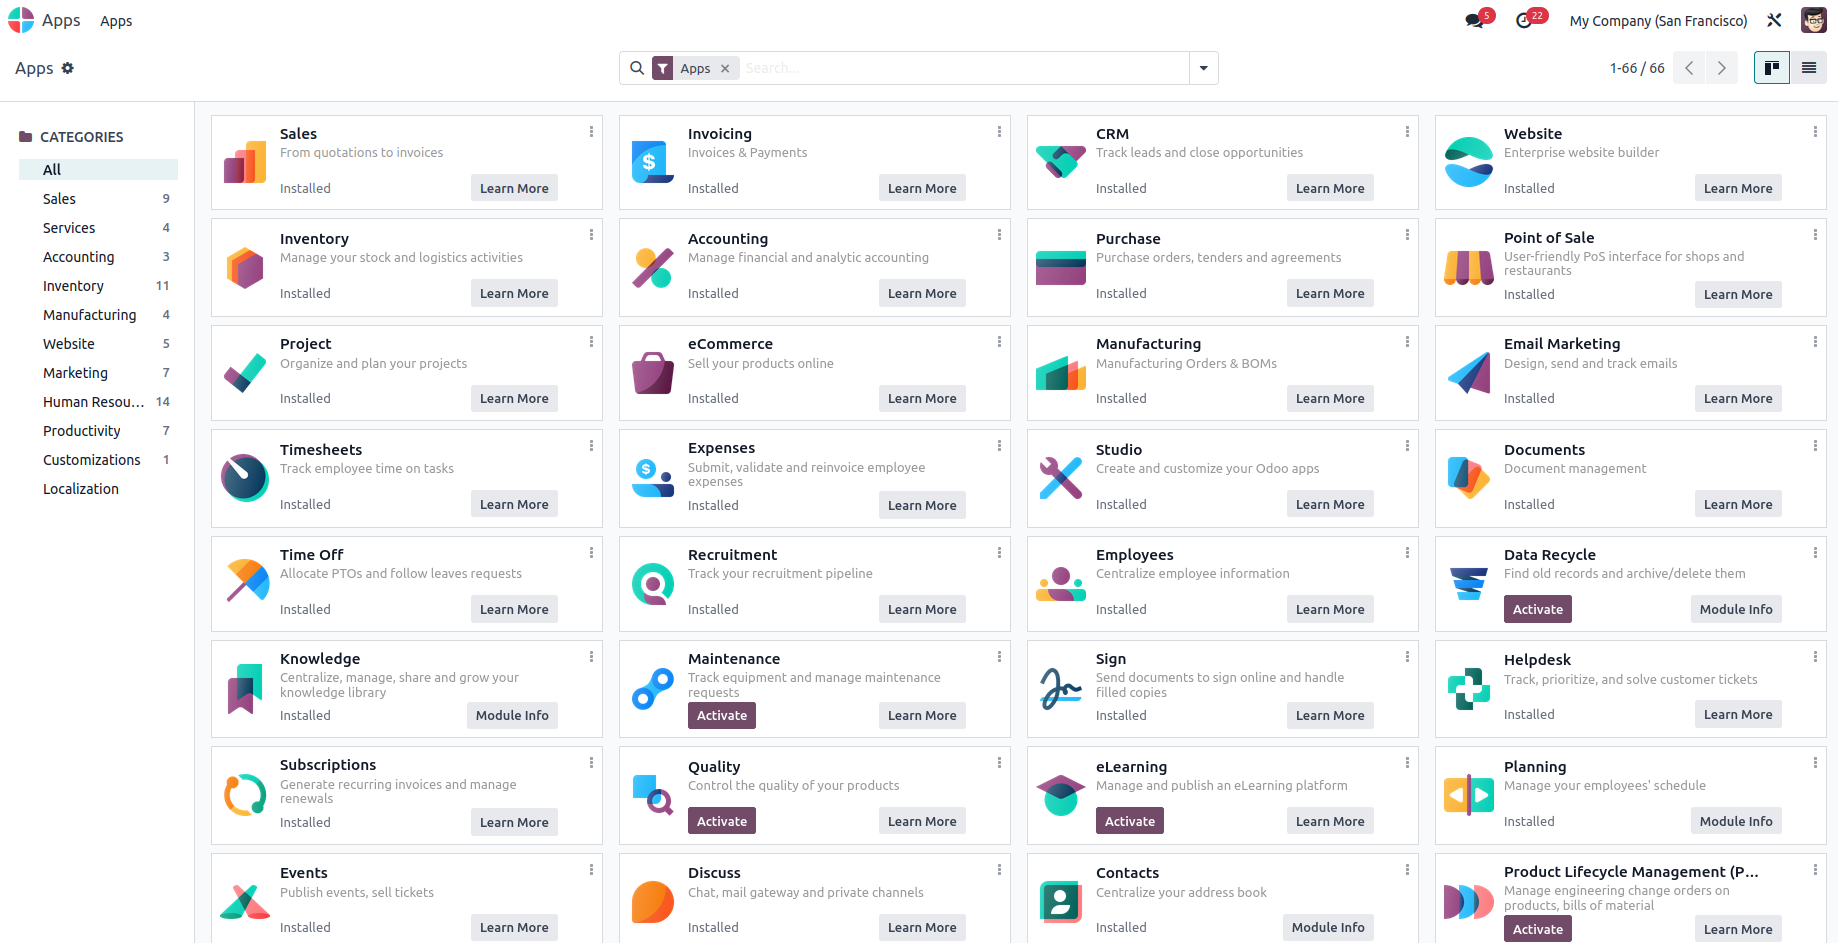
When you select the Apps module, all the applications available on the platform will be displayed for you to choose and install according to your needs. Screenshots of the Application module are shown in the following image.
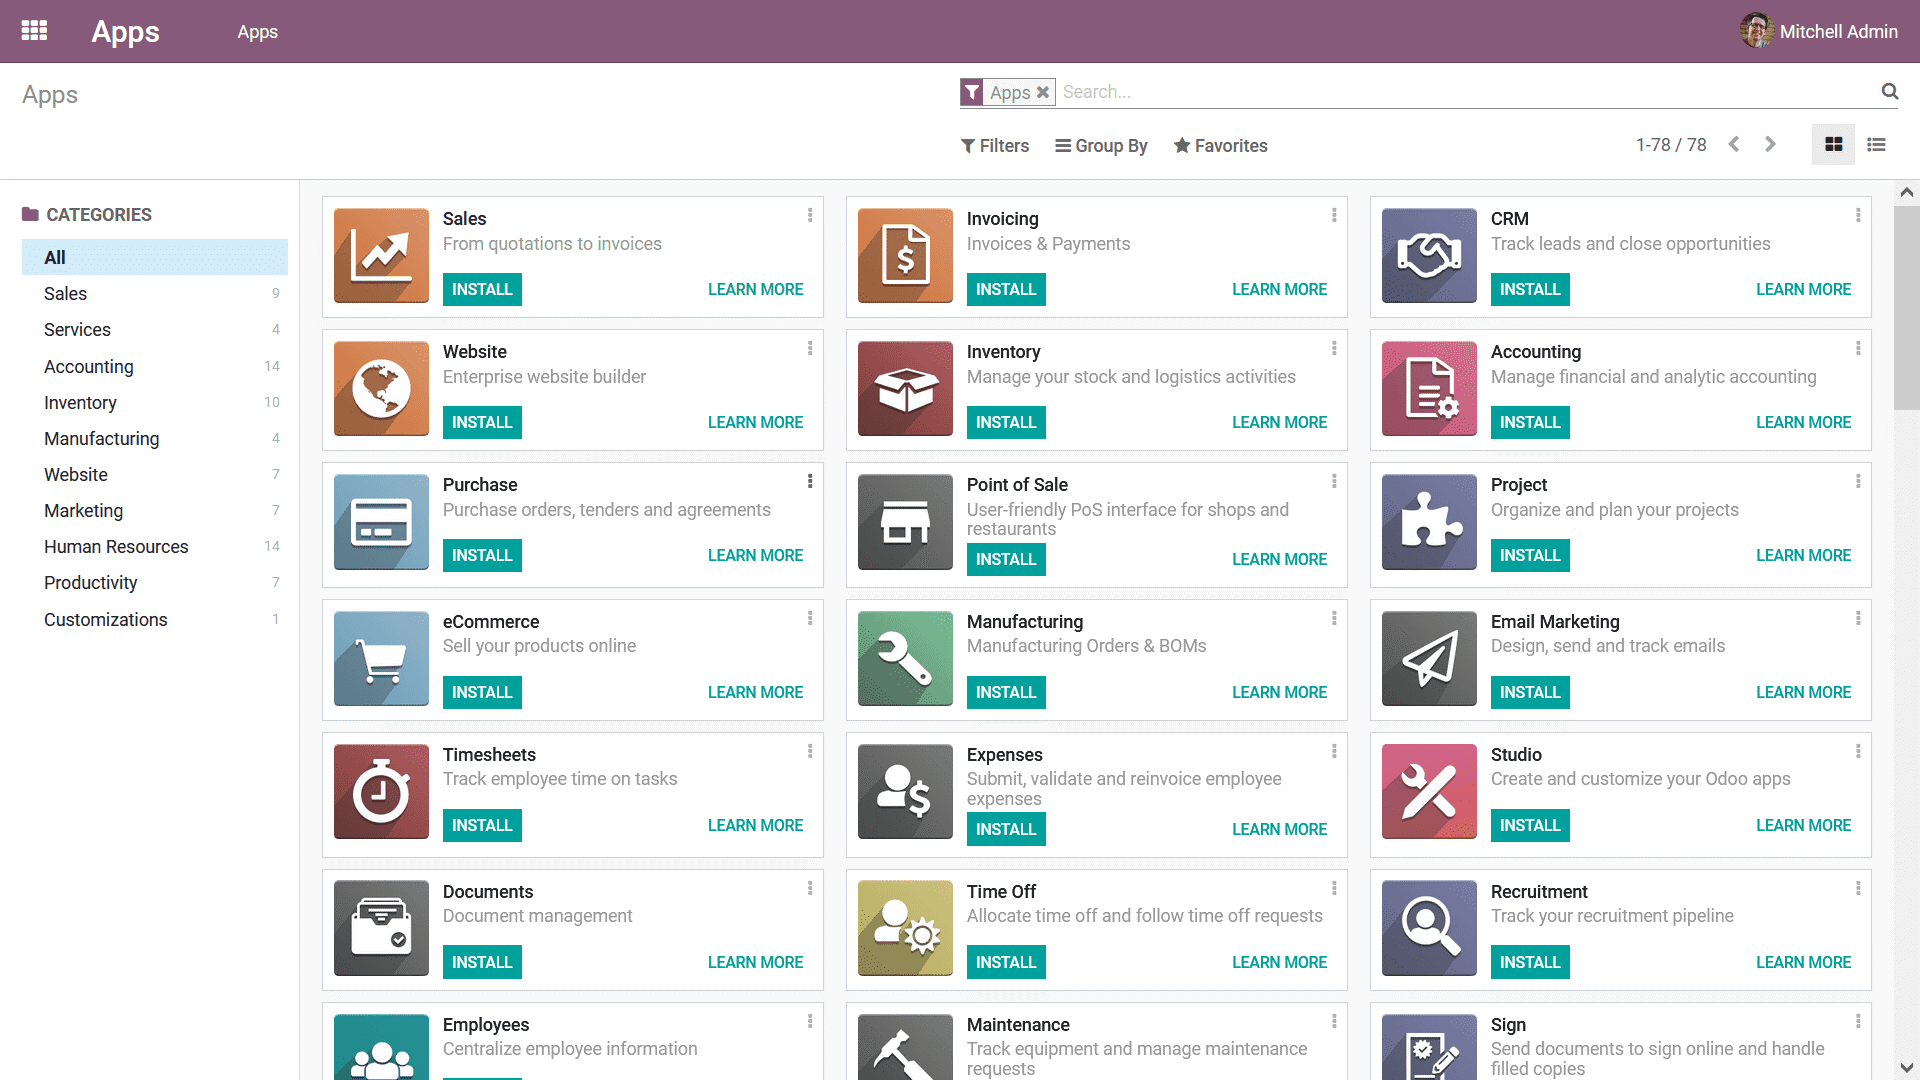
Let's take a closer look at the applications offered under the accounting categories as shown in the attached image since the book focuses on the Accounting module of the Odoo platform.
Depending on your business requirements, you can implement invoicing, accounting, consolidation, various payment acquisitions, and localization modules.
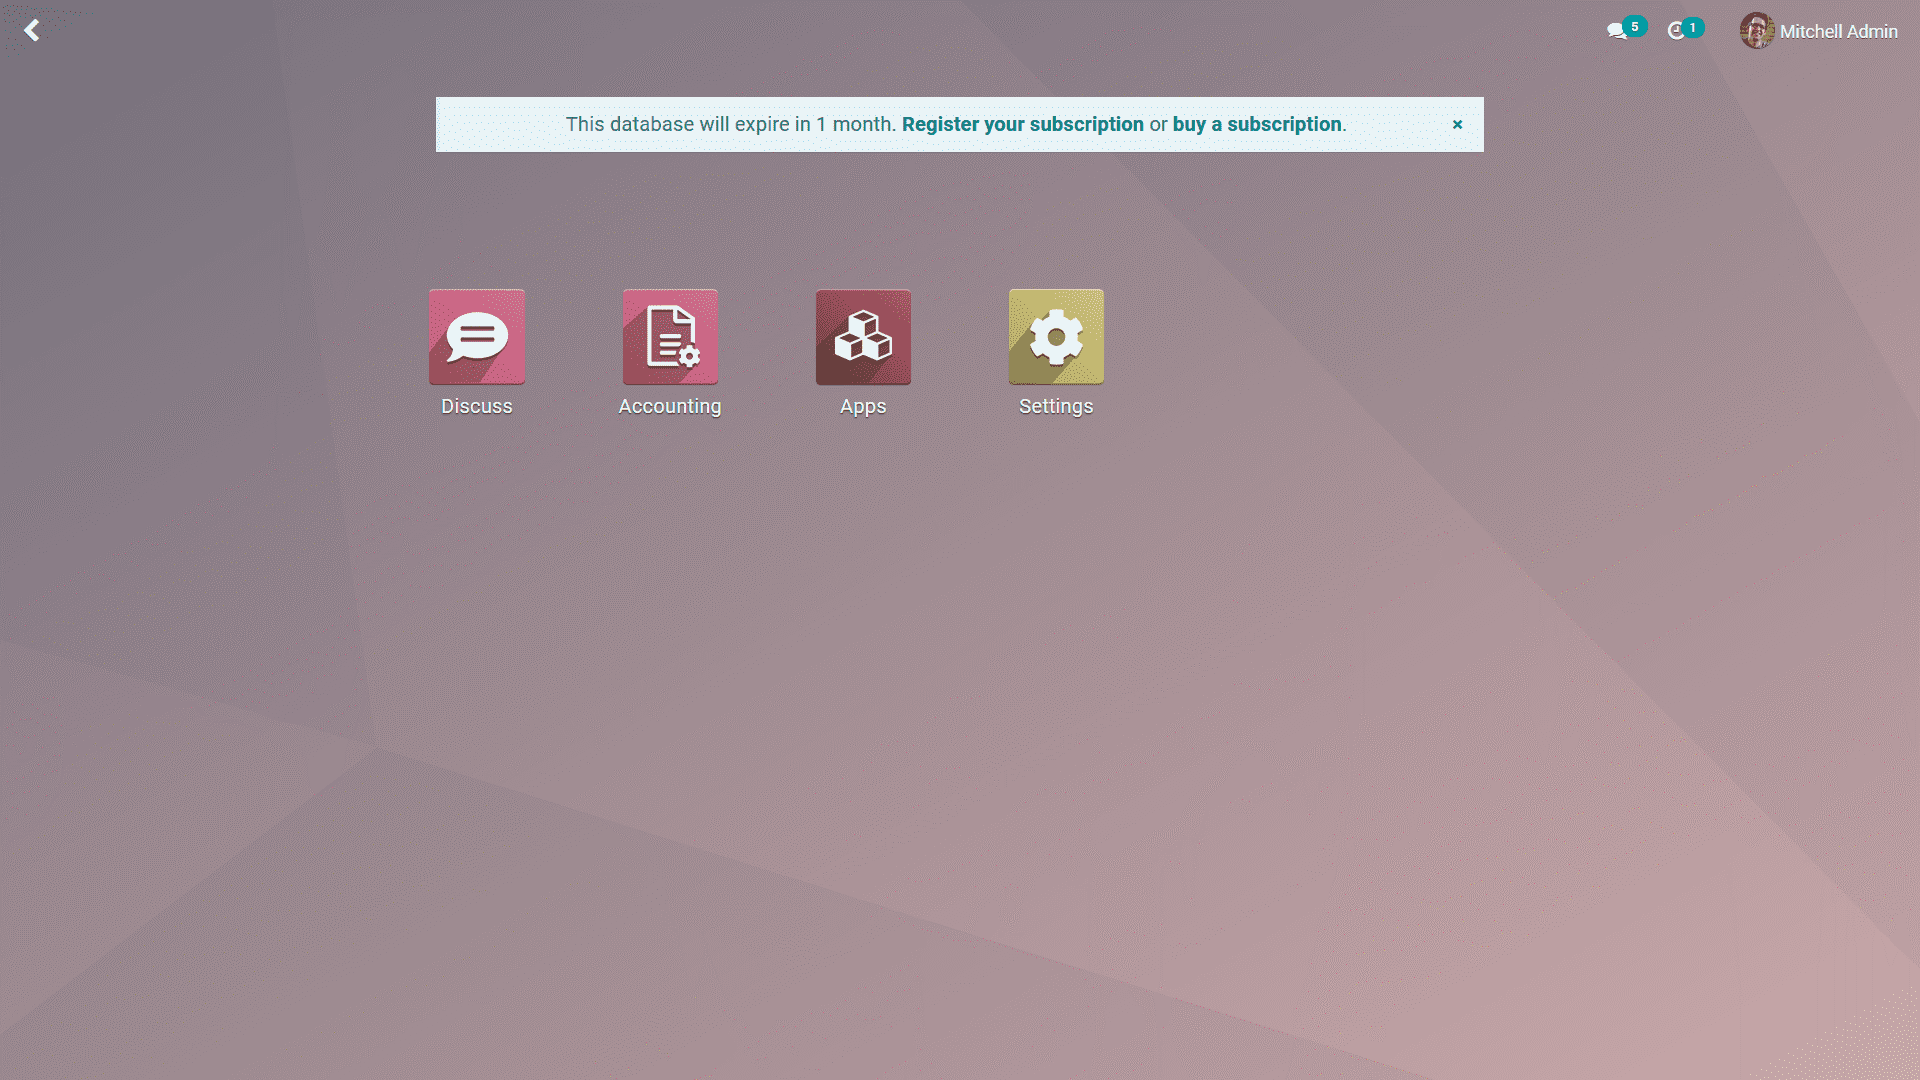
As shown in the following image, once the application is installed, it will appear as an icon on the database panel. By selecting the icon, you can select any module, and the main Odoo panel for that module will be displayed.
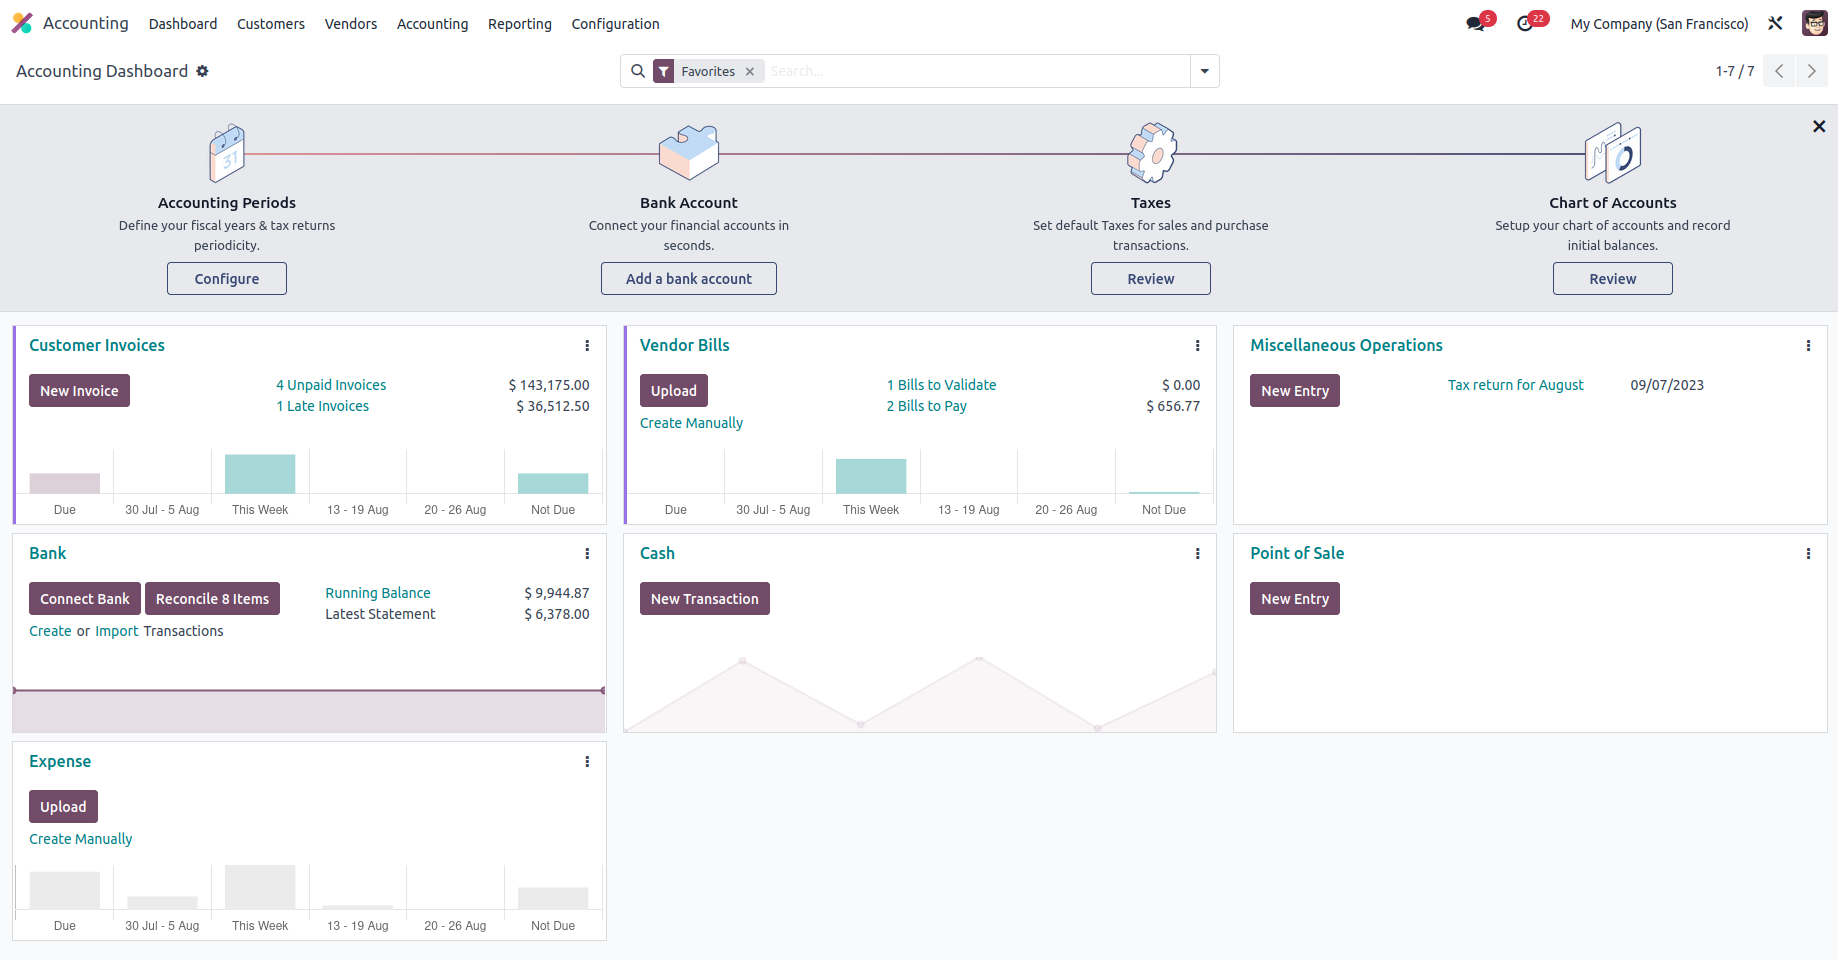
When we first configured the database using the Demo Data option, the modules display predefined demo data as shown in the following screenshot. Because the installed module has a special functional connection with the support module, in some situations, the support module of Odoo functions is automatically installed when the module is installed.
Depending on your usage needs, you can configure your Odoo system database in different ways. The approaches discussed above allow you to configure the database according to your needs. So far, we have talked about installation, hosting, and further changes to the Odoo database. Let's move on to the next section to learn more about Odoo's localization features.