To effectively manage vendor invoices and related payments, use the special management menu in Odoo's accounting module. A company's product supplier operations are dominated by vendor invoice payment management, which requires a dedicated operating system. You can define the elements of supplier invoice payment management in a coordinated and methodical way as part of business operations using Odoo's accounting module.
The screenshots below illustrate the vendor invoice management menu in Odoo's accounting module. All payments made with vendor invoices are displayed here. You will see the details of the payment, including the date and invoice number. In addition, information about journals, payment methods, suppliers, batch payments, embedded amounts and payment currencies, payment statuses, and the SDD scheme will be covered. You can sort the required payment information using the standard Filter and group by settings. Additionally, you can like unique filter and group settings for later use according to your filter requirements.

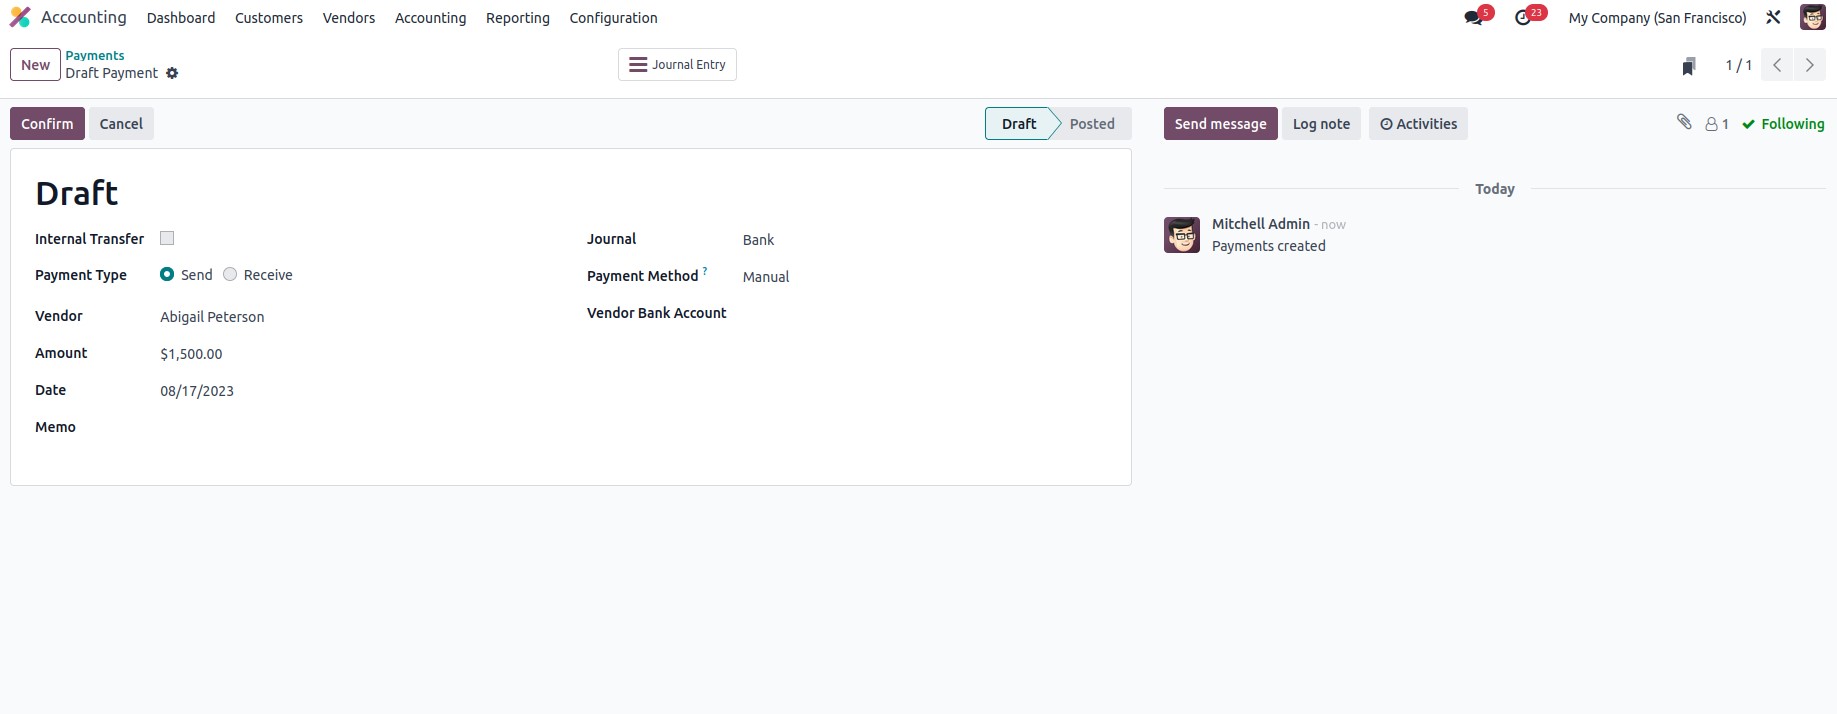
By selecting Create, you can make new payments. This will show you the creation menu shown below. Here, either money sent or money received must be initially set as the payment type. After that, you can set the partner type, customer/supplier details, destination account details, allocated amount and currency details, payment date, and note. You can also set the Payment as an internal transfer by selecting the Whether Internal Transfer option. The payment method can be either Manual or Cheque, and the journal can be selected from the drop-down menu. Depending on the situation, the account number of the Recipient can also be specified.

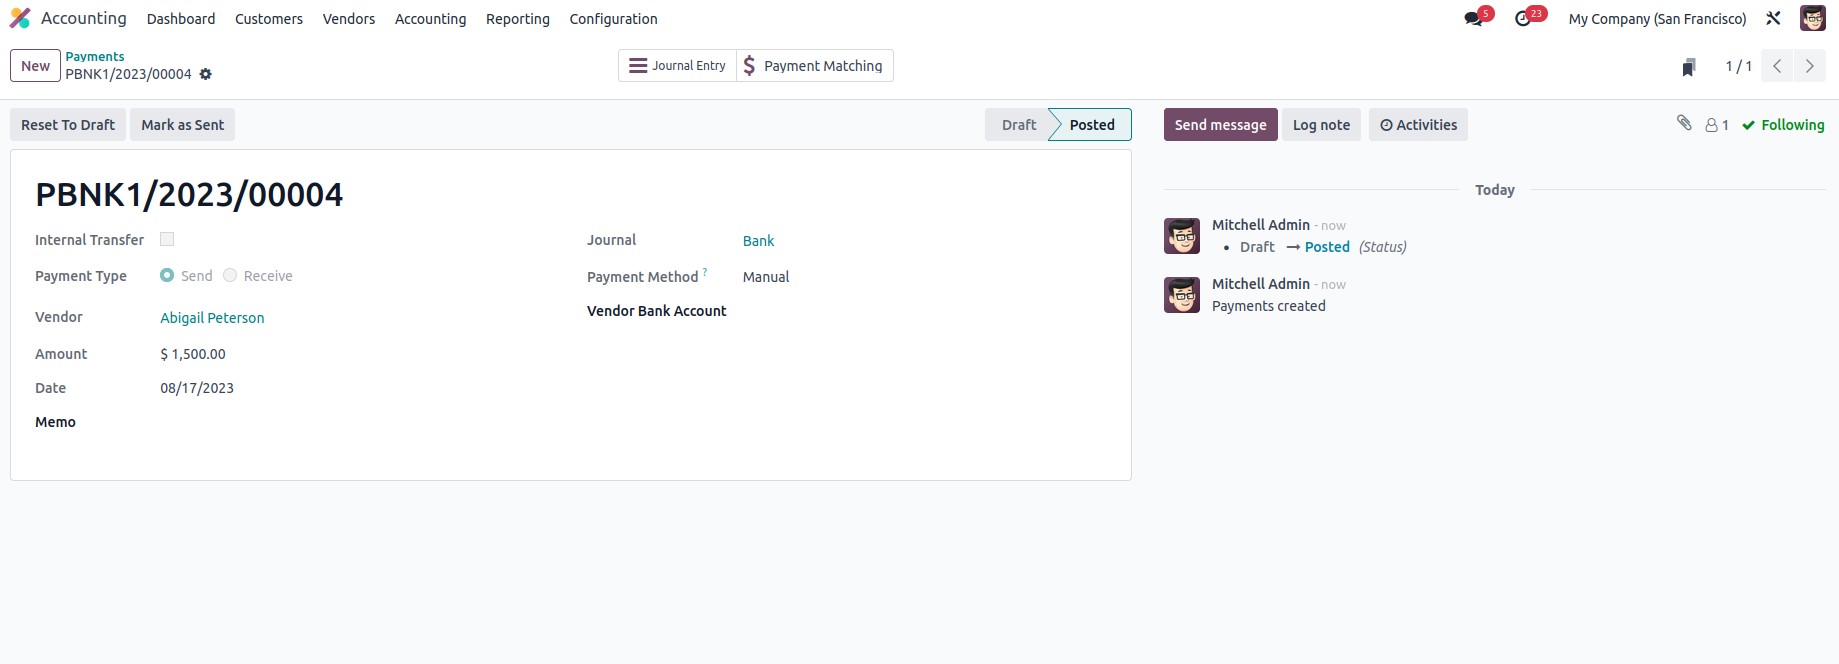
As soon as the payment setup is complete, the next step is to confirm the defined payments. This can be done by selecting Confirm and these vendor payments can then be added to vendor bills. As shown in the screenshot below, the text "Send" will appear when the payments are confirmed.

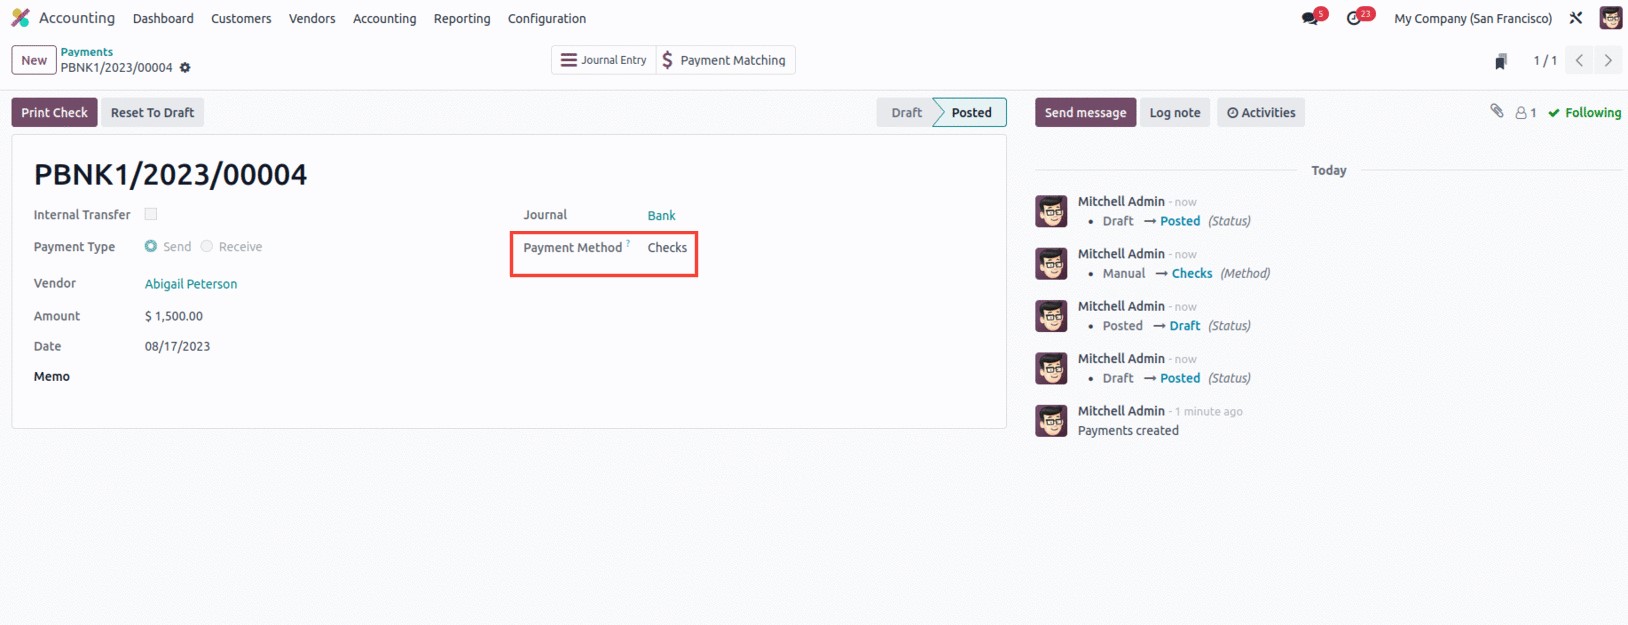
Now if you are paying by ‘checks’, you need to select the check payment method as shown in the screenshot below.

If the payment aspects are configured to use checks, you can select Confirm to see the pre-numbered checks that will be printed and set up the next check. The Print option can be selected when the Print Pre numbered Checks option is set.

If Check Layout is not set, the following warning message will appear as shown in the following image. The Go to Settings Panel option is available.

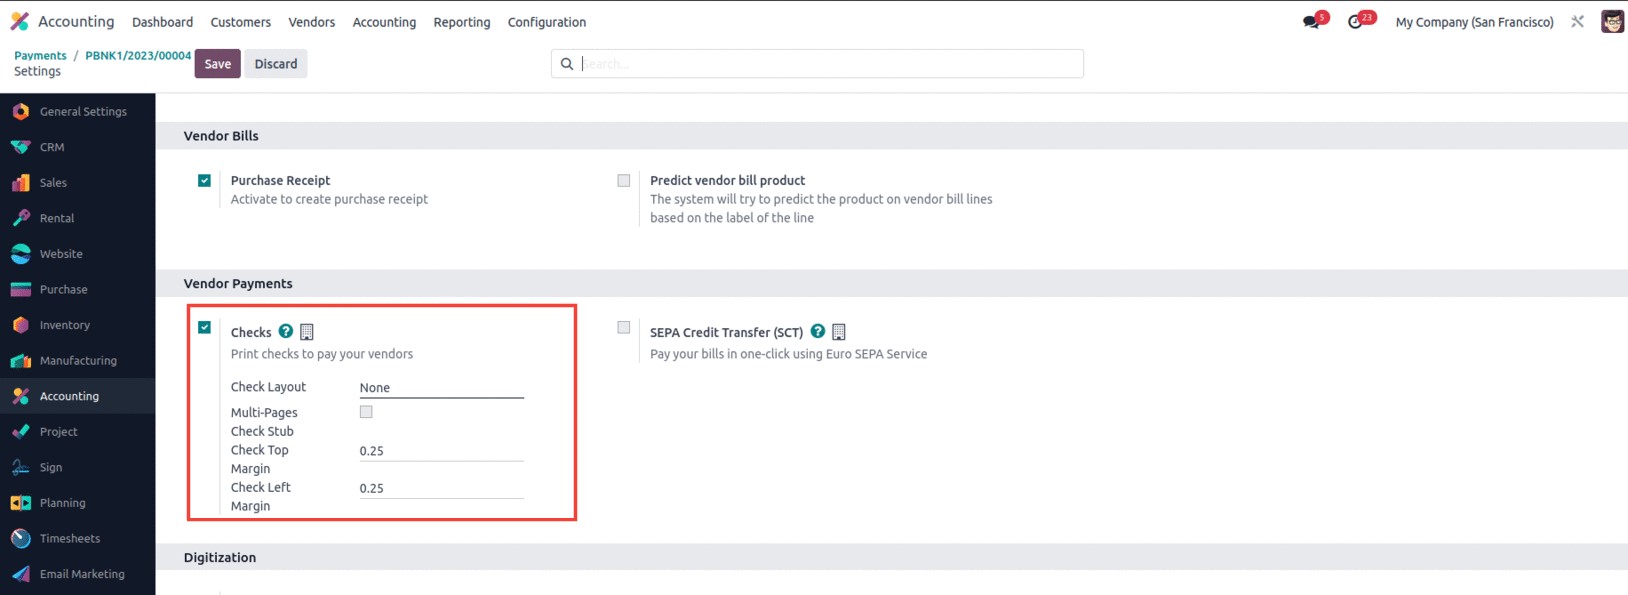
This will take you to the Settings menu in the Accounting module where you can configure Checks items under Vendor Payments. Control Layout can be enabled here and one of the three available options is Print Check (TOP), Print Check (MIDDLE), or Print Check (BOTTOM).

It allows you to make new payments to suppliers or payments created by them to the company. Odoo Payment Management is the best tool to manage the accounting functions related to the financial part of these payments. Let's move on to the next section where the components of the vendor bill batch payments are defined.