A user interface (UI) consists of components and fields that allow users to interact with a computer system. Components include buttons, menus, and screens, while fields are areas where users input or view data. Existing fields refer to pre-existing data that users can access or modify within the UI.
User Interface:
To edit and create Odoo modules, you need to install the Studio module first.

Once you are installed the studio module, you can see the editing tool (change studio button) on the right side of the Odoo app dashboard. Clicking the toggle will open the Studio mode.
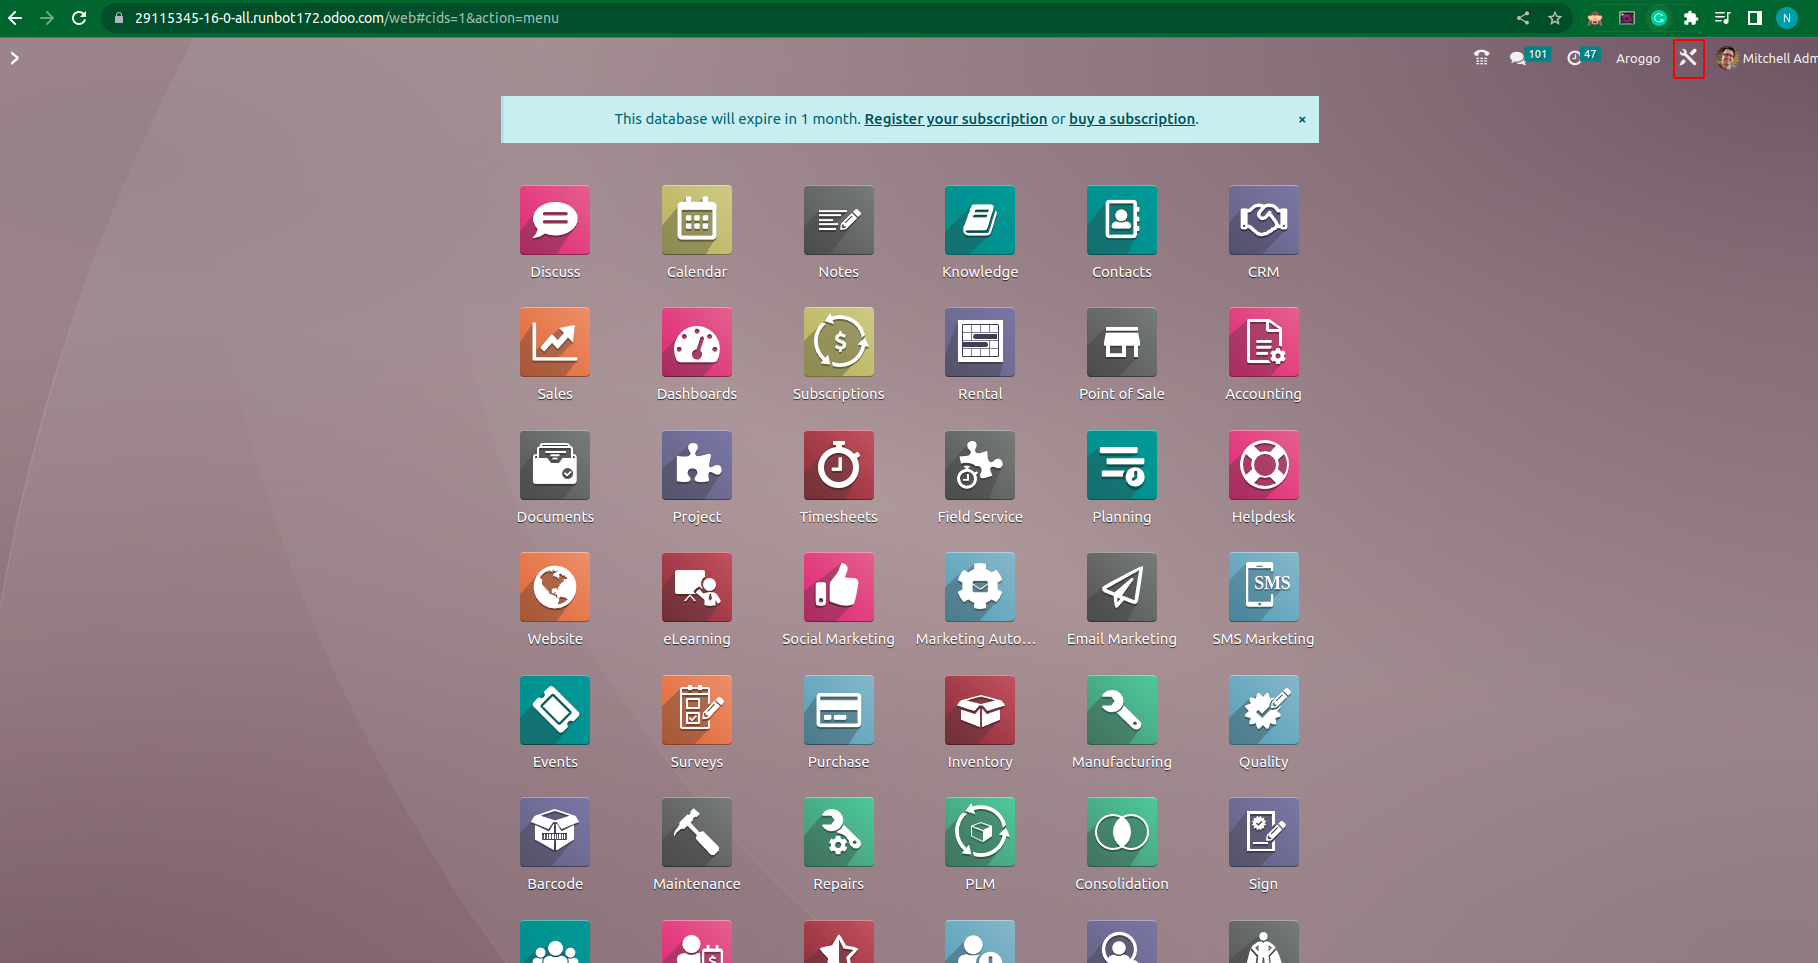
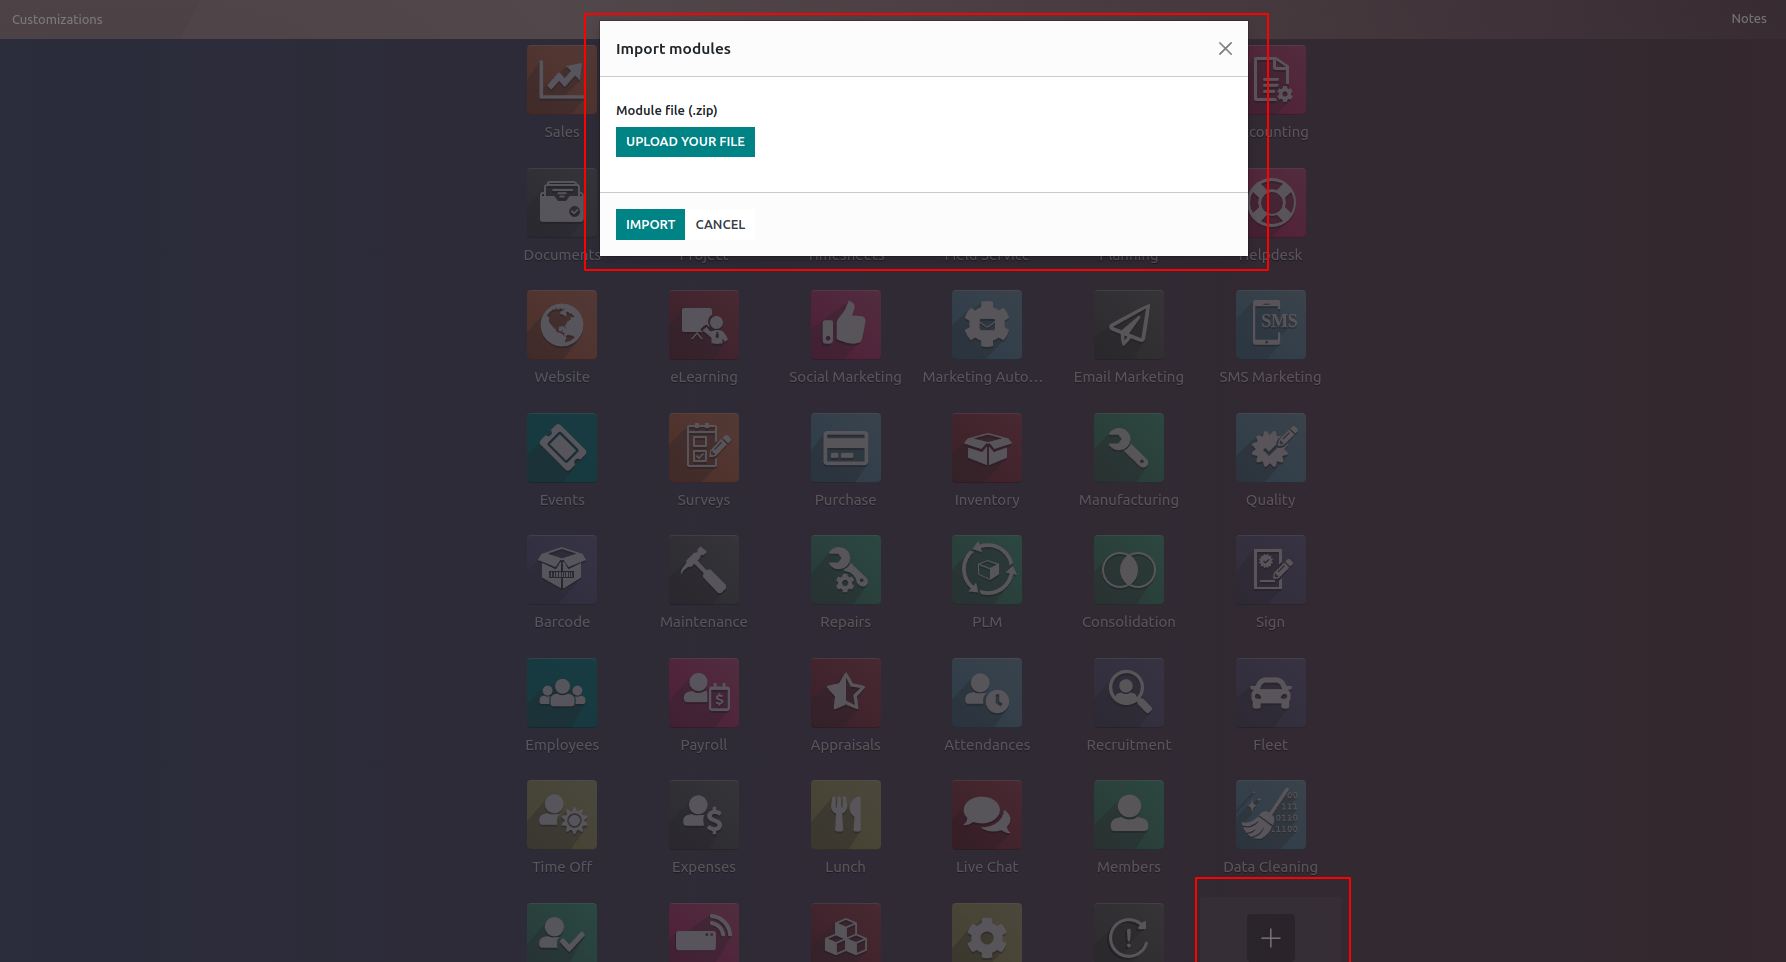
You can create a new app or edit an existing one using the toggle studio tool. And you can also change the background. You can export the module by clicking on the Export option, and you can import a module by clicking on the Import option.
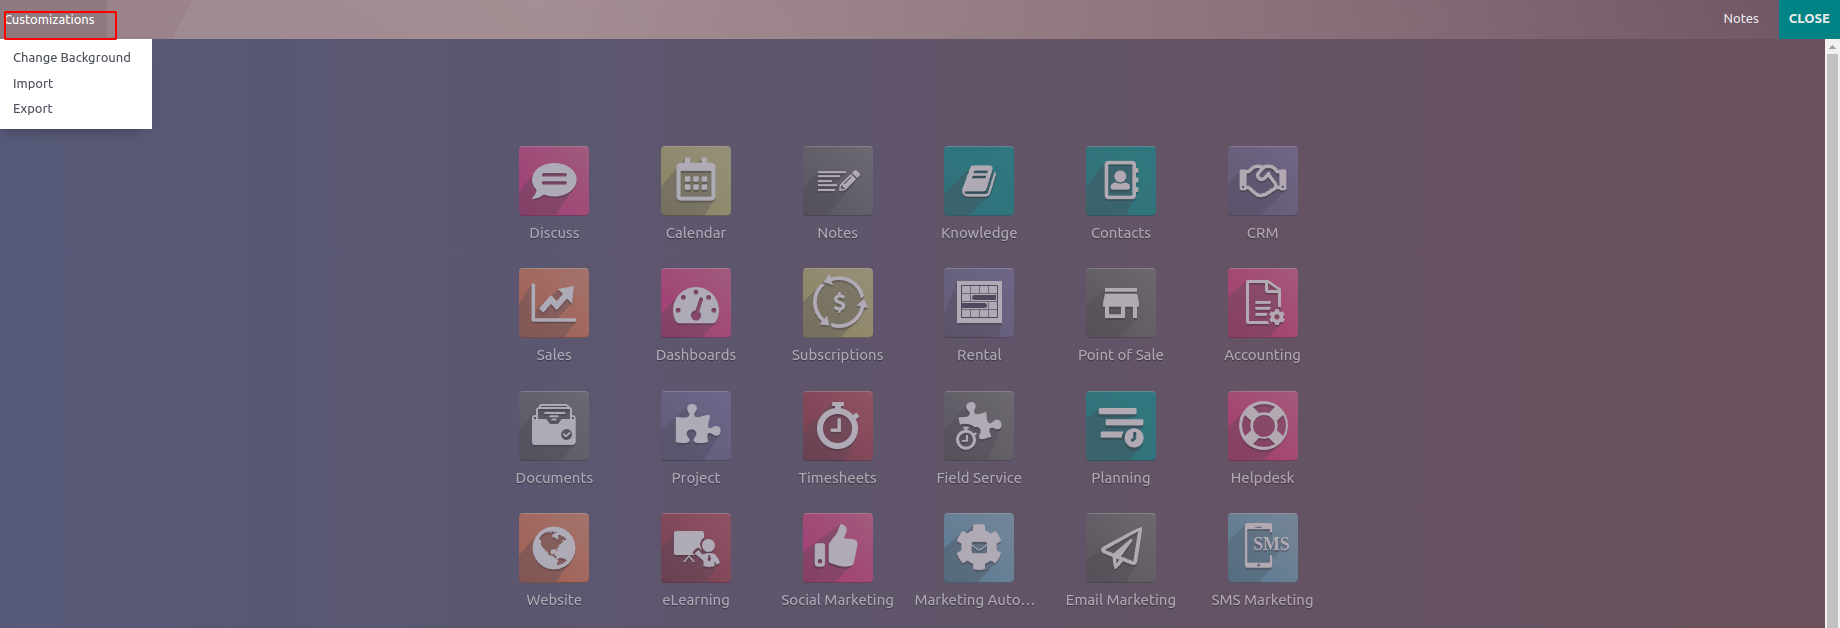
You can see if you are clicking on this customization menu that includes import, export, and background change menus, and you can see that by clicking on the background change menu, you can select and set your custom background.
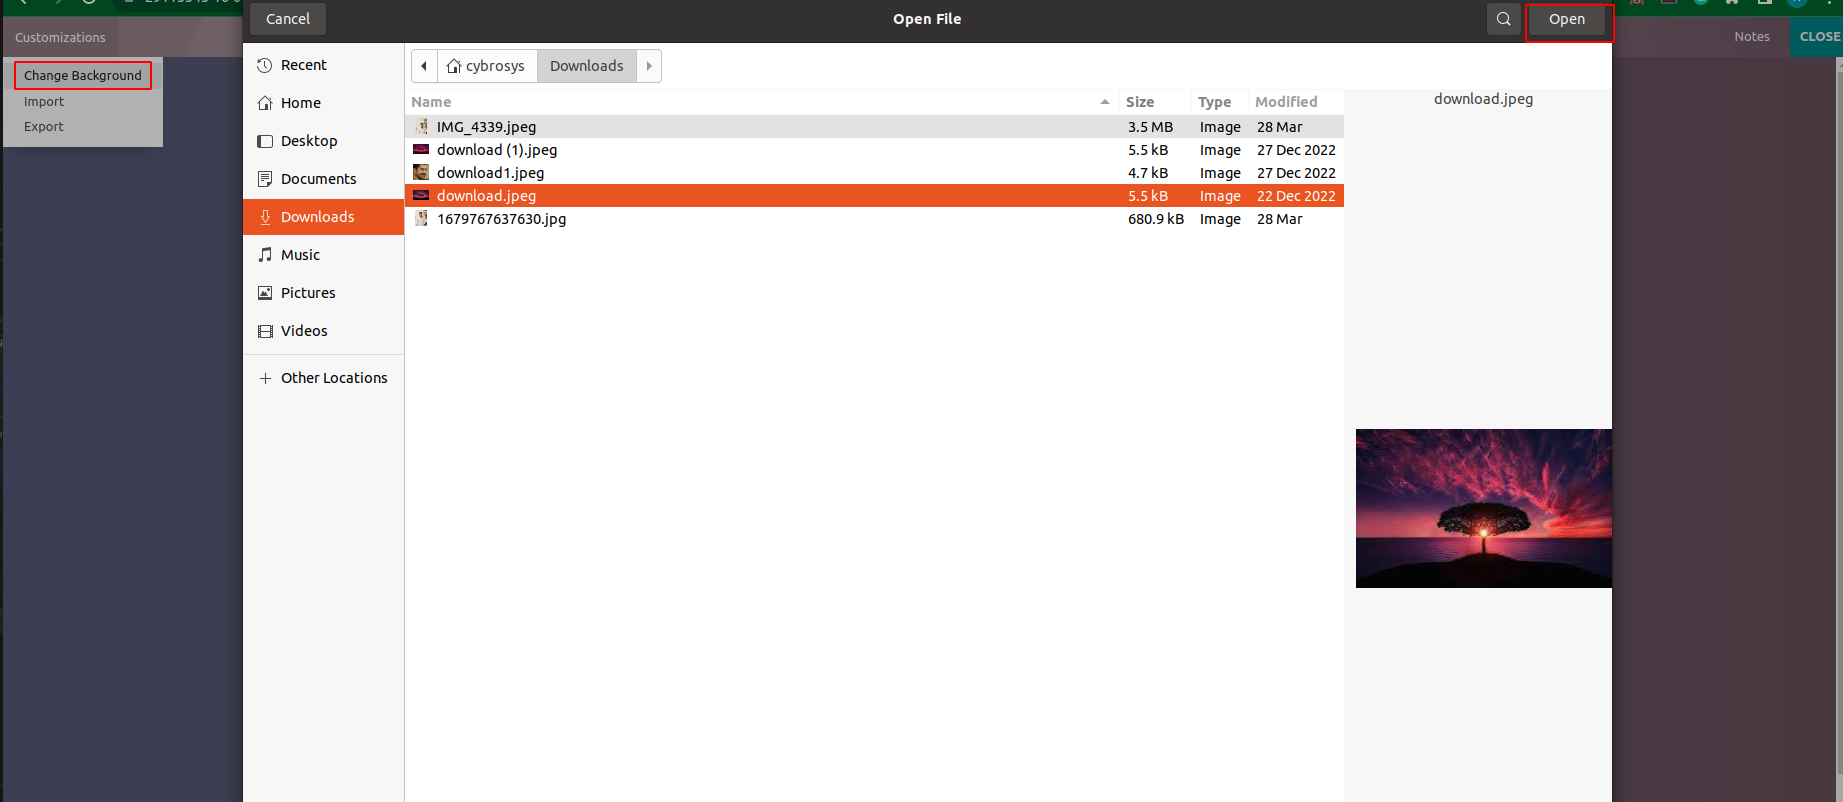
You can see our custom background has changed.
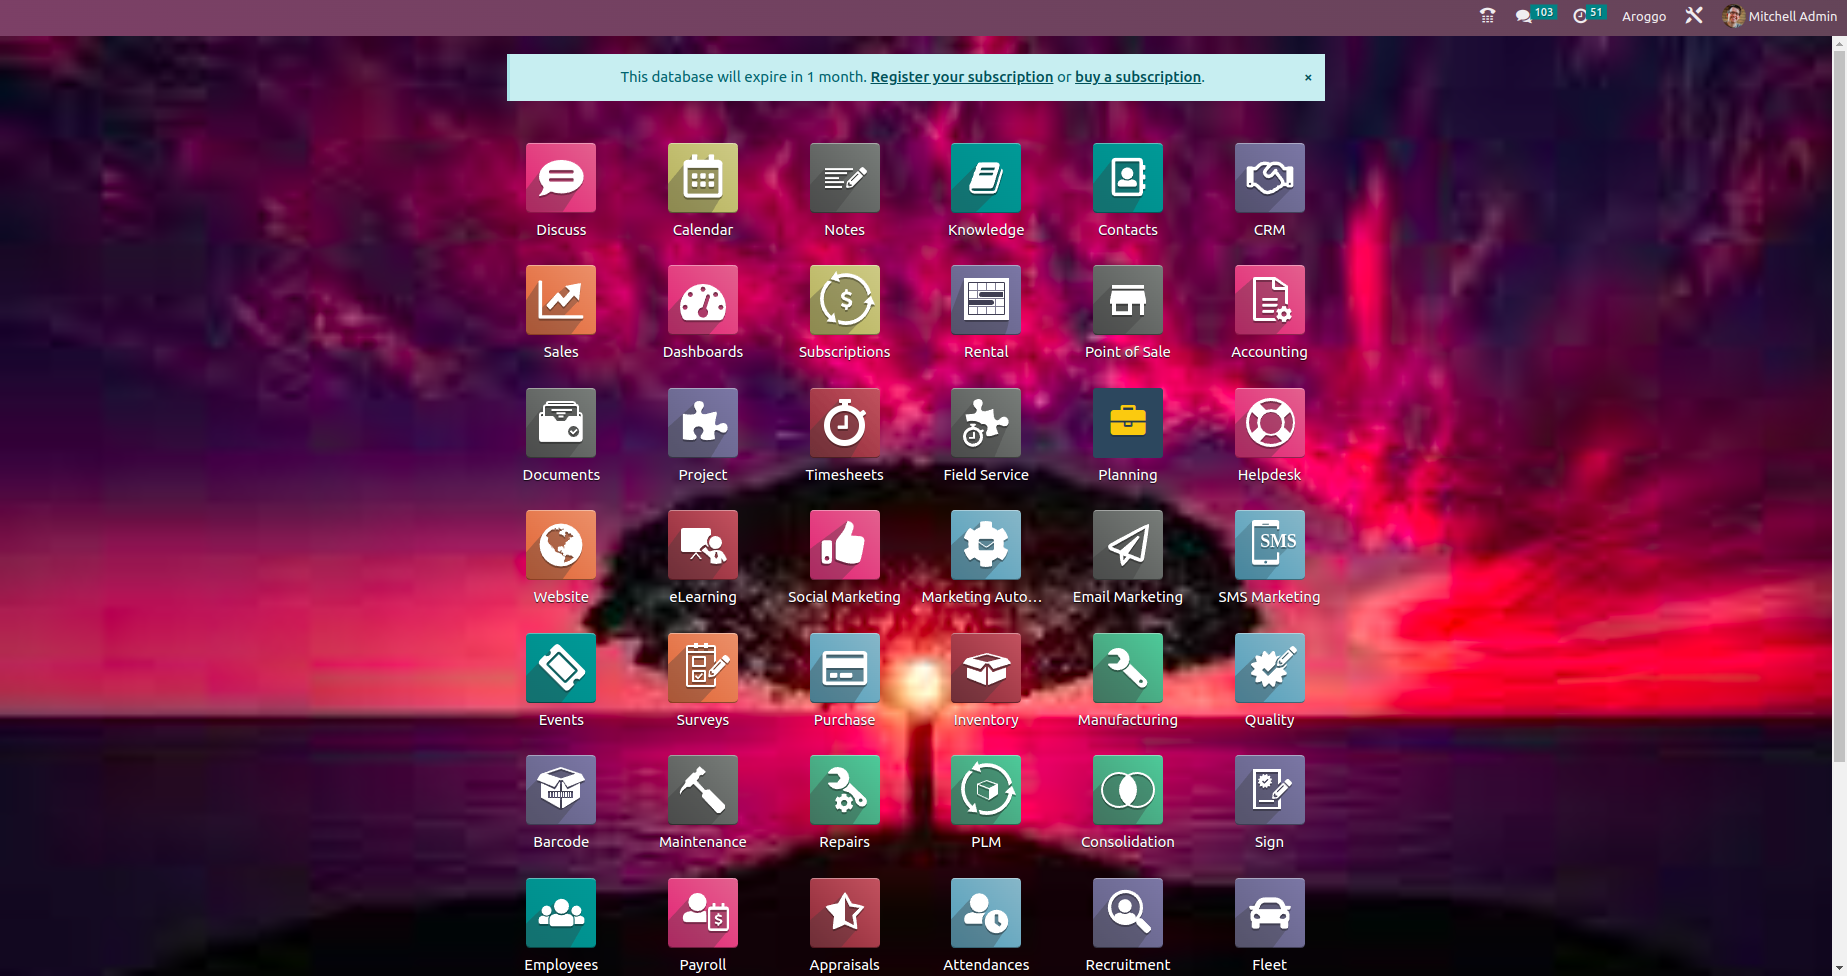
You can upload it by clicking on the Import/Export menu and installing modules. To create a new application, click on the new app icon and follow the further steps. If you want to customize existing applications, you can click on that app and make proper customizations using a variety of options provided by Odoo.
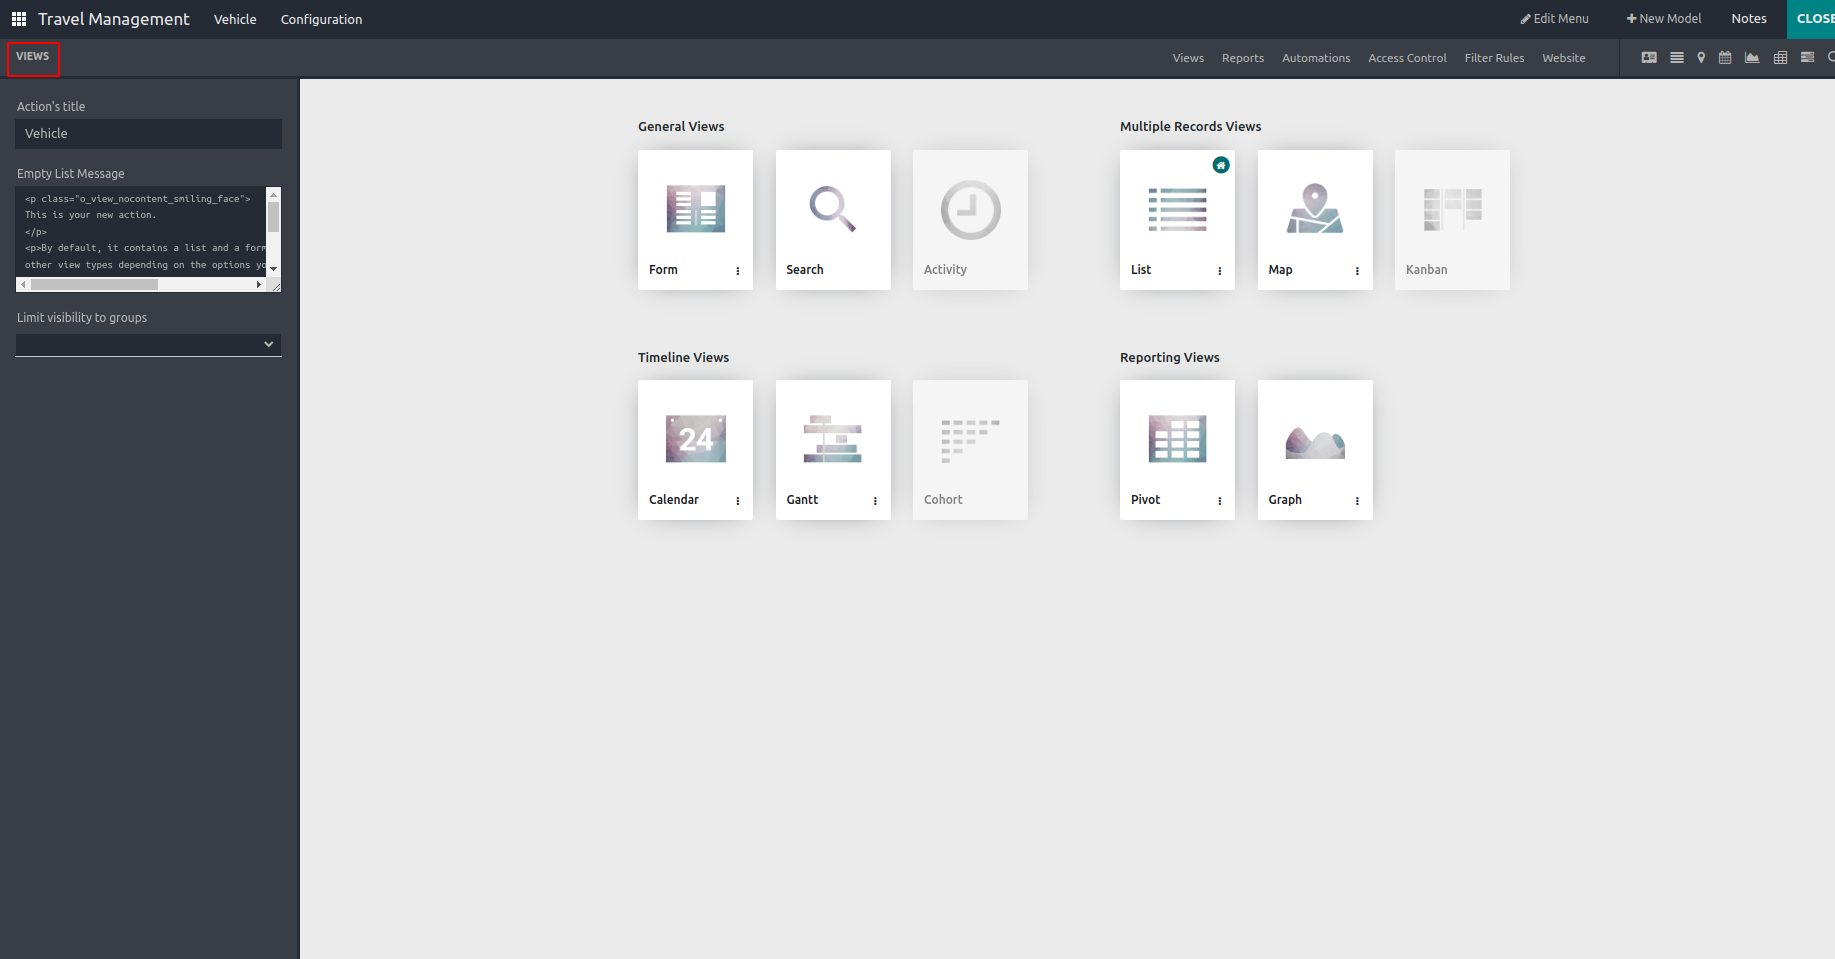
To edit a new/existing application, click the application icon from the Odoo application panel. You can see the top left corner “views” button. While clicking that button user can create several types of views, For example, tree, form, kanban, map, search, calender and etc. You can see the top left corner “views” button. By using this button, the user can create several types of views, such as tree, form, kanban, map, search, calendar, etc.
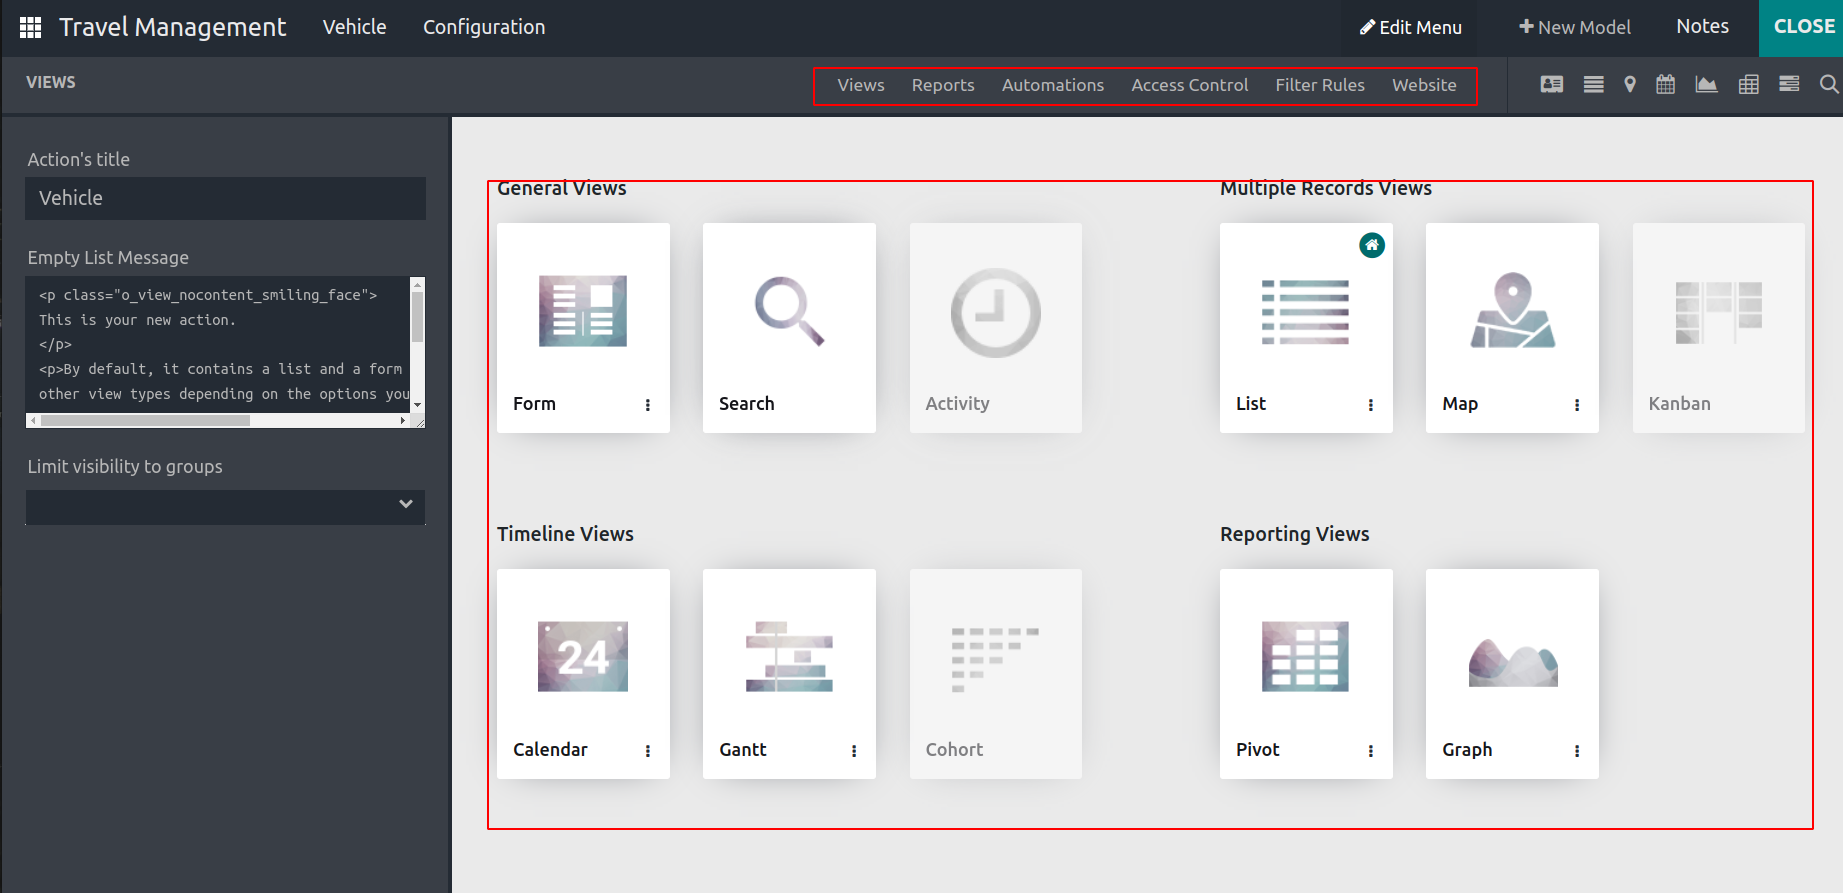
Views: Help to customize and manage different views of the model.
Reports: To manage reports associated with the module
Automation: To add and customize the automatic actions
Translations: Help to add translations for the module.
Access Rules: To customize the access rules.
Filter rules: To manage filter rules of the views.
Website: To customize the website.
And you can see the different types of views
General views
Form
Search
Activity
Timeline views
Calendar
Cohort
gantt
Multiple record views
Tree
Map
kanban
Reporting view
Pivote
graph
You can see the different view icons near the customization menus in studio mode. Clicking on these buttons will also lead to the corresponding view window. You can edit and customize the app's menus using the button ‘Edit Menu’ on the window's menu bar.

If you are clicking this New menu, you can add your customizable menu and can edit and delete your existing menu.

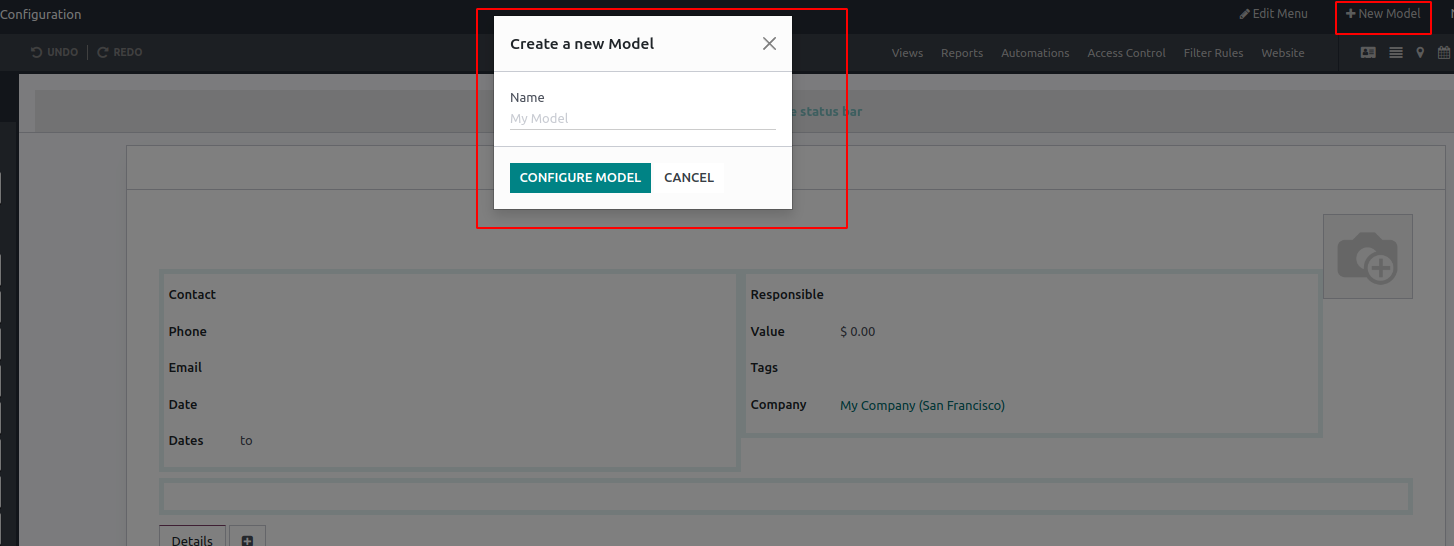
You can create and add a new model by clicking on the new model button.
On the left corner, you can see three tabs - Add, View, and Properties.
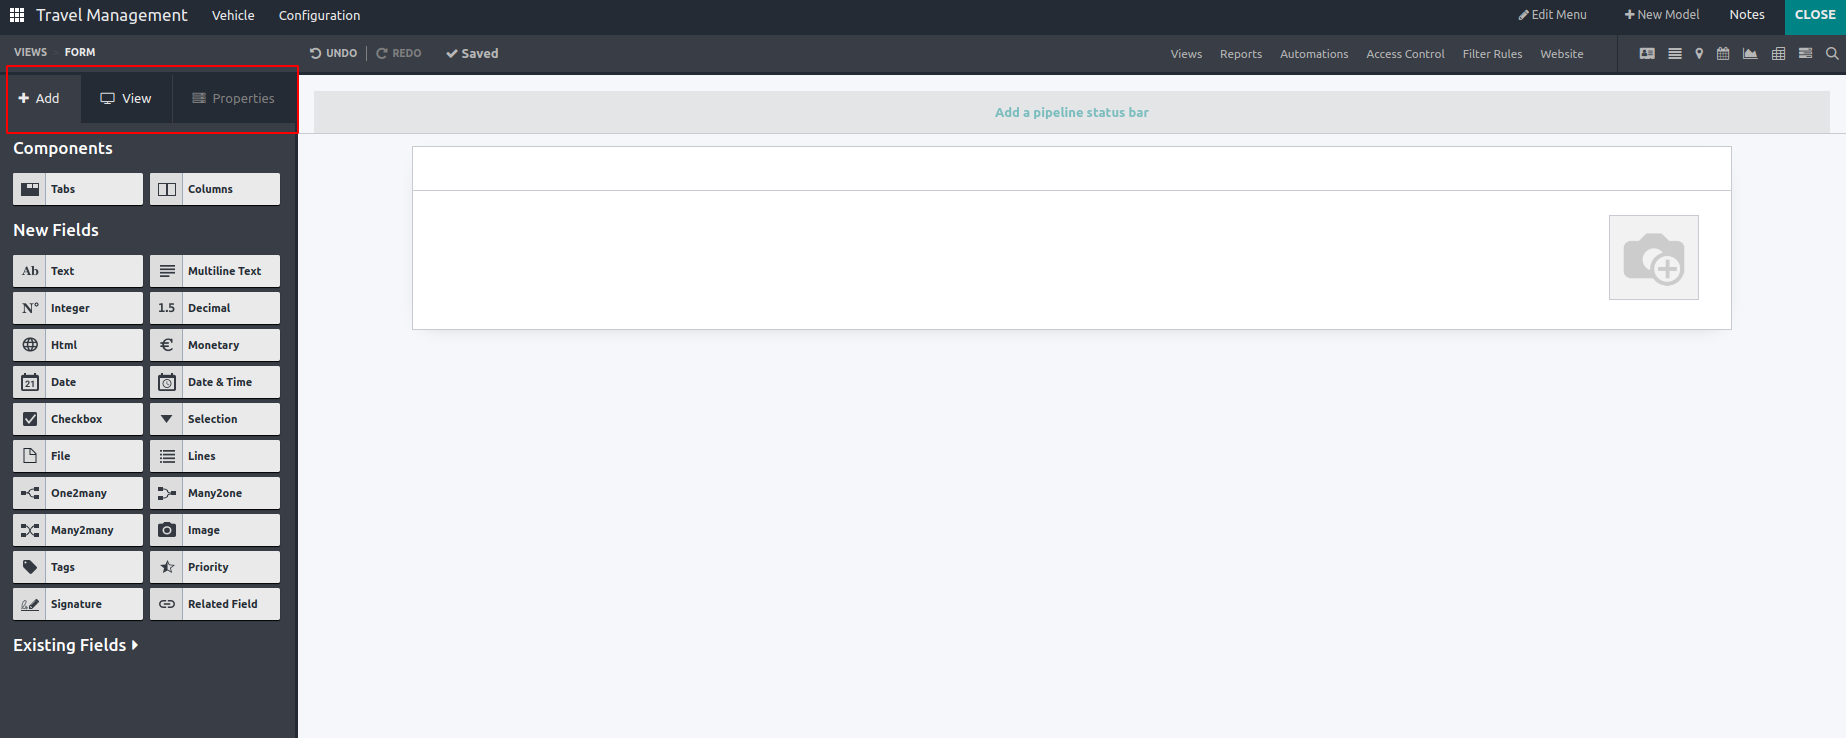
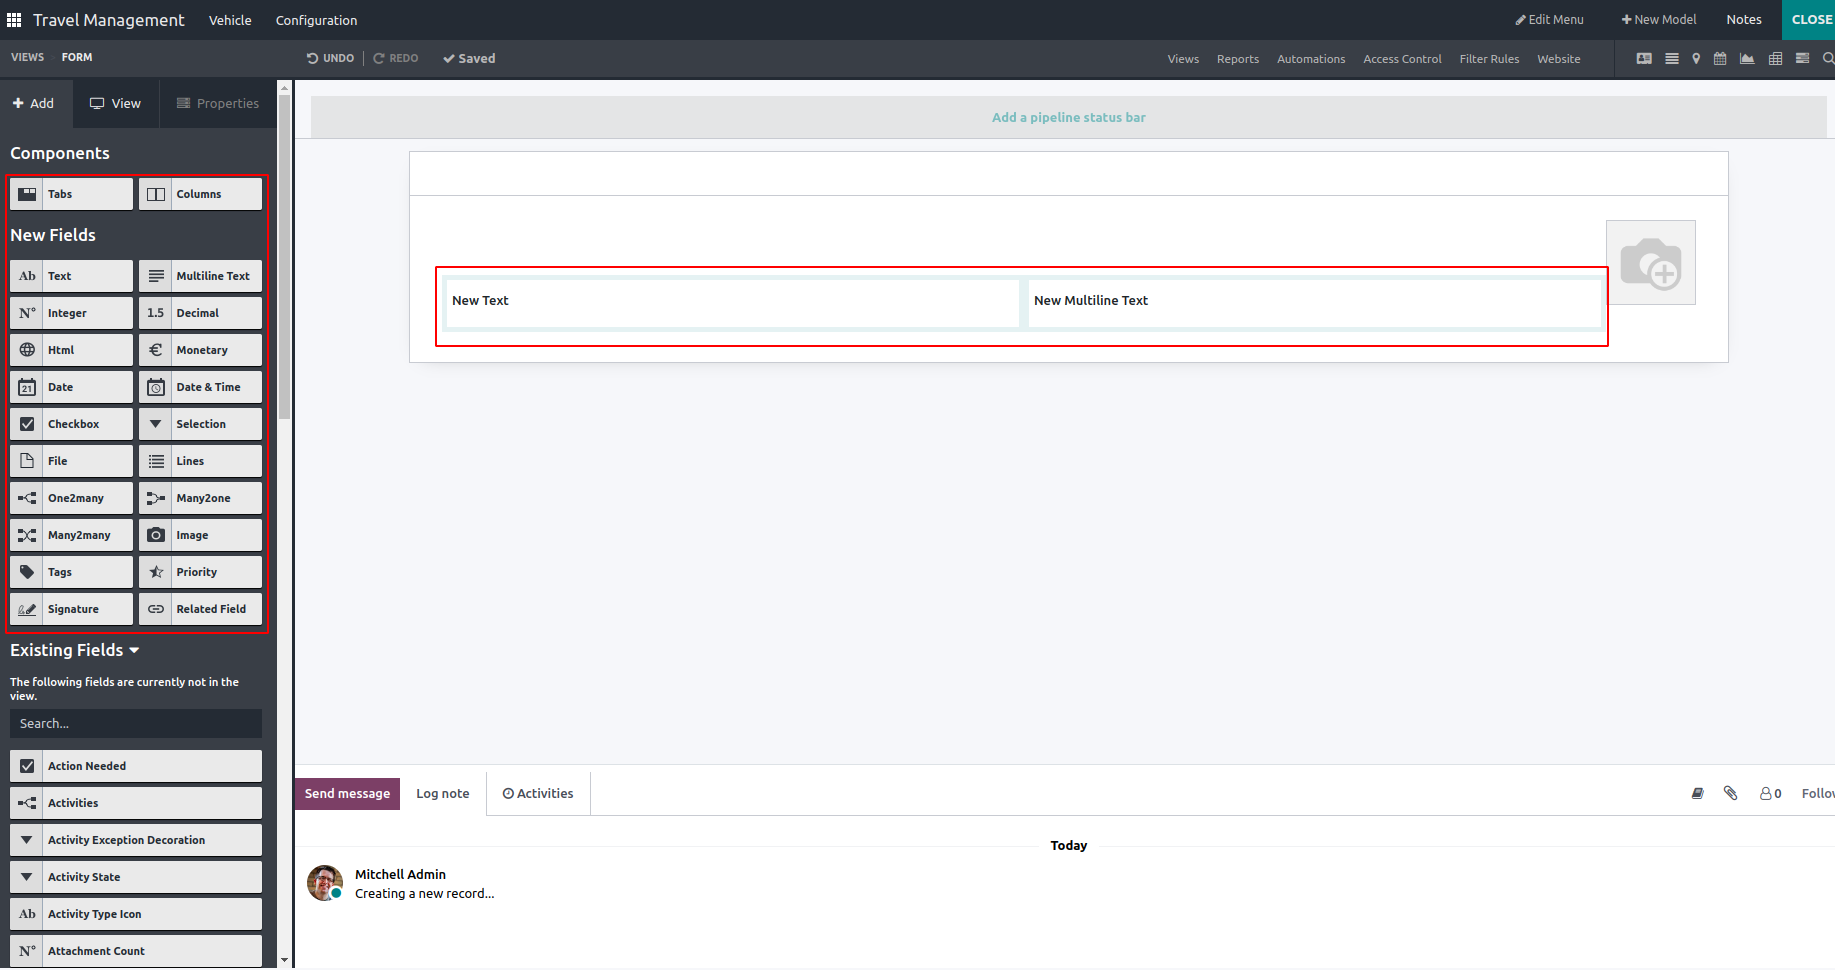
The ‘Add’ tab helps to add new Components, Fields, and Existing Fields that are not in the View.
To the view, you can set the "Create," Edit," and "Delete" options from the View tab. Another option is to choose whether to show hidden content.

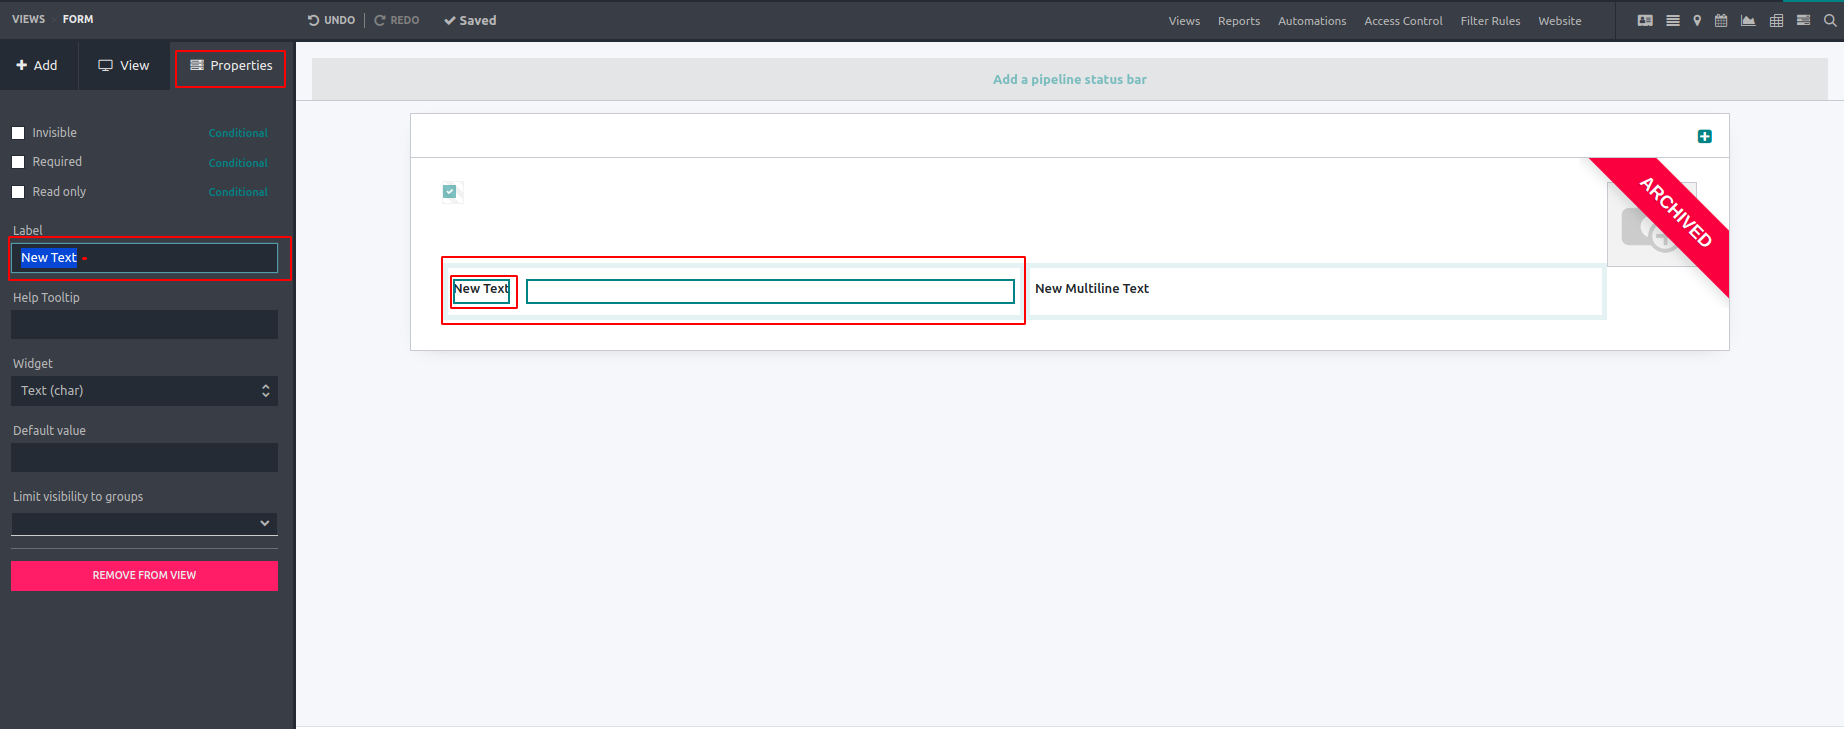
While clicking the properties menu, you can edit your fields. You can enable or disable the ‘invisible’, ‘read-only’, and ‘required’ options. And you can change the field name to help with labeling
If you want to add details to your field, you can use Tooltip and set your field types using widgets. In addition, you can set default values in your field using default values. If your field is only visible to a particular user group, you can also set that using Limit visibility to group.
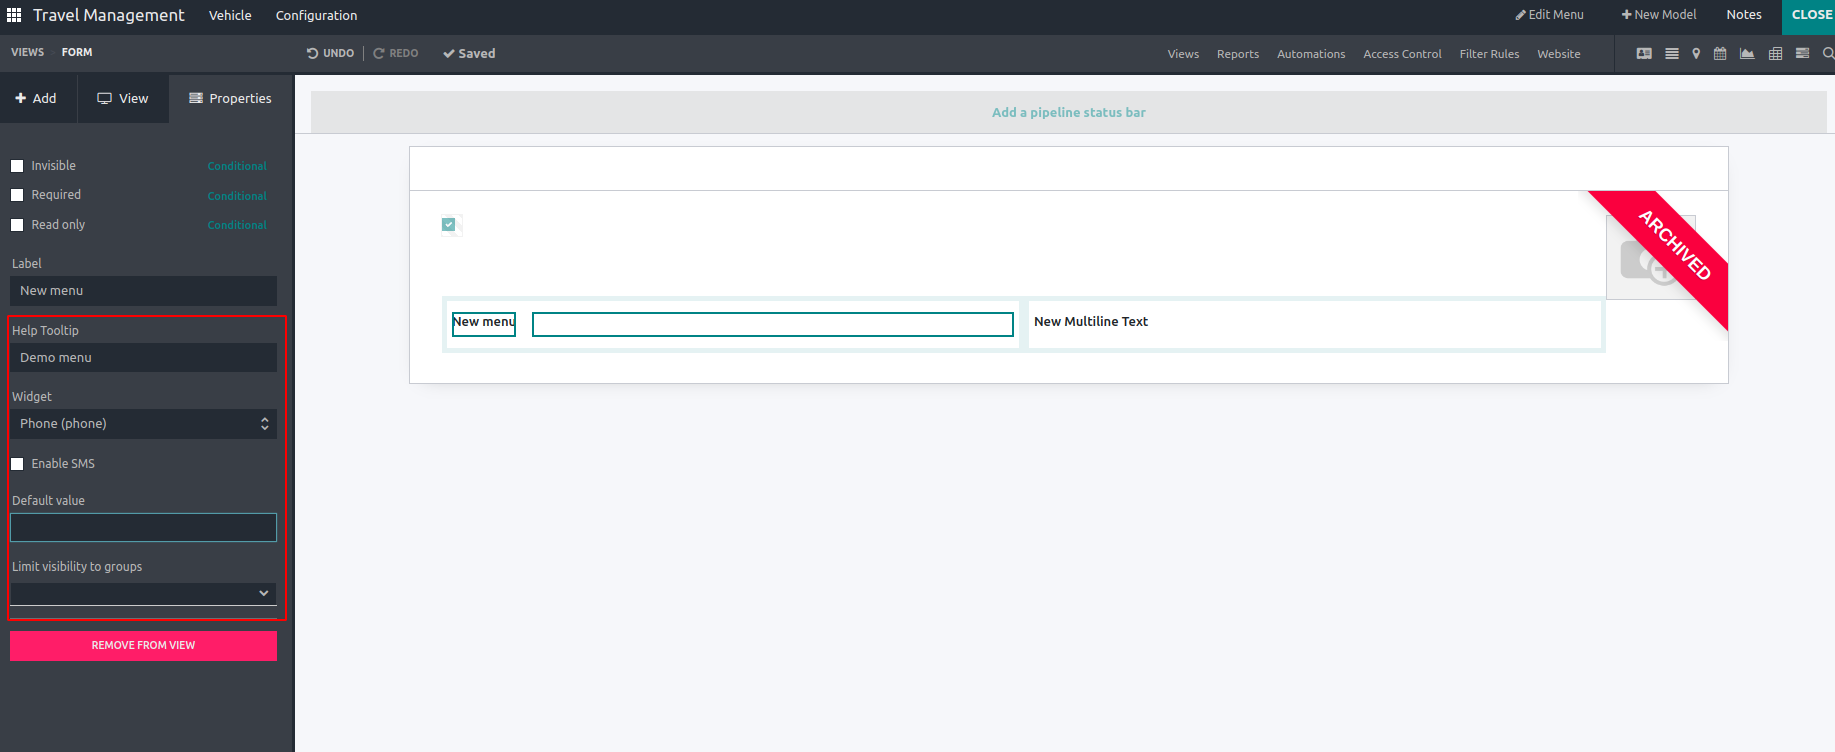
Click the Remove from View button to remove a field from the list view. After that, the domain will be removed from the contract.