The Studio module allows you to use the existing feature of Odoo to create your own custom applications. You can use the fields, components, buttons, reports, etc., from an existing application to build a new one.
While creating a new menu for an application, you can either create a new model or use an existing one. You can create new models for your application by clicking the option ‘New Model’ while creating the menu.
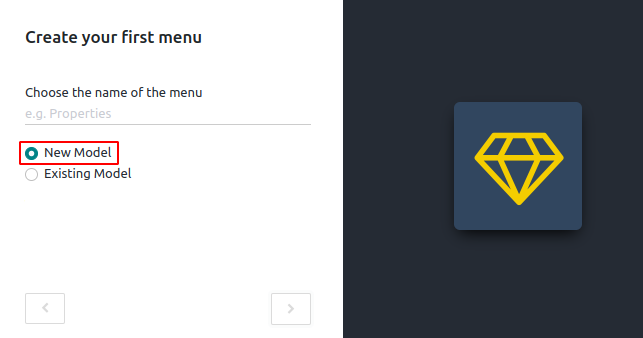
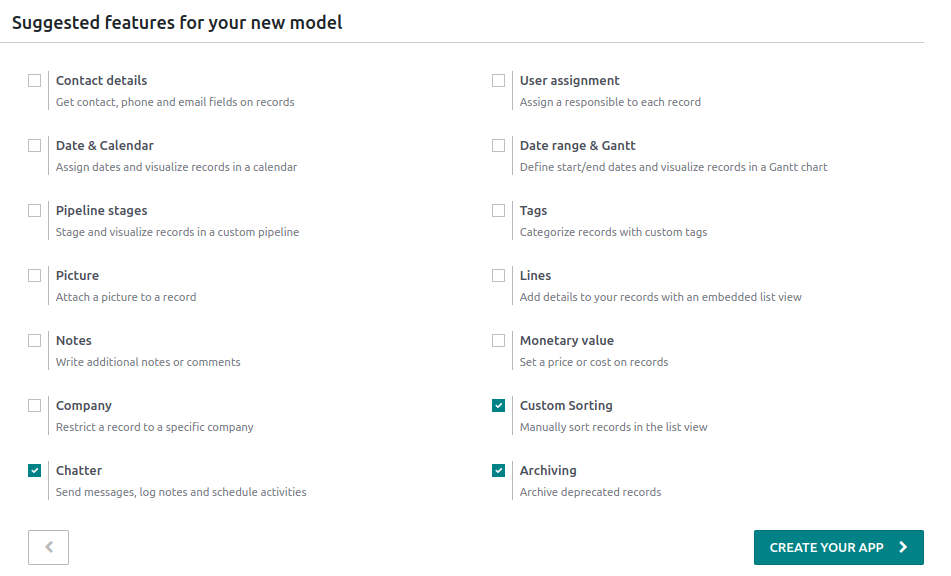
On selecting the option ‘New Model,’ a popup window will be opened where we can enable different features, as shown below. All the selected features will be made available in your new model and also, this will speed up the app creation process.
Following will be the Form view obtained on checking all the features given:
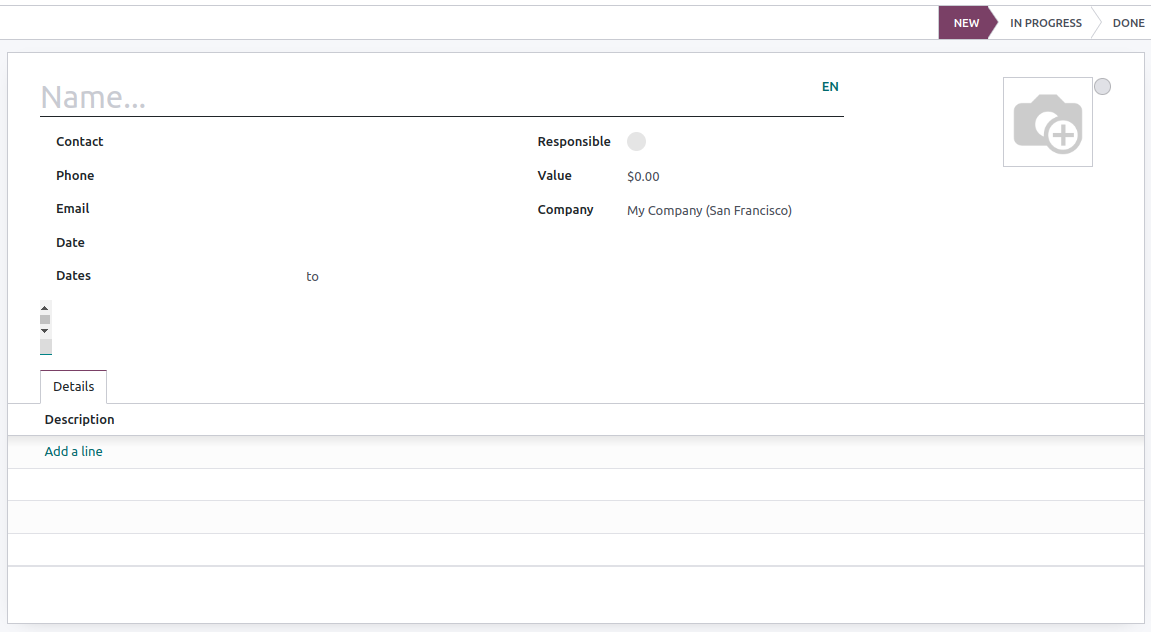
- Contact Details: Selecting Contact details adds a Many2One field linked to the model ‘Contact’ to the Form view, and two of its related fields: Phone and Email are also added. The Contact field is also added to the List view, and the Map view is activated.

- User Assignment: Selecting User assignment adds a Many2One field linked to the model ‘Contact’ where you are allowed to choose Internal Users. Also, the many2one_avatar_user widget is used to display the user’s avatar. The Responsible field is also added to the List view.

- Date & Calendar: Selecting Date & Calendar adds a Date field to the Form view and activates a Calendar view.
- Date range & Gantt: Selecting Date range & Gantt adds two Date fields next to each other to the Form view: one to set a start date, the other to set an end date, using the date range widget. Also, the Gantt view is activated.
- Pipeline Stages: Selecting Pipeline stages activates the Kanban view and three stages: New, In Progress, and Done are added to it. The pipeline status bar is added to the form view. Kanban state is also added. In addition, a color field is added to the list view.
- Tags: Selecting Tags adds a Tags field to the Form view, creating a Tag model with pre-configured access rights in the process.
- Picture: Selecting Picture adds an Image field on the top-right of the Form view.
- Lines: Selecting Lines adds a Lines field inside a Tab in the Form view
- Notes: Selecting Notes adds to the Form view an Html field using the full width of the form.
- Monetary value: Selecting Monetary value adds a Monetary field to the Form and List views. In addition, Graph and Pivot views are activated.
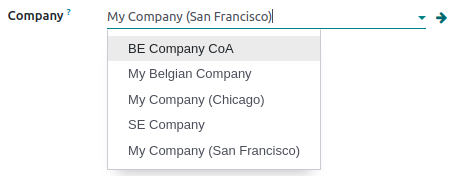
- Company: Selecting Company adds a Many2One field linked to the model ‘Company’ to the Form and List views. This is useful if multiple companies are used.
- Custom Sorting: Selecting Custom Sorting adds a drag handle icon to the List view that helps to reorder records manually.
- Chatter: Selecting Chatter adds Chatter functionalities like sending messages, logging notes, and scheduling activities to the Form view.

- Archiving: Selecting Archiving adds the Archive action to the Form and List views and hides archived records from searches and views by default.
You can also create your application using the existing model by choosing the option ‘Existing Model’ while creating the menu and choose your required model.
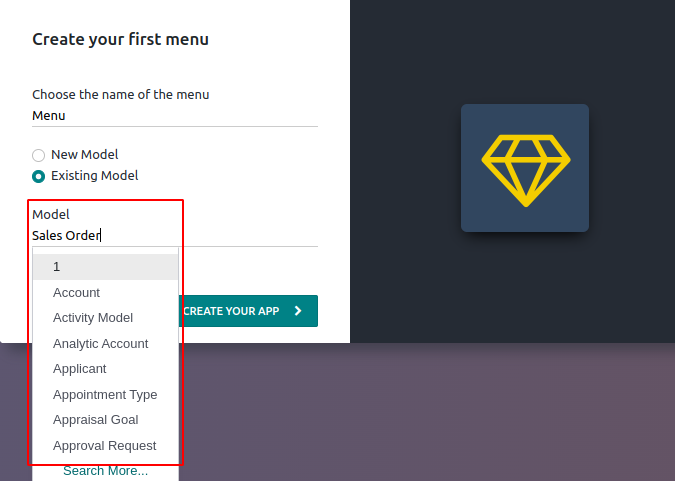
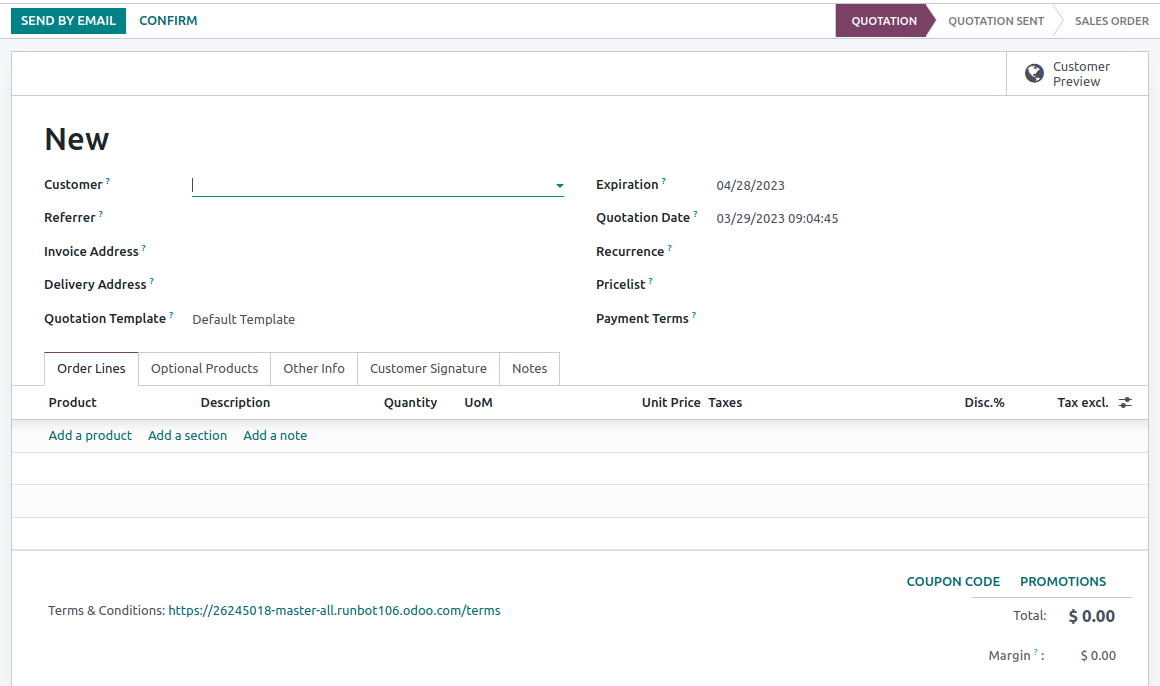
For example, suppose you want to create an application with the functionalities of the Sales module. In that case, you can choose the model ‘Sales Order’ so that all functionalities of Sales Order will be available. It is also possible to include additional features to modify the app using Odoo Studio. You can add more fields, buttons, and menus or can change views.
On selecting the model ‘Sales Order,’ you will get the following Form view where you can add new features accordingly.
