Using a studio book, we can create templates in different formats. It helps to customize the reports with different details.
We can generate a new report from the create option given in the reports shown in the image below.
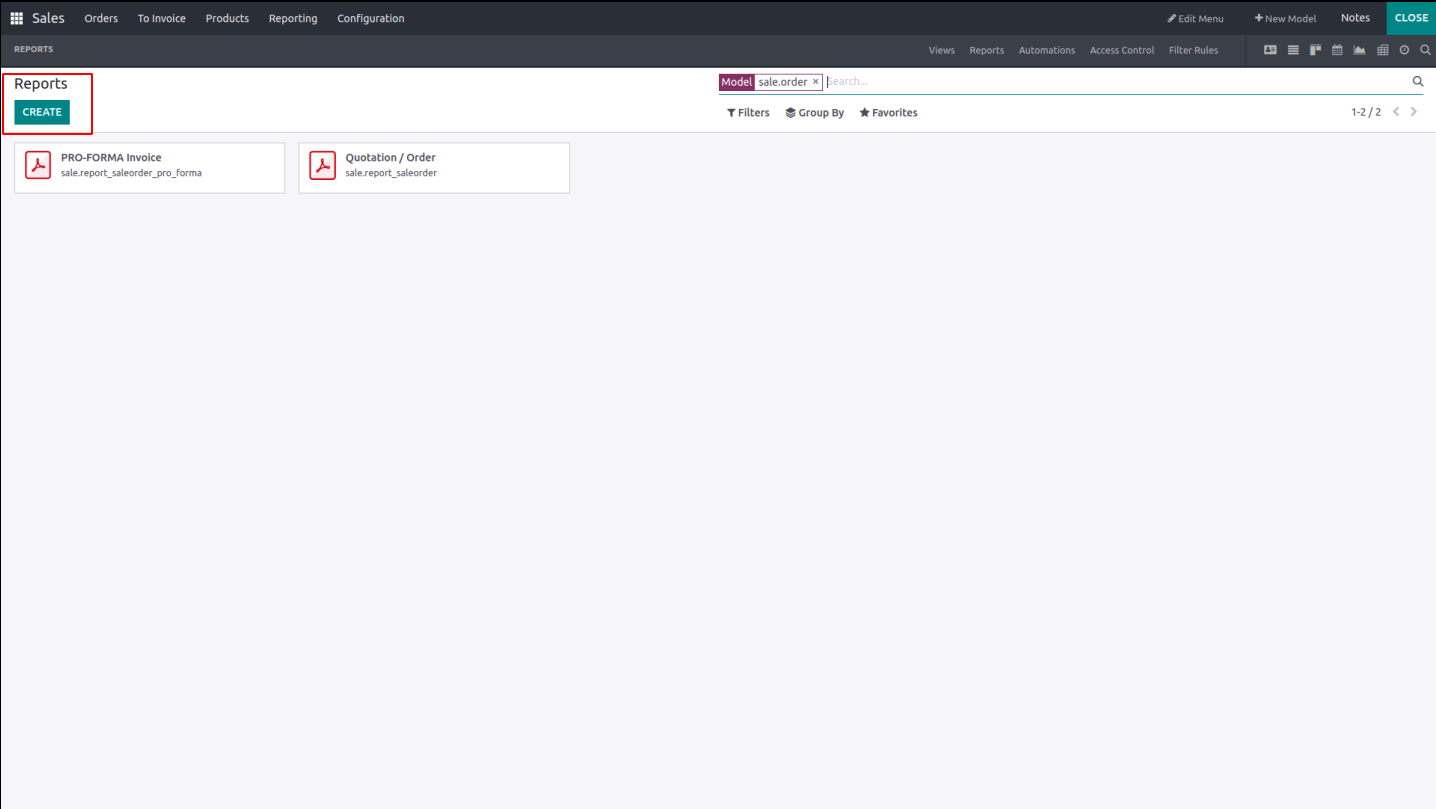
When you choose the "create" option in reports, a window will open, asking you to select the type of report you want to include the required features. The report type must be chosen from the three pre-set options described in the window: Blank with No Header or Footer, Internal with Minimal Header or Footer, or External with Business Header or Footer.
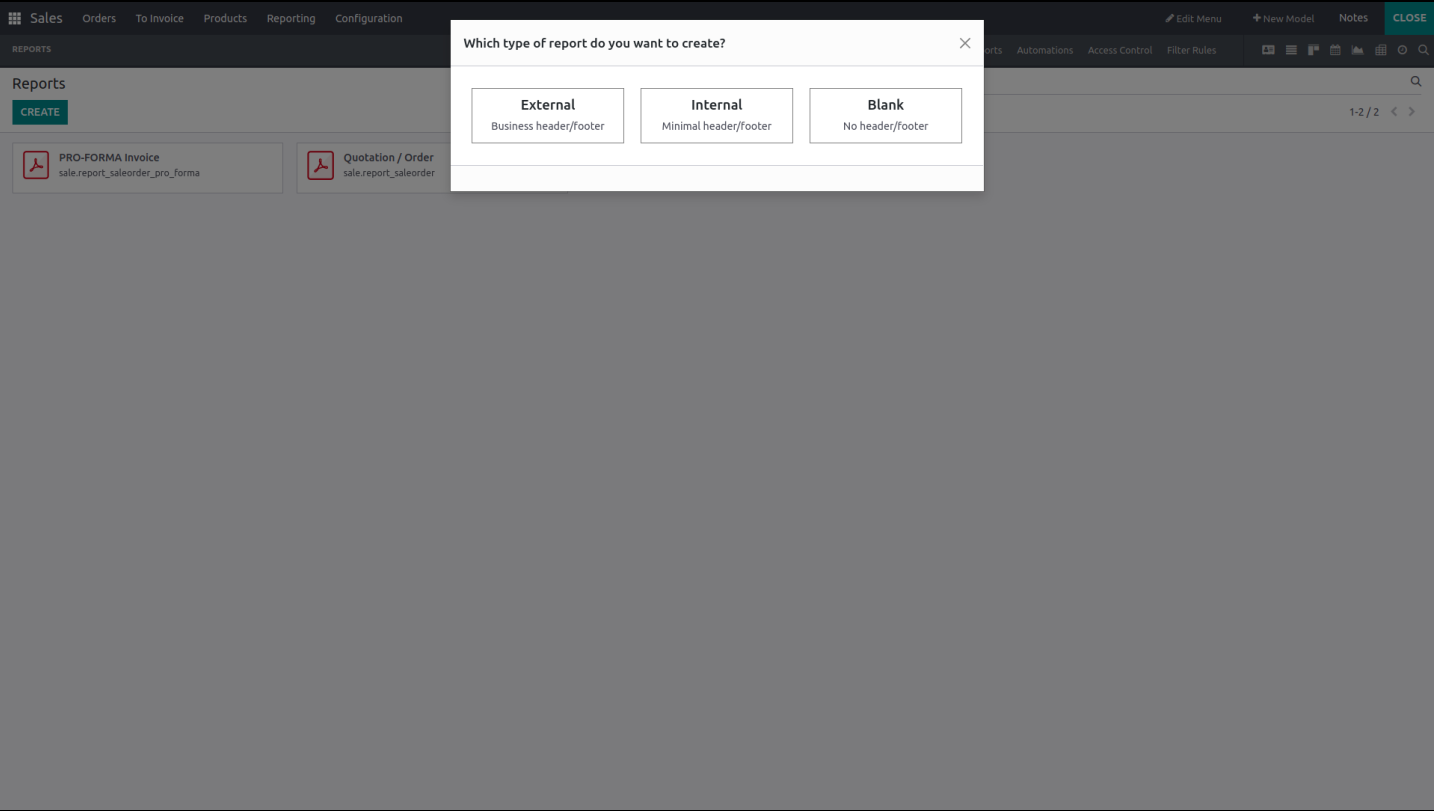
After choosing a report type, you will be provided a sample report form and any relevant data. You will be prompted for a different message if there is no data available; in this instance, you must configure specific data and access the Customization area of the report. When a sample report has been shown, you can provide some custom options. There are many other features that you can prepare in the report using the add option, as seen in the following image. These block options, which can be found under several categories, including Block, Inline, Table, and Column, allow you to include the necessary field in the report.
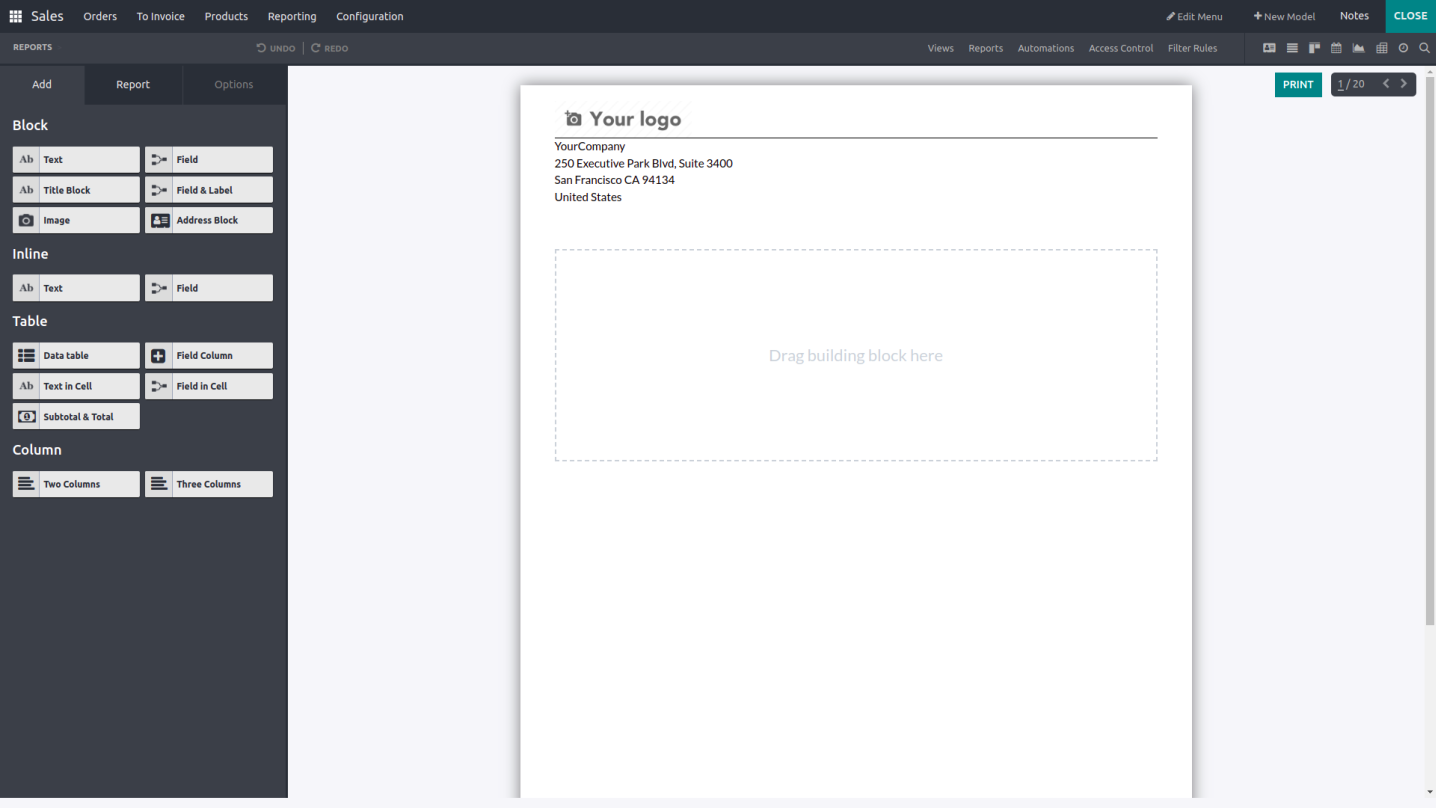
This allows us to identify the fields that need to be dropped into view. These dynamic items—Fields, Data Tables, Subtotal & Total, and Address Book—require one2many or many2many linked objects. Static elements include text, title blocks, images, and text within cells.
Get a look at an illustration from the sales module.
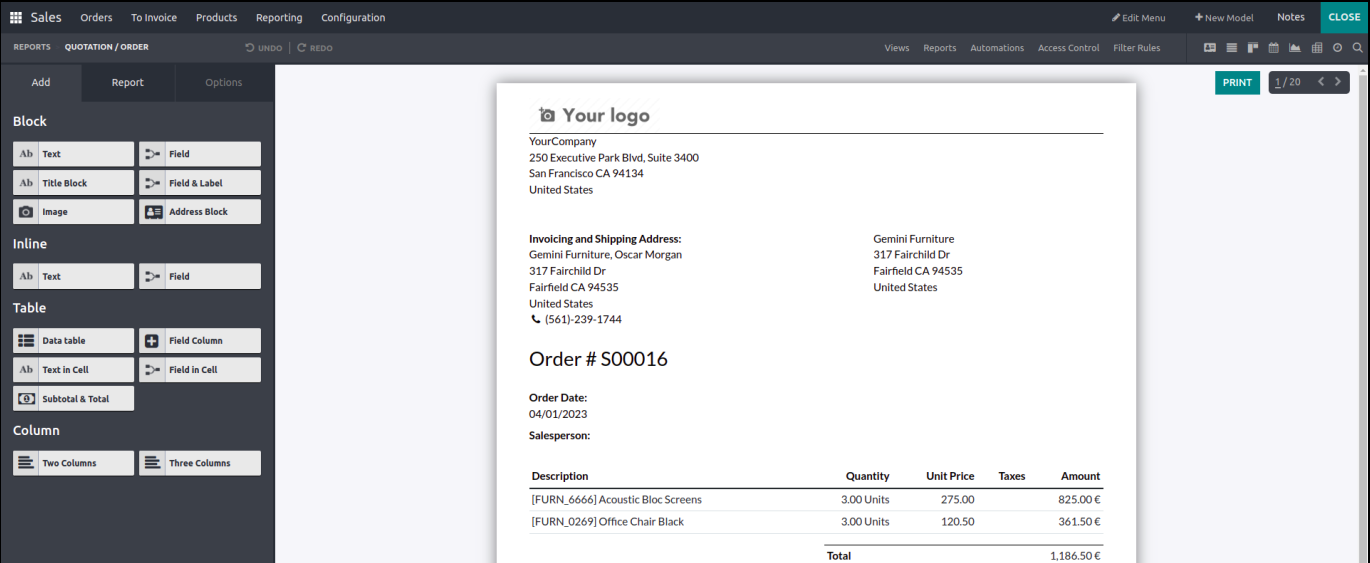
We can see from the image above how the studio module is used to make a quotation or order. There are a lot of fields, and the text boxes are all shown differently.
We'll now look at how to make a report like this.
By clicking the create button, first, choose the type of report that shows. In this case, we're using the external layout.
Now attempt to add the customer's address to the report view.
We have an option called address block in the add menu for that.
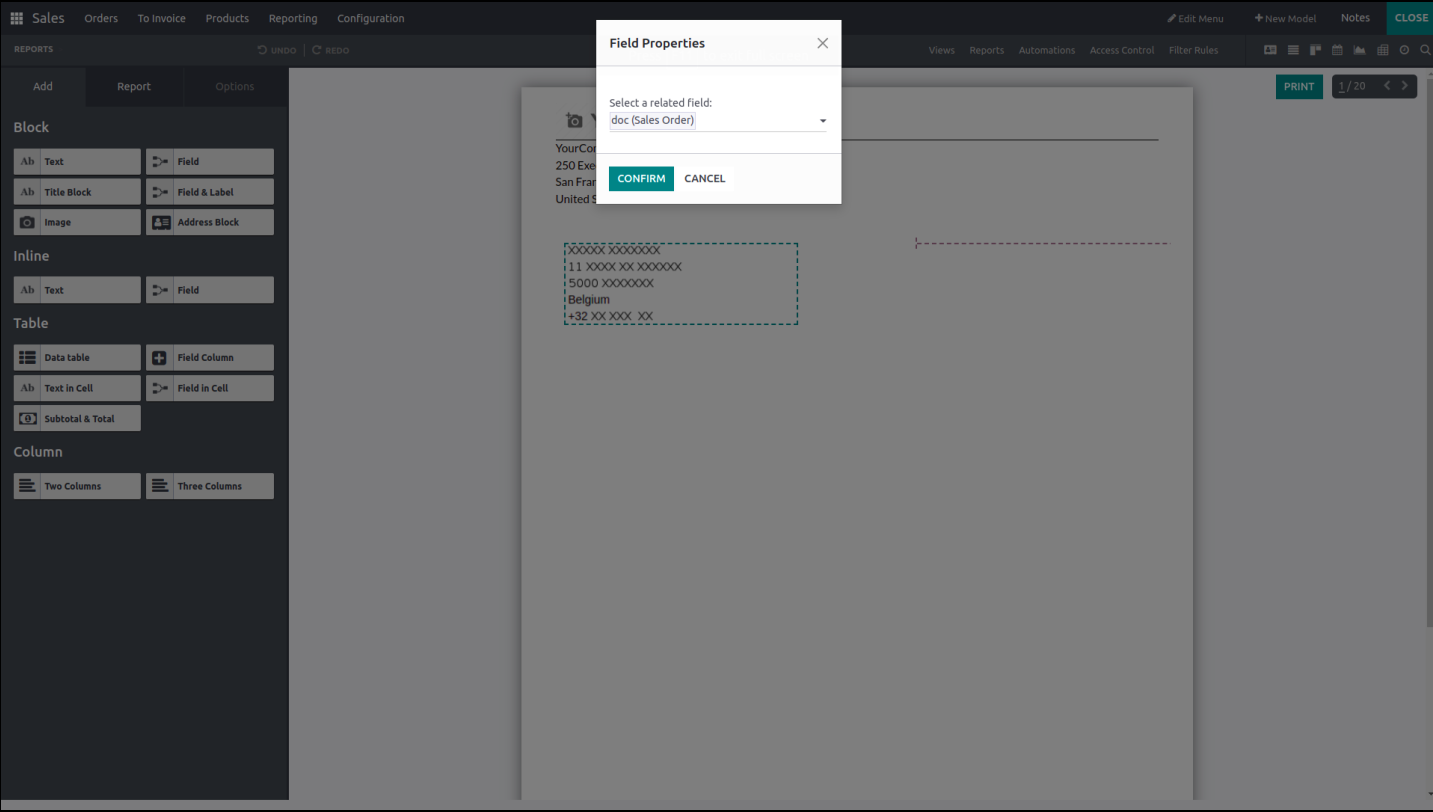
Drop the address onto the page and choose the field's properties like in the picture below.
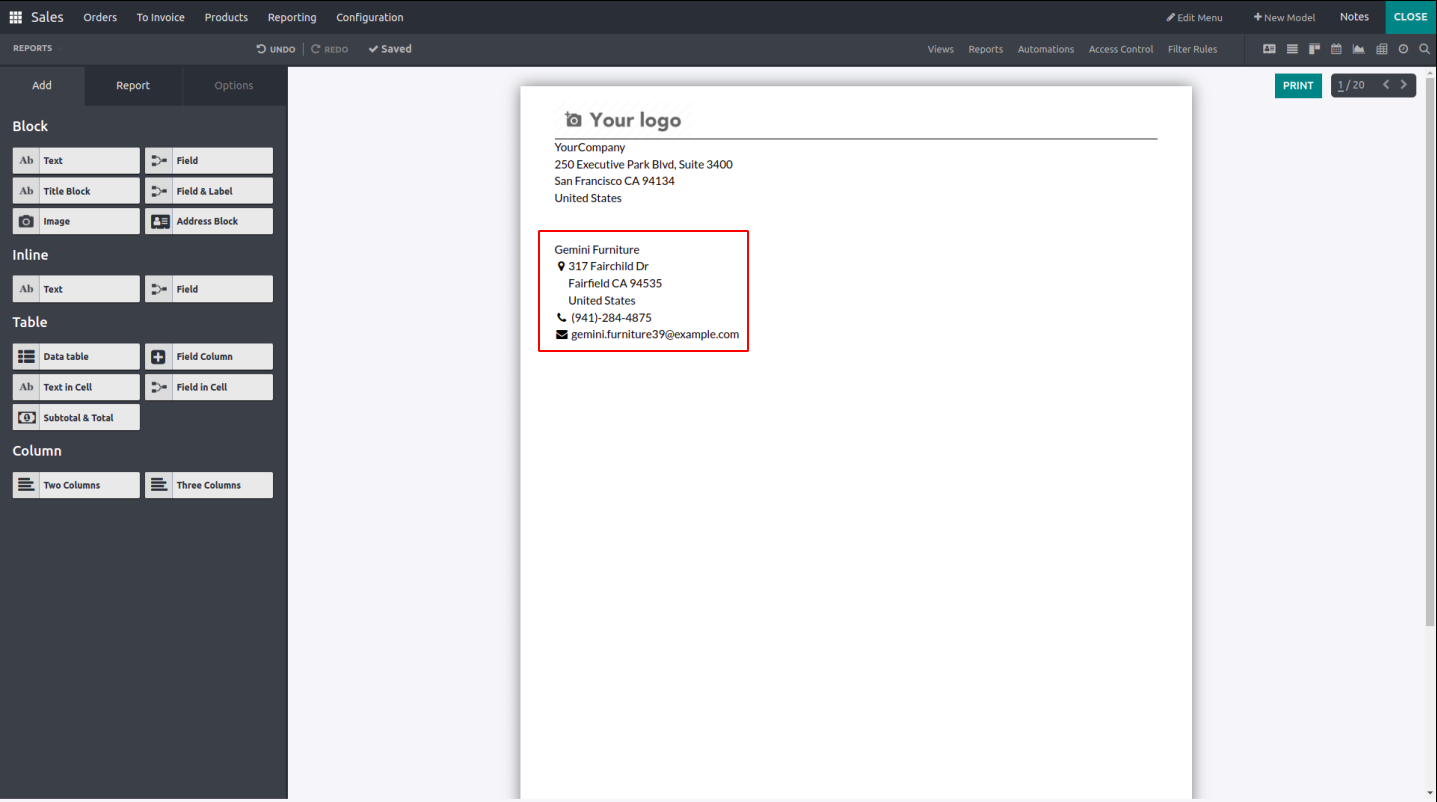
After checking the field attributes, we get the customer's address in the report's page view.
The field's offset attributes can be changed, and the text can be aligned, decorated, and styled.
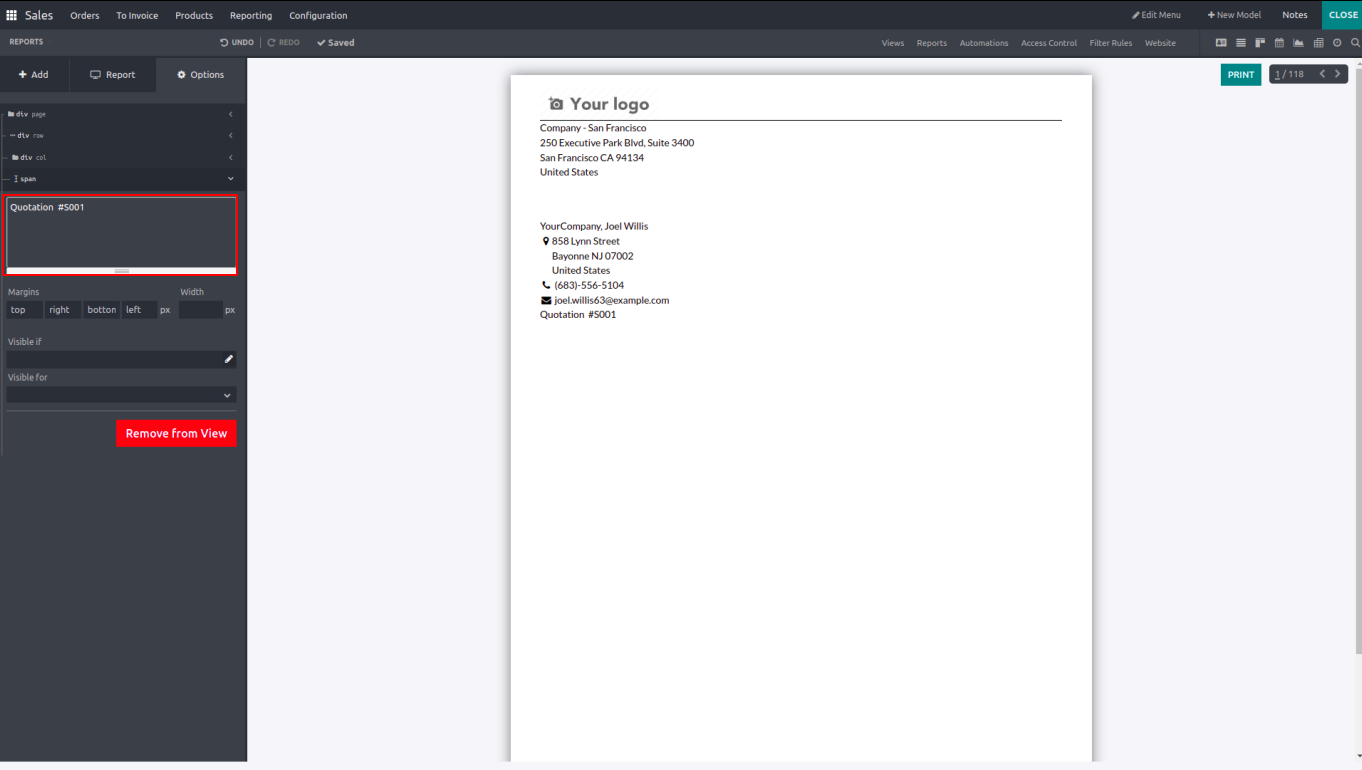
Along with the text field, we have the choice of an inline field. As the previous example shows, the "Quotation" is a text field, and the sale order number is an inline field.
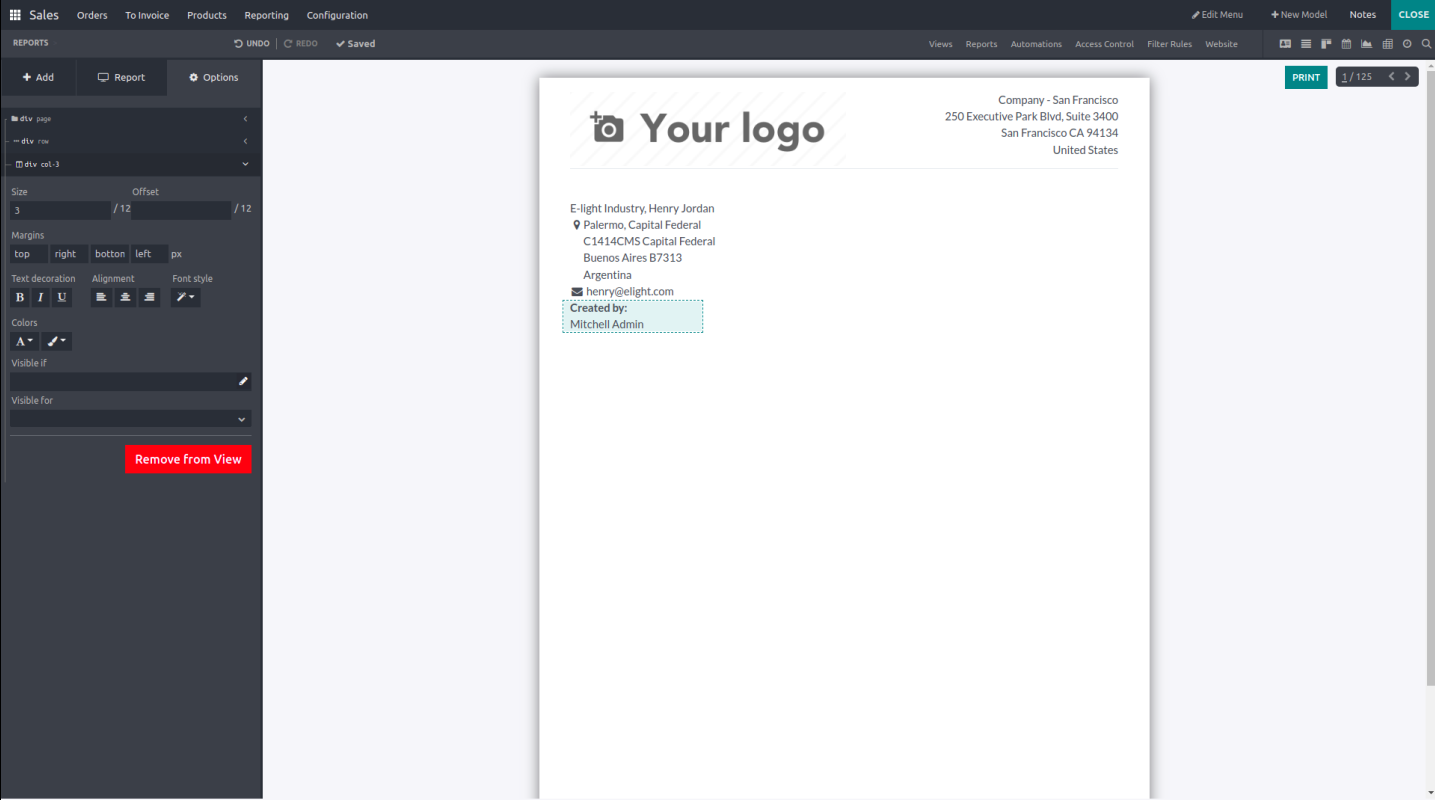
The process for simultaneously adding the field and label will be examined next. In this area of the add menu, we have an option field and label. When we drag and drop the field and label boxes into the report page and choose the field's attributes, the report will look like the illustration below.
Several boxes, including data tables, field columns, text in cells, field in cells, subtotal & total, etc., may be found under the table section.
In the report view, tables are made using data tables, and other columns are added using the field column. As an illustration, look at the picture below.
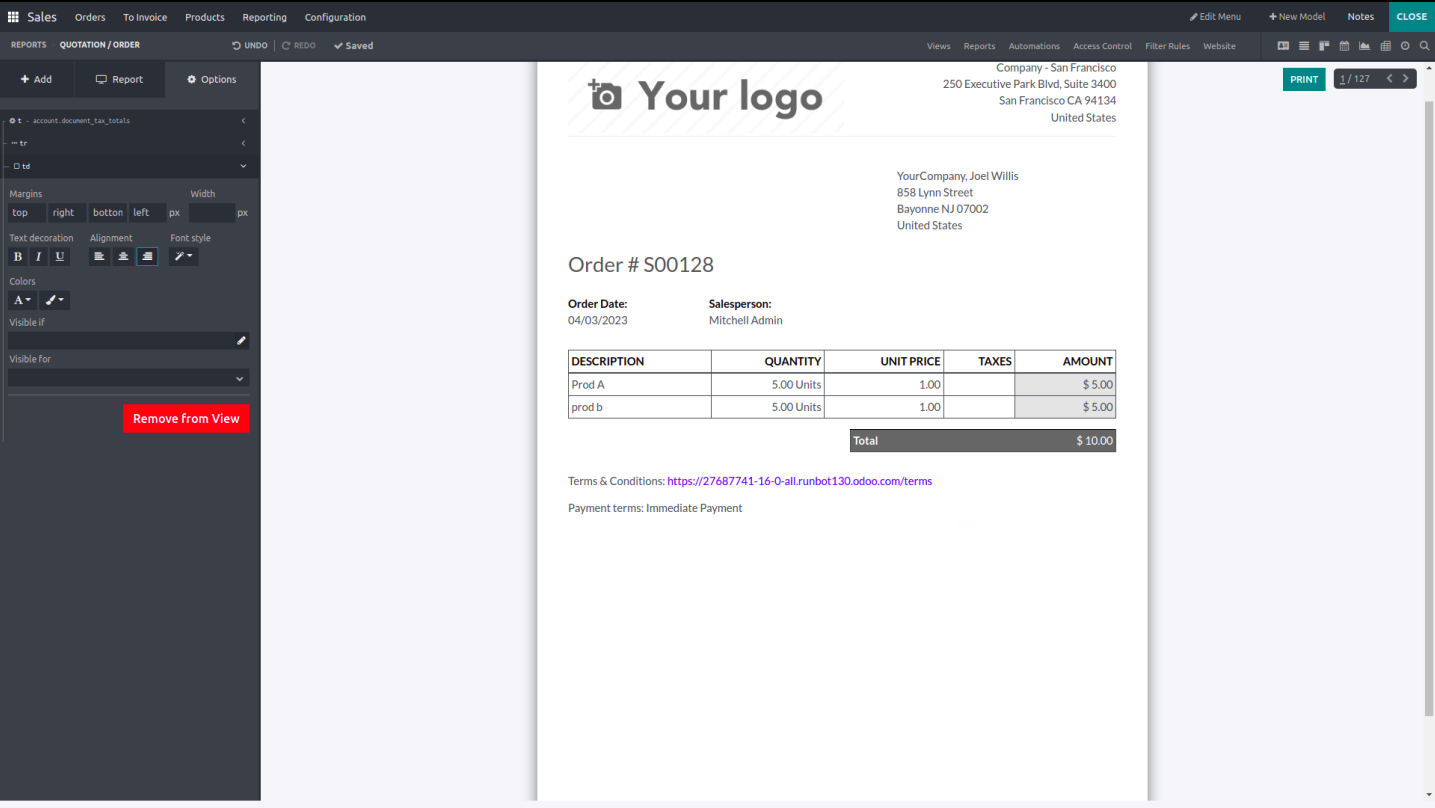
You can update and add unique features to the reports after the blocks, and these adjustable aspects have been introduced with the aid of the available options menu.
For developers with previous editing knowledge, there is also a window with an HTML editor to help you add some functionality. For the report to function, field expressions and widgets can be modified. The option to hide the badge and the Address separator are both programmable. Display Fields, Margin Length, and Width can also be specified. It also has text embellishment, alignment, font style, and colors.
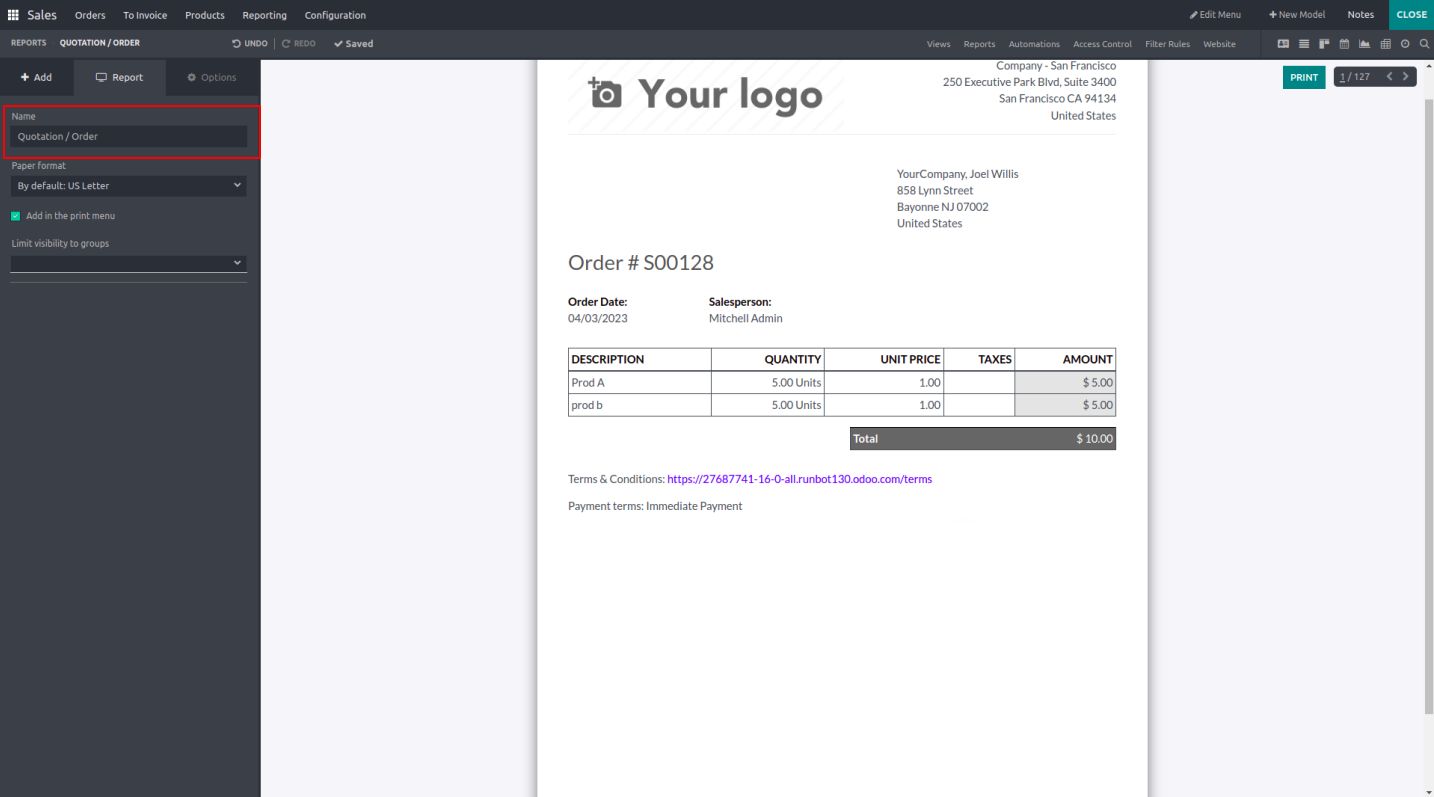
Finally, as seen in the accompanying image, the Report name can be modified under the Report menu. In that instance, you must have the report's text available and be prepared to select the right type of paper from which to specify the format for the report. Also, by giving an appropriate choice, you can restrict the visibility of groups.
In this way, you are able to create reports, and you can add fields, text boxes, tables, and many more to the report and make it more convenient.