The Studio module helps us to create a new Odoo app without any
prior
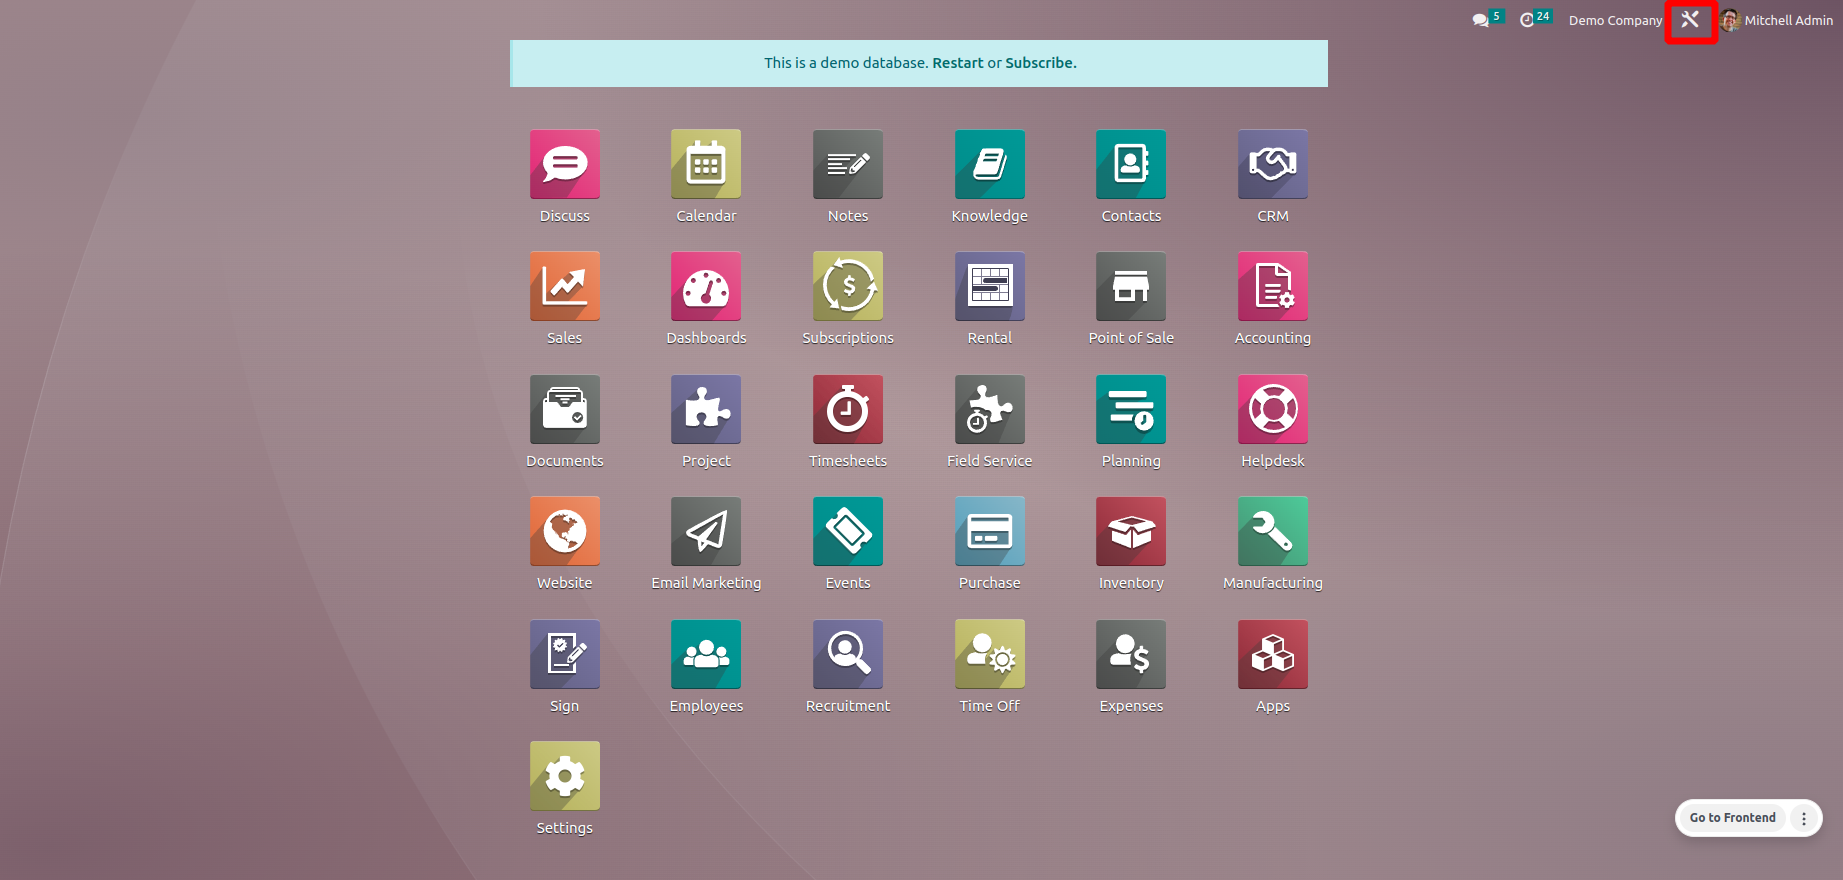
coding knowledge. After installing the studio app, you
can see the ‘toggle studio’ button on the top. Click on that button
to
create your own custom module.
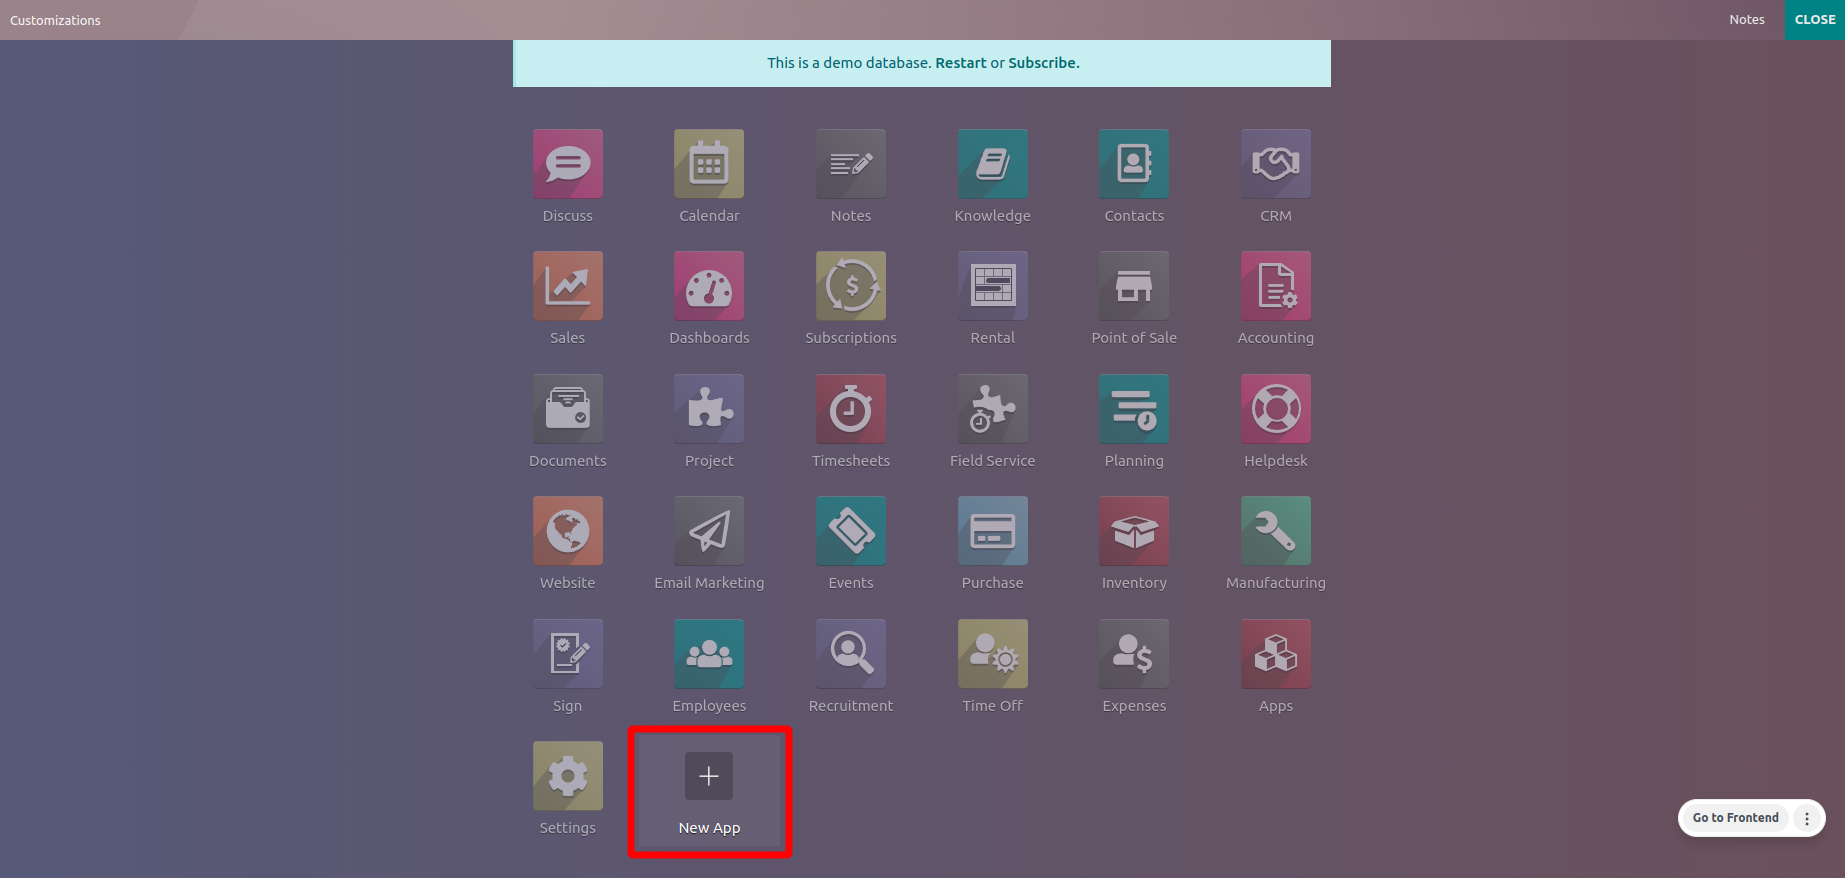
You can see a ‘New App’ button which will direct you to create and
design your custom module.
It is also possible to edit the installed modules by adding new
models,
fields, buttons, etc.
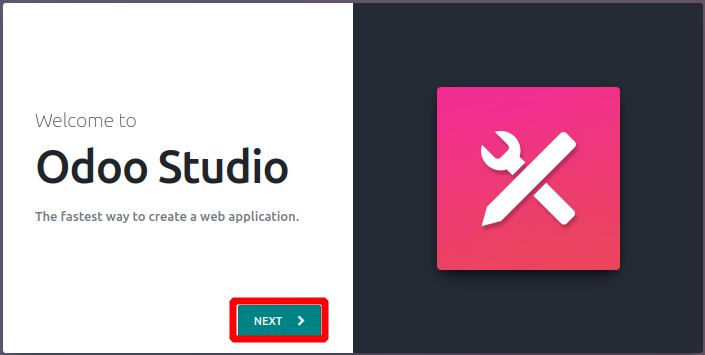
If you click the ‘New App’ button, you can see a new window like the
one
below, and click the ‘NEXT’ button to continue.
Then you can choose a name and icon for your app. It is also
possible to
choose the color for your icon.
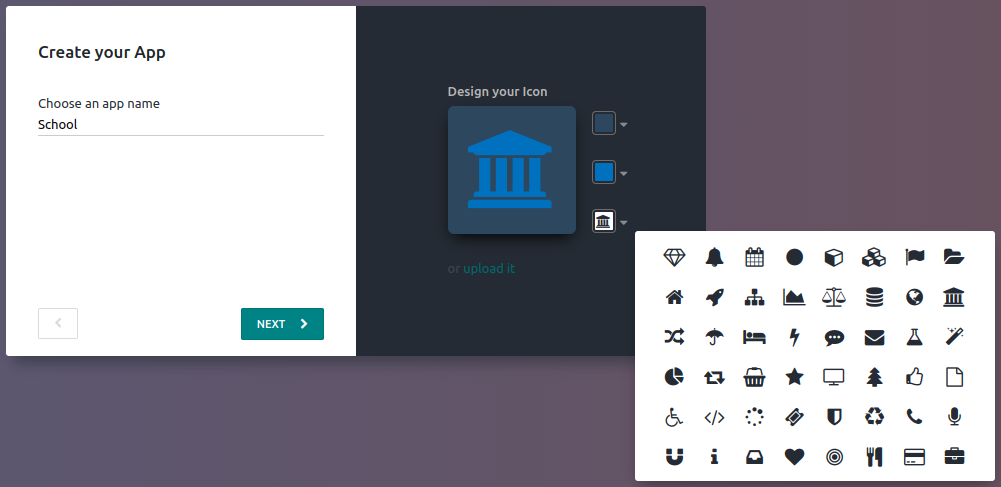
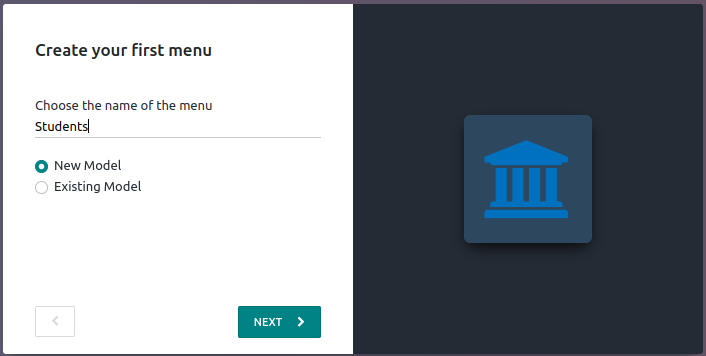
After that, you can click on the ‘NEXT’ button, which will help you
to
create the first menu for your new module. You can create it as a
new
model or an existing one.
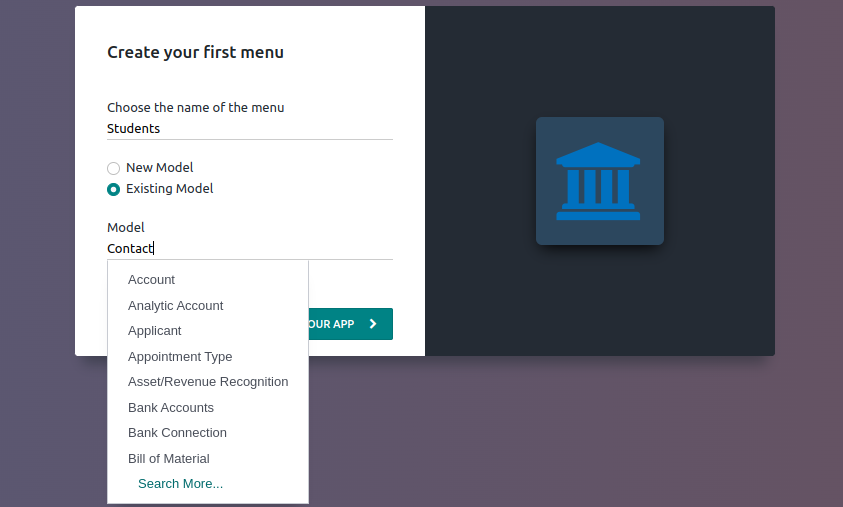
You have to choose one existing model if you selected the ‘Existing
Model’ for your first menu.
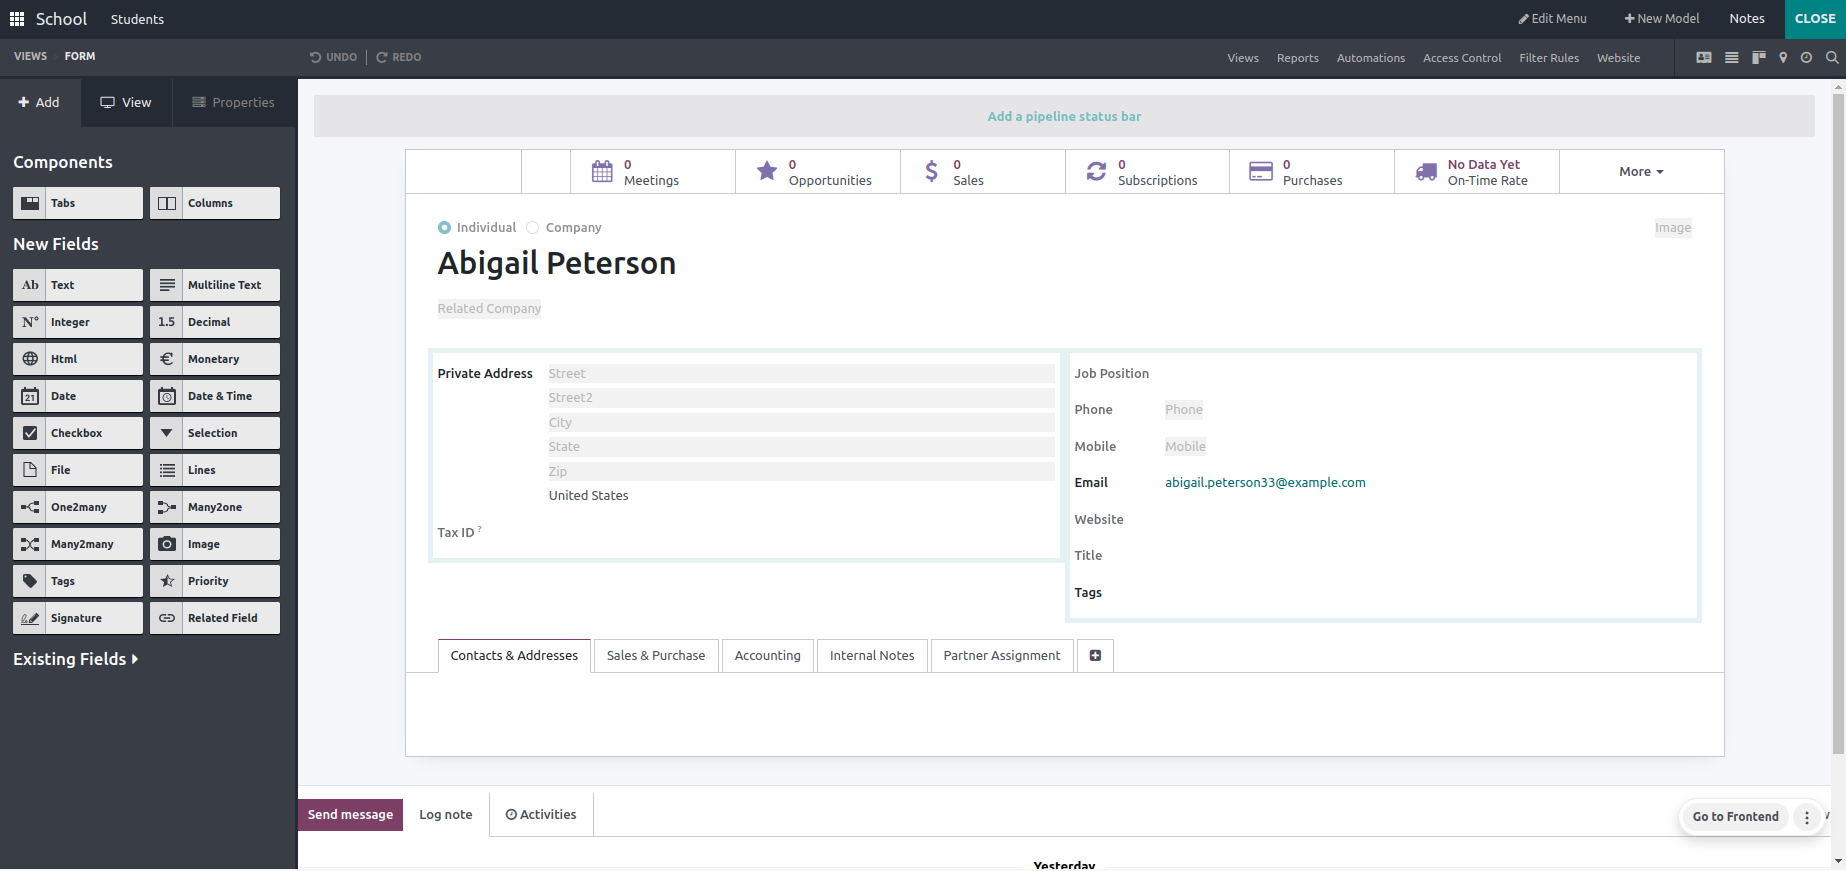
Then you will be directed to the sample view for your model. Here
you can see the fields from the selected model.
You will be able to rearrange the fields or drag and drop the new
fields
from the left screen.
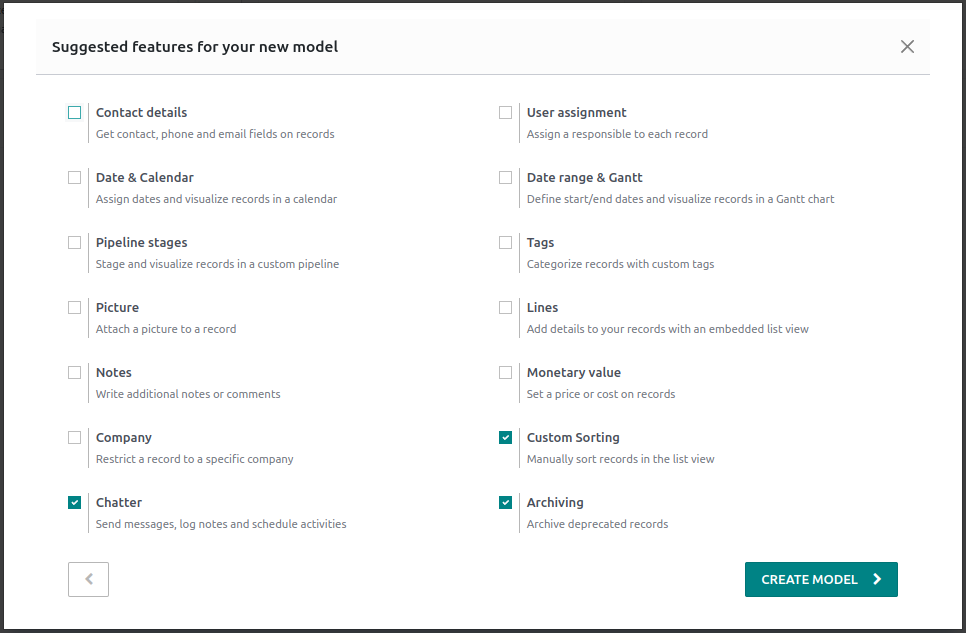
If you want to add a new model for your custom app, you have to
configure the
fields for it at first. The following window will suggest some
features for your new model.
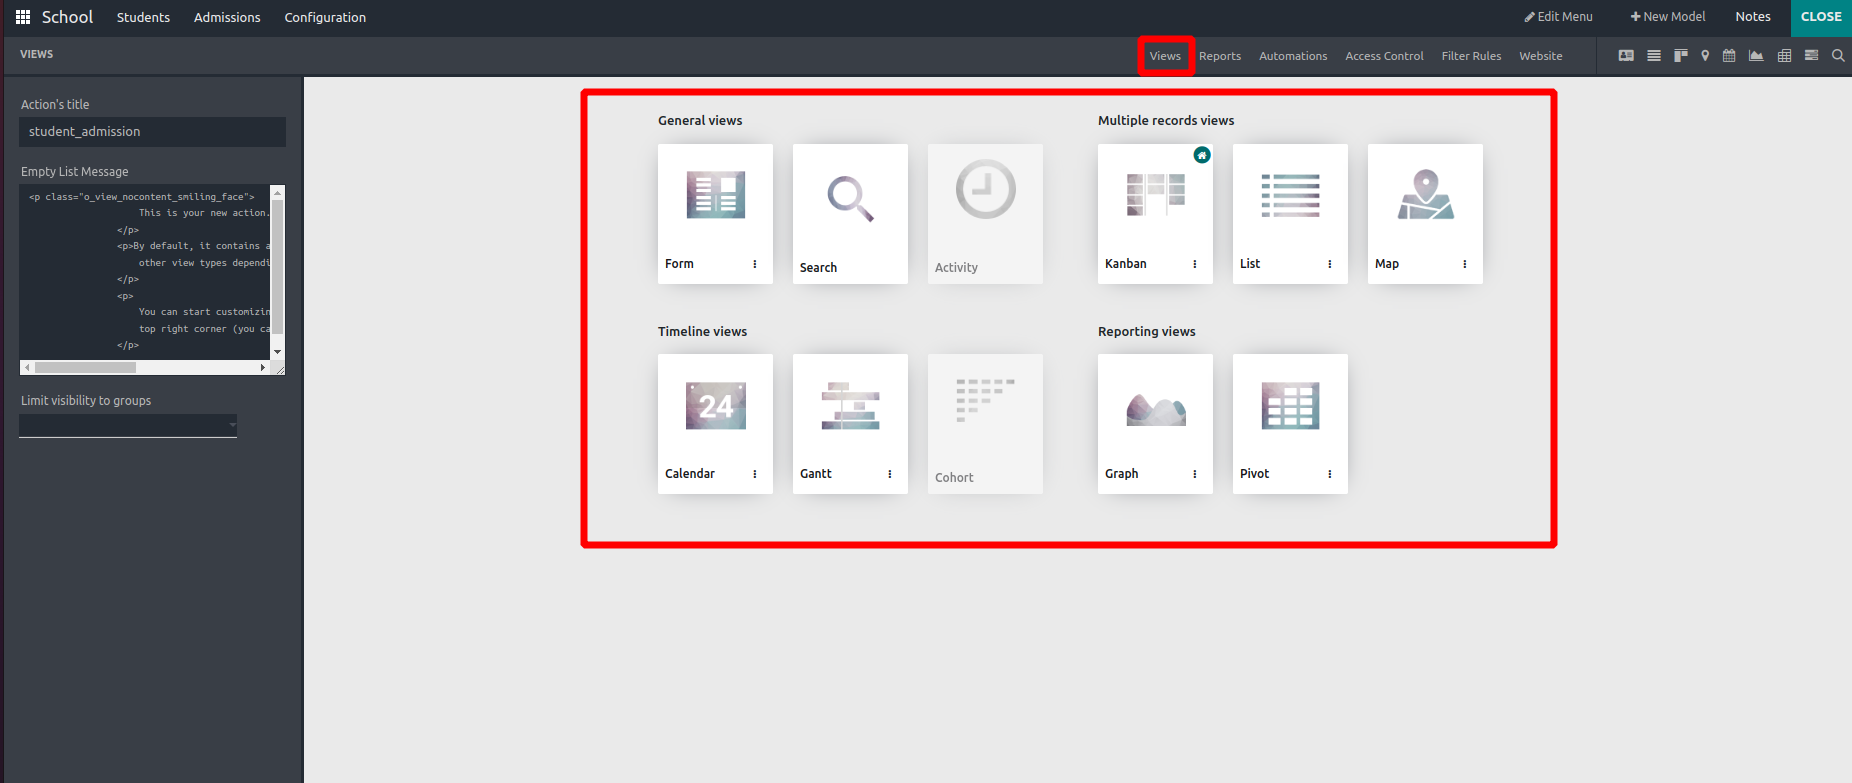
The studio module also provides designing tools, which can make your
app more user-friendly and convenient. If you want to add different
views
like calendar, list, kanban, etc., click on that Views button on the
top to help you add them easily.
Once you are added to the basic menus and models,
you can close the studio and can use your first Odoo app created
using Studio.
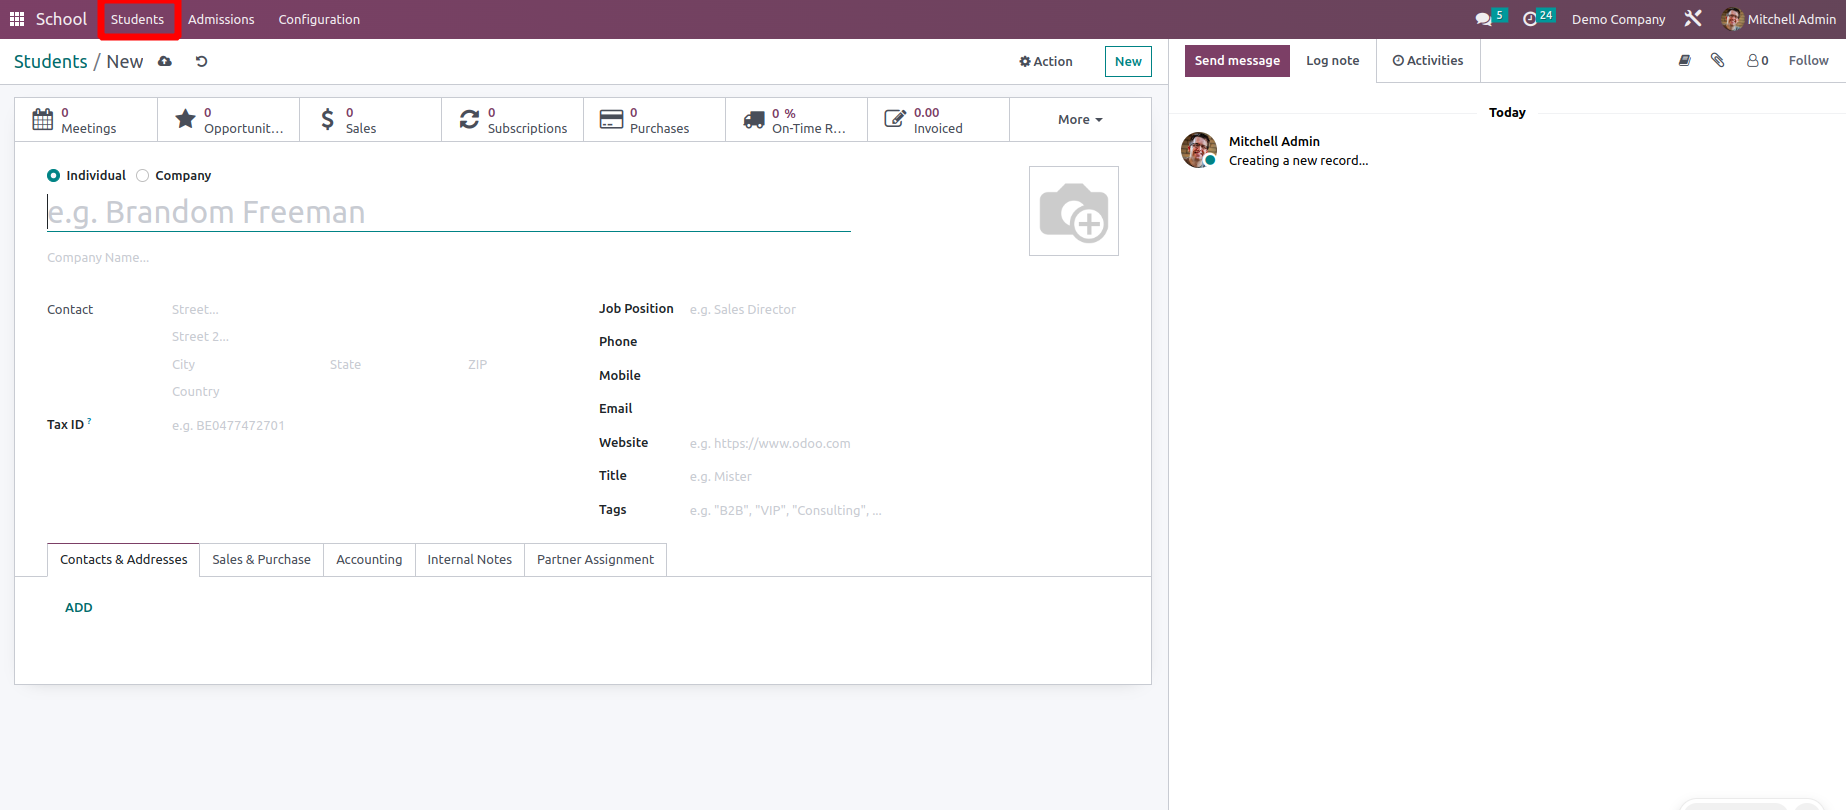
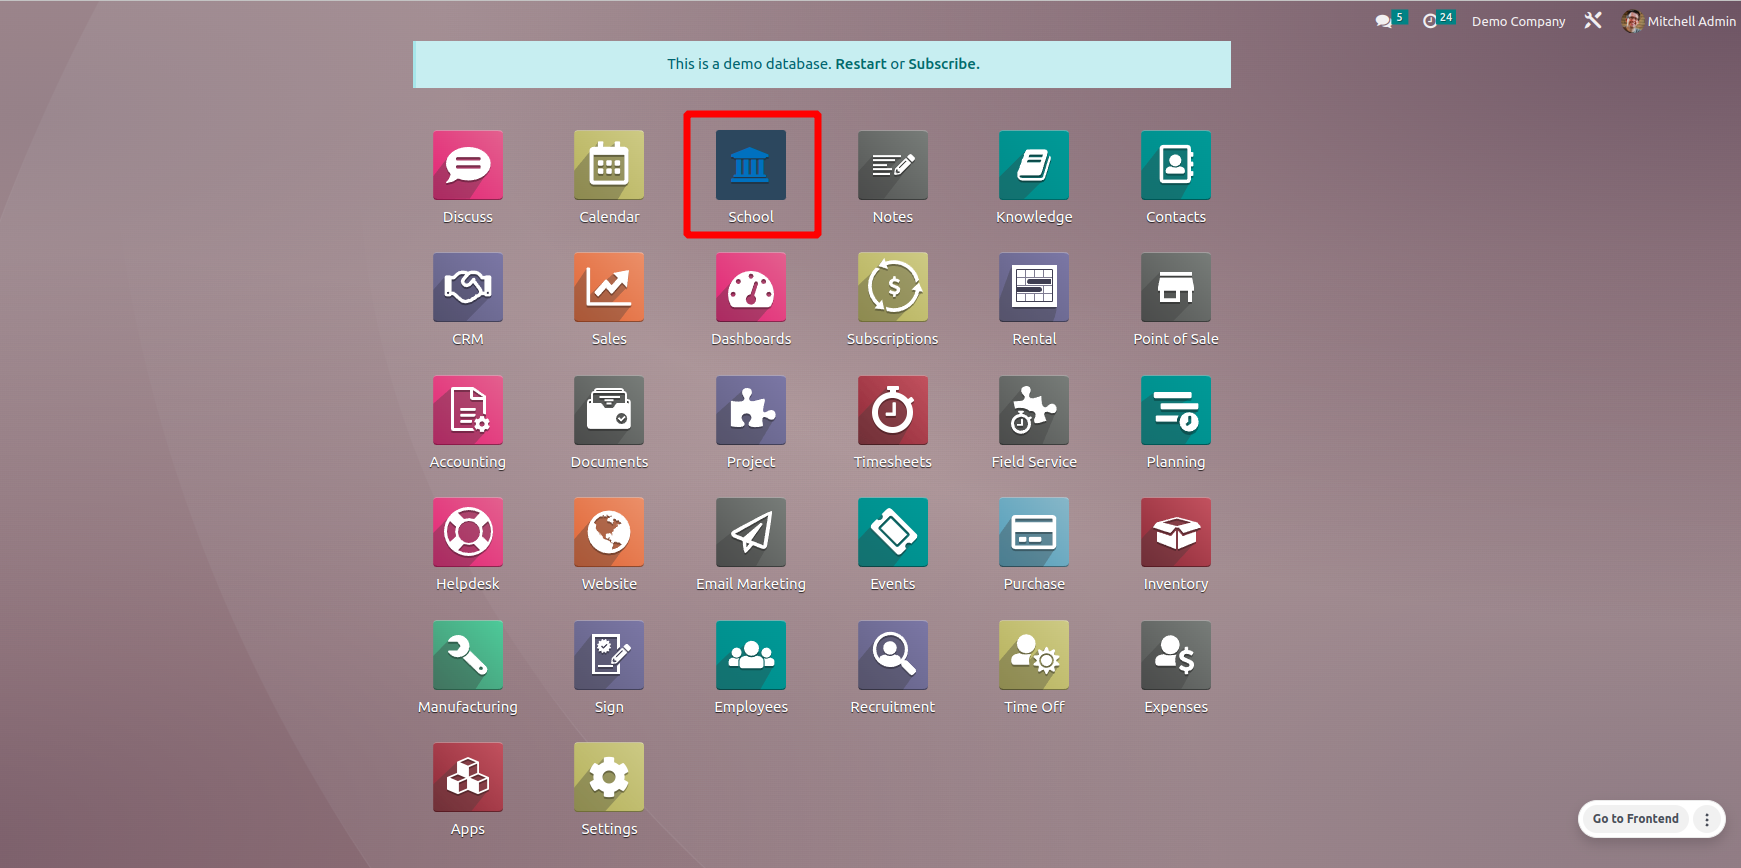
Your app will be added to the dashboard, as shown in the example
below.
