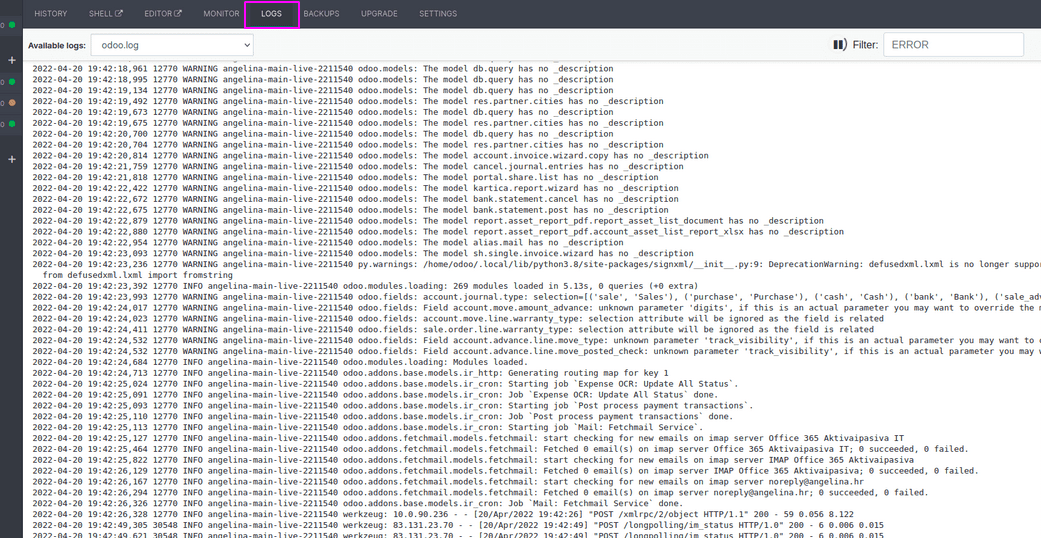
Builds
Builds help us to test the server behavior. If the new changes don’t have any issues, the build will be successful.
If a build is shown in red, that means the build failed. If the construction is partially complete, the build will show in yellow. Yellow indicates a warning.
Green indicates the successful build.
You can use the rebuild option if you need to rebuild a certain branch.
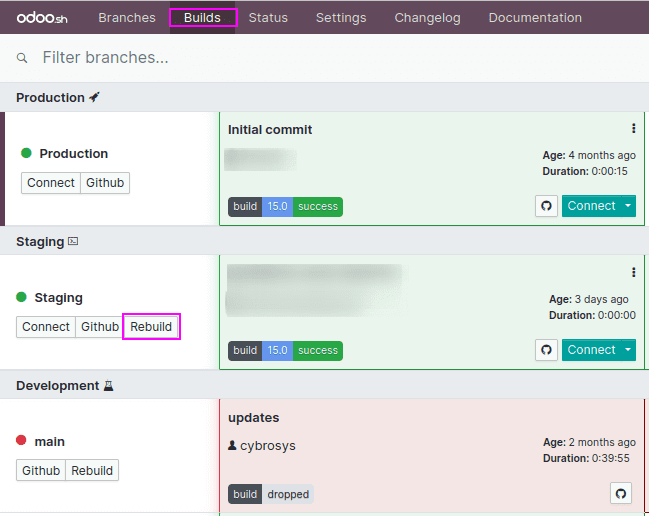
Rebuild will be triggered with the branch's most recent commit.
The GitHub icon can be used to review the updates you have made.
Connect button can be used to connect to a certain build. You can connect as different users with the Connect As option in the Connect dropdown.
Warnings on a build can be seen by clicking the icon below.

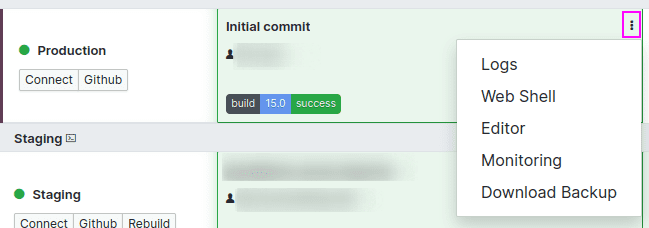
With the three dots in the build, you can access some of the other options from your build.
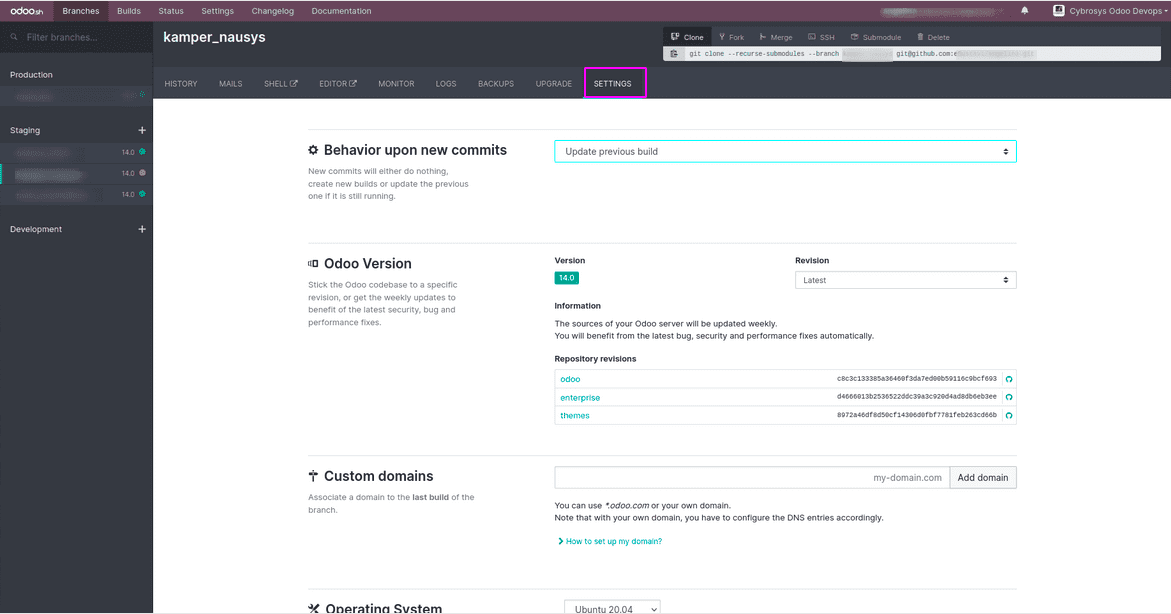
The build behavior can be customized in the settings of each branch. The branch behavior can be set as, on each commit update the existing database or create a new one.
History - Displays a date-based history of builds, commits, and test statuses. The database may be accessed via the Connect button if the build is successful.
Mails - The messages are the emails that have been sent. The development and staging branches assist in sending emails for testing reasons, which means they are intercepted, but the production branch sends actual emails.
Shell - Gives you access to the shell, where you can use Linux commands. The terminal may be used to connect to Postgres and perform SQL instructions. The Plus icon in the sidebar may be used to create several terminal instances.
Editor - The Editor is a tool that aids in editing source code. You may also use the editor to create notebooks, access Python 2 and Python 3 consoles,etc.
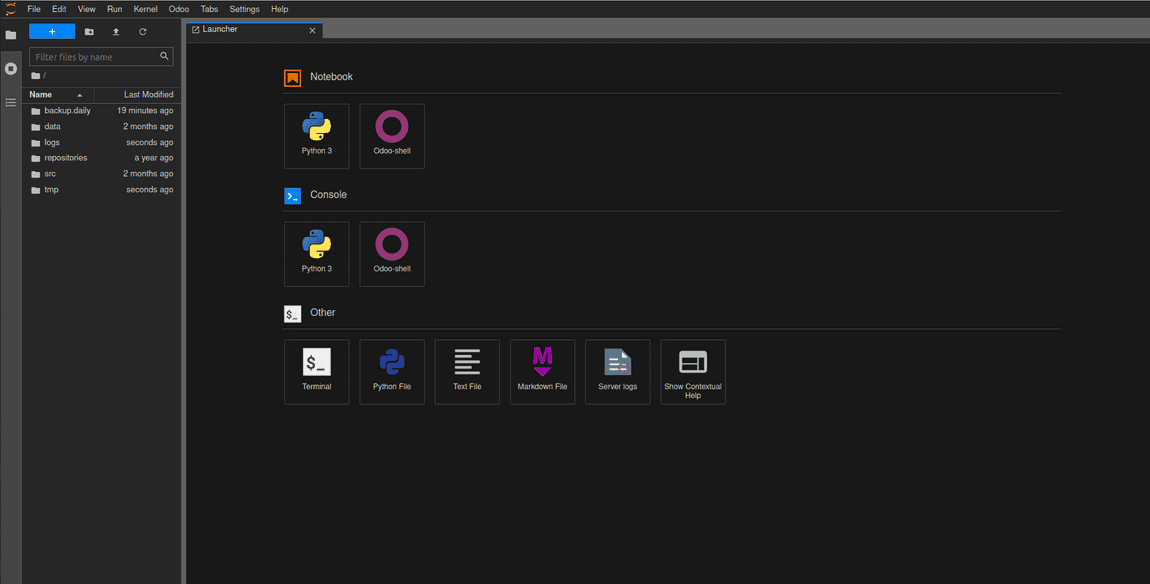
The source code for Odoo may be found under /home/odoo/src. To modify the source code, double-click the folder and then go to the file you want to change. After making the necessary changes, save the file using the Ctrl + S shortcut or through the File menu. Save the python script. The changes made to Odoo files are automatically recognized. Therefore the service does not need to be restarted manually. The module requires an update due to the modifications made in view. You may do so by using the command below.
odoo-bin -u module_name --stop-after-init
Or Just Connect to Odoo-->Upgrade the current module
From Odoo —>Server Logs, you may see the server logs.
The log view is provided by the logs. There are a variety of logs to choose from:
● install.log: This is for the logs that are generated when installing the modules. The logs of all the automated test cases will be located here.
● pip.log: You can add Python packages with the requirement.txt file. In this log file, you will find the installation log of these Python packages.
● odoo.log: This is the normal access log of Odoo. You will find the full access log here. You should look in this log to check production errors.
● update.log: When you upload a new module with a different manifest version, your module gets updated automatically. This file contains the logs of these automatic updates.
Other logs, such as Jupiter-log are also accessible.
To filter content in the log, use the filter option.
