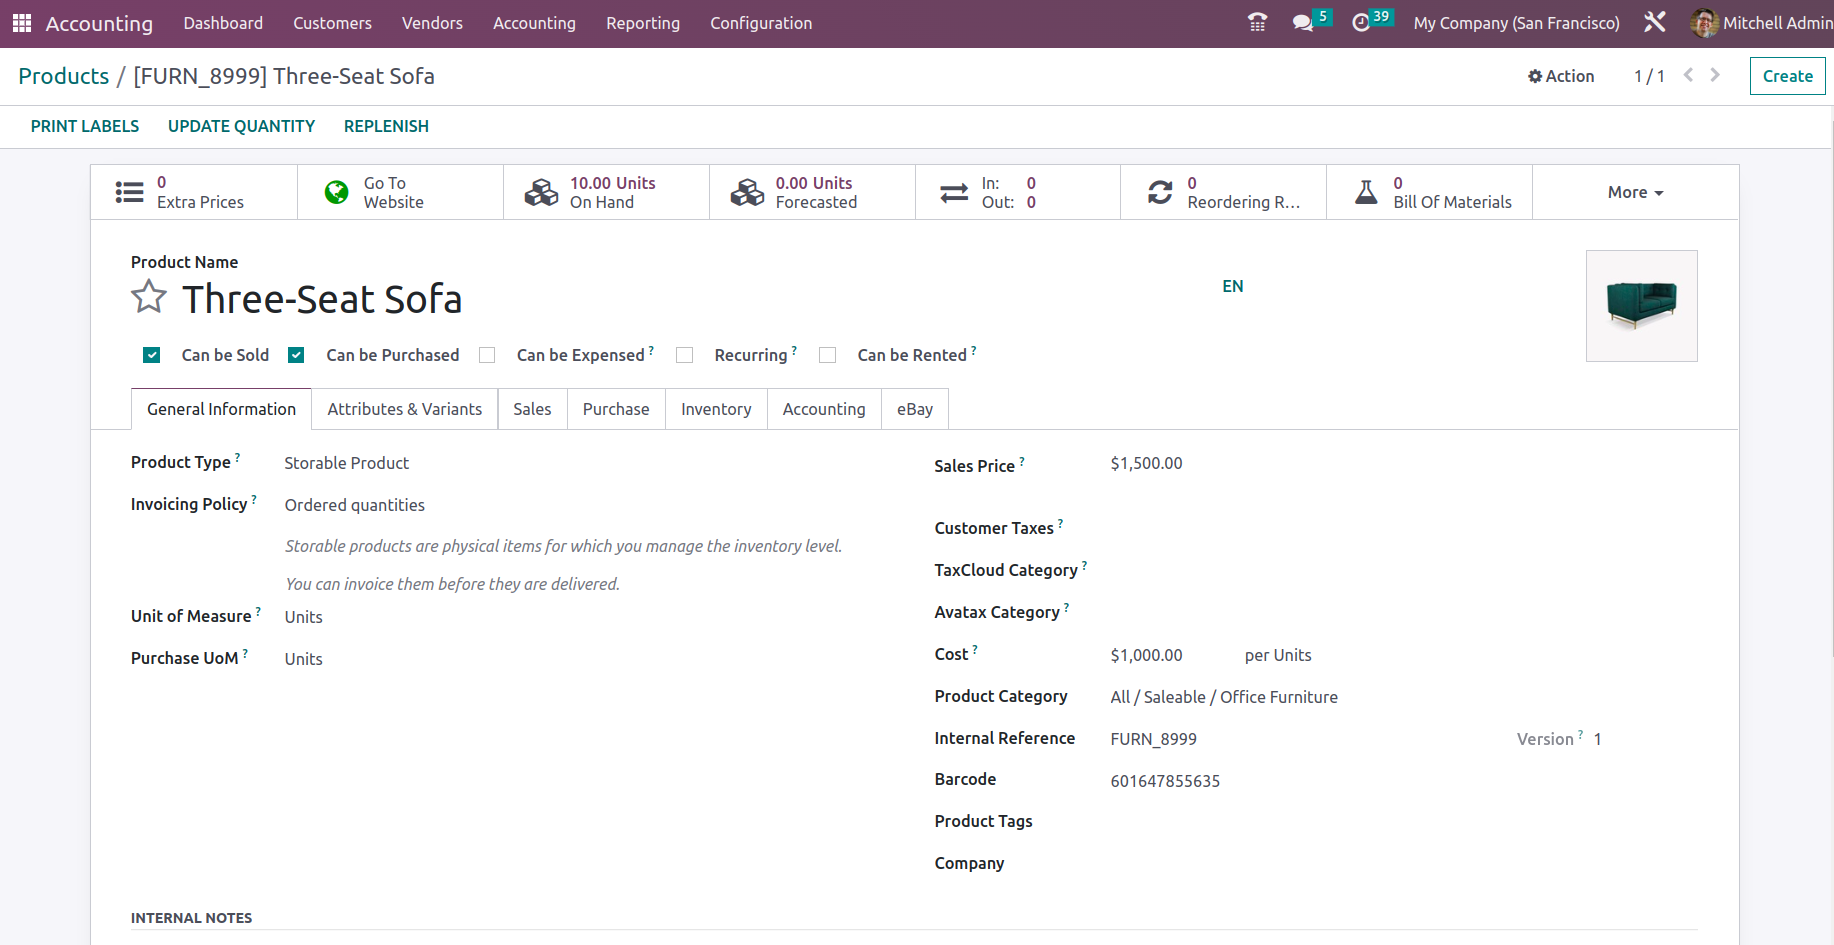
Due to the fact that you will be collaborating with several vendors of operations in real-time, the management of the vendors is just as crucial to a business as the management of the customers. Additionally, you should keep track of the various vendors of operations for a single good or service who are selected based on internal business factors. Under the Vendor's tabs of the Accounting module, there is a separate and well-designed Vendor administration menu in Odoo. All of the vendor information will be defined here, just like in the customer menu, along with the company partners who also serve as vendors in the operations.
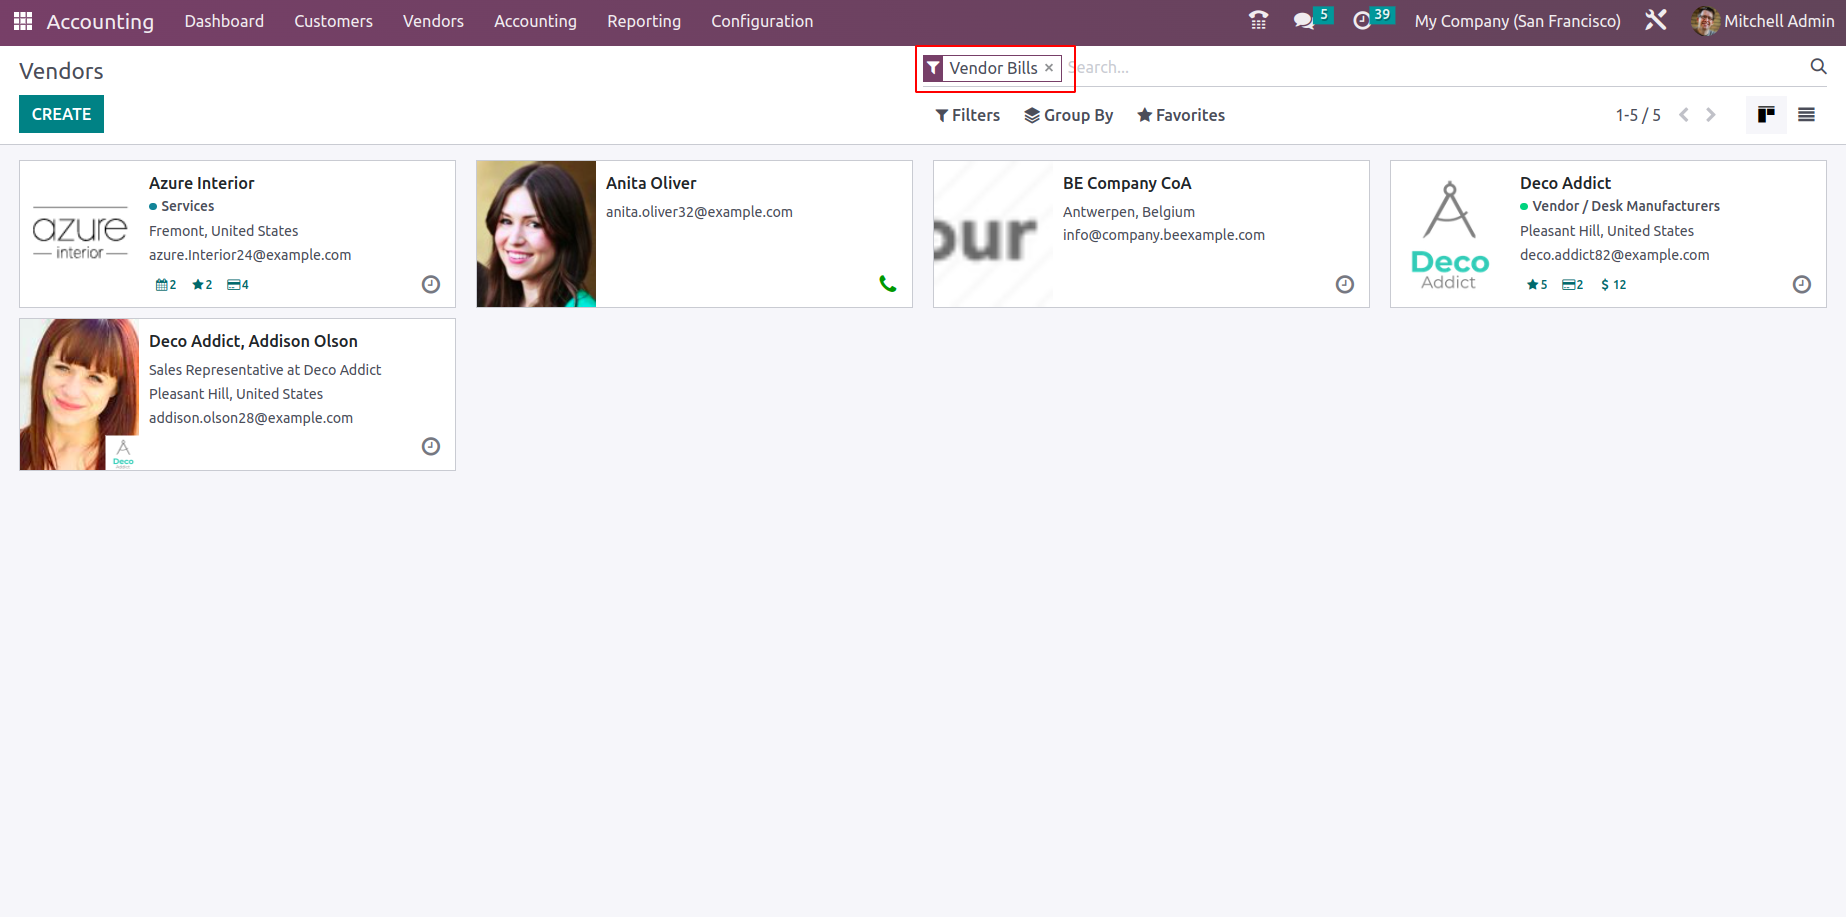
All of the vendors for the defined operations will be listed in the menu, along with some basic information about them. The menu can also be seen in List format, which lists out all of the Vendors. Filtering and Group by options are accessible by default, and you may define custom ones to help you sort and filter out the necessary vendors from the lengthy list.
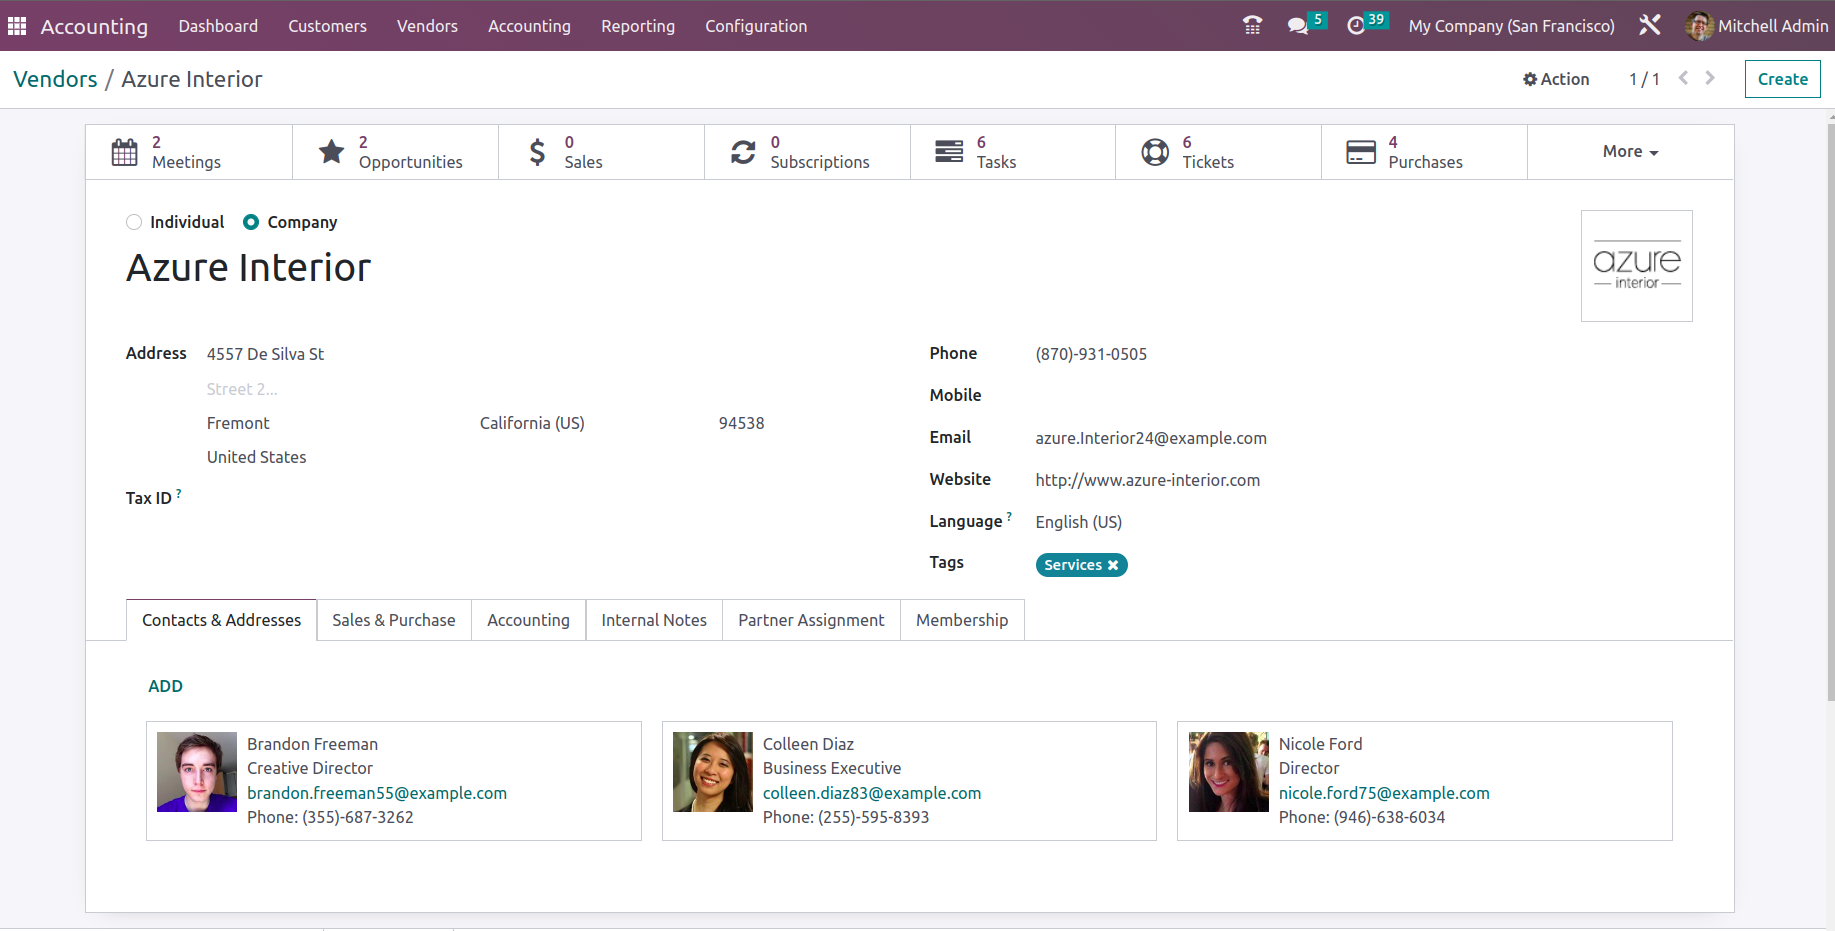
You can choose the Create option to bring up the Vendor creation menu, as seen in the following screenshot, if you want to create a new vendor. Here, the Vendor should be specified as either an Individual or a Company, followed by the Vendor's Name, Company Address, Operating Country, and ZIP Code. The Tax ID, contact details, including phone and mobile numbers, email addresses, and the URL for the firm website, should also be specified. For internal use, you can define the tags on the relevant Vendor.
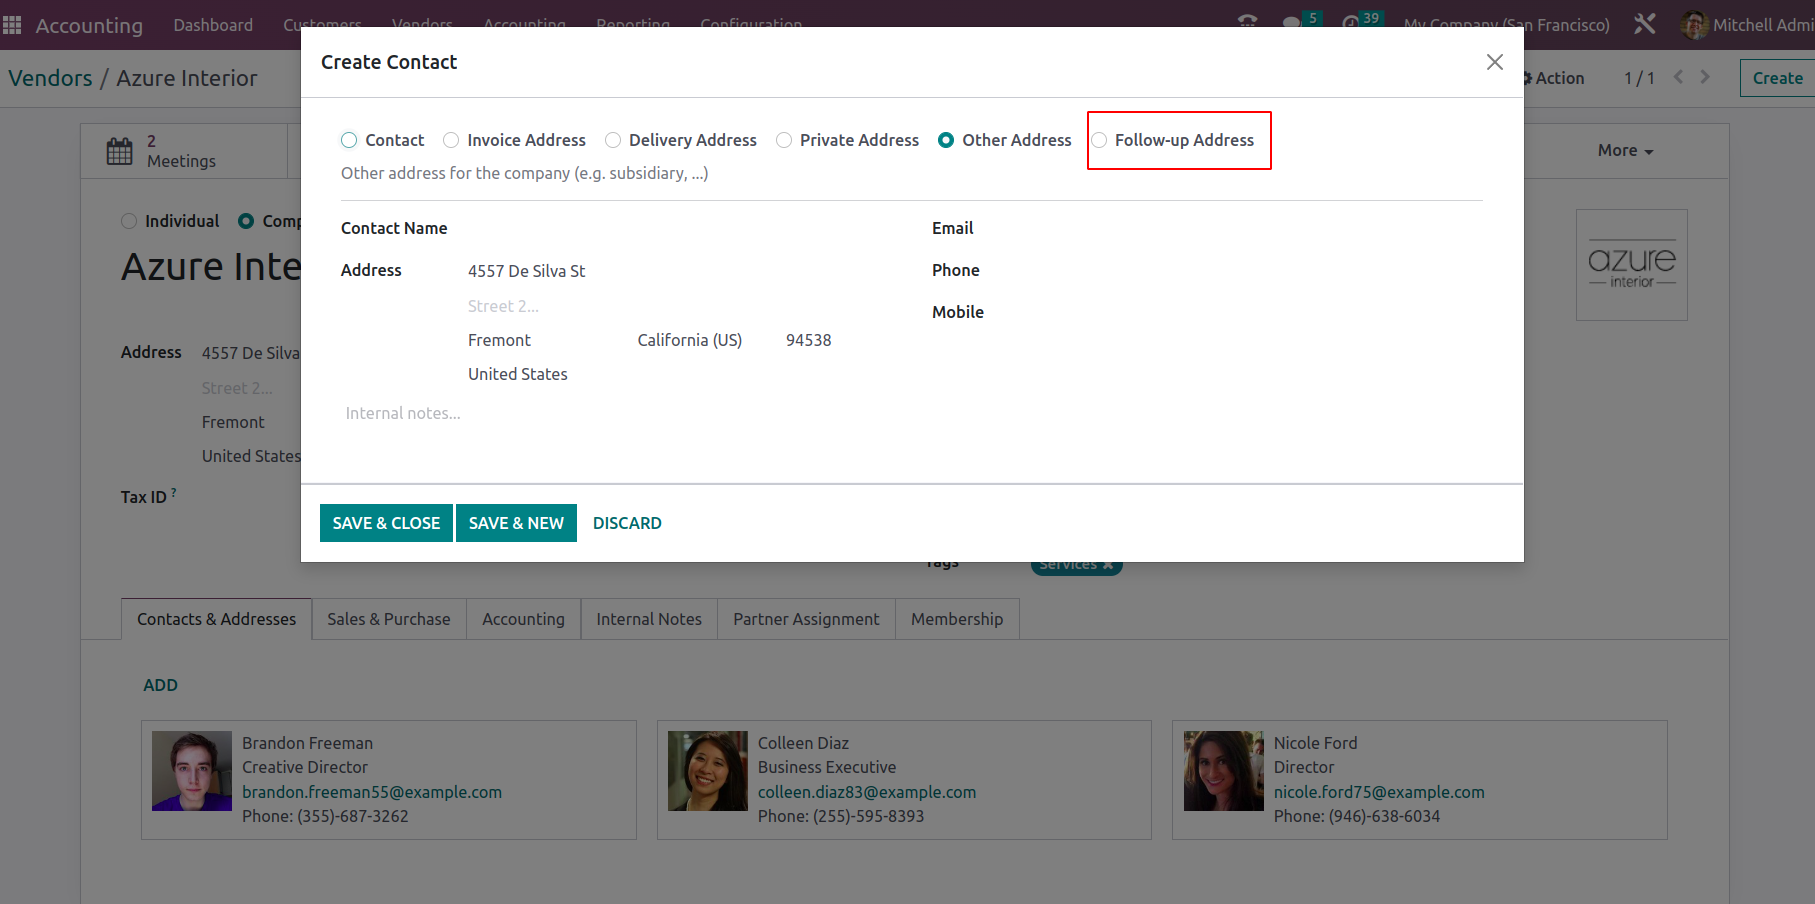
You can specify all the individuals and their operational addresses connected to the Vendor under the Contacts & Addresses tab, as well as the individuals your business contacts in relation to the buy activities. To define the Contact and their Address, choose the Add option offered in the ensuing pop-up window. Which type of address is to be defined in this case must first be assigned. Invoice Address, Delivery Address, Other Addresses, Private Address, and Follow-up Address are just a few examples of the Contact type options. You must now define the Contact Information in more detail after defining the Address type. It is necessary to define the Contact Name, Address, Zipcode, and Country.Along with the Email address, Phone number, and Mobile number, any Notes on the relevant address can also be specified. When adding additional Contact details for a designated Vendor, you have the option of selecting Save & New or Save & Close from the available menus.
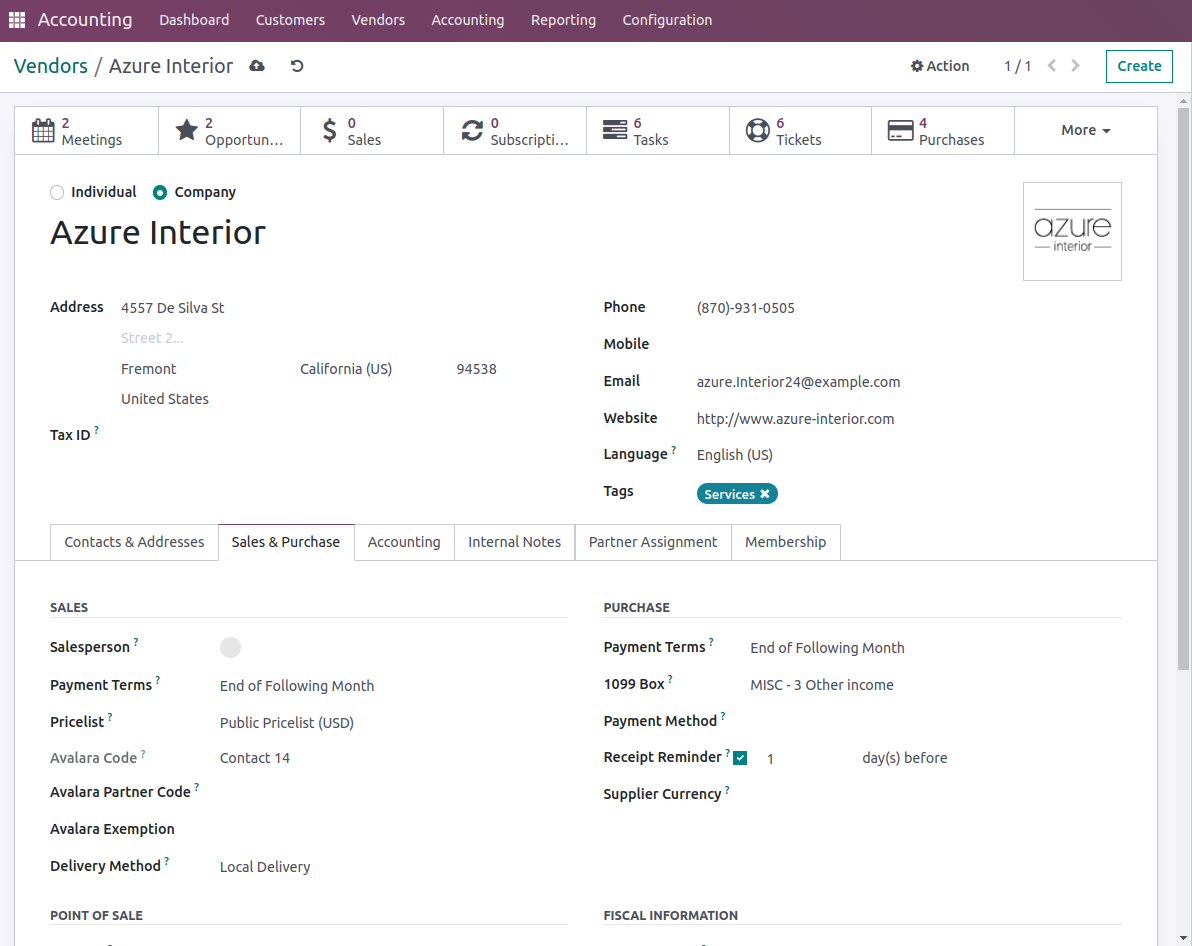
The Sales & Purchases tab needs to be defined next, where you can set up every part of the Purchase procedures with the vendor. You must configure the elements of the sales operations if the relevant Vendor is also a business partner and sales are being undertaken. Details about the Salesperson, Payment Terms, and Pricelist should be defined under the Sales tab. Under the Purchase tab, you can also specify the Payment Terms and the Payment Method. The Fiscal Information Tab contains a definition of the Fiscal Position. The Industry or industry in which they operate might also be defined, along with other unspecified factors like references gained from the vendor.
You can define the bank account information for the company operations within the Accounting tab for the vendor by using the Add a line option that is provided. Furthermore, it is possible to define several accounts if necessary. You can use the option to "View Accounts information" to see a description of the Accounts' specifics. When you choose the "Add a line" option, a menu displaying the account number and bank information will appear. For partners, we will be able to record multiple bank accounts. For the defined Accounts of activities in the company, the Accounting Entities such as Accounts Receivable and Accounts Payable can be chosen.
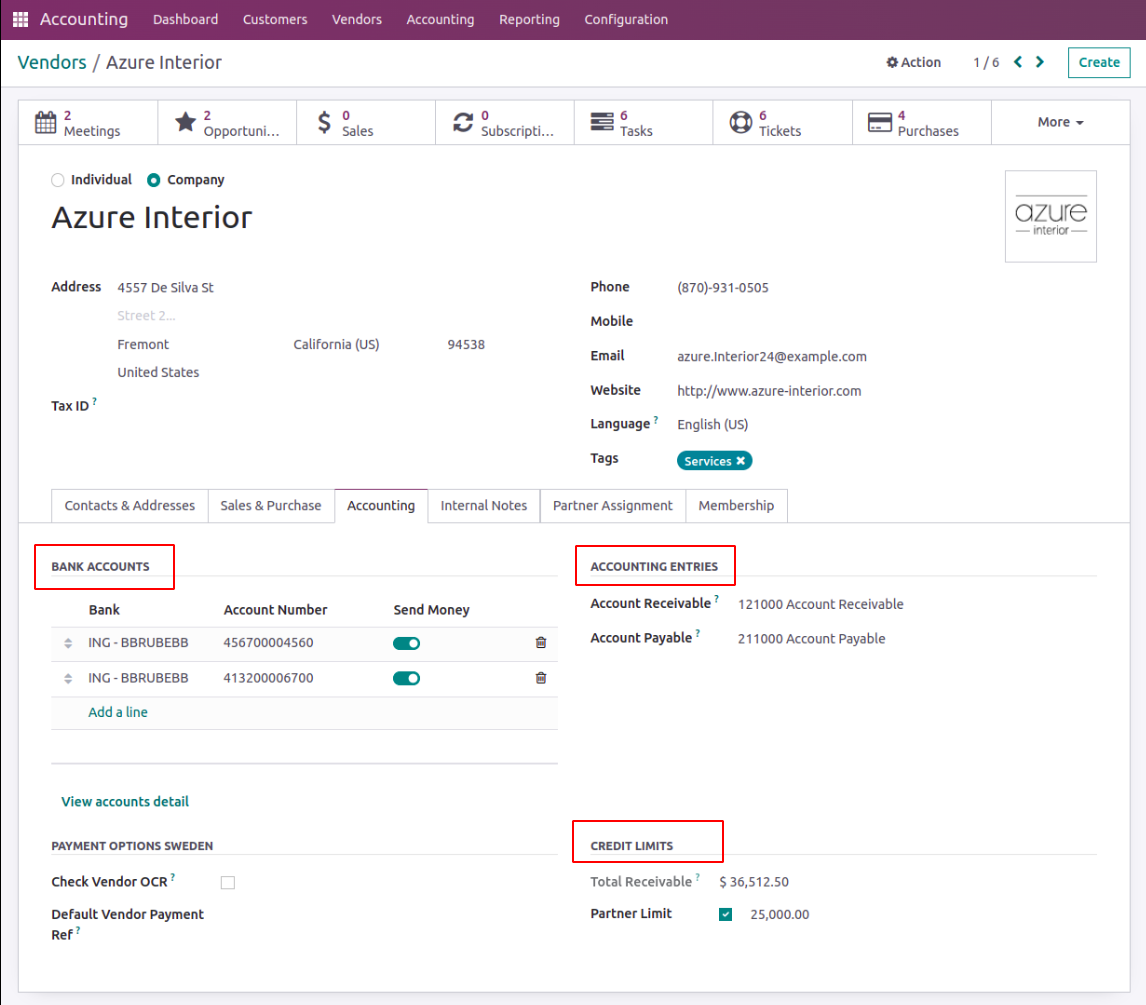
Also, partner credit limits can be set for receivables from the partner. The total receivables from the partner will be able to show in the Total Receivable field. So when an invoice for a partner is added a warning message will appear saying that the partner has reached the sales credit limit.
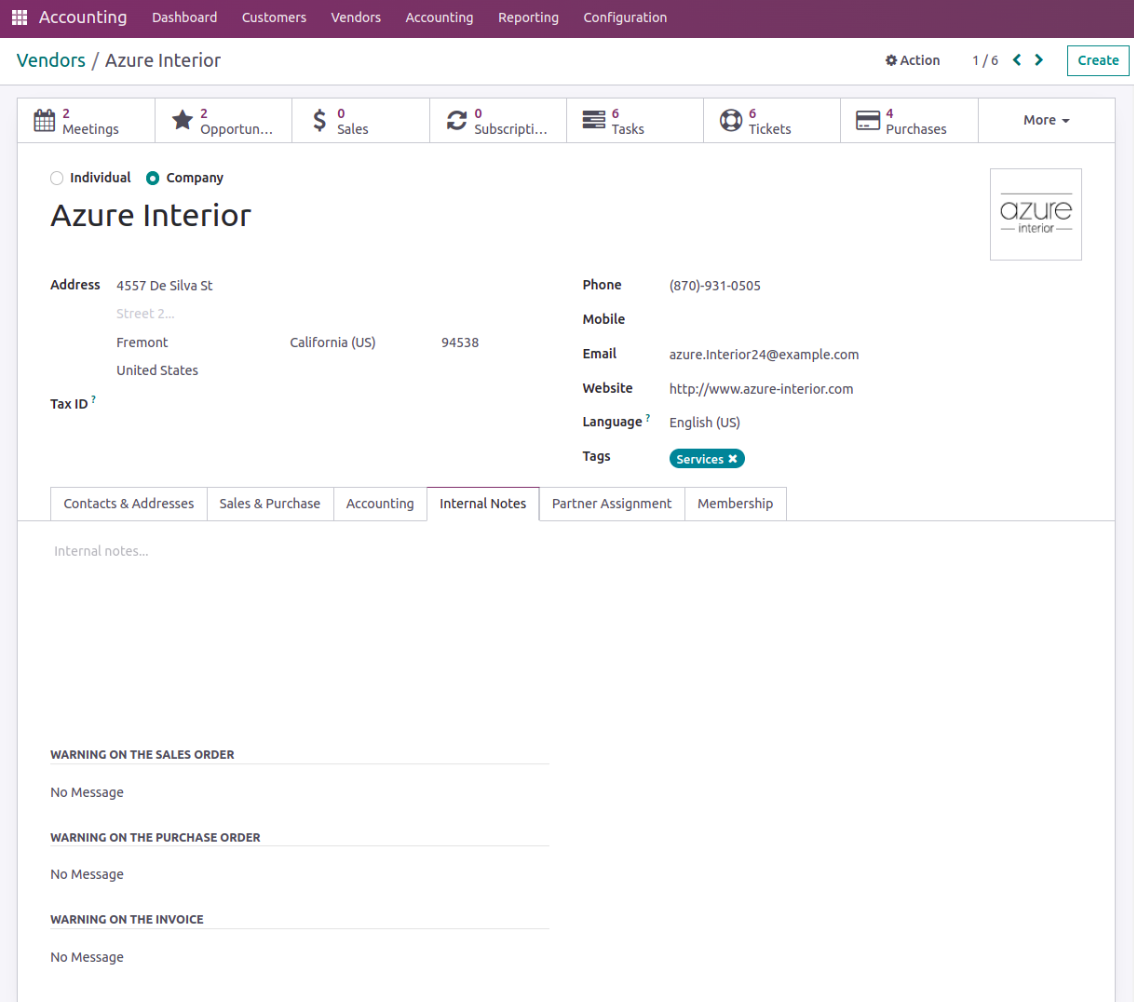
The Primary Vendor information can also be stated under the Internal Notes tab, along with a Warning on the Invoice that can be a message depending on the situation. You can always choose not to receive any warnings or messages pertaining to the vendor by customizing the warning and message definitions.
All of the defined vendor management tools will contribute to the efficiency of the vendor operations inside the business, which can be managed and controlled by these unique tools and features.
In summary, this chapter concentrated solely on describing the financial management facets of vendors and consumers using the specific Odoo Accounting module. All of the functional tools for managing customers and vendors are covered in depth, including all of the tools and menus for available functions. The Accounting management features in the Odoo Accounting module will be the subject of the following chapter, and its many components will be thoroughly discussed.