Receipts are a key part of ensuring that payments are made to the invoices register. The activities for creating receipts are carried out both before and after payments are made in the real-world environments of many firms. This is solely a function of corporate operations. The Odoo platform offers a specific tool for managing receipts that will support the company's operations for customer sales receipts. The Customers tabs of the Odoo Accounting module give access to the Receipts menu. All operation receipts will be defined in the menu. The following information will be shown: Number, Customer, Invoice Date, Due Date, Next Activity, Tax Excluded, Total, Status, and Payment Status. A base for the operations and a clear comprehension of it will be provided by the color-coordinated representation of the Status section of the menu.

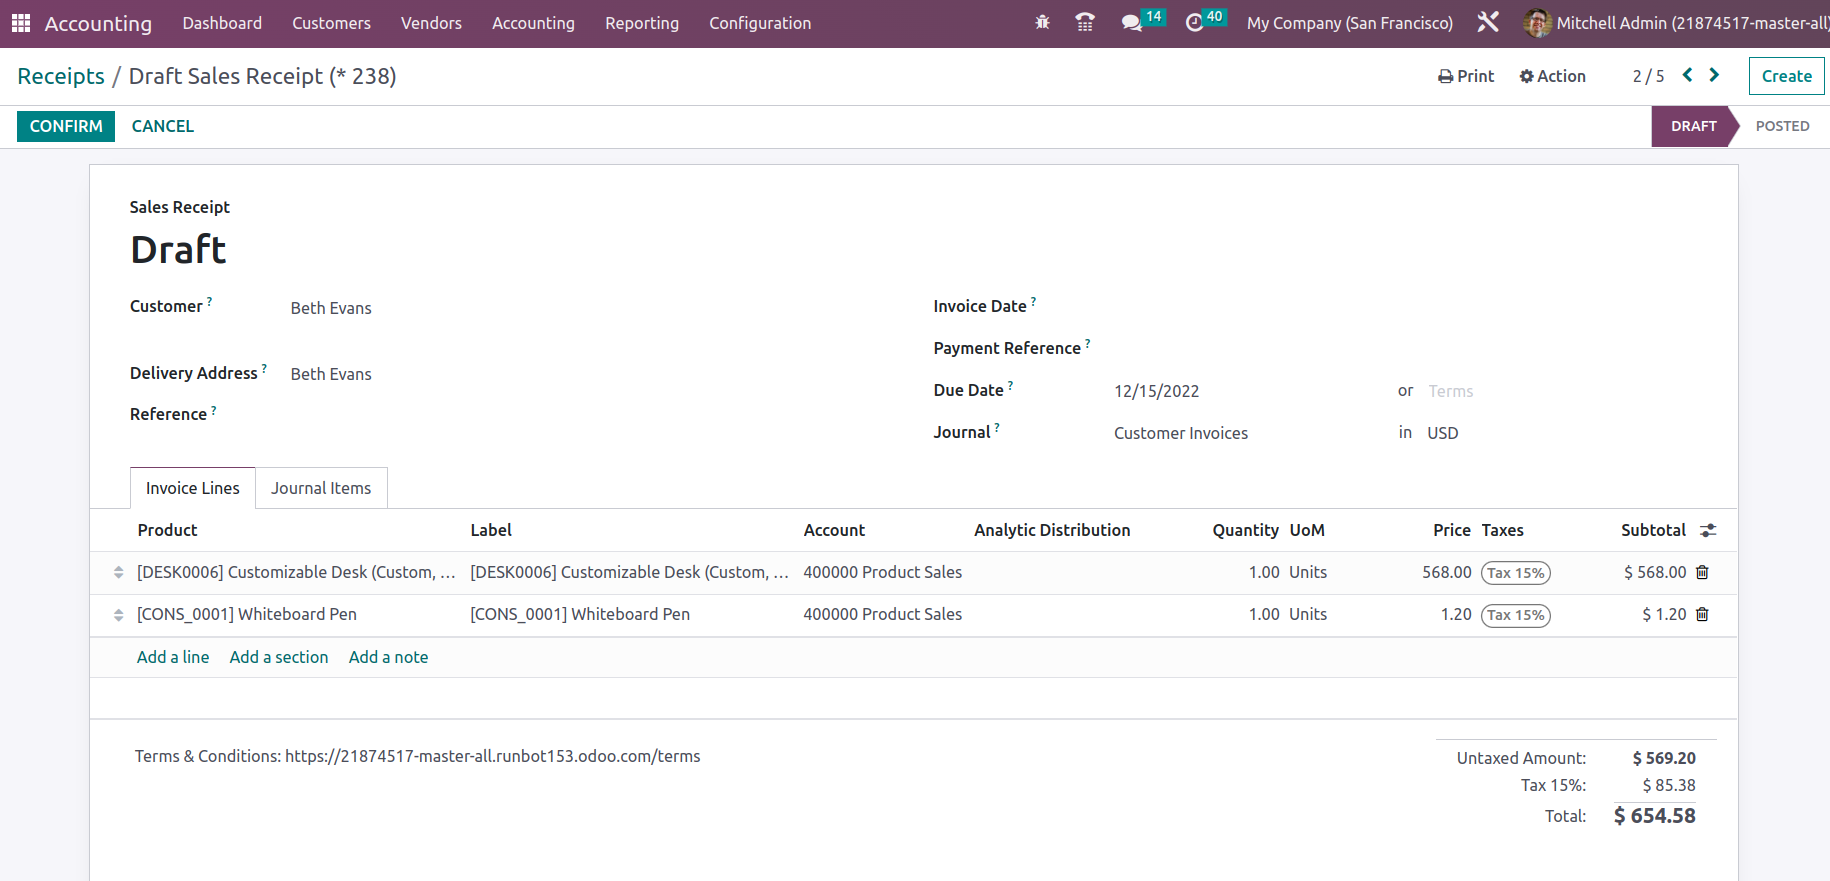
The Receipts that have been defined in the menu can be edited, and there is also an option to generate new ones using the available Create option. The Customer name, Reference, Payment Reference, Invoice Date, Due Date, and the Journals description, along with the Currency involved, will be described in the menu for creating receipts.
Additionally, the Product data, Label, Account details, Analytical Accounting details, Analytics Tags, Intrastat, Quantity, Price, Taxes, and Subtotal are listed beneath the Invoice Lines.
It can be specified by opting to add a line. By choosing the Add a section option, you may also add a new section to the invoice. Selecting the Add a note option will allow you to add notes to the customers. The sections, product lines, and notes that are being detailed can all be deleted or edited.
In the appropriate invoice window at the bottom of the page, the total of the invoice as well as the tax information will be displayed.

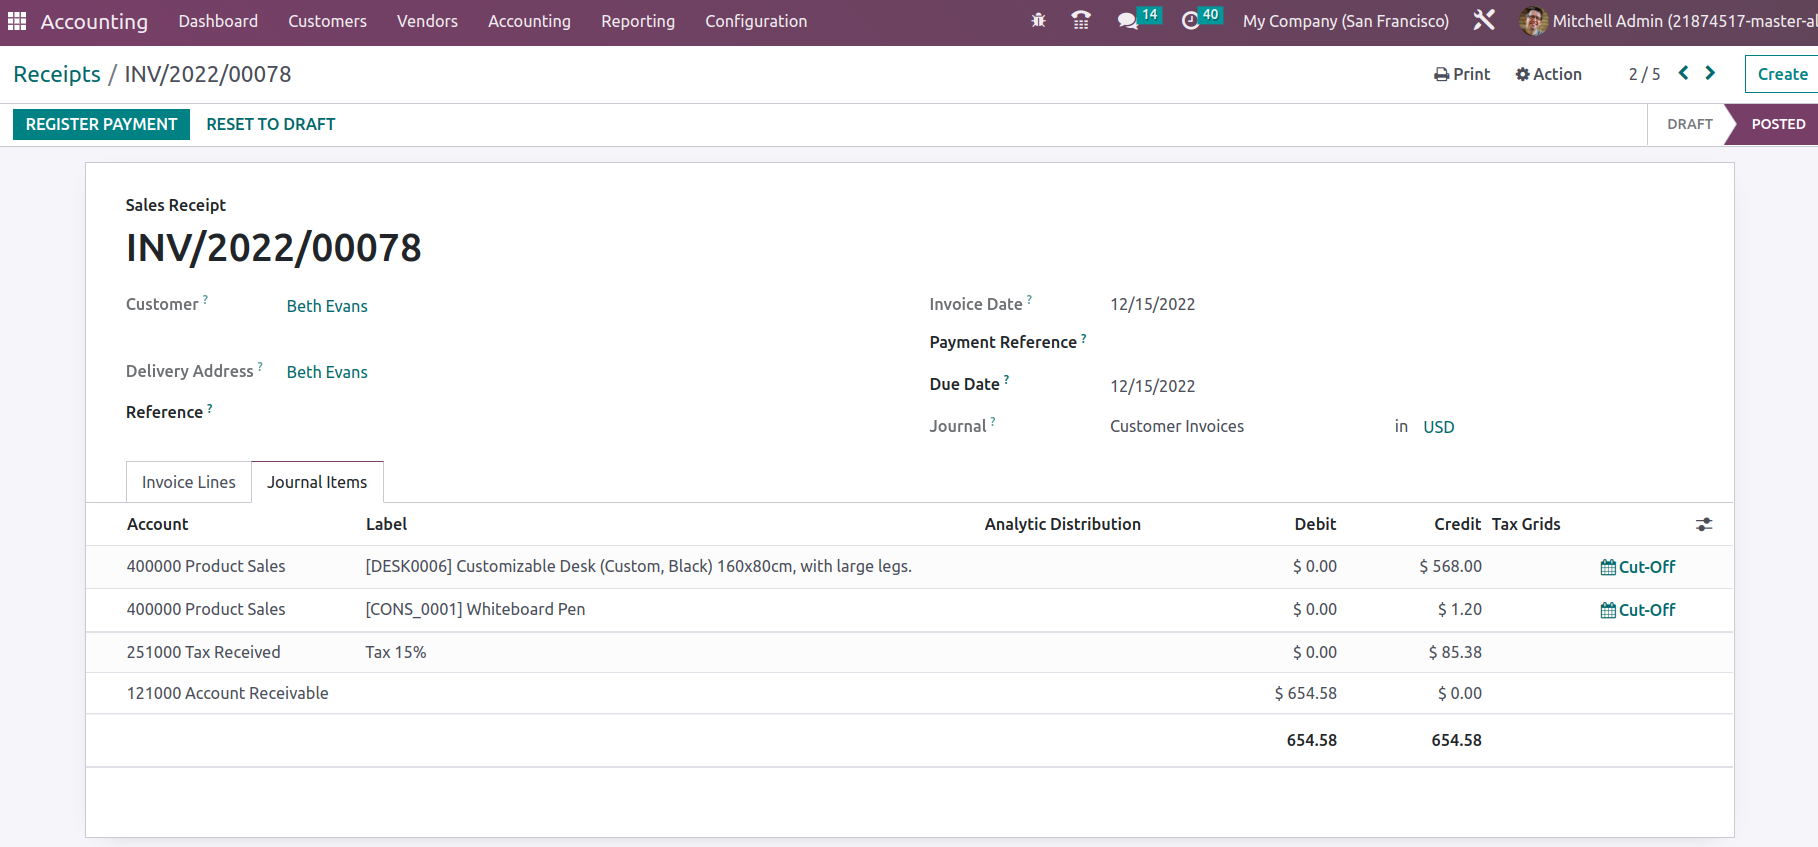
All the journal entry information for the relevant invoice will also be shown under the Journal Items menu. Account, Label, Analytical Tags, Debit, Credit, and Tax Grids will all be specified in detail.

Once the reverse invoices are set up, you can move to register the payment by choosing the appropriate option, at which point a pop-up window will appear as shown in the screenshot below. You must here choose if the payment method is manual, batch, or SEPA direct debit. The recipient bank account, payment amount, payment date, and payment memo must all be described next.Last but not least, you must choose the Create Payment option.

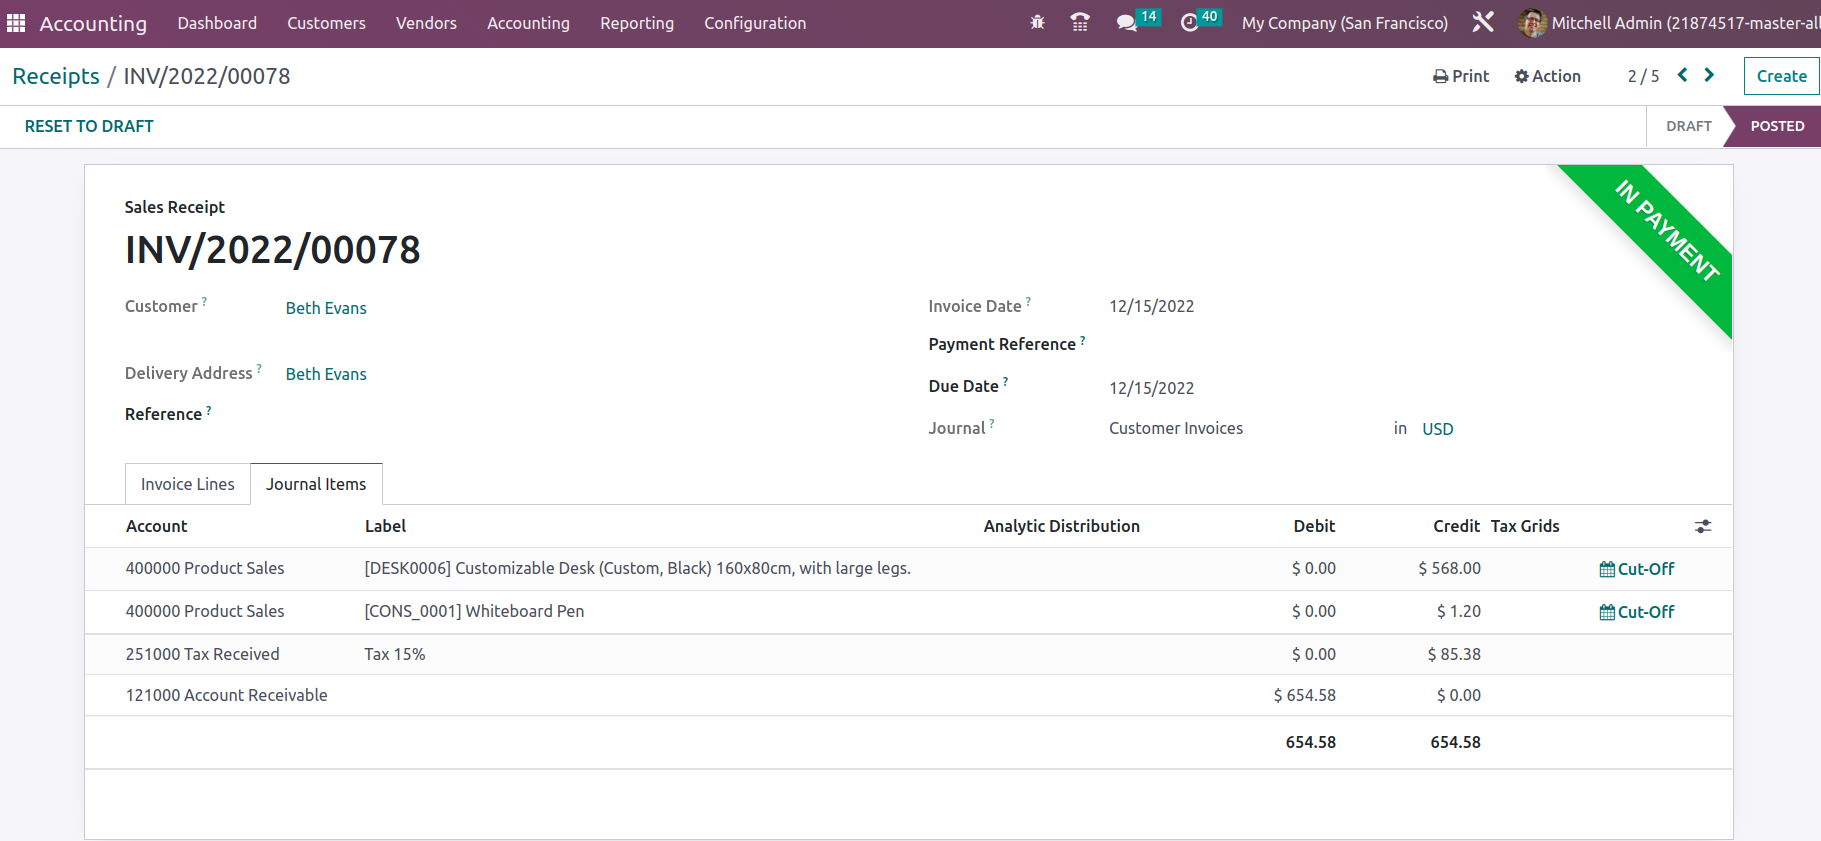
The label will appear showing that the relevant Invoice is In Payment once the Payment has been registered back in the appropriate Receipts menu. Otherwise, if the payment is successful, the label will show as Paid.

Additionally, you have the option to change the receipts that have been defined in the platform and adjust them as necessary, but only authorized users of the Odoo platform—people that can be specified when the platform is being set up—are able to do so. You now have a basic understanding of how the Odoo Accounting module handles customer receipt management. Let's continue by learning about the features of customer payment management that are specified in the Odoo Accounting module in the following section.