You may get an overview of the financial processes being carried out in the organization using Odoo accounting from the Dashboard of the Accounting module. Additionally, by using various tabs, you will gain insight into how operations are carried out and what is happening with regard to each tab's financial components. When you first access the Dashboard, you will see filtered data that is based on configurations that were established during platform development. Furthermore, you can remove the filtering as needed. Additionally, you can define your Dashboard with a custom filter choice, and there are some that are pre-configured.
Additionally, the information displayed in the menu can be customized based on your operational needs using the Group by option found in the Dashboard. You will also see a table that illustrates how the Accounting module's setup and subsequent financial management activities of the business should be carried out. You will receive information from this regarding how all operations related to the functioning of the financial management should be set up. The Dashboard of the Accounting module with the configuration description window is shown in the next image.
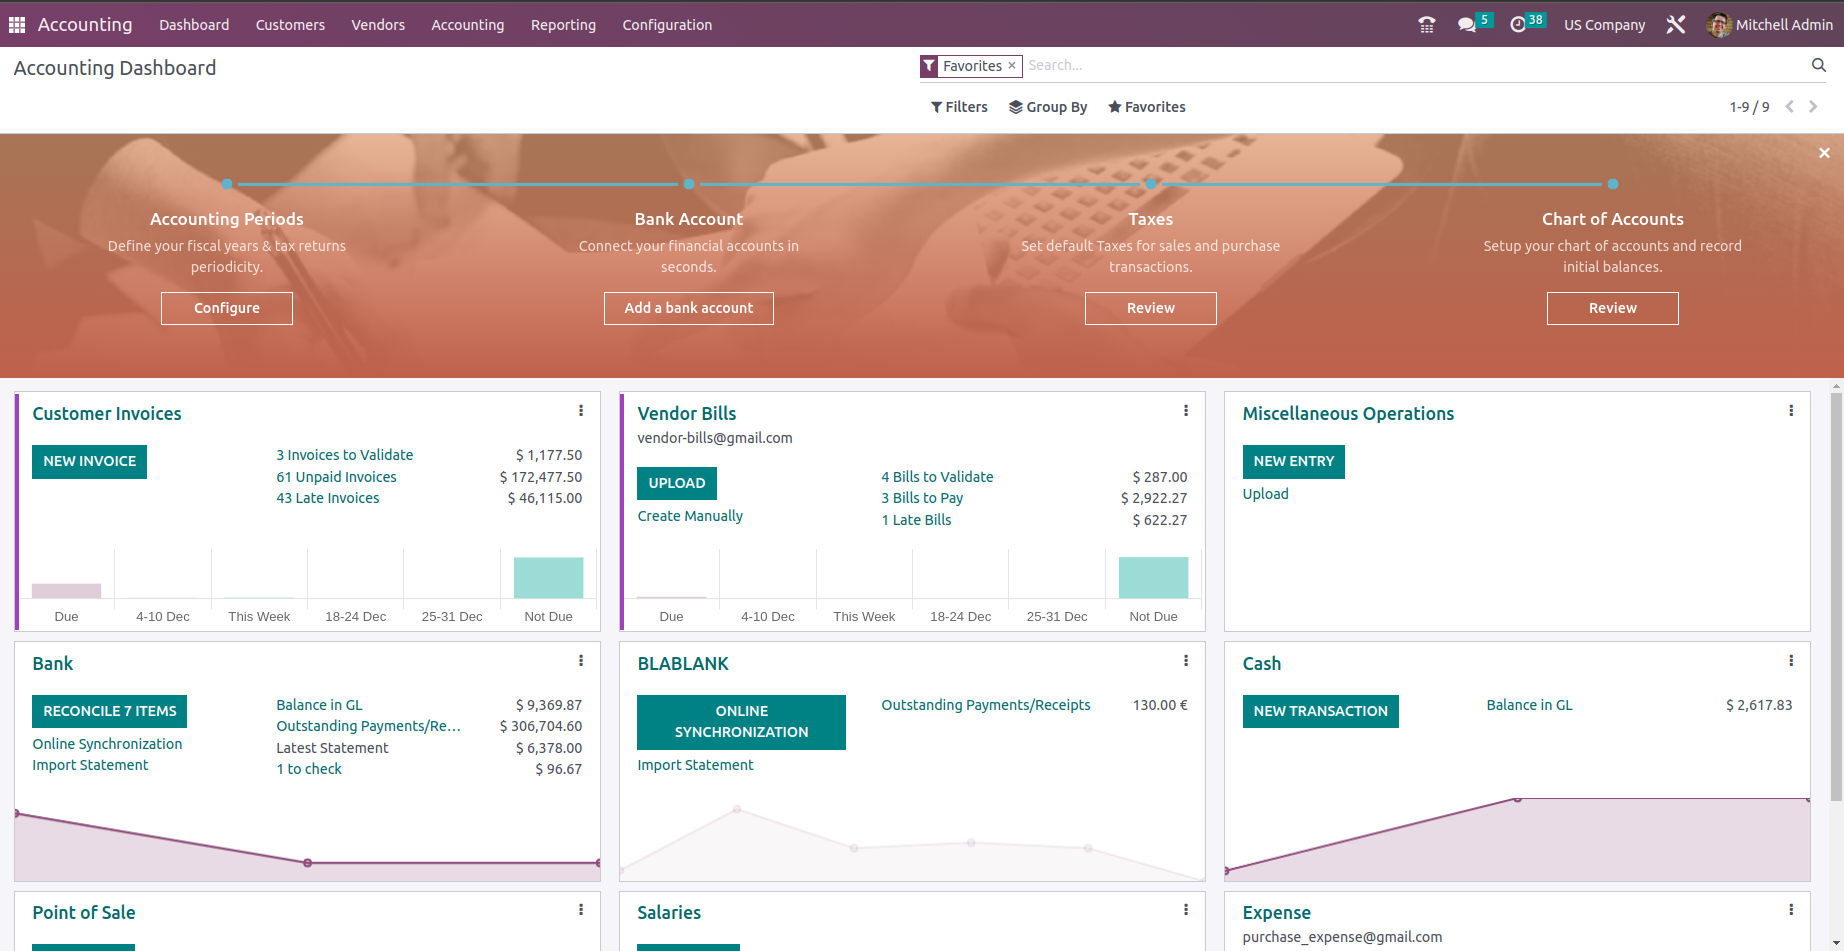
You can define the First bill for vendors right from the overview by clicking on it. The Let's Start option will take you to a window where you can immediately produce vendor bills based on your functional requirements. By selecting Add a Bank, which will take you to the same interface as setting up a bank account for the business, you may also configure a bank account for the operation of the firm. Additionally, by selecting the setup button under Accounting Periods, you can change the Accounting Period and Tax Return Periodicity for various periods such as quarterly, yearly, and based on the demand.
Additionally, the Review button displays all of the Charts of Accounts for the presently installed localization. More Charts of Accounts may also be produced or imported as needed if necessary. The users will also be able to add the opening balance by clicking the Review button under the Chart of Accounts. For the platform's functioning, the Credit/debit Amount on each account may also be added, and modifications can be saved. For Opening Balance in Journal Entries, the associated Journal Entry will be created. Odoo will automatically add any discrepancy between Debit, and Credit amounts to "999999 Undistributed Profits/Losses" for automated balancing if there is one.
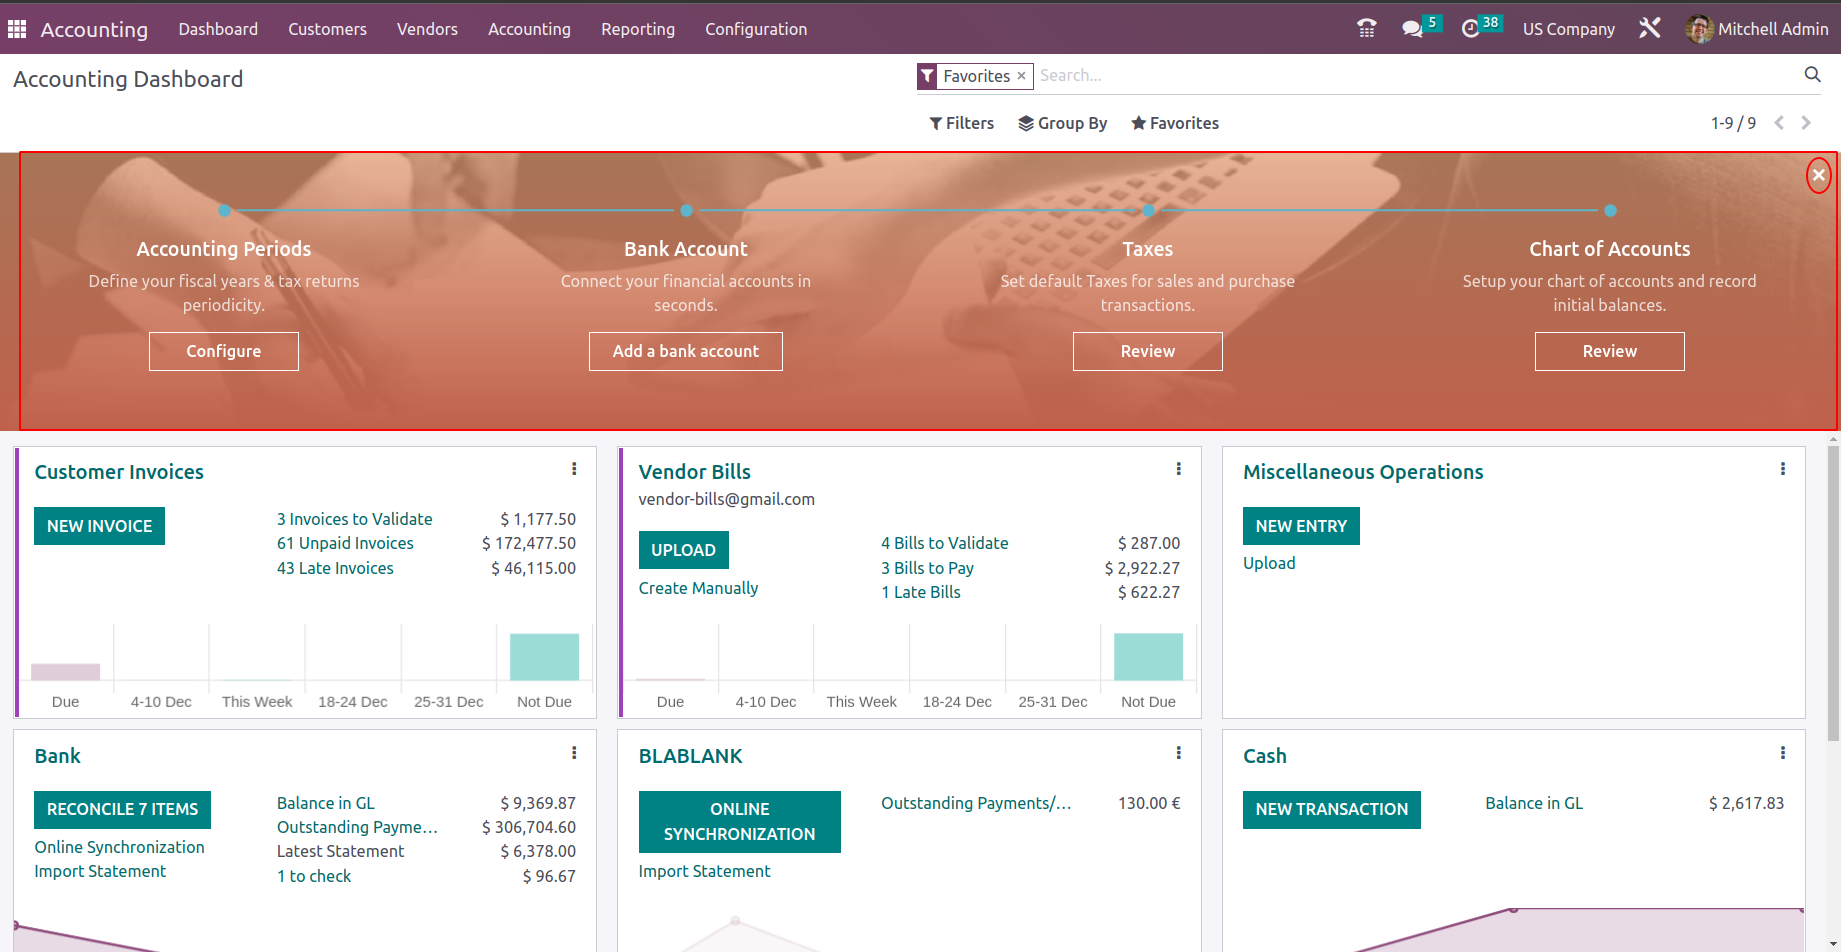
You can close the depicted window as necessary to see the Dashboard, which is what is displayed in the following image. The several tabs, including Customer Invoices, Vendor Bills, Miscellaneous Operations, Bank details, Cash information, and many more, will be displayed depending on the Dashboard's Favorites as they are set up and in use. Additionally, the Dashboard will contain all of the created Journals and operations. According to your needs, you can also add the ones that are used regularly to the Favorites list. This will be useful for need-based journal filtering. The next screenshot illustrates an instructive chart on the operations pertaining to how each tab functions. The distinct information on each chart will be displayed to you when your mouse pointer is hovered over it, according to the definition on the chart.
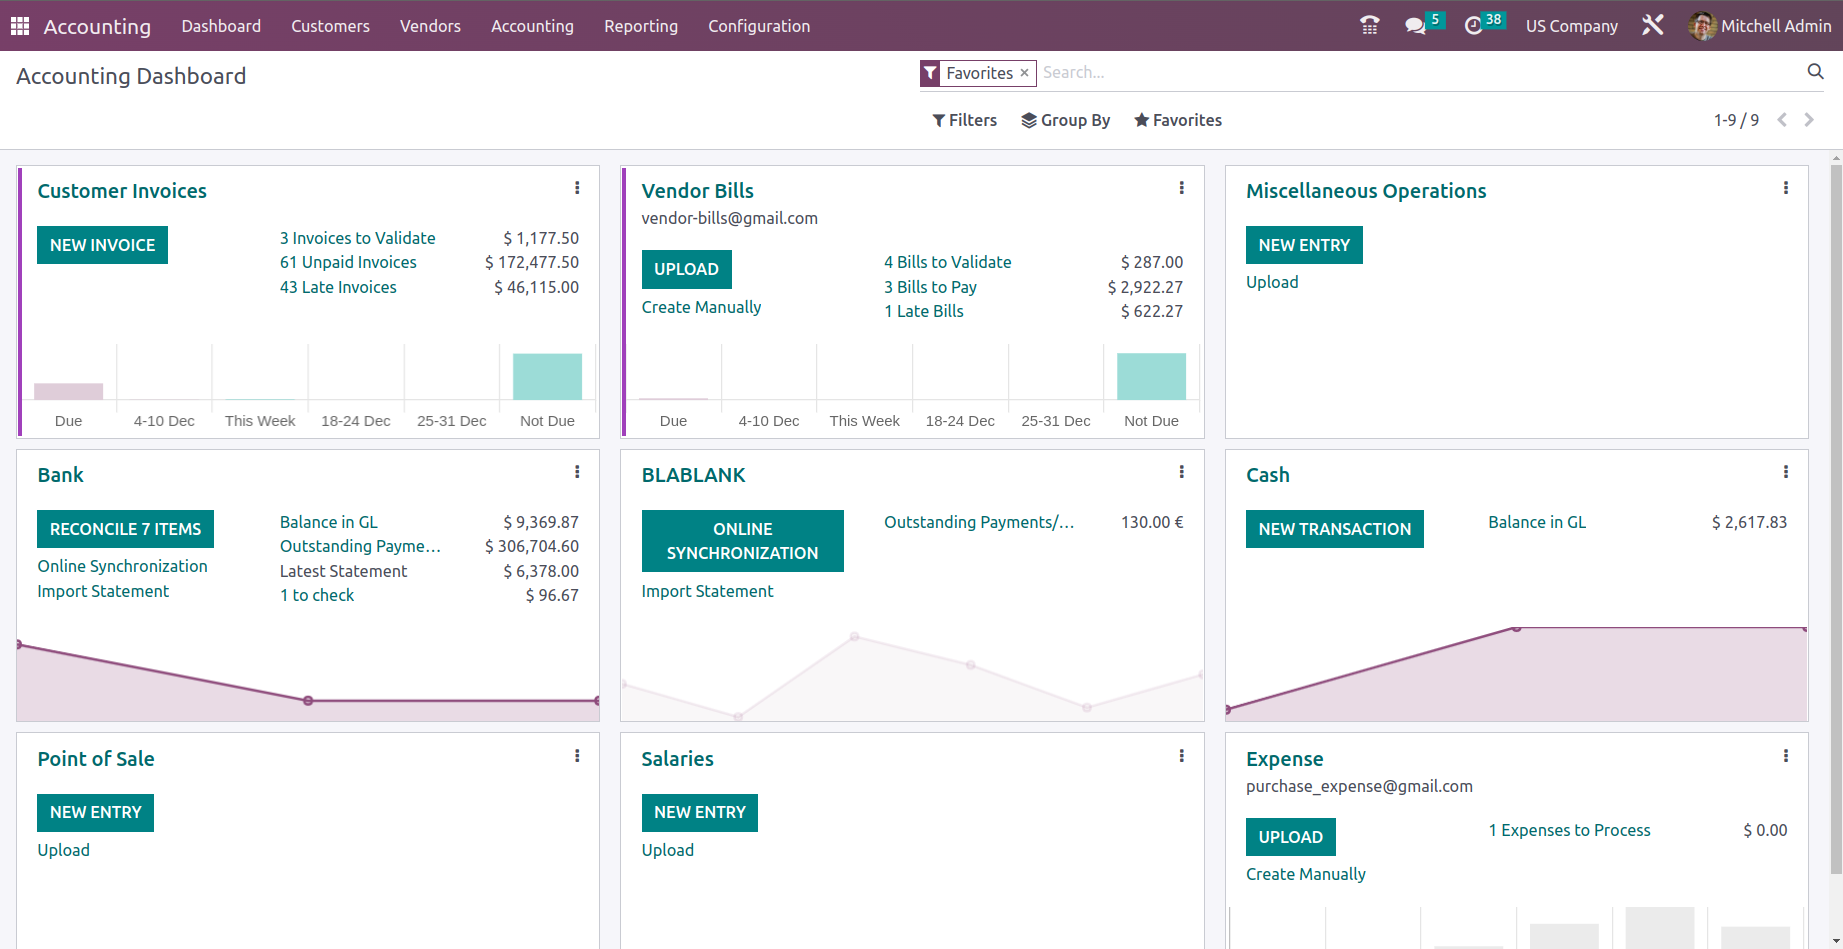
There are additional alternatives to go straight to the corresponding menus of each of the defined tabs. Additionally, under each of the tabs, there are unique configuration choices that have been established based on each tab's operating aspect. The color configuration options assist you in establishing the varied color coordination for each tab helping you to categorize them distinctly if several tabs are present.
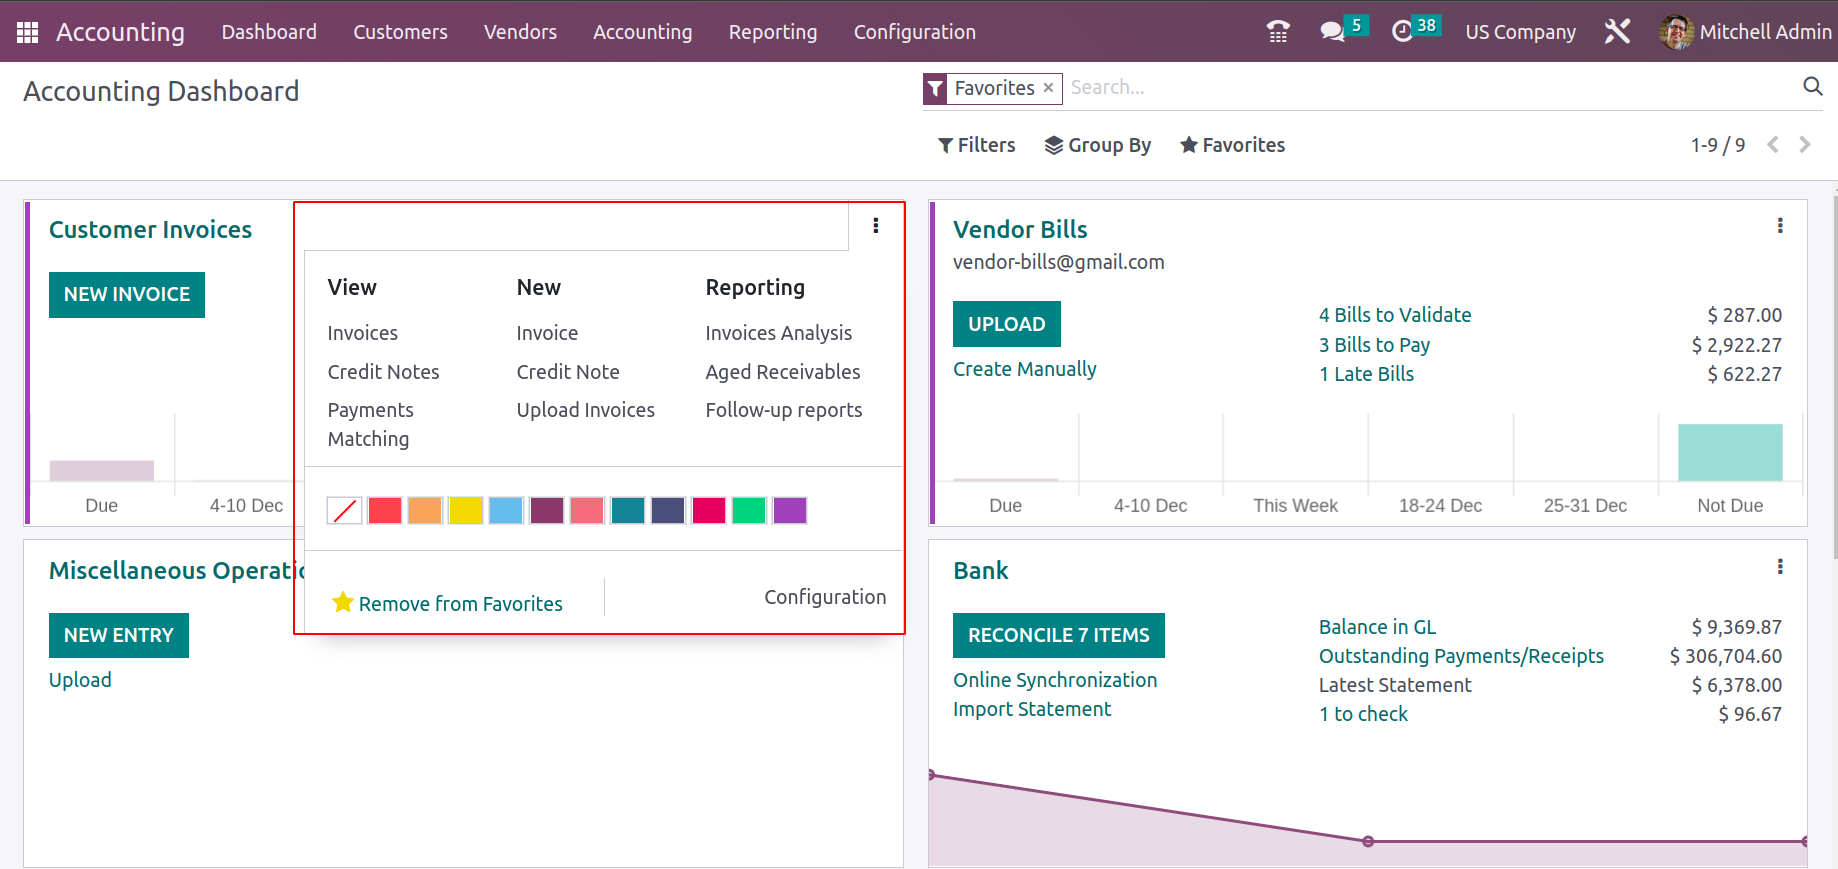
In order to remove the relevant tab from the Dashboard of the Accounting module, there are options to Remove it from Favorites. Additionally, you may access the relevant documents for each Journal, such as invoices, bills, and credit or debit notes, as well as create new documents and get reports on the documents for each Journal from the Overview. Additionally, there is a Configuration option that, when chosen, will lead you to the relevant tab's configuration menu. Every tab will have a distinct configuration setting, and you will typically need to define the Journal Entries for the tab you are configuring. For instance, the Customer Invoices tab is currently chosen, and the accompanying screenshot shows its Configuration menu. You can learn more about each journal, including its type, by visiting this page. Additionally, the Journal Entries setup information, including the Currency details, Short Code, Dedicated Credit Note Sequence, and Default Income Account. By choosing the Edit option in the Configuration box, you will have the chance to change all the required details of the Journal.
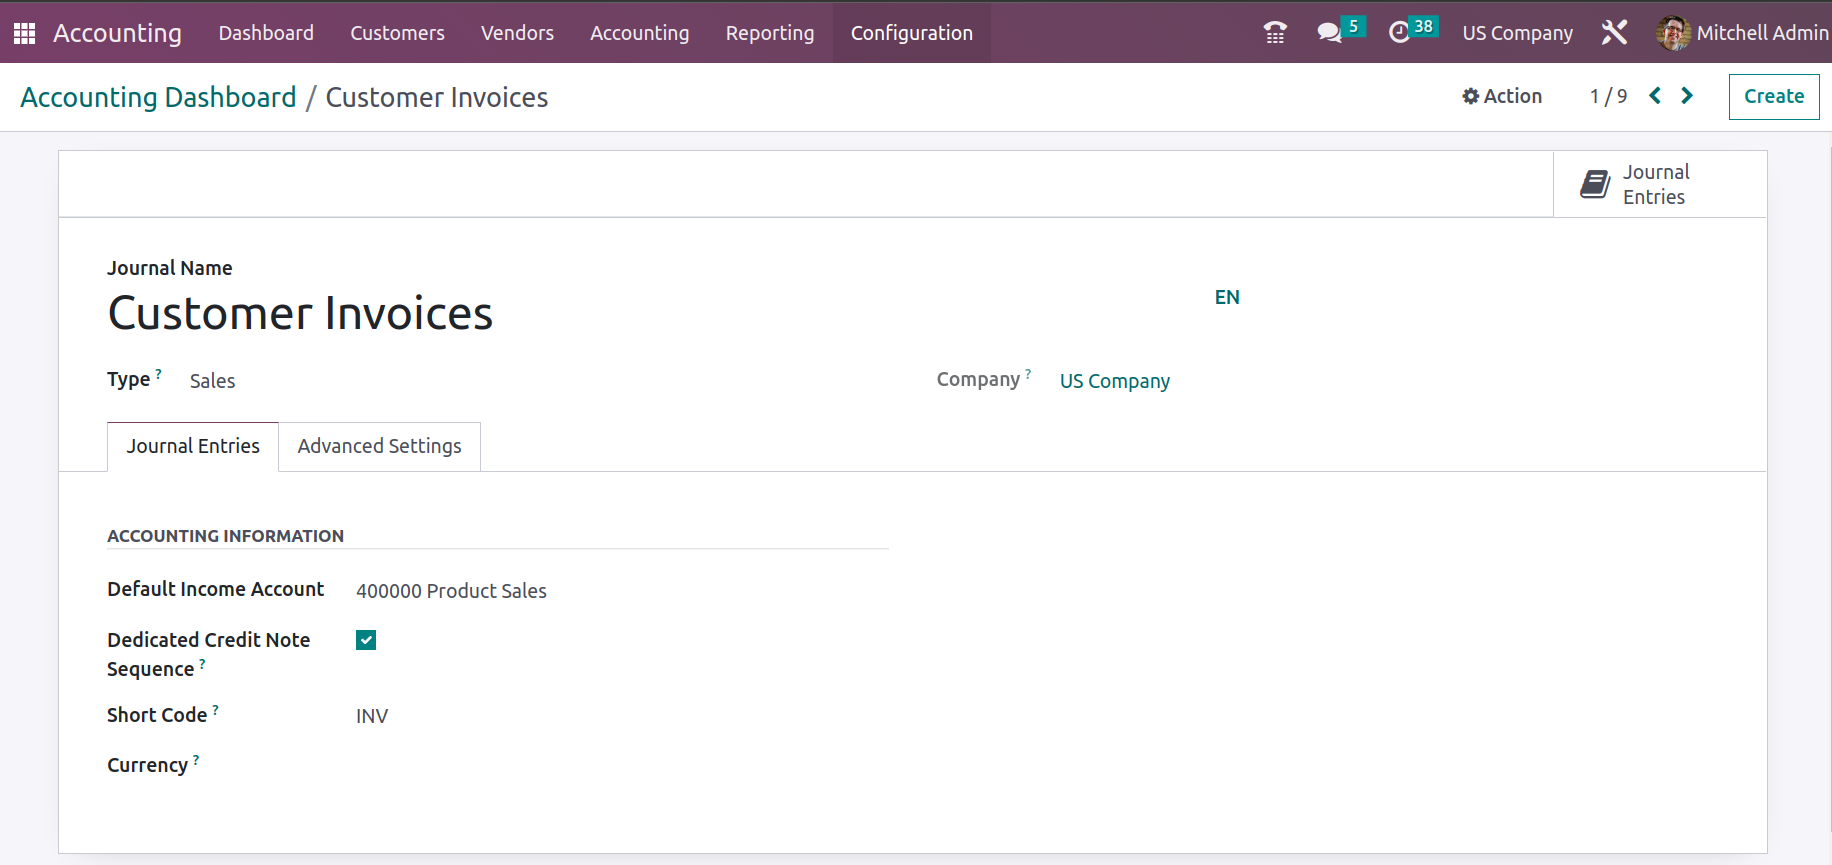
Additionally, the defined Journal's Advanced Settings can be set up, allowing you to change menu items like Control Access information like Allowed Account Types and Allowed Accounts and enable or disable the Lock Posted Entries with the Hash feature. Additionally, you may change the Email Servers from which the Accounting emails will be received by using the Configure Email Servers option. For each Journal, the option for Electronic Data Interchange and Electronic Invoicing via Factor-X(IN) can be activated or disabled.
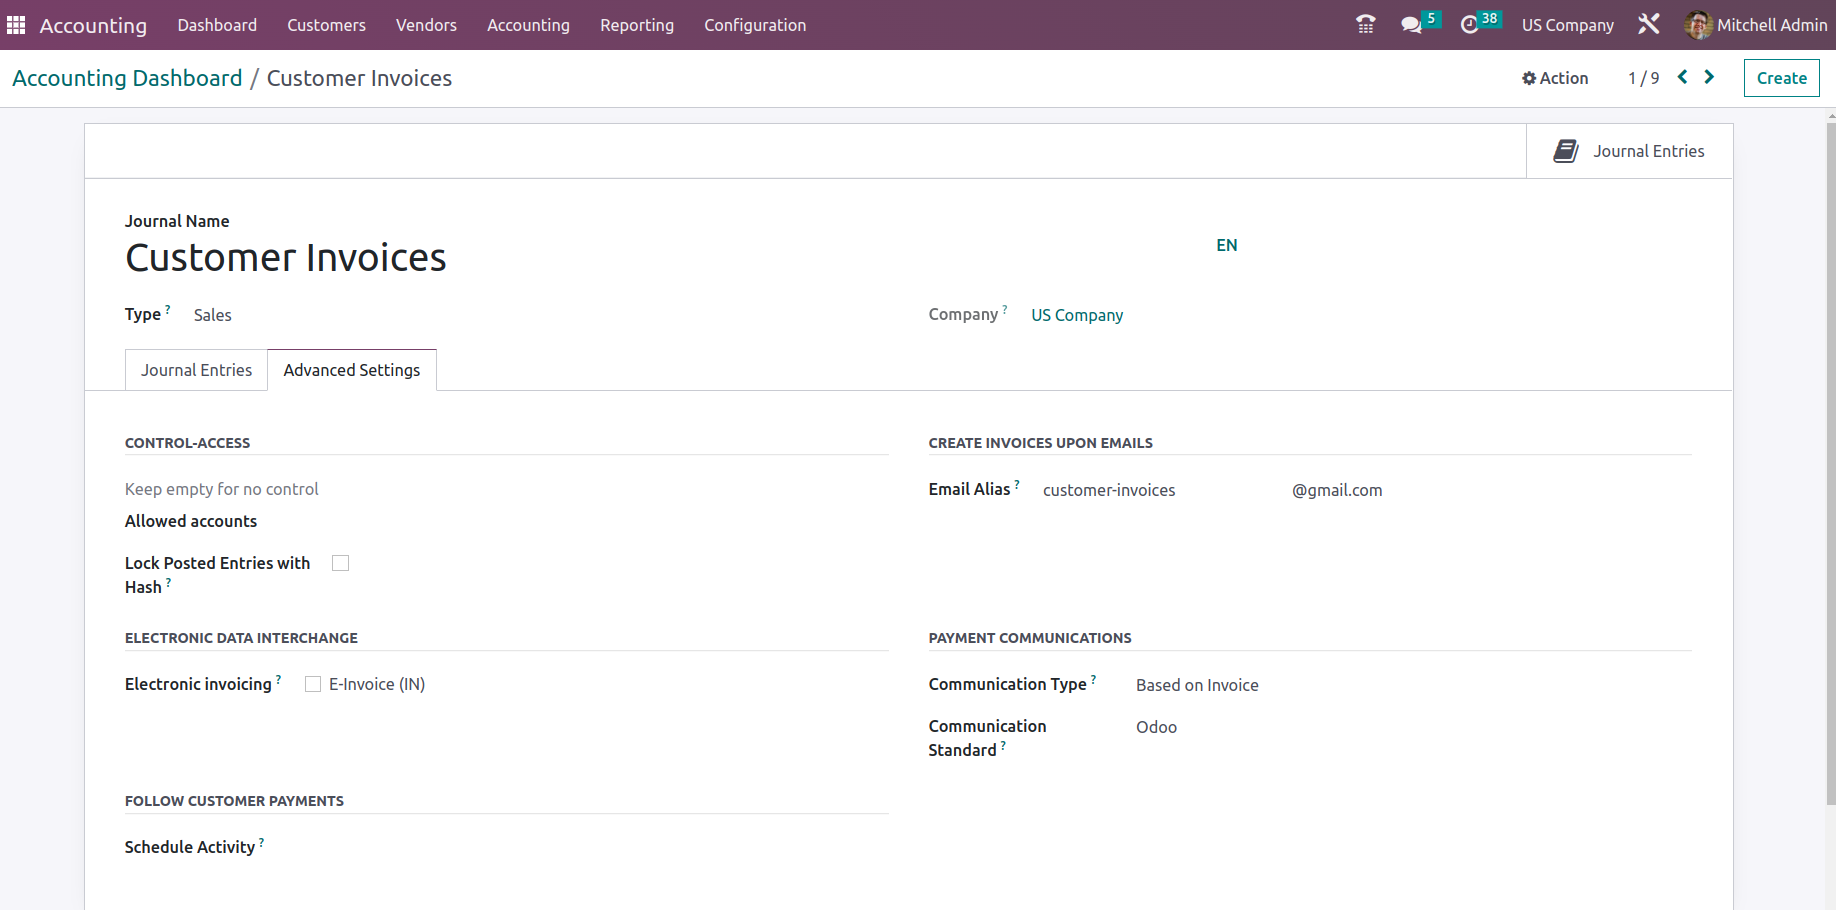
Furthermore, the Payment Communications options can be modified such as the Communication Type, as well as the Communication Standard options. In order to Follow Customer Payment, the Scheduled activity can be defined based on the follow-up activity and can be modified based on the need.