Up until now, we were discussing the installations and the hosting aspects. Now let's move on to understanding the aspects of creating a database for your business operations. You can create your database for your Odoo platform once you have been given an authorized subscription. If you do not have an account with Odoo you can create one from the following window just as depicted in the following screenshot.
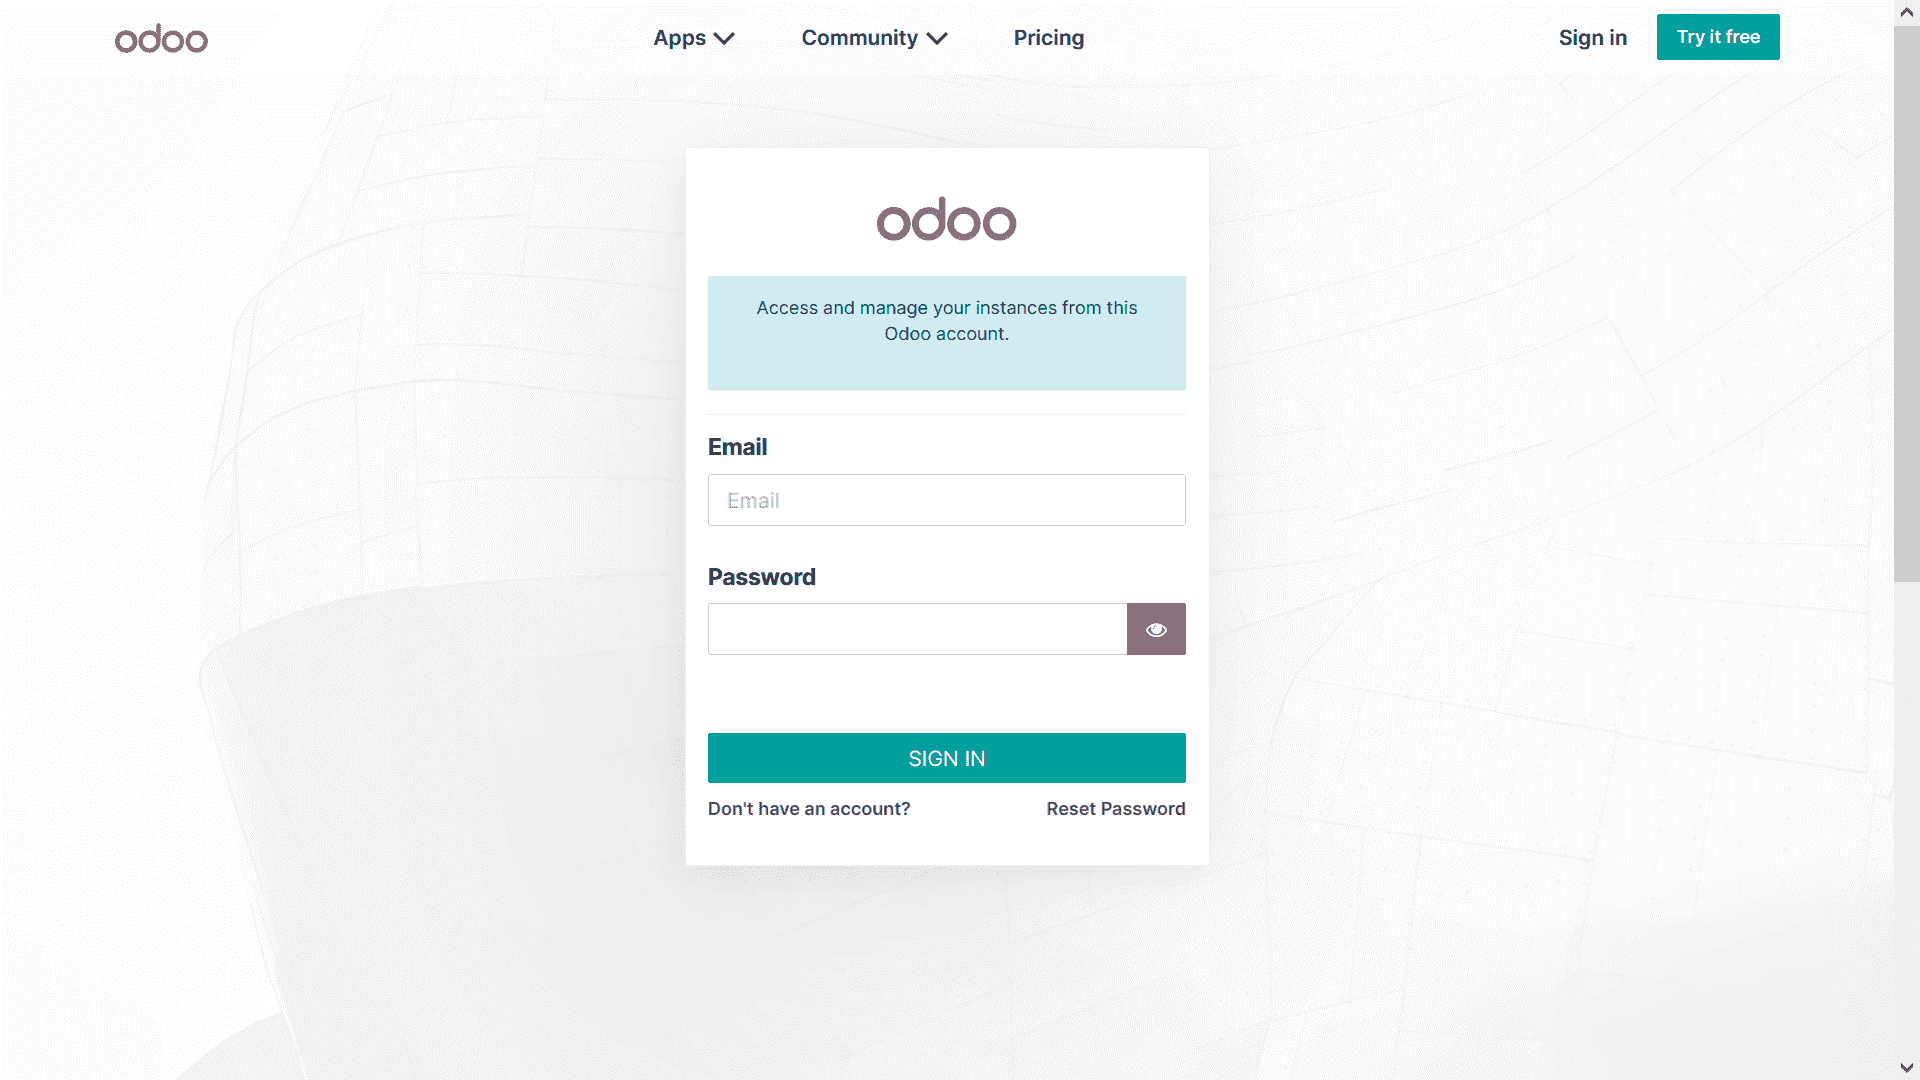
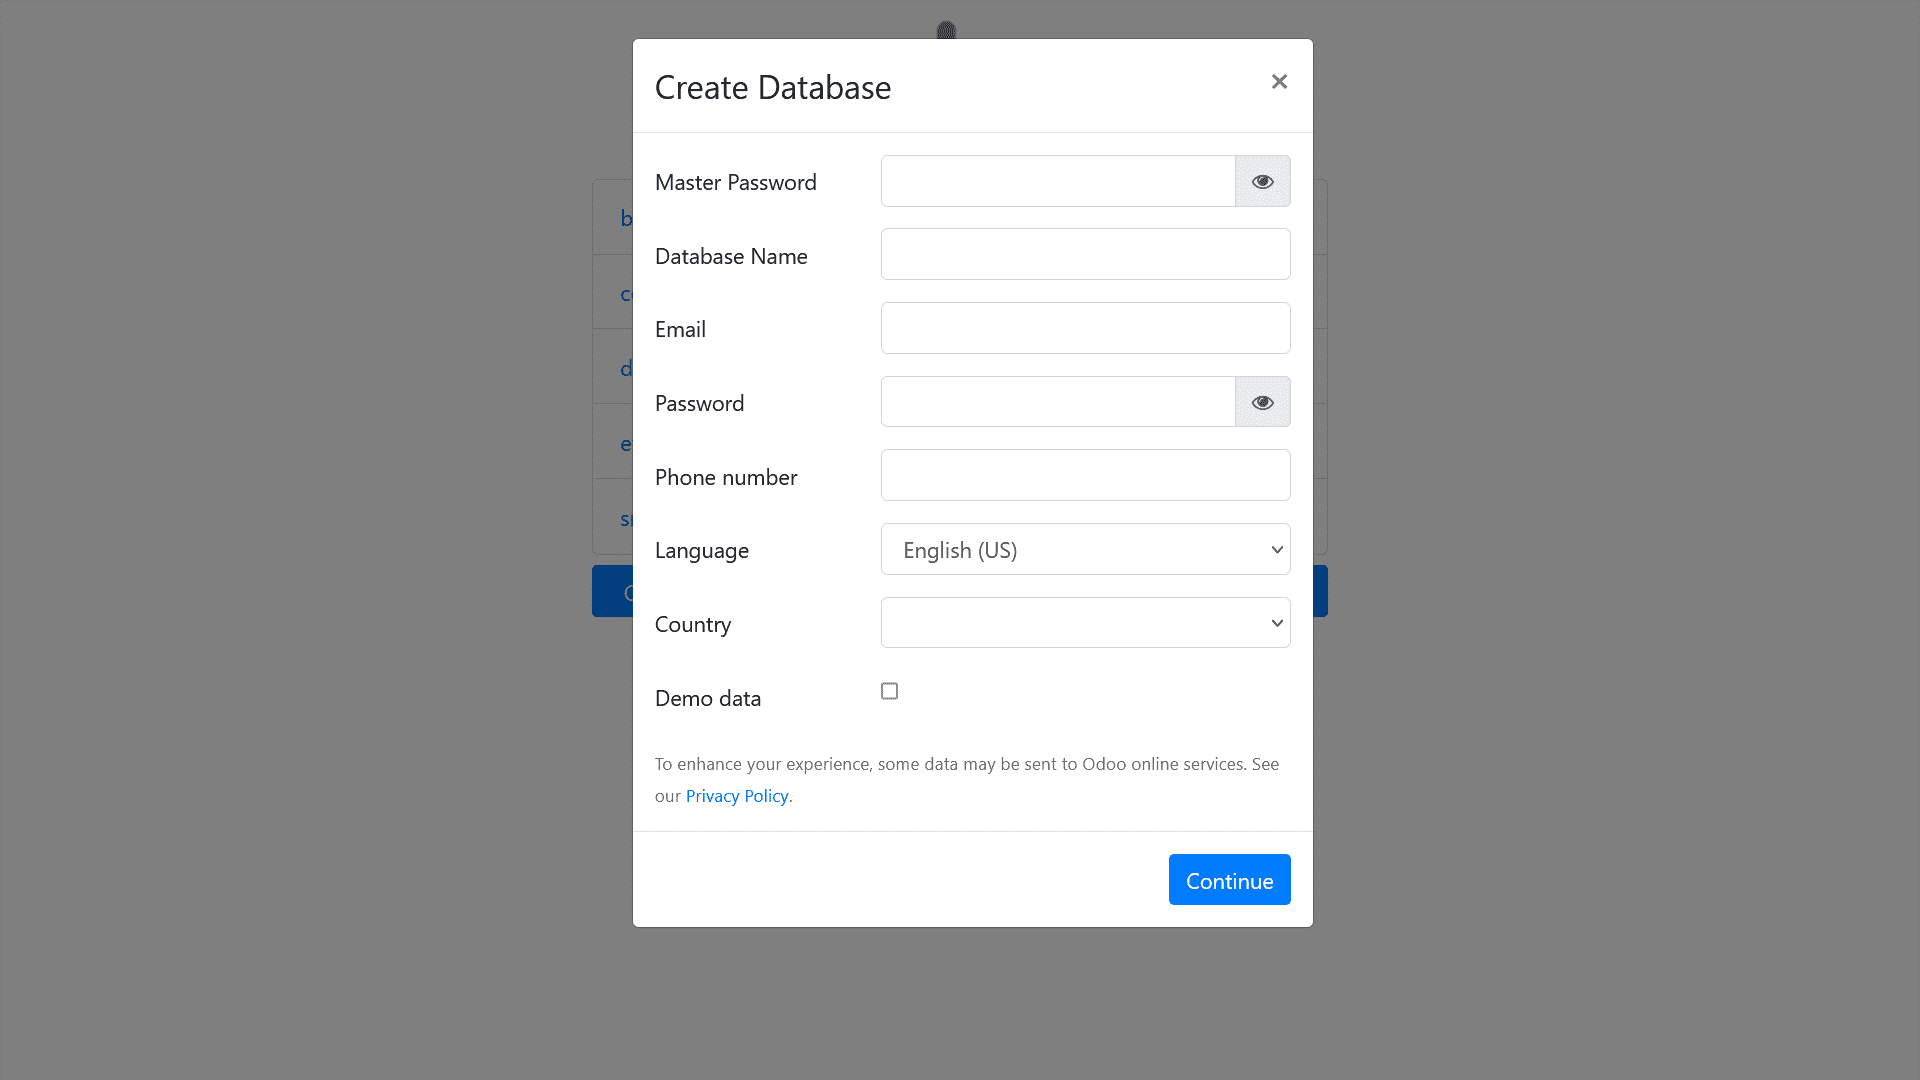
Once the accounts are created the next step will be to create a database for your operation. For that, you can select the create database window options available once the Odoo accounts have been created. In the create database window, the one depicted below you should initially provide the Master Password, provide the Database Name, Email address, allocate the Password, provide the Phone number, and assign the Language and Country. The database of the Odoo platform will be set up based on the country that you have assigned, this is due to the localization feature of Odoo which will be later explained in this chapter.
Another important element that is available in the database creation menu is the option to configure the Demo Data to the database. This is the data provided by Odoo itself to provide you with an understanding of the aspects of operational management. You can remove any form of demo data as per your requirement and modify it as needed.
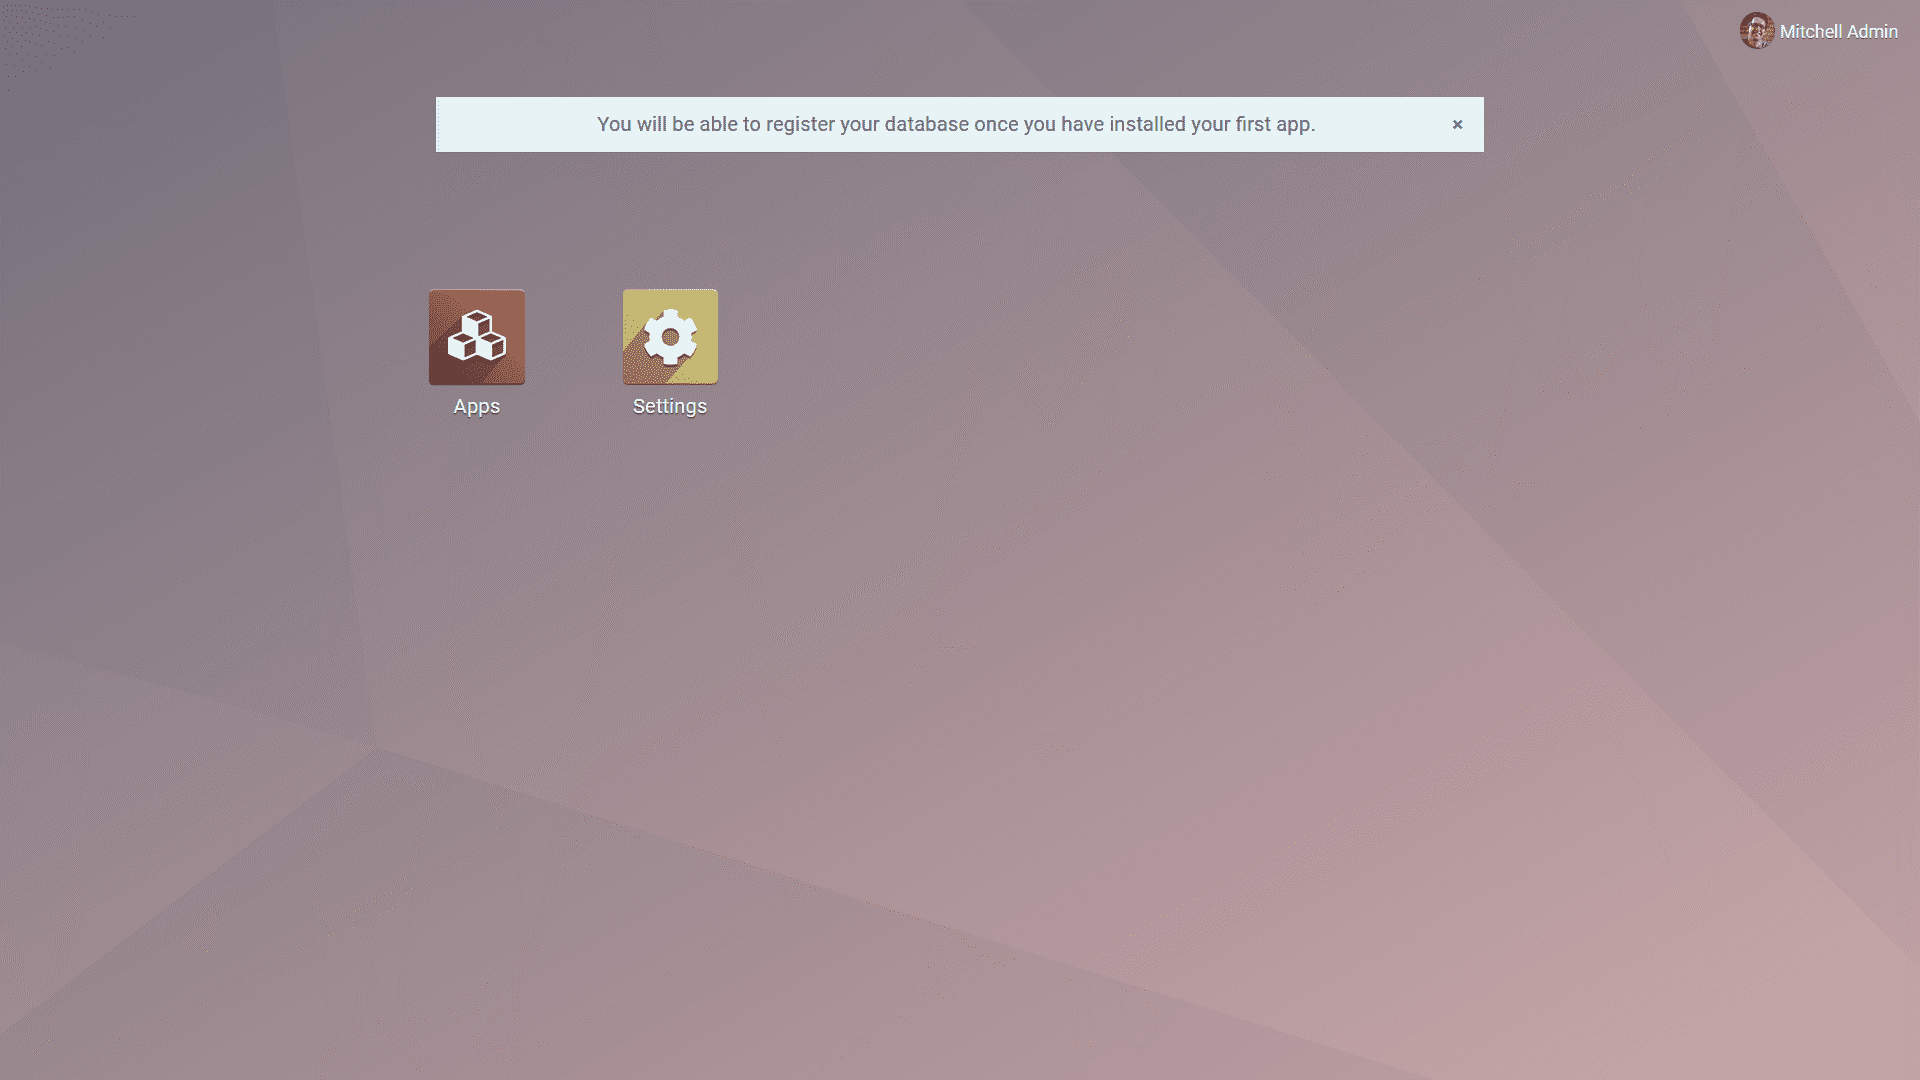
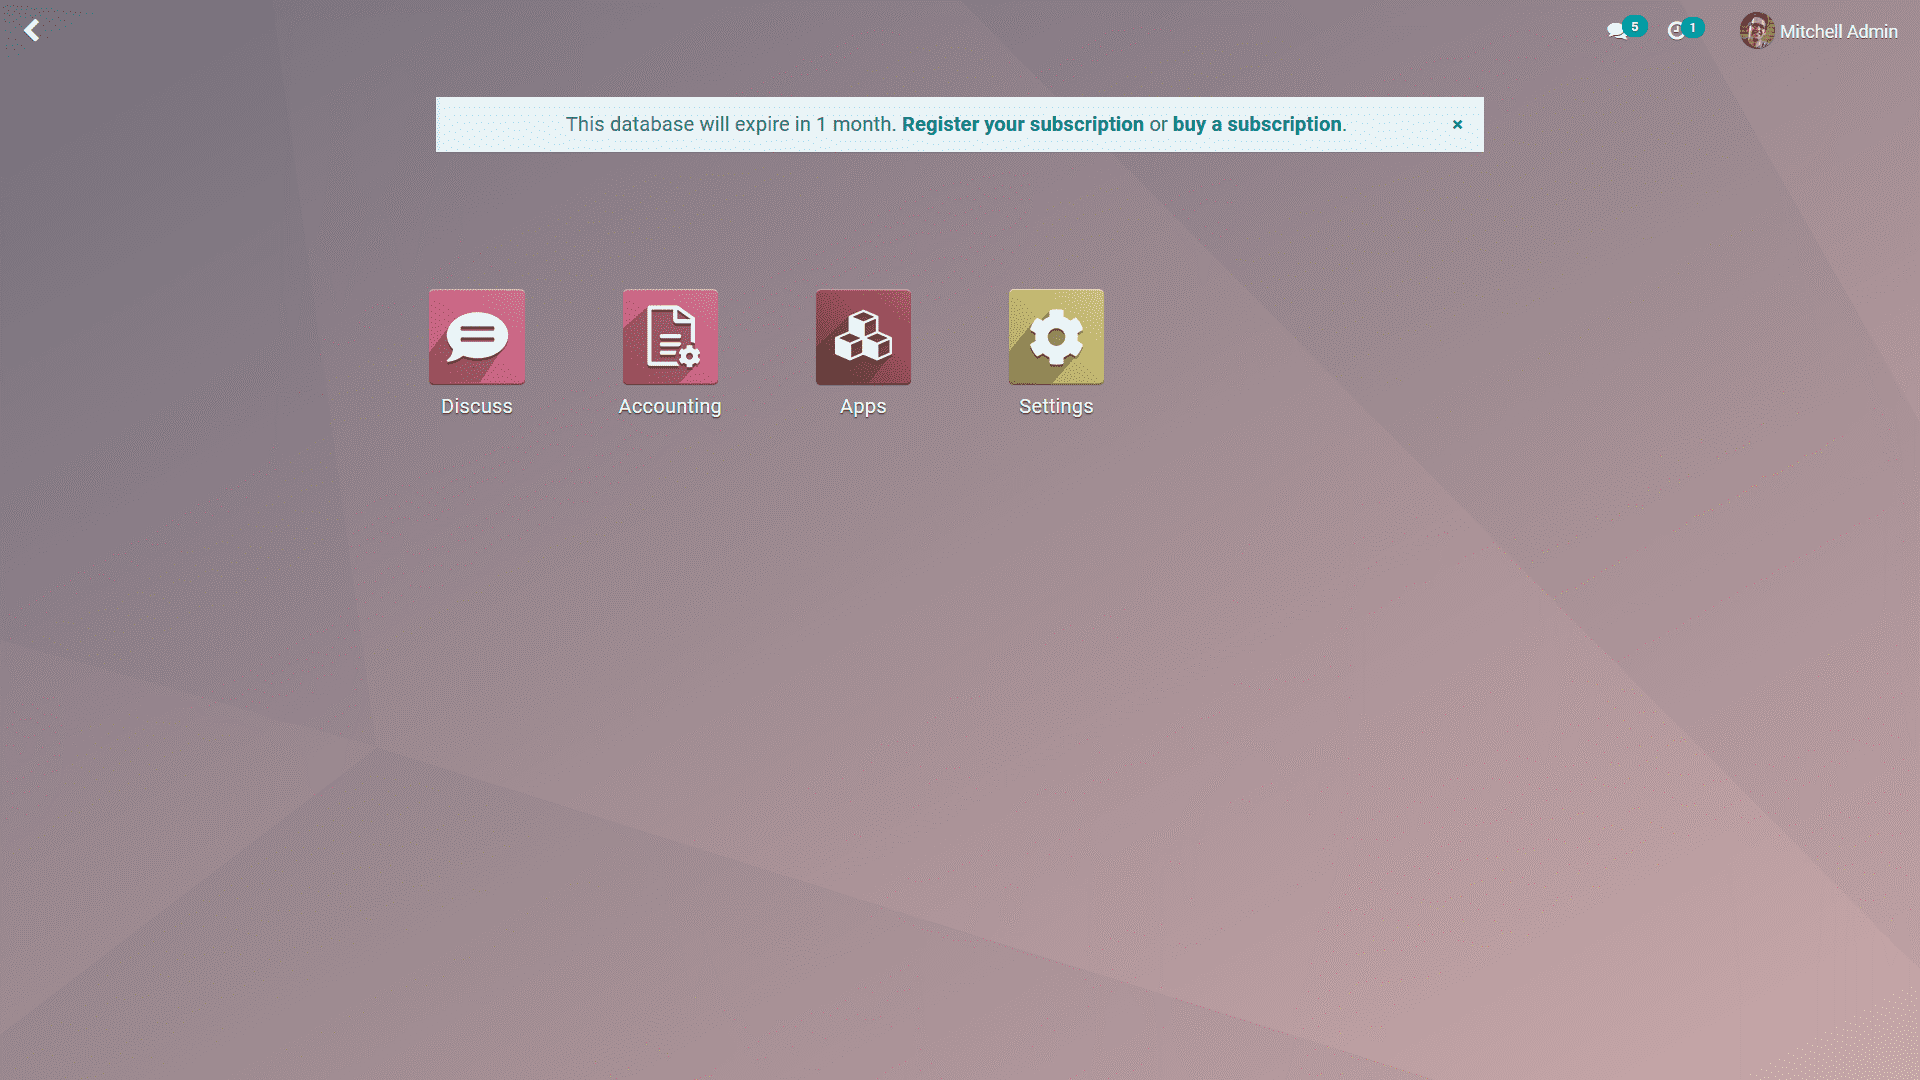
Once the configuration of the database is completed you can select the continue option available and then you are depicted with the dashboard of your database. One thing to be noted is that the database will be configured based on the Country that you have selected and this will add to the localization aspect of installing certain of the supporting modules of operation. Another aspect to be noted is that if you are using the Odoo platform that you have configured for the live operational management of your company then you must not enable the Demo Data option. No application or module will be installed in the database and you can only see the Application module as well as that of the settings just as depicted in the following image.
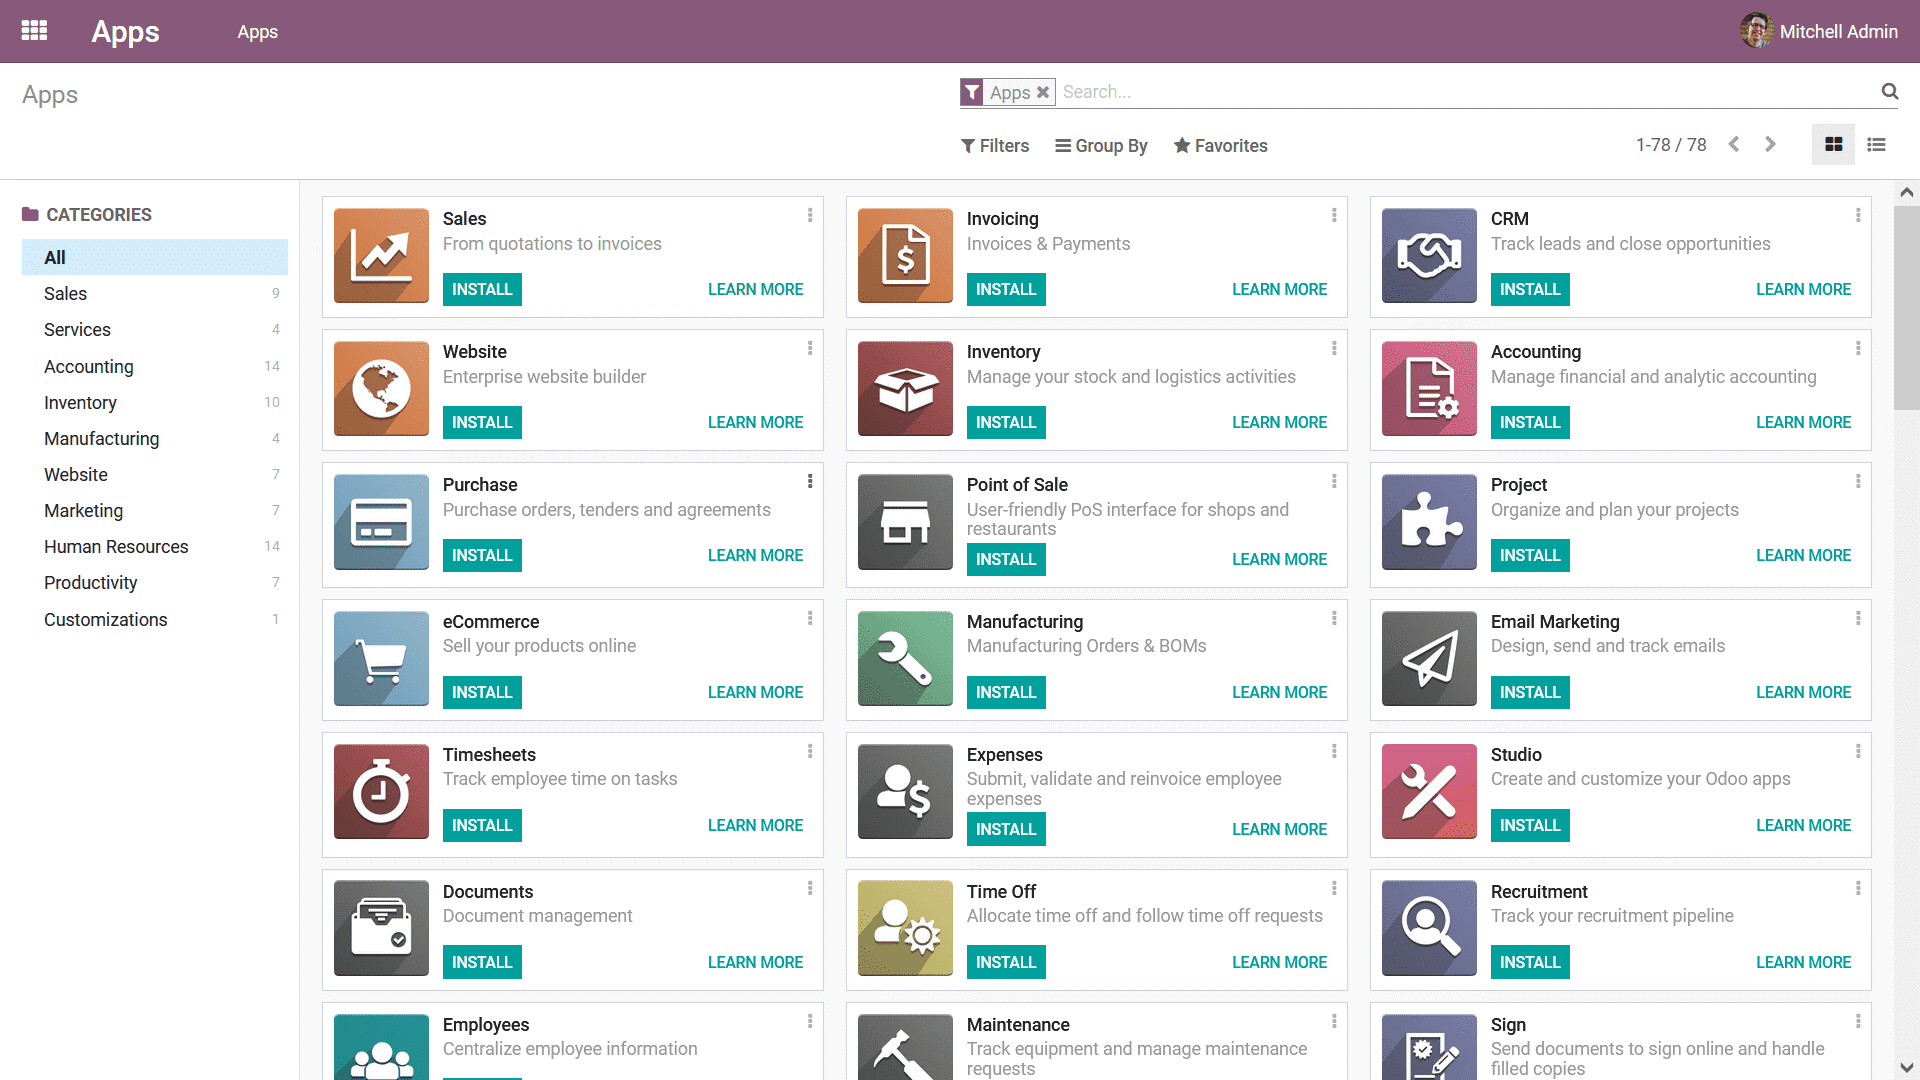
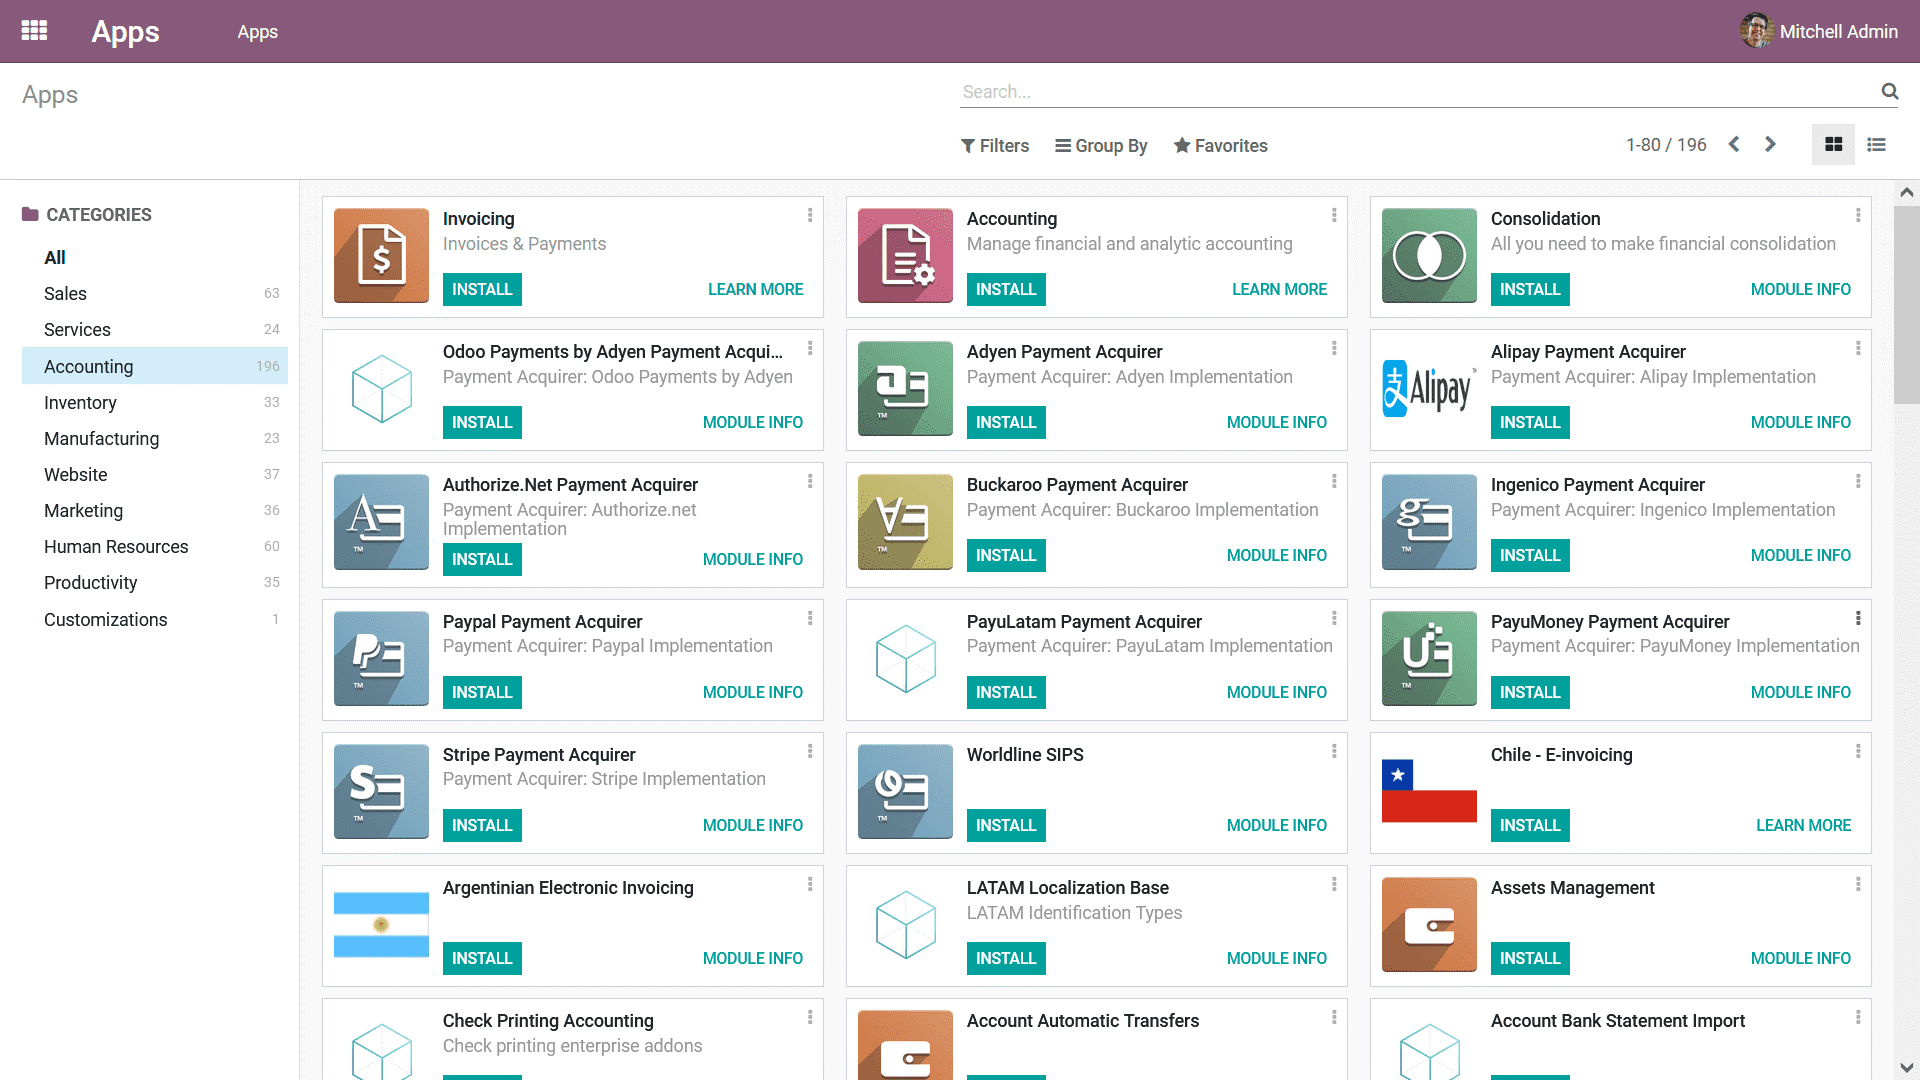
Upon selecting the Apps module, you will be depicted with the entire category of Apps available in the platform which are available by default to be installed based on your need. The following image depicts the screenshots of the Apps module.
Since the book focuses on the Accounting module of the Odoo platform, let's look at the applications available under the Accounting Categories just as depicted in the following image. There are modules such as Invoicing, Accounting, Consolidation, different Payment Acquires, and localization aspects that can be installed based on your need.
Once the application is installed it will be depicted as icons in the dashboard of the database just as depicted in the following image. You can choose any of the modules by selecting the icon and you will be brought to the home dashboard of the respective module of Odoo.
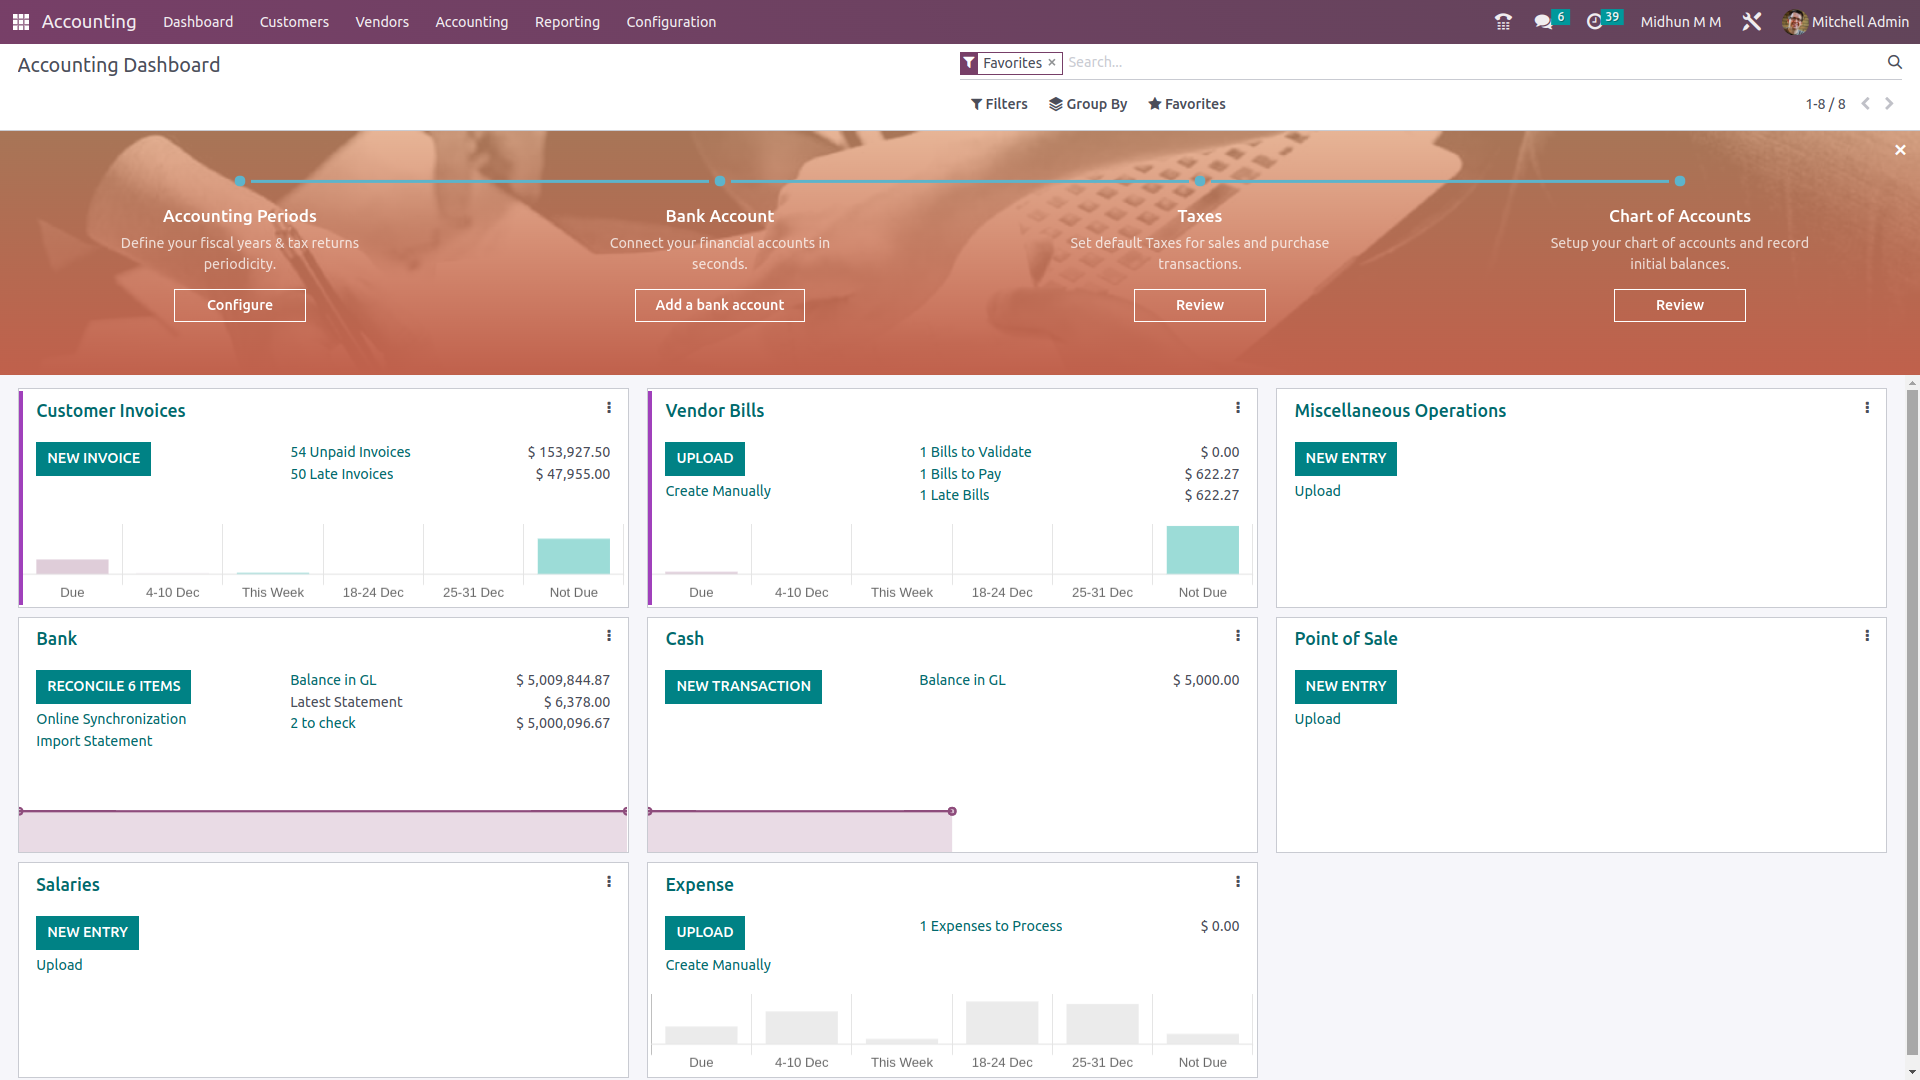
As we have enabled the Demo Data option while configuring the database in the beginning the modules will have the predefined Demo Data depicted just as shown in the screenshot of the following dashboard. In certain changes when you install a module the supporting module of operations in Odoo is auto-installed; this is because the module which you have installed has certain functional connectivity with the supporting module.
Configuration of the database in your Odoo can be done for different instances based on your operational requirement. By following the above-mentioned methodologies, you will be able to define your database as per your need. Up until now we were discussing the aspects of Odoo installation, hosting, and further on the configurations of a database. Let's now move on to understand the localization aspects of Odoo in the next section.