Form views are used to display the data from a single record. It is used to create
and edit single records.
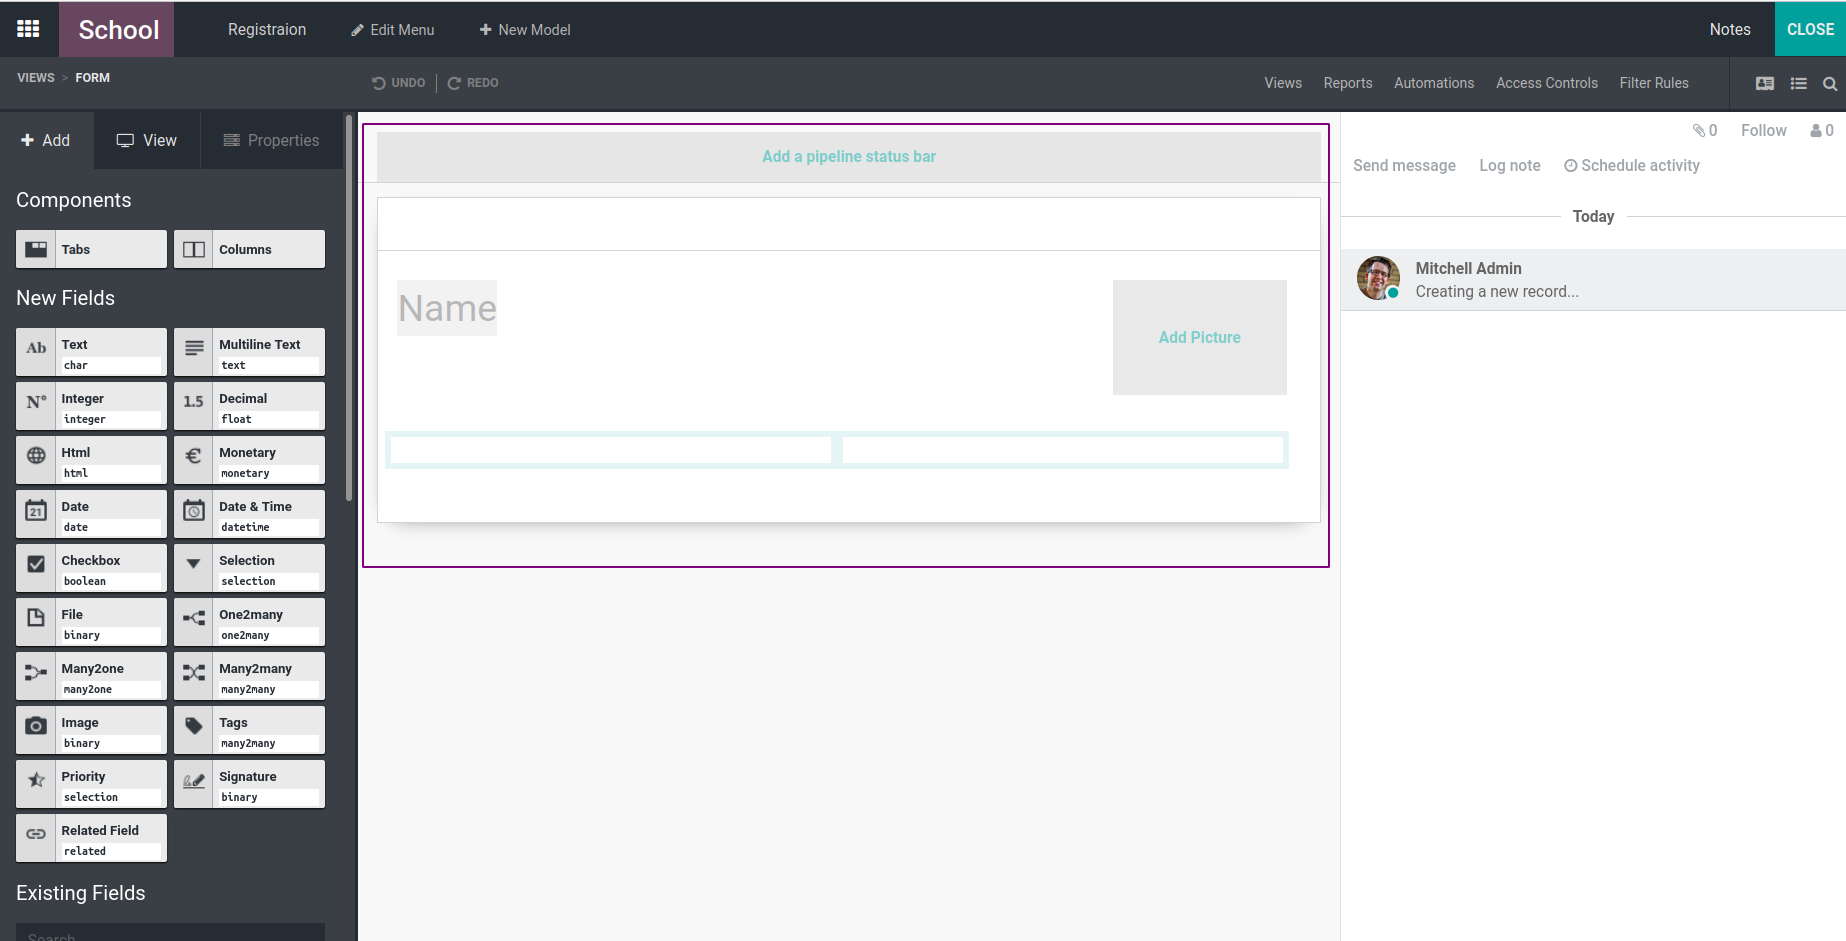
This is the default form view. Here we can see the field to add name and picture.
If we don't require these fields we can delete and add new fields. On the left side
of the image we can see the different field types. We can create the form view using
these fields .By using ‘Text’ we can create a text field. Just drag and drop the
field to create a new field, in the form view where we want to display it.
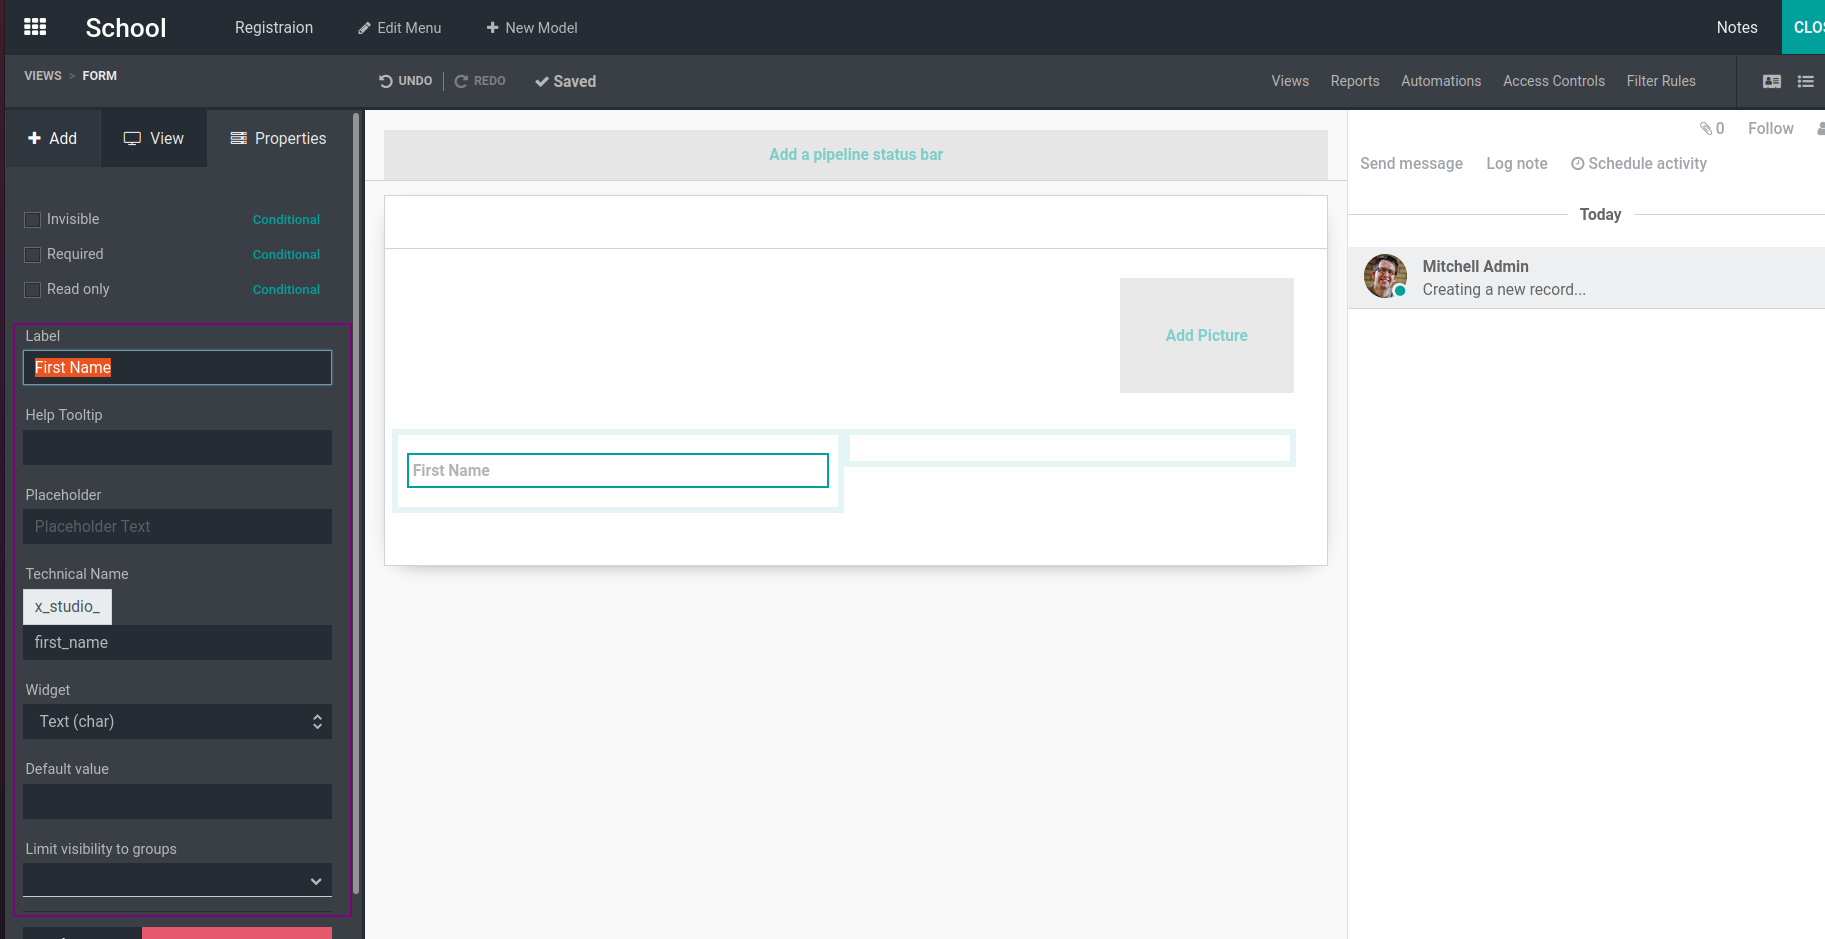
Here we can see the field Label, here we can provide the name of the field and be
able to set the widget. We can select the widget from here according to our need
,we can also see a space to enter the technical name of the field, by default it
sets a name and It starts with x_studio_. It is also editable, set default value
for this field, placeholder and also set visibility of this field to groups. If
we set visibility to a field ,then that field is visible to only that particular
group.
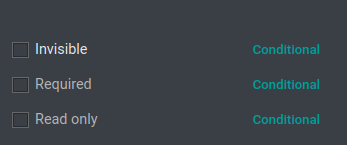
Here we can set the field as invisible, required or read only by enabling the check
box.

‘Multiline field’: is similar to text field and it is used to add multiple line
text such as address.
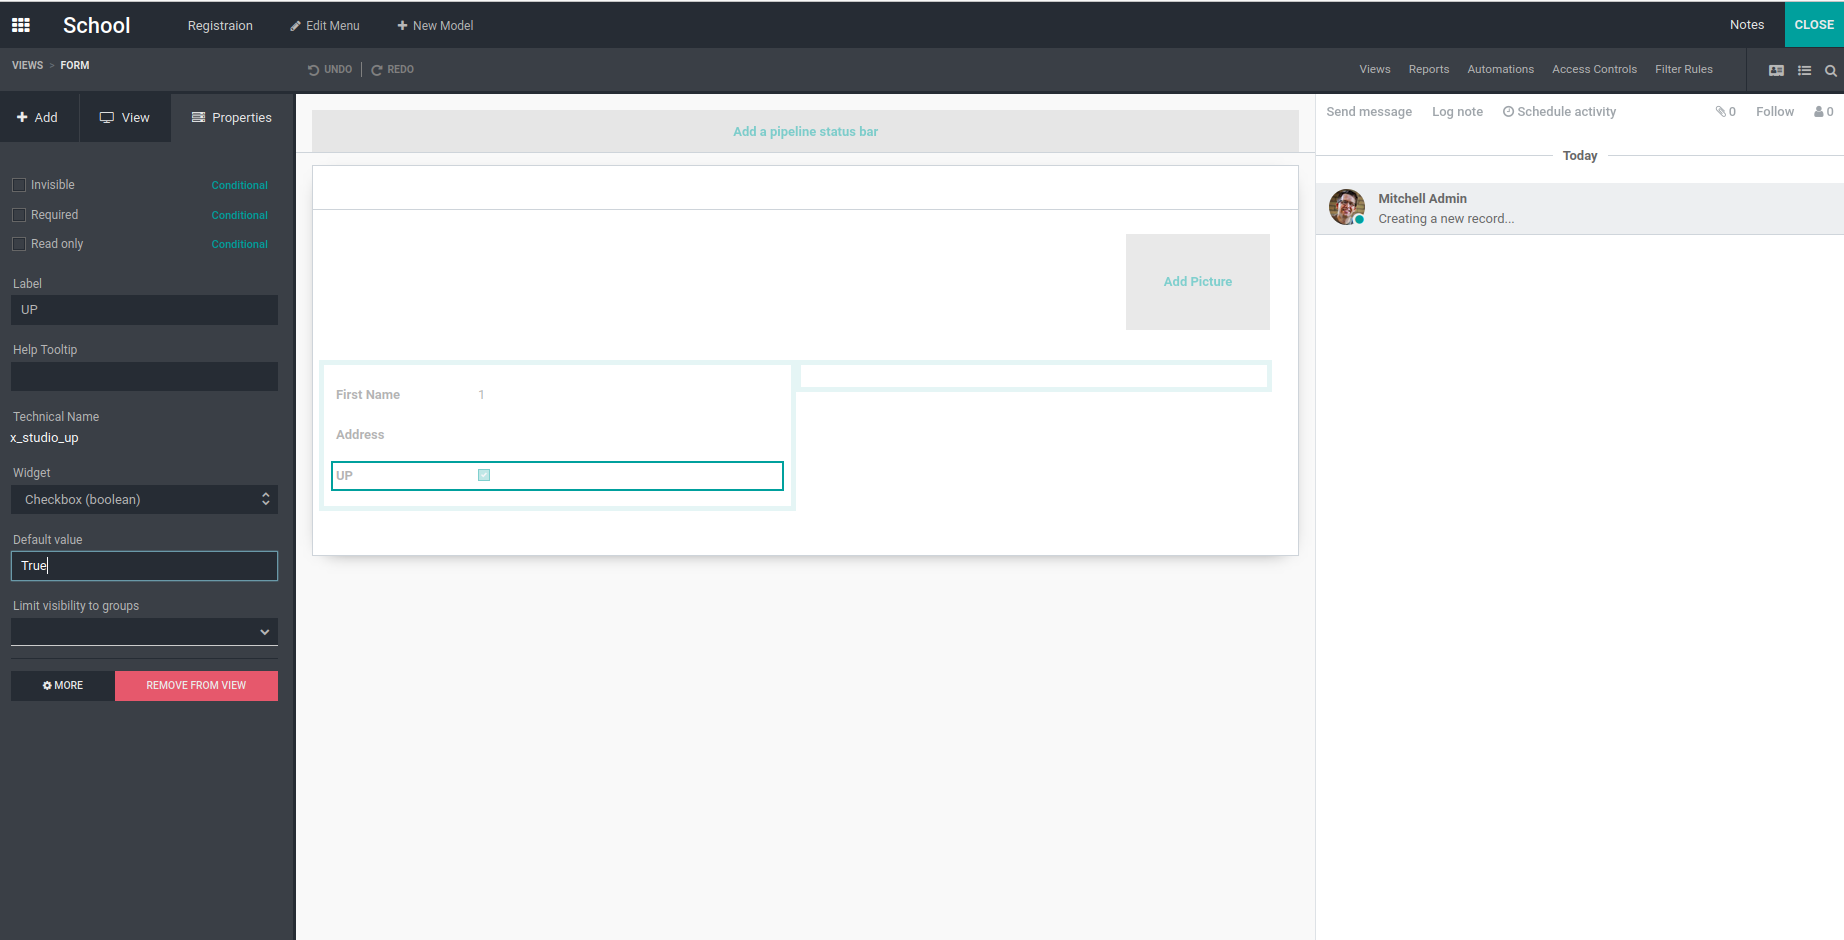
Here we can set a label for our checkbox, and also be able to set default values.
Whether it is true or false by default. Here I set the default value as True. And
limit visibility of fields to a specific group.

‘Integer ’: is used to create a field which contains integer values. By default
its value is zero, wecan change the default value if we need.
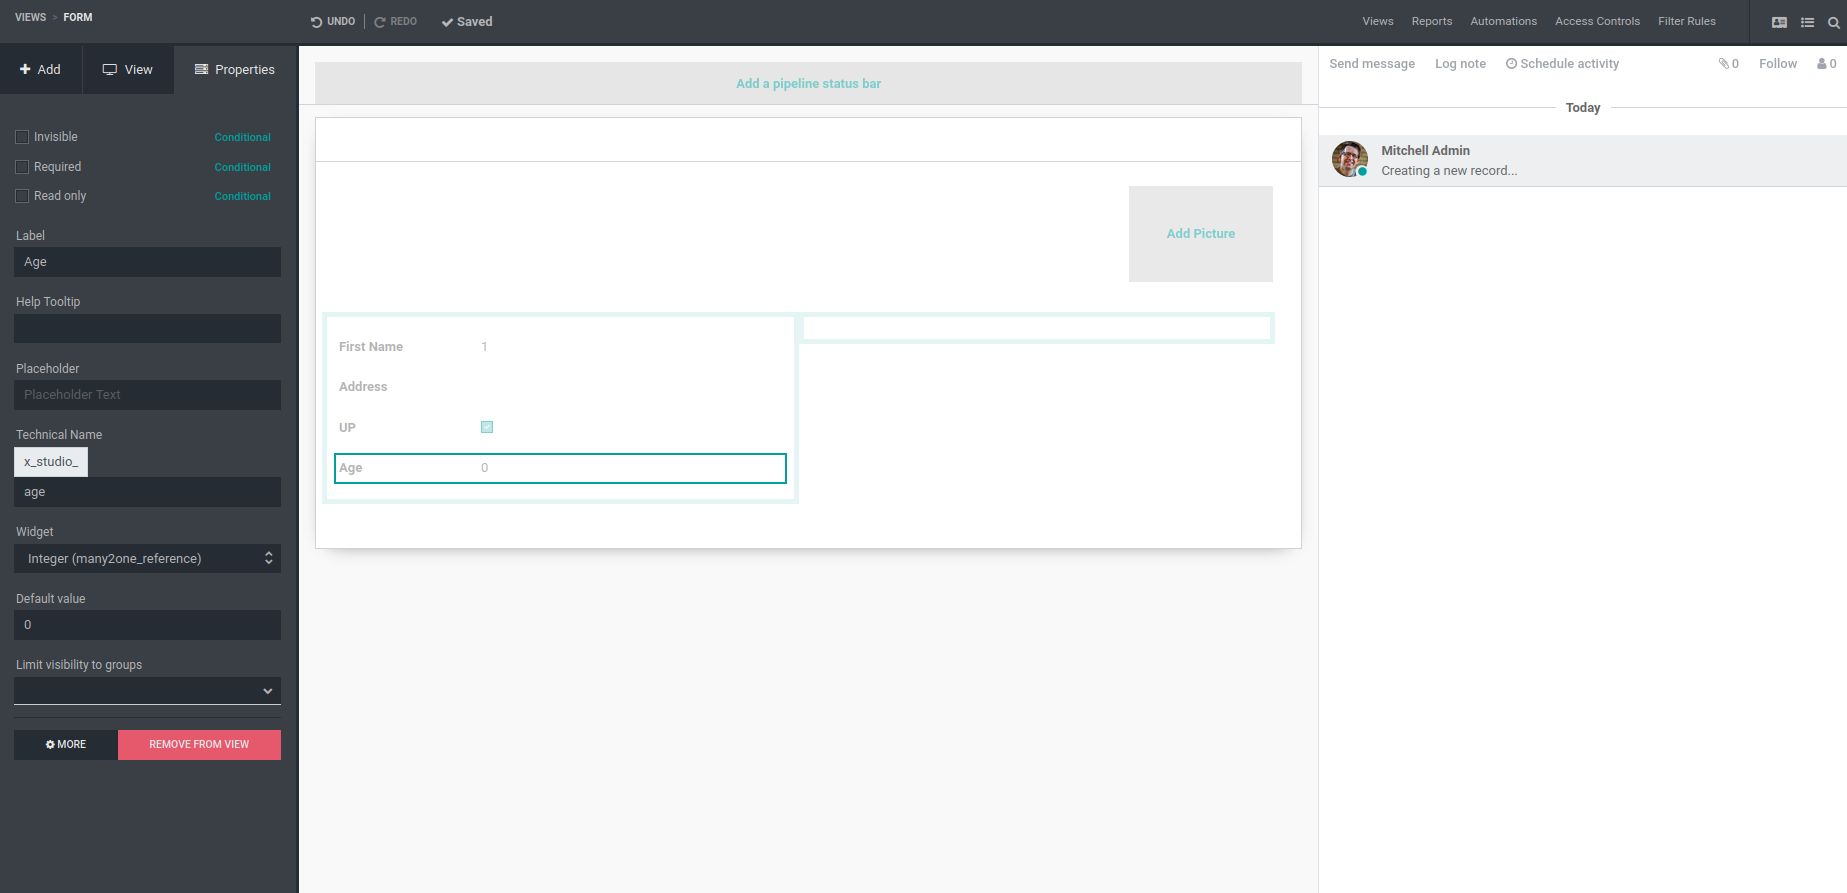
‘Decimal’: allows the user to enter decimal numbers. ‘Many2One’: ’When we create
a Many2One field a popup will appear.
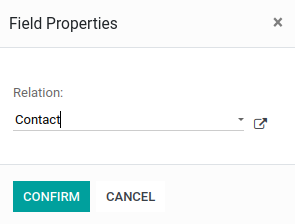
Here we can choose the relational model. Here I choose the contacts model.
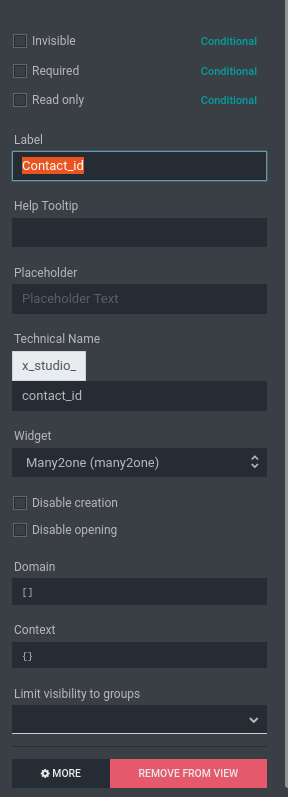
Here we can set the domain for the field and also be able to set the context. Domain
is used to select the records from a model based on a specific condition. Context
is used to pass specific data to a function.
In the same way we can create Many2Many fields and given the widget as Many2Many
tags.
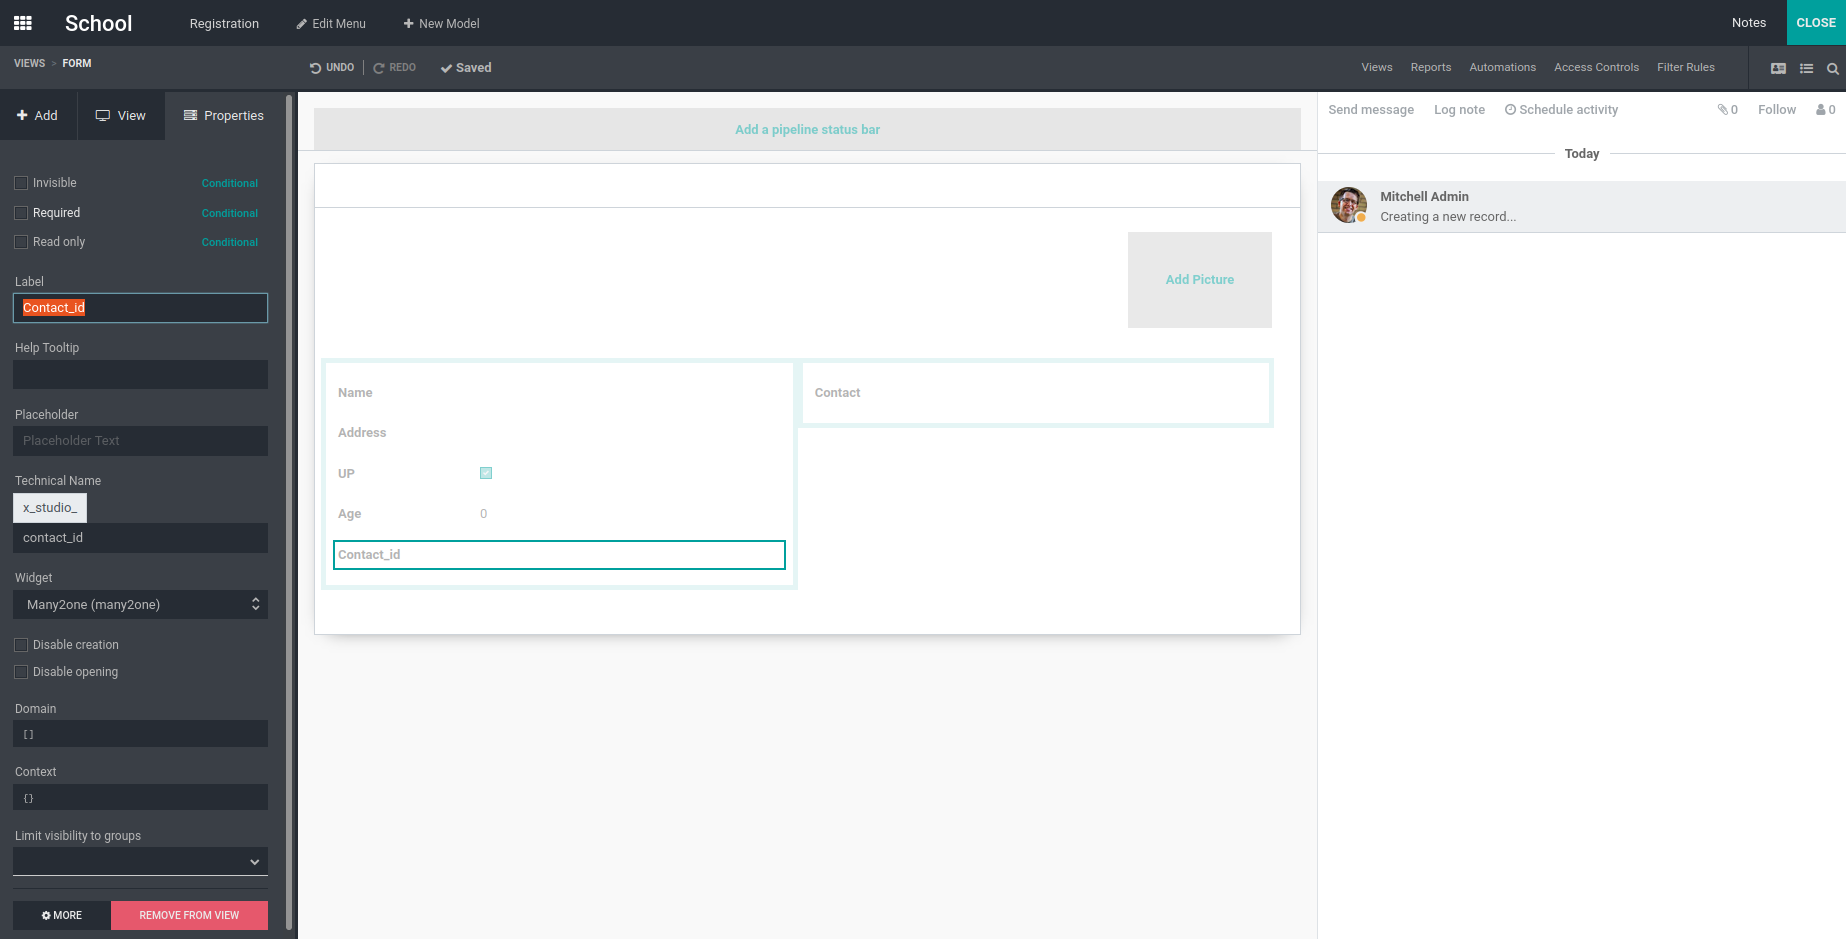
‘Date’ : It is used to create a date field.
‘Date & time’ : It allows the user to enter date and time instead of date only.
‘HTML’ : It is used to create html fields. By using this we can enter long descriptions
and get properties like words.
‘Selection’ : It allows the user to select a single value from a group of values.
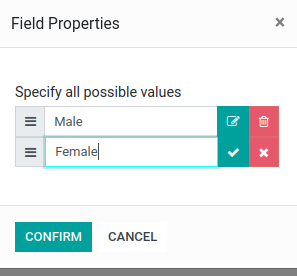
Here we can add our choices and confirm it.
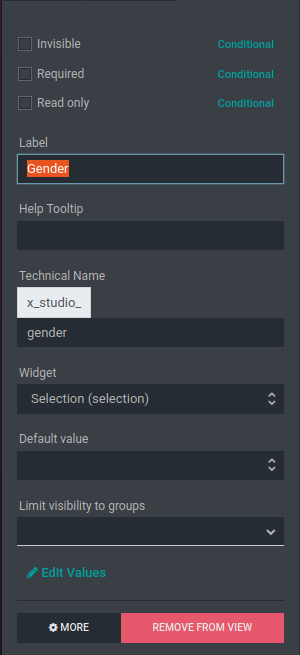
‘Image’ : It is used to add Image.
‘File’: It is a binary field used to add files or documents.
‘Priority’ : It is used to set stars or priority like a given rating for a product.
We can change the position of fields by just drag and drop.
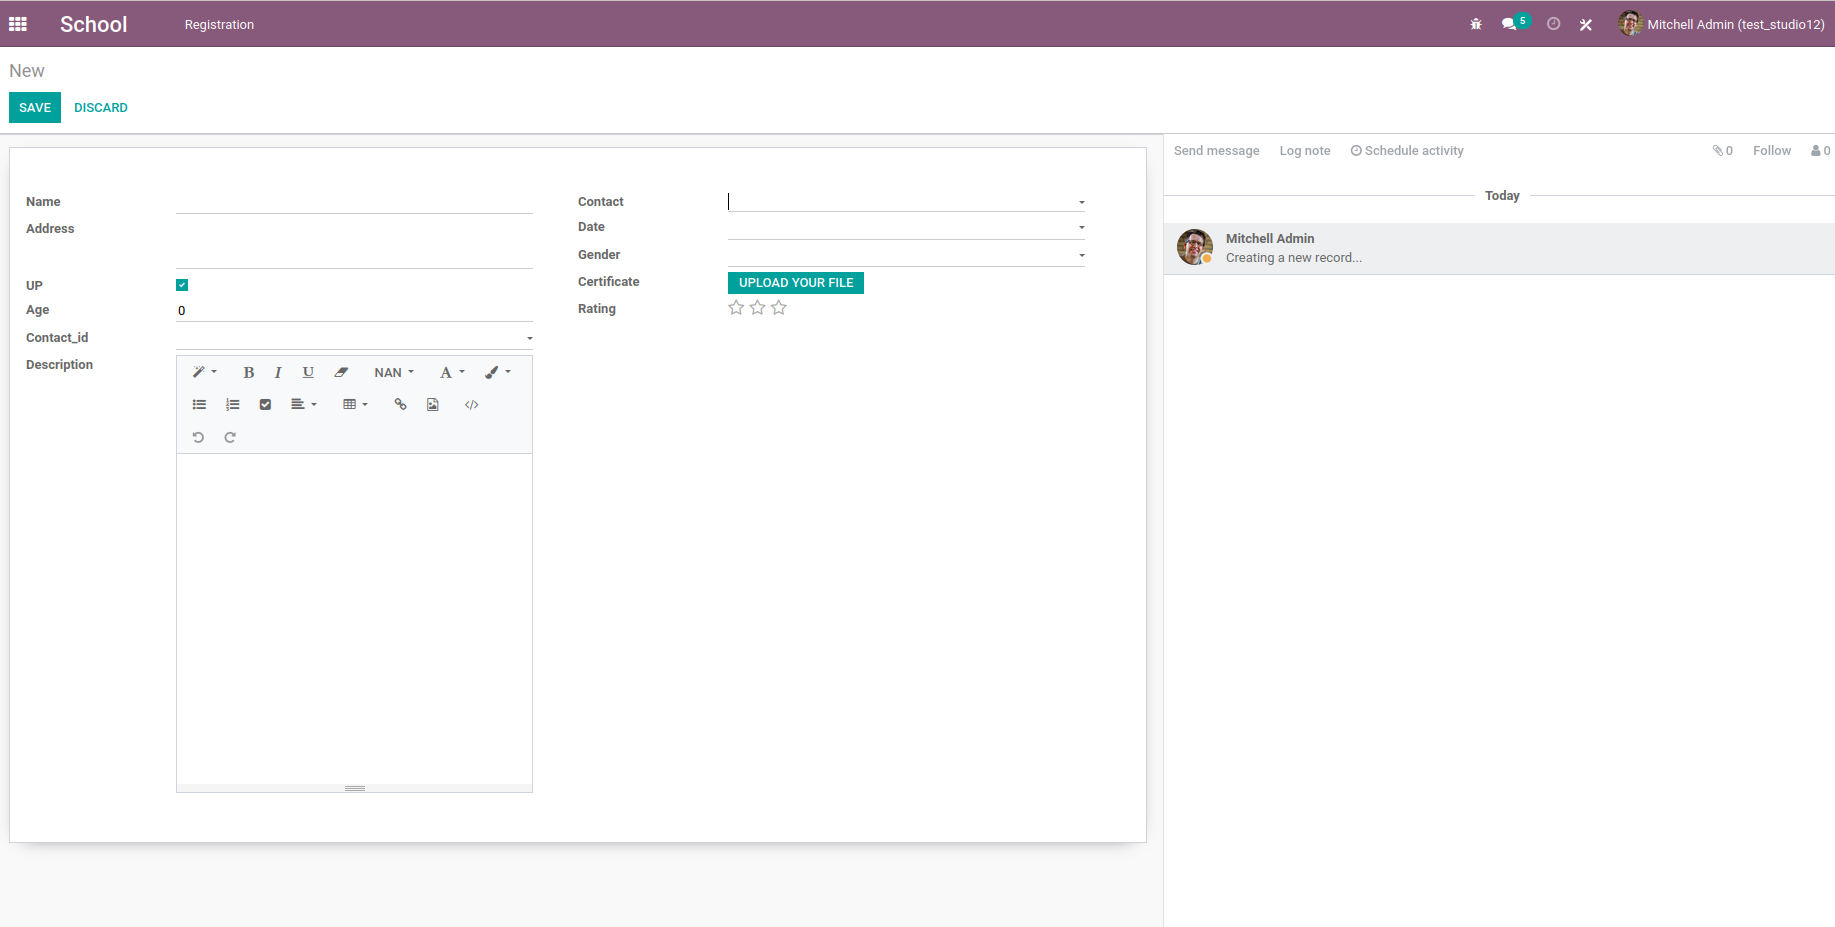
This is the final view of form.
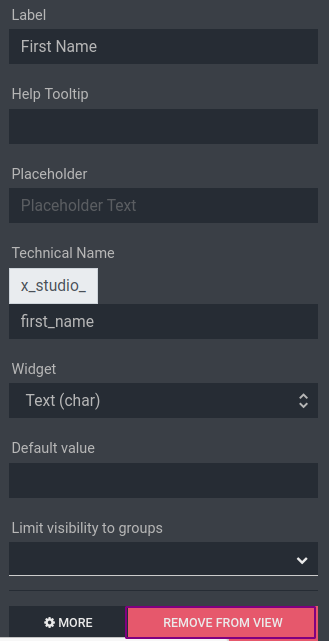
Once the fields are created, by clicking on remove fields we can remove the fields.