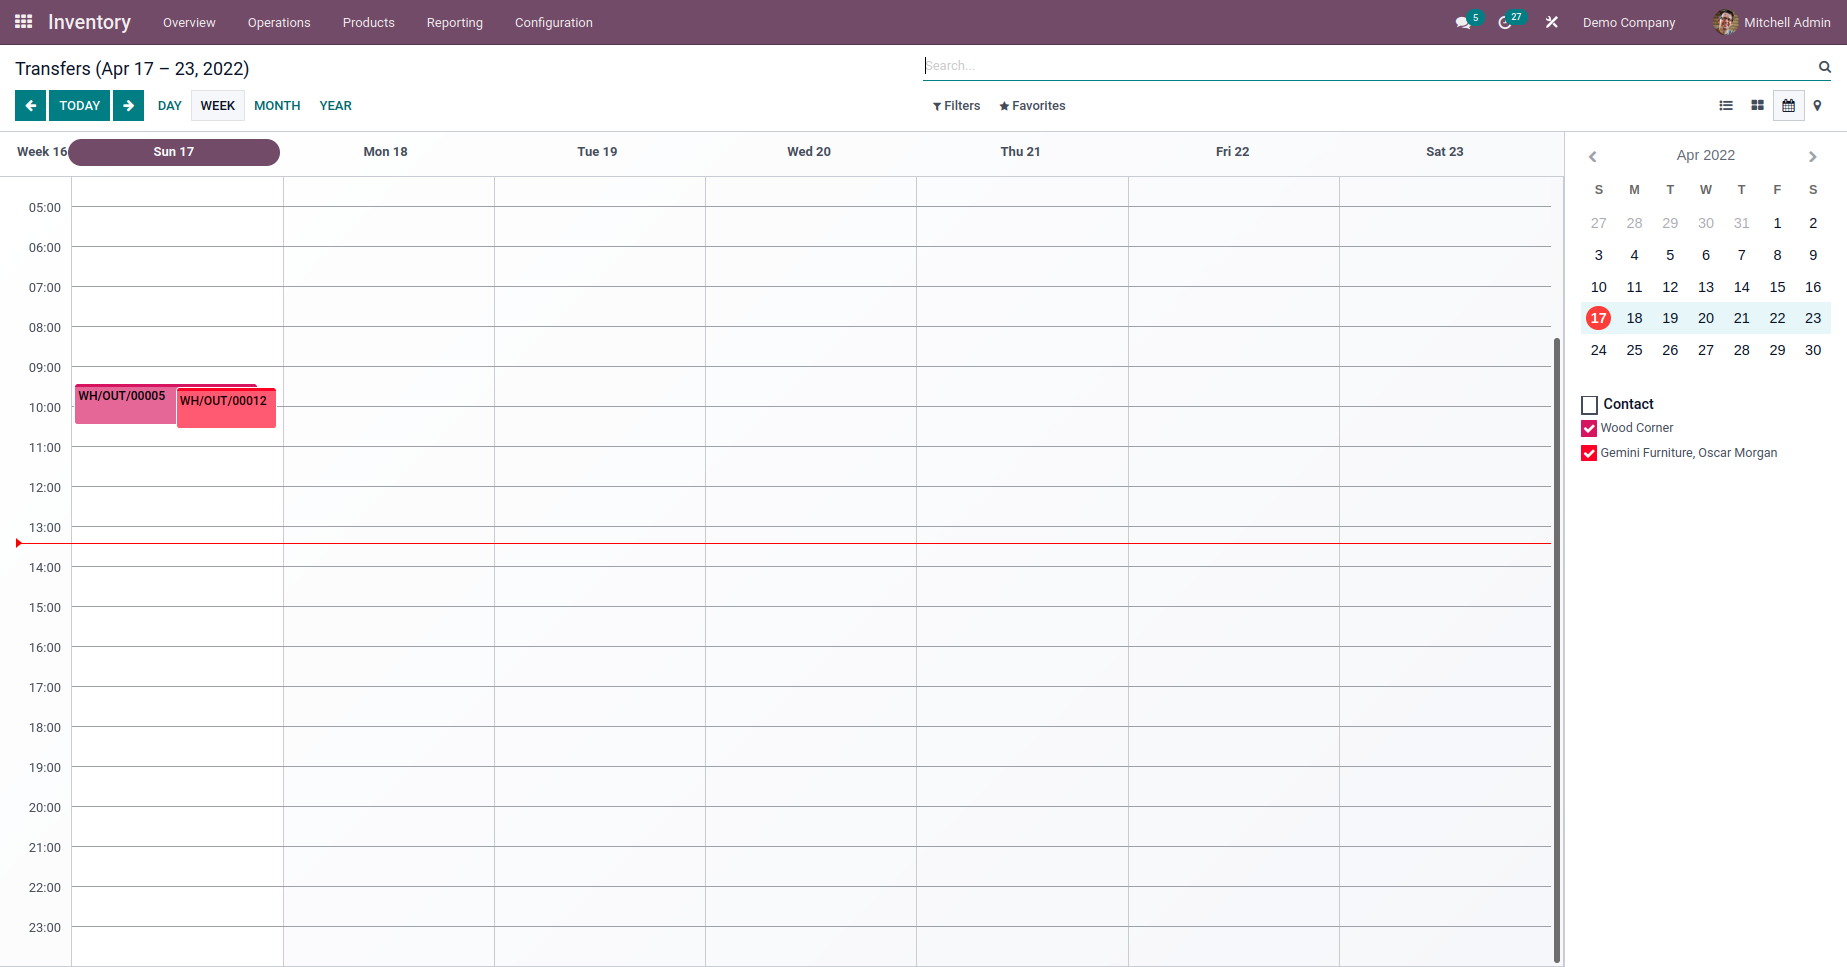
Calendar view provides the users with a well-sorted timeline/schedule information
of data in three different formats of the calendar such as Day, Week, and Months.
Now let’s see how to create a calendar view using the studio.

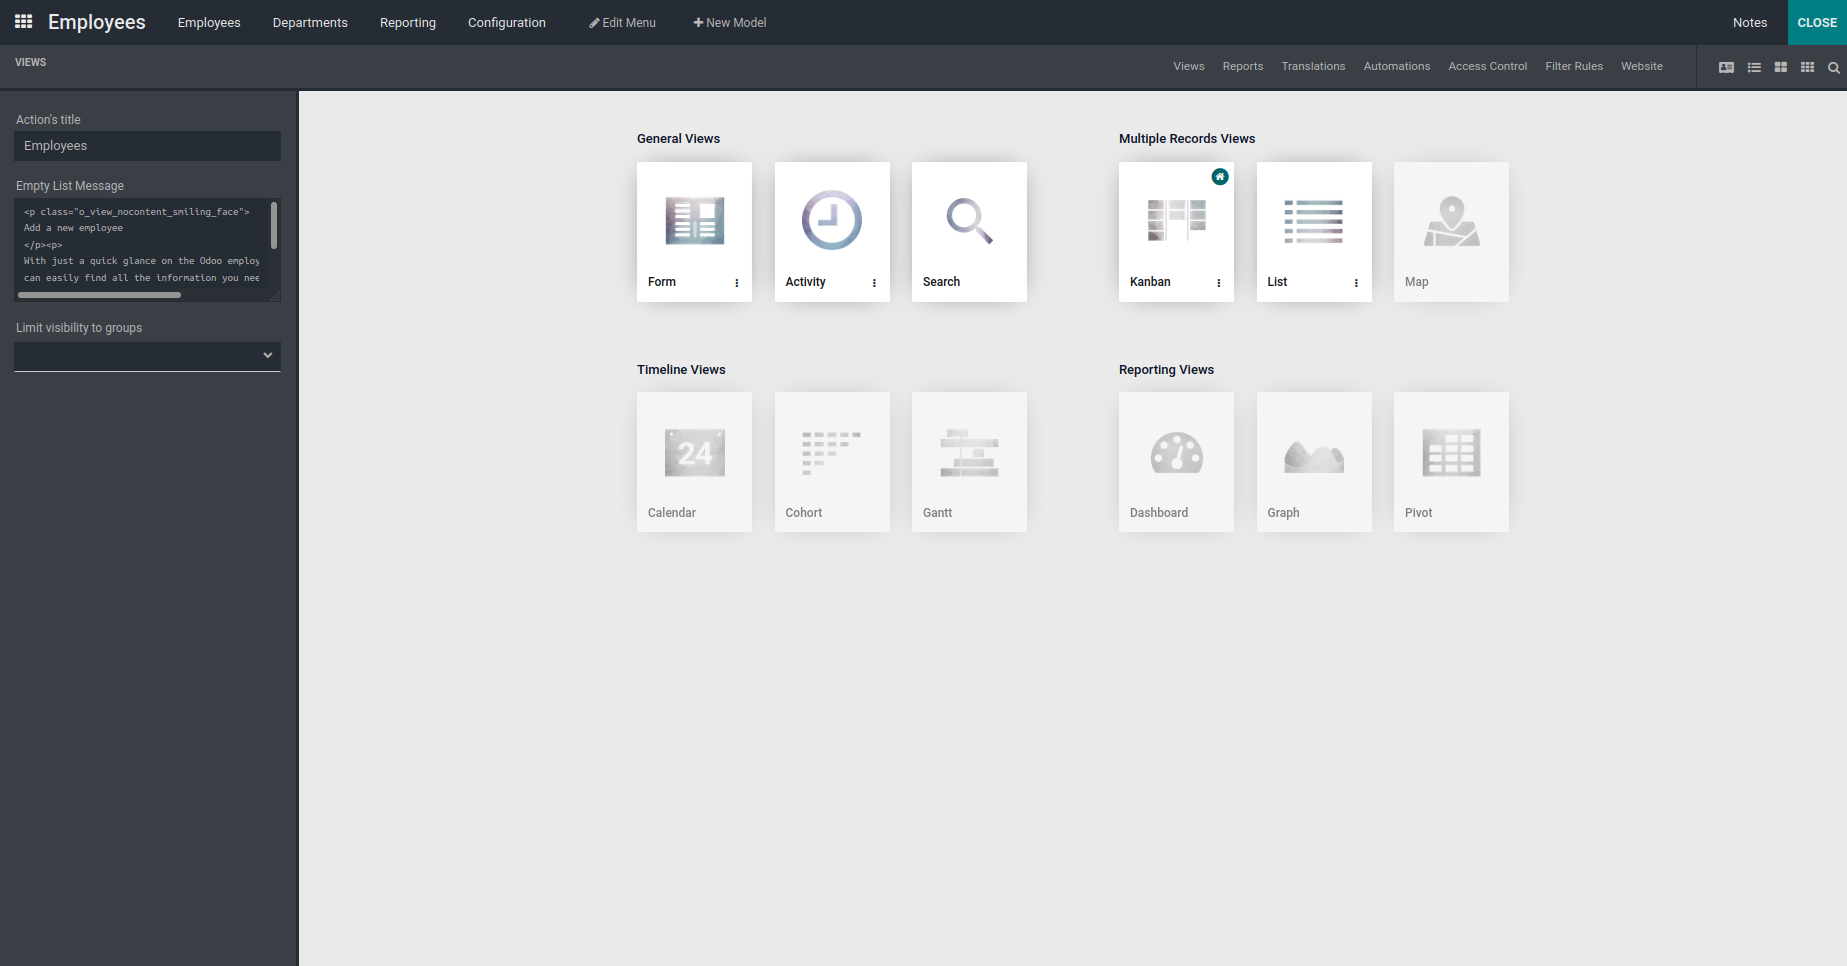
First click on the studio icon.

Now click on the calendar view under views. A popup appears, in that you can provide
the start date field and the end date field. Then click on the activate view button.

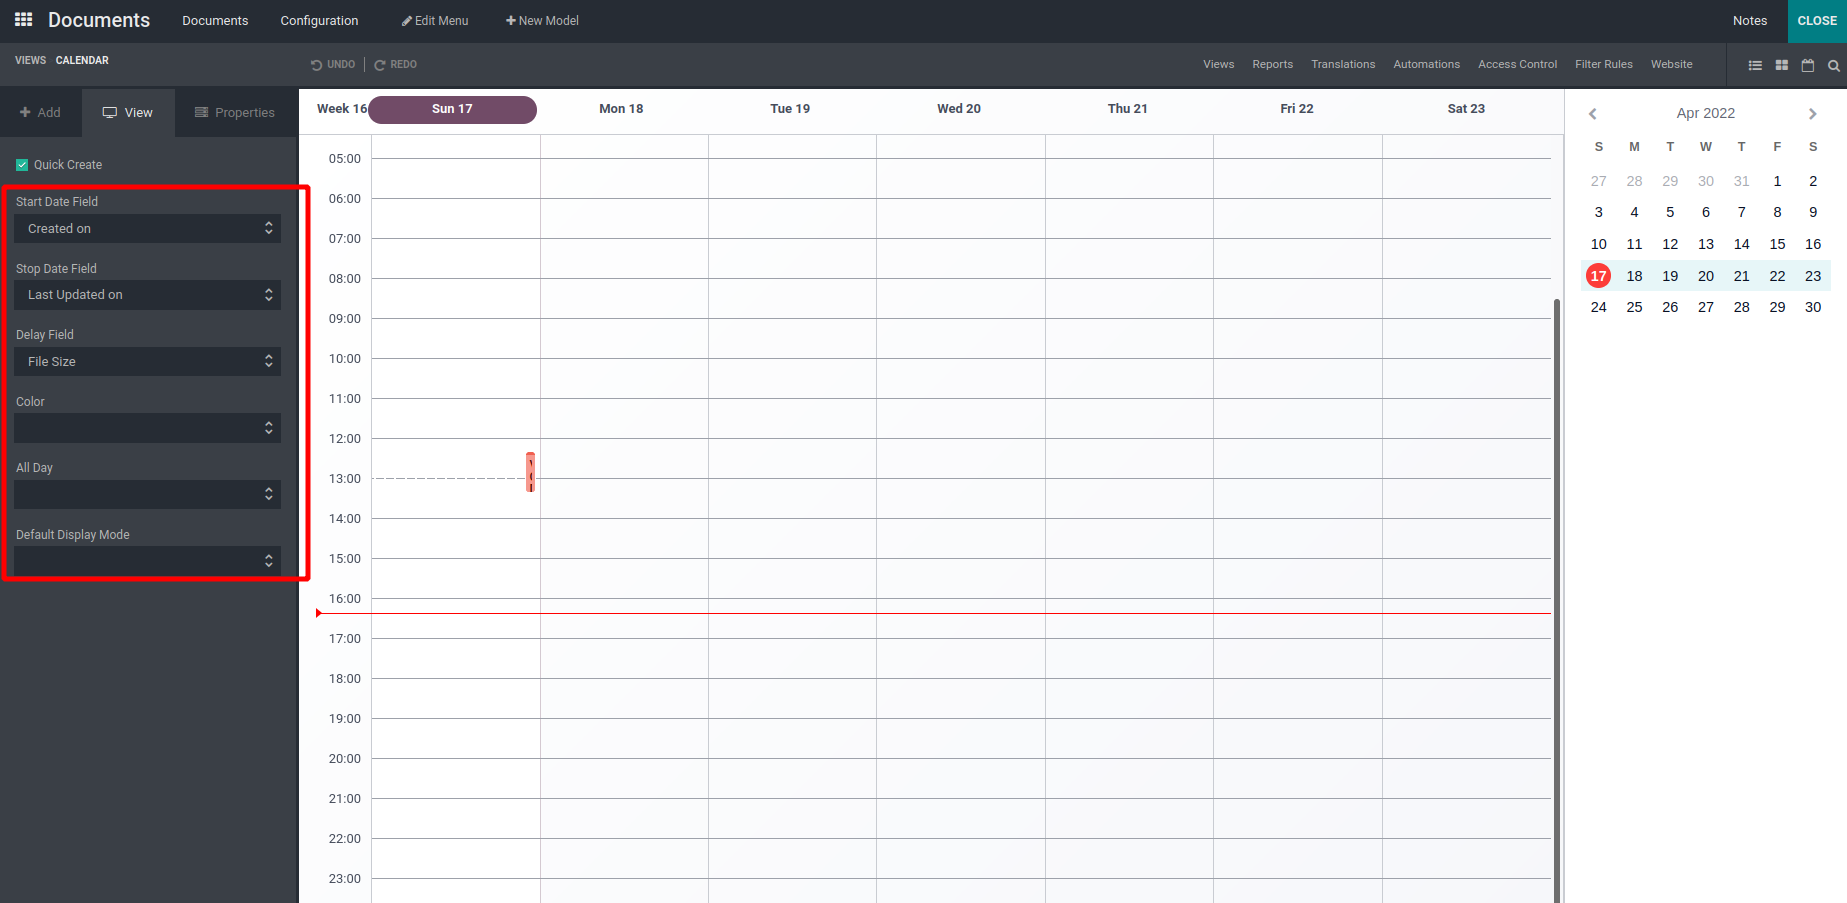
Here on the left you can provide the details of the calendar view:
Start Date Field: This field is used to specify the start date.
End Date Field: This field is used to specify the start date.
Delay Field: This field is used to specify time in hours for a
record.
Color: This field is used to colorize calendar items.
All Day: This indicates whether the corresponding event is flagged as
day-long (and irrelevant for the duration)
Default Display Mode: This field is used to set the default view of the
calendar i.e. day, week, month or year

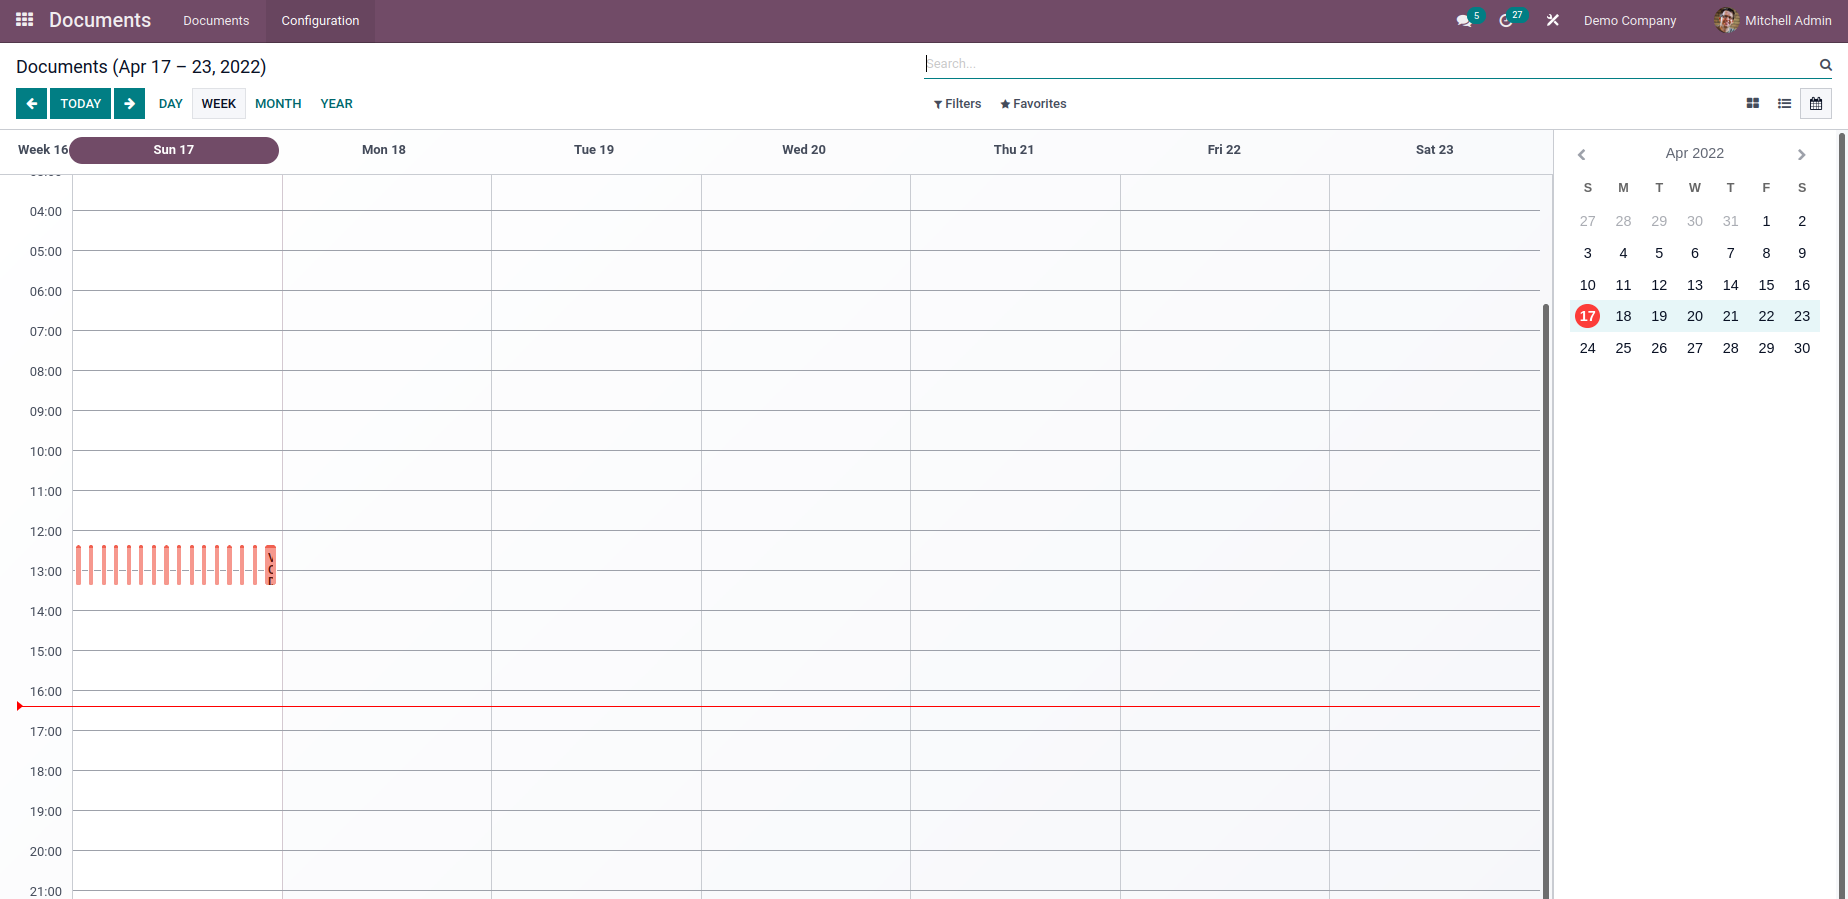
Finally, click on the close button to close the studio, you can see the calendar view
created.