Managing branches:
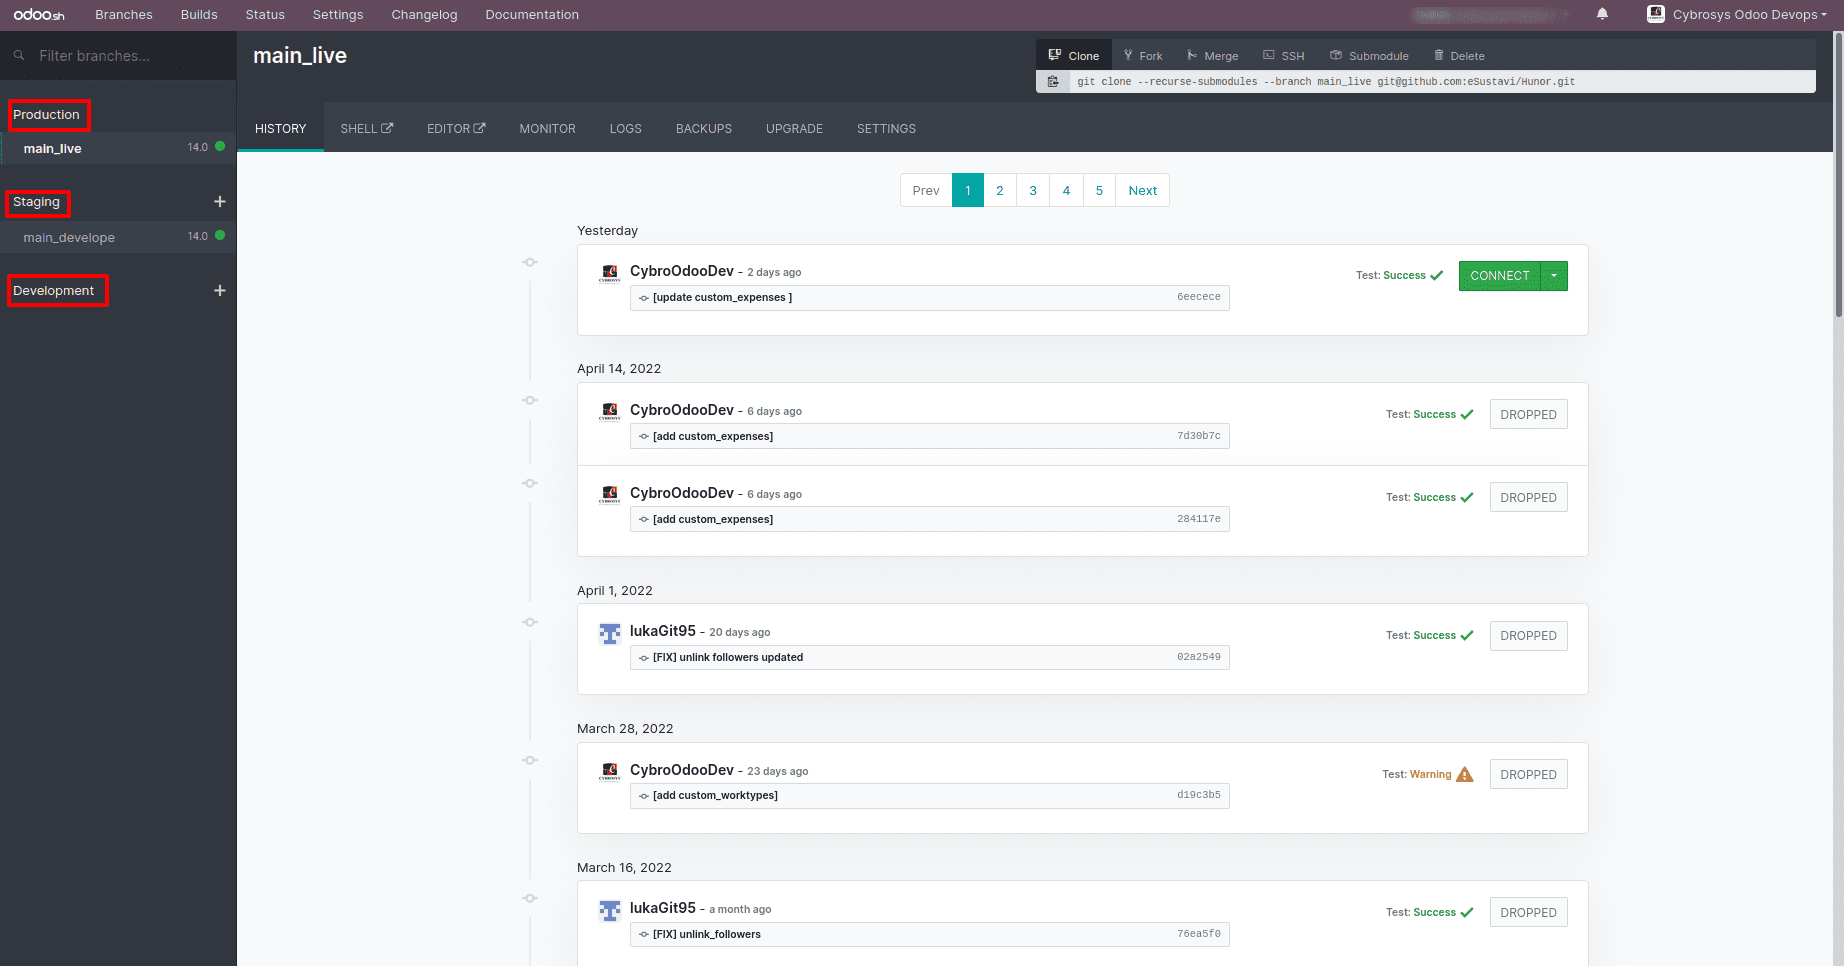
Logging into sh, you will see three branches: Production, Staging, and Development.
Stages:
You can see the GitHub branches that we have in our Github repository under these
branches.
Production:
The production branch contains the production database. In short, we can say that the
changes you make here are final and are for real, which simply means that we have our
live database now. A new commit to this branch updates the production server with the
new code and restarts the service.
If you fail to restart the service after updating the code in the production branch, the
branch reverts to the previous successful commit. Our production database is protected
in this way. As a result, the demo data is not loaded into the production database, and
unit testing is not performed because the server may be unavailable to prepare updates.
Staging:
Usually, the staging branch is intended for testing purposes without exposing your
production data. You can use this area to test new features that you've designed. This
database is a neutralized copy of the production database. The most recent database is
kept in staging, while older instances are trash removed to save space.
Development:
The development stage provides a database containing demo data so that developers and
end-users may rapidly and efficiently test the advancements. These data are used in the
unit tests. A new database is produced with the code modifications made on this branch
whenever a new commit happens in any of these branches (branches in the Development
stage). The development databases are only valid for three days. In the development and
staging stages, scheduled actions and mail servers are restricted since they are used
for development and scheduled activities are not triggered frequently. In production,
though, all of these things happen frequently and for real, depending on the
arrangement.
Merging:
By dragging and dropping the branches together, you can simply unite them. You may
integrate the changes made in development with those made in staging and subsequently
with those made in production. Direct merging from development to production is also
possible, but it demands guts and audacity. When you do this, the tests in the staging
stage are bypassed. Only do this if you are certain that the updates are correct.
Builds:
The builds demonstrate how far we've progressed with the update. The builds assist us in
testing the server's behavior. If there are no mistakes, the build creation is regarded
as successful.
The following colors can be used to identify the construction state quickly.
The red indicates that our updates include problems, resulting in a
failed build. The color yellow shows a warning. As a result, the construction is
practically complete. To produce a successful build, you can correct these warning
messages.
The color green signifies that the construction has been completed
successfully.
You may also use the Rebuild symbol to rebuild a branch.
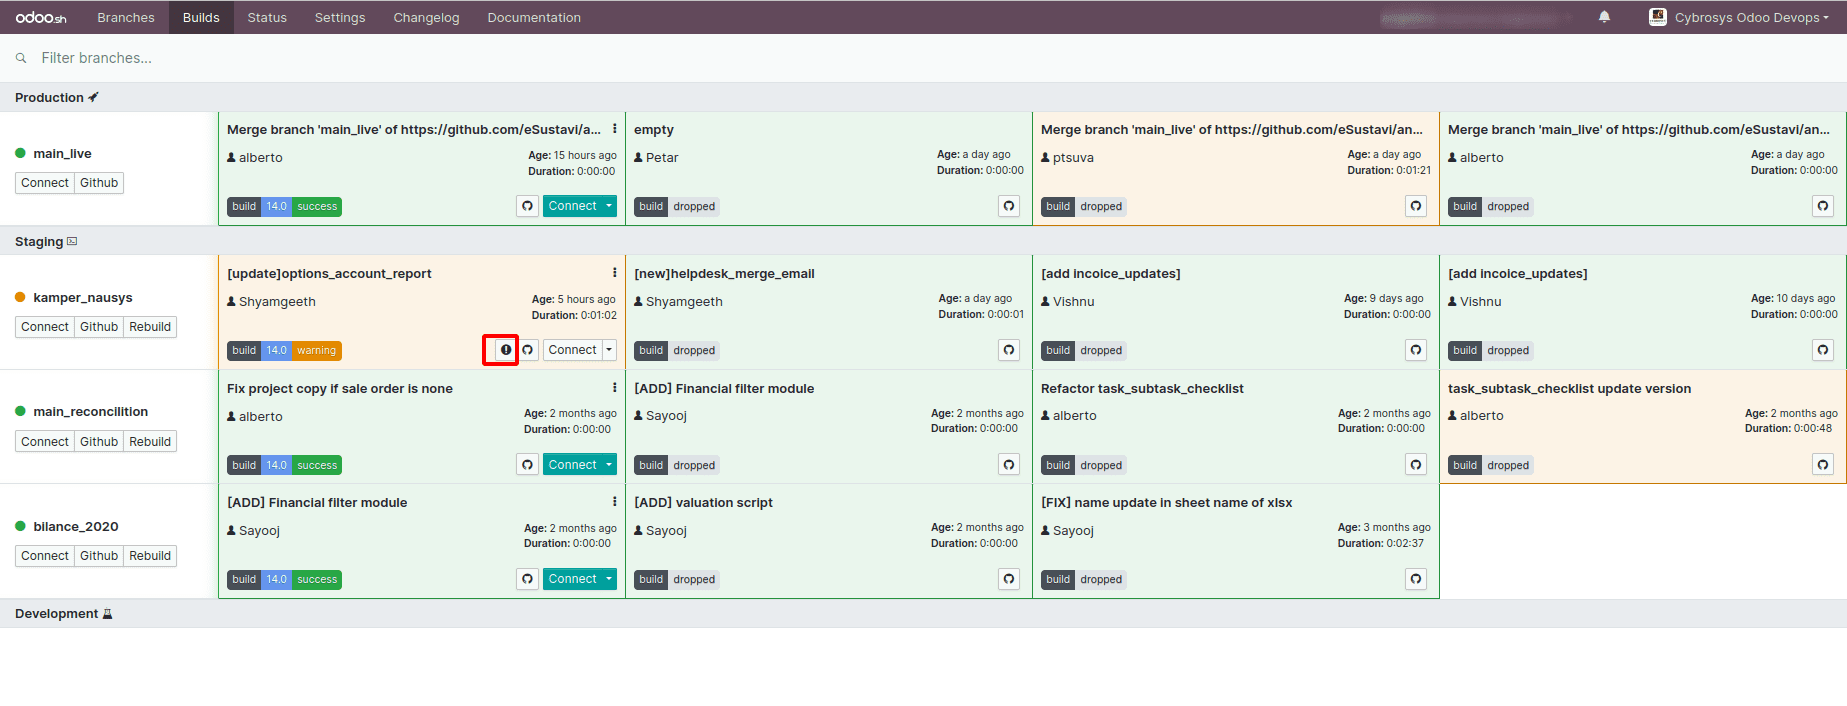
The rebuild is triggered by the branch's most recent commits.
The above-mentioned button can be used to display the warning/error messages.
The Github icon may be used to quickly see the modifications that have been made. This
will take you to the specific branch's modifications.
You may use the connect button to connect to a certain build. You can connect as a
certain user by selecting Connect As.
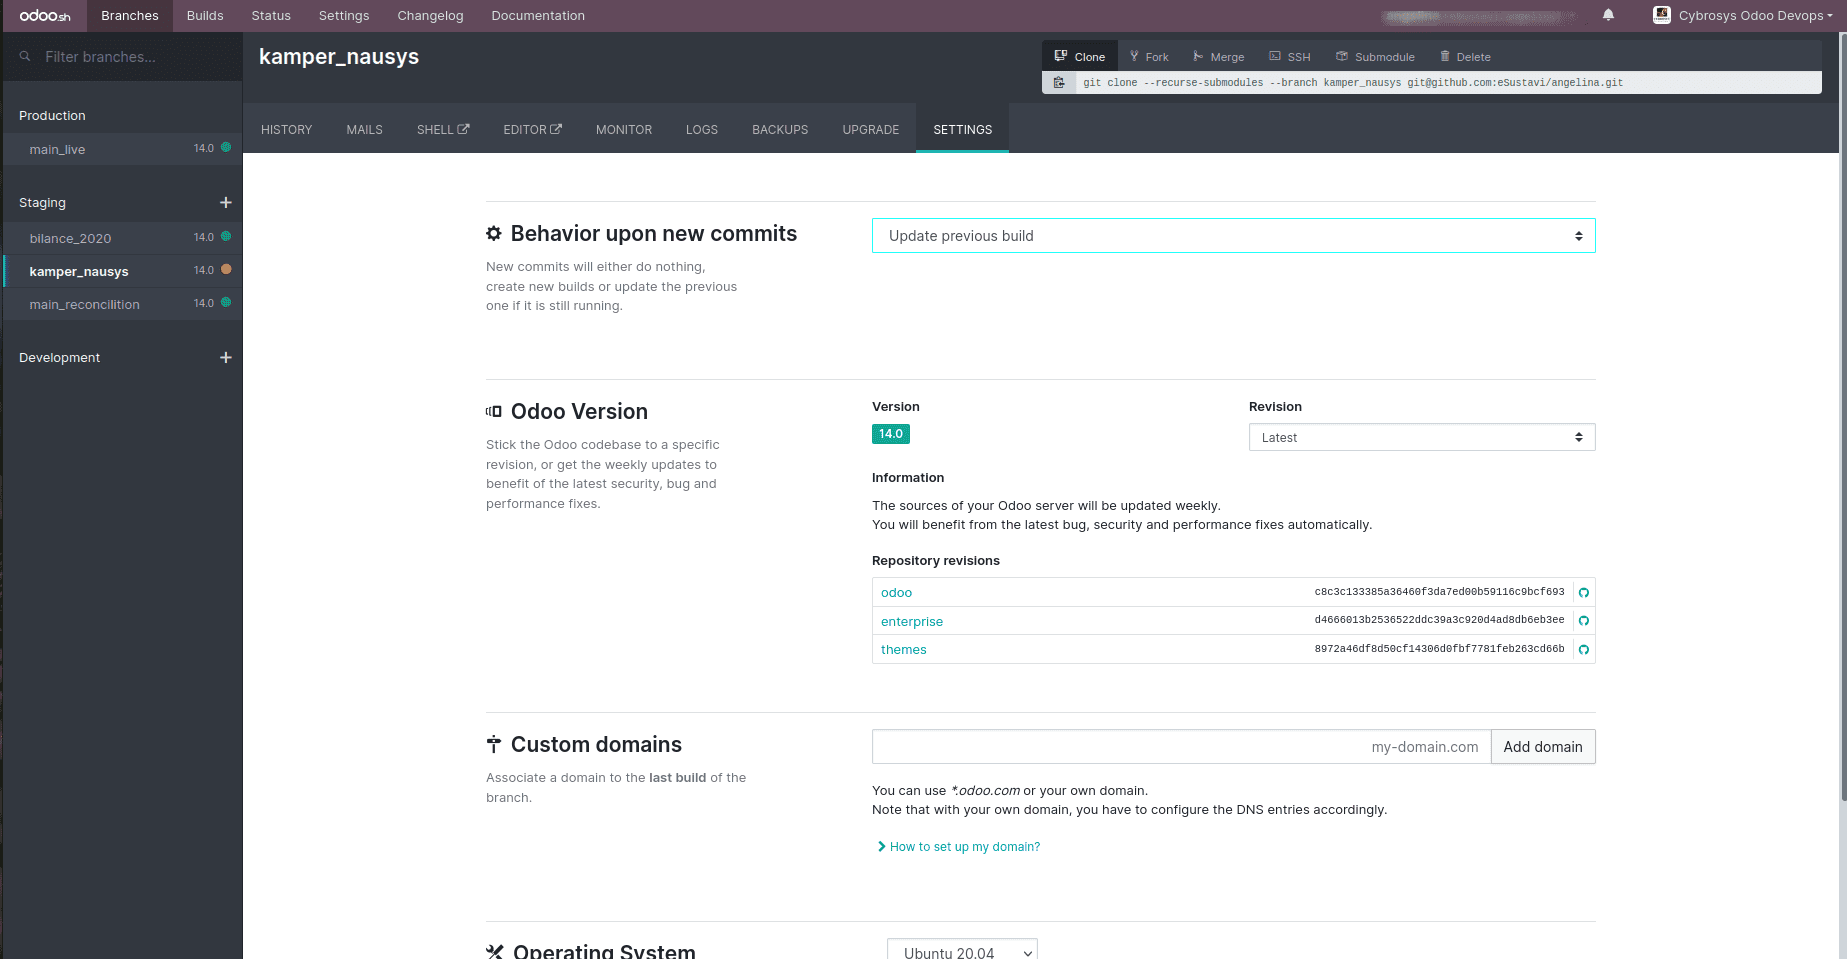
The behavior of the builds may be customized in the settings for each one. You may update
the existing build or create a new one for each commit.
With the three dots available, you can readily access some of the features from your
builds.
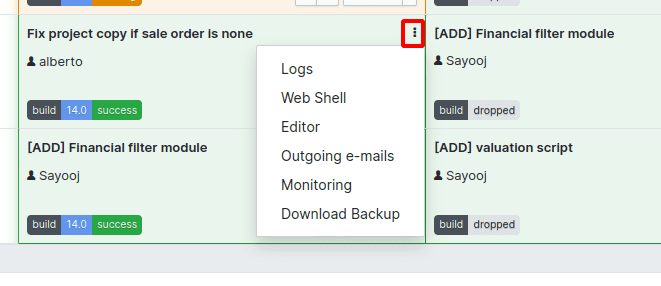
It facilitates access to logs, web shells, editors, outgoing messages, as well as
database dump downloads.
History - Displays a date-based history of builds, commits, and test
statuses. If the build is successful, the database may be accessed via the Connect
button.
Mails - The messages are the emails that have been sent. The development
and staging branches assist in sending emails for testing reasons, which means they are
intercepted, but the production branch sends actual emails.
Shell - Gives you access to the shell, where you can use Linux commands.
The terminal may be used to connect to Postgres and perform SQL instructions. The Plus
icon in the sidebar may be used to create several terminal instances.
Editor - Editor is a tool that aids in editing source code. You may also
use the editor to create notebooks, access Python 2 and Python 3 consoles,etce.
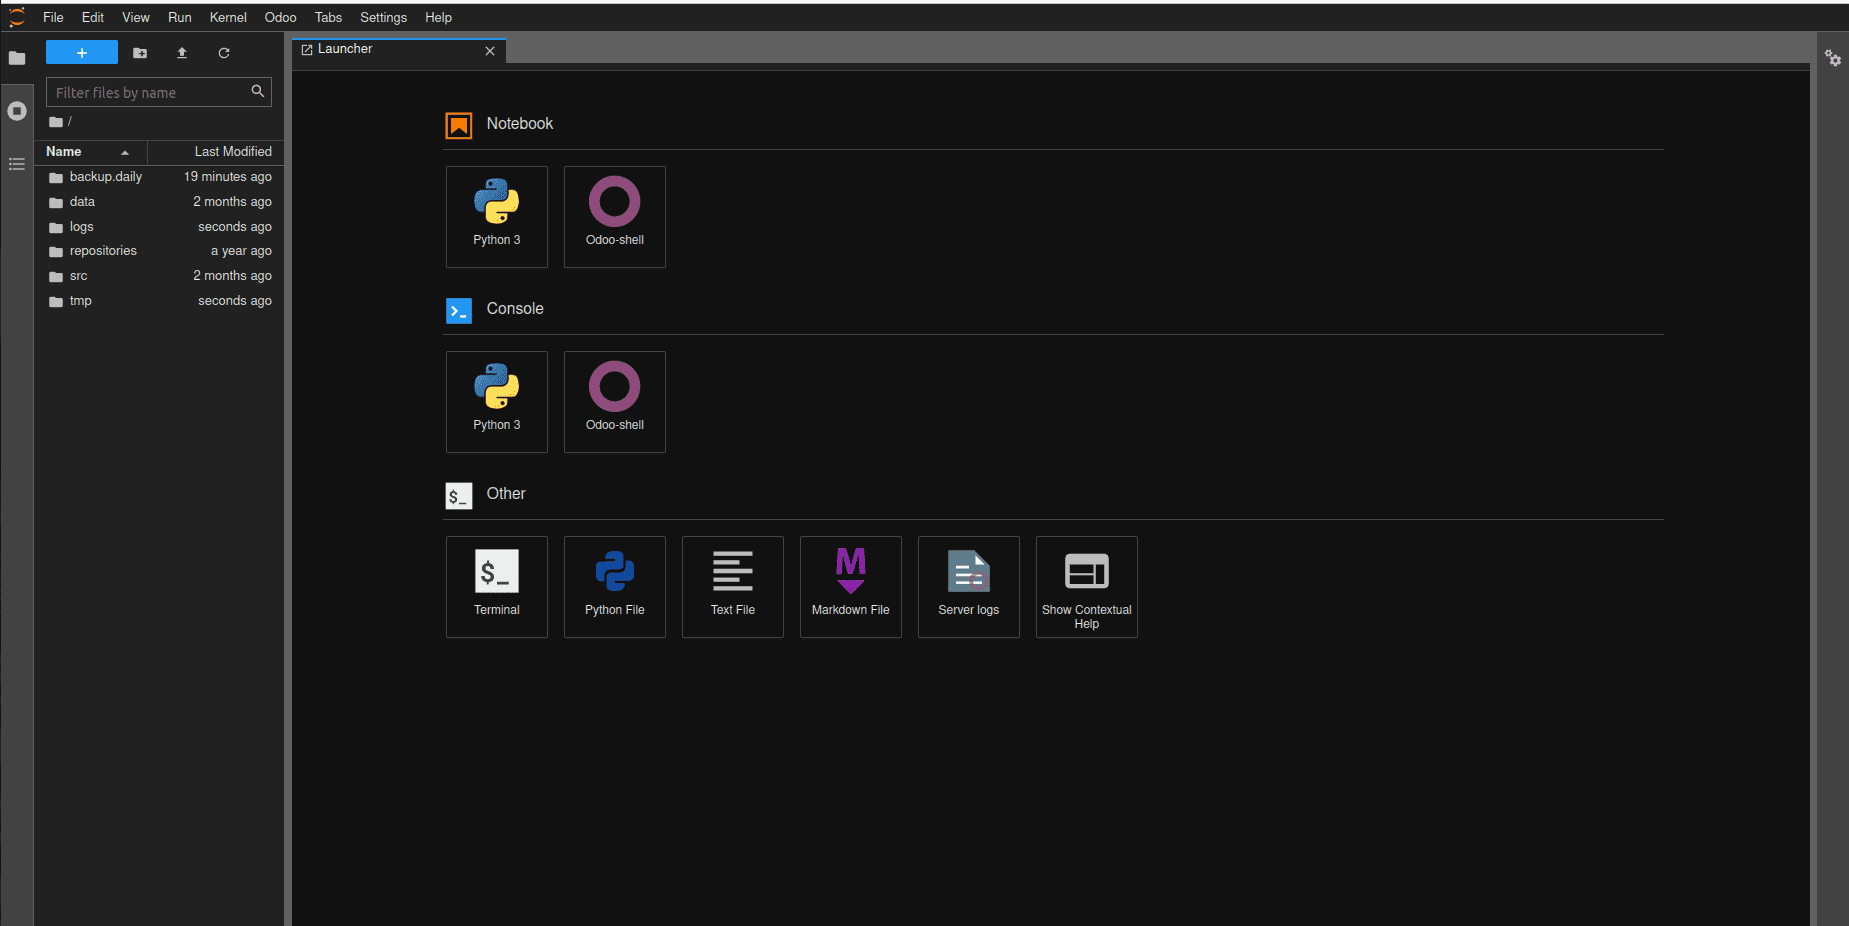
The source code for Odoo may be found under /home/odoo/src. To modify the source code,
double-click the folder and then go to the file you want to change. After making the
necessary changes, save the file using the Ctrl + S shortcut or through the File menu.
Save the python script. The changes made to Odoo files are automatically recognised,
therefore the service does not need to be restarted manually. The module requires an
update due to the modifications made in view. You may do so by using the command below.
odoo-bin -u module_name --stop-after-init
Or Just Go to Odoo-->Update the current module
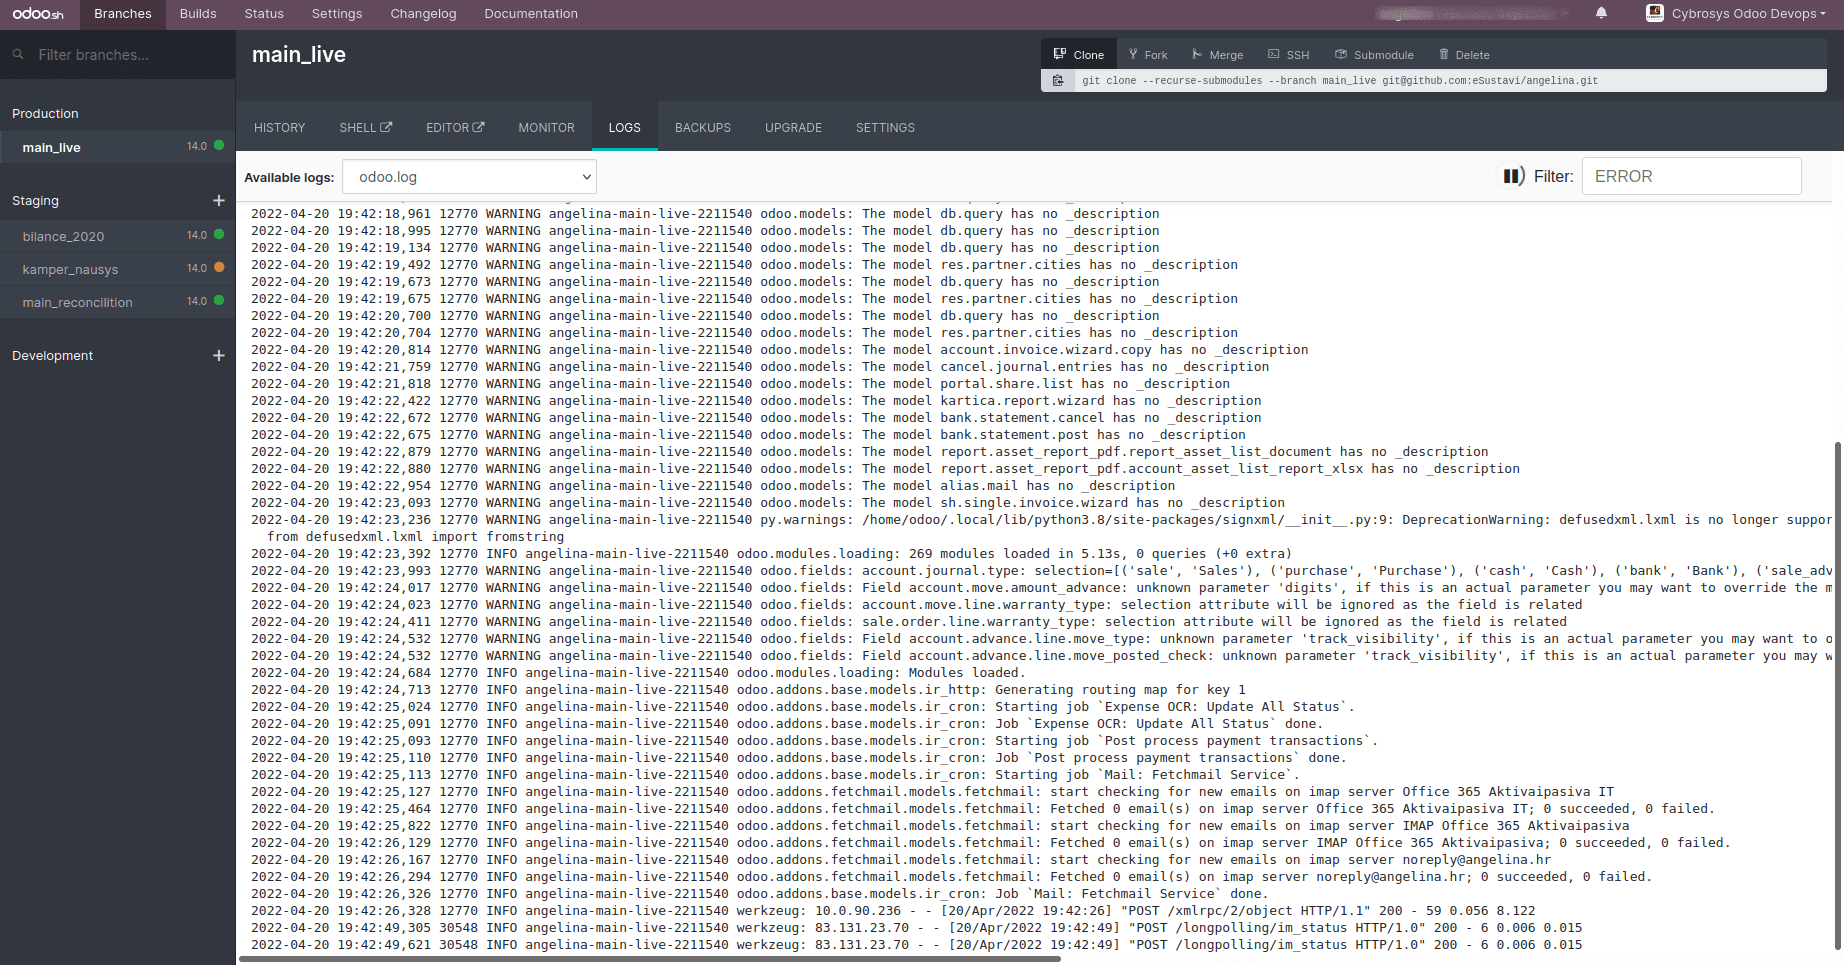
From Odoo —>Server Logs, you may see the server logs.
The log view is provided by the logs. There are a variety of logs to choose from:
Odoo.log - This file contains the server's log.
Pip-log - Displays the installation log for Python dependencies.
Install-log - Displays the installation log for the module.
Other logs, such as Jupiter-log, update logs, and so on, are also accessible.
To filter content in the log, use the filter option.
