Publishing Content for the Website
On your website, you can easily publish various content that represents your business. Odoo has enabled an efficient system to manage and publish content such as blogs, events, forums, job offers, products, and courses from the front-end operation. For creating each of these, you will get specific fields on your website.
Page
In order to create new pages for your website, you can click on the ‘New’ icon given at the top right side of the website as shown below.
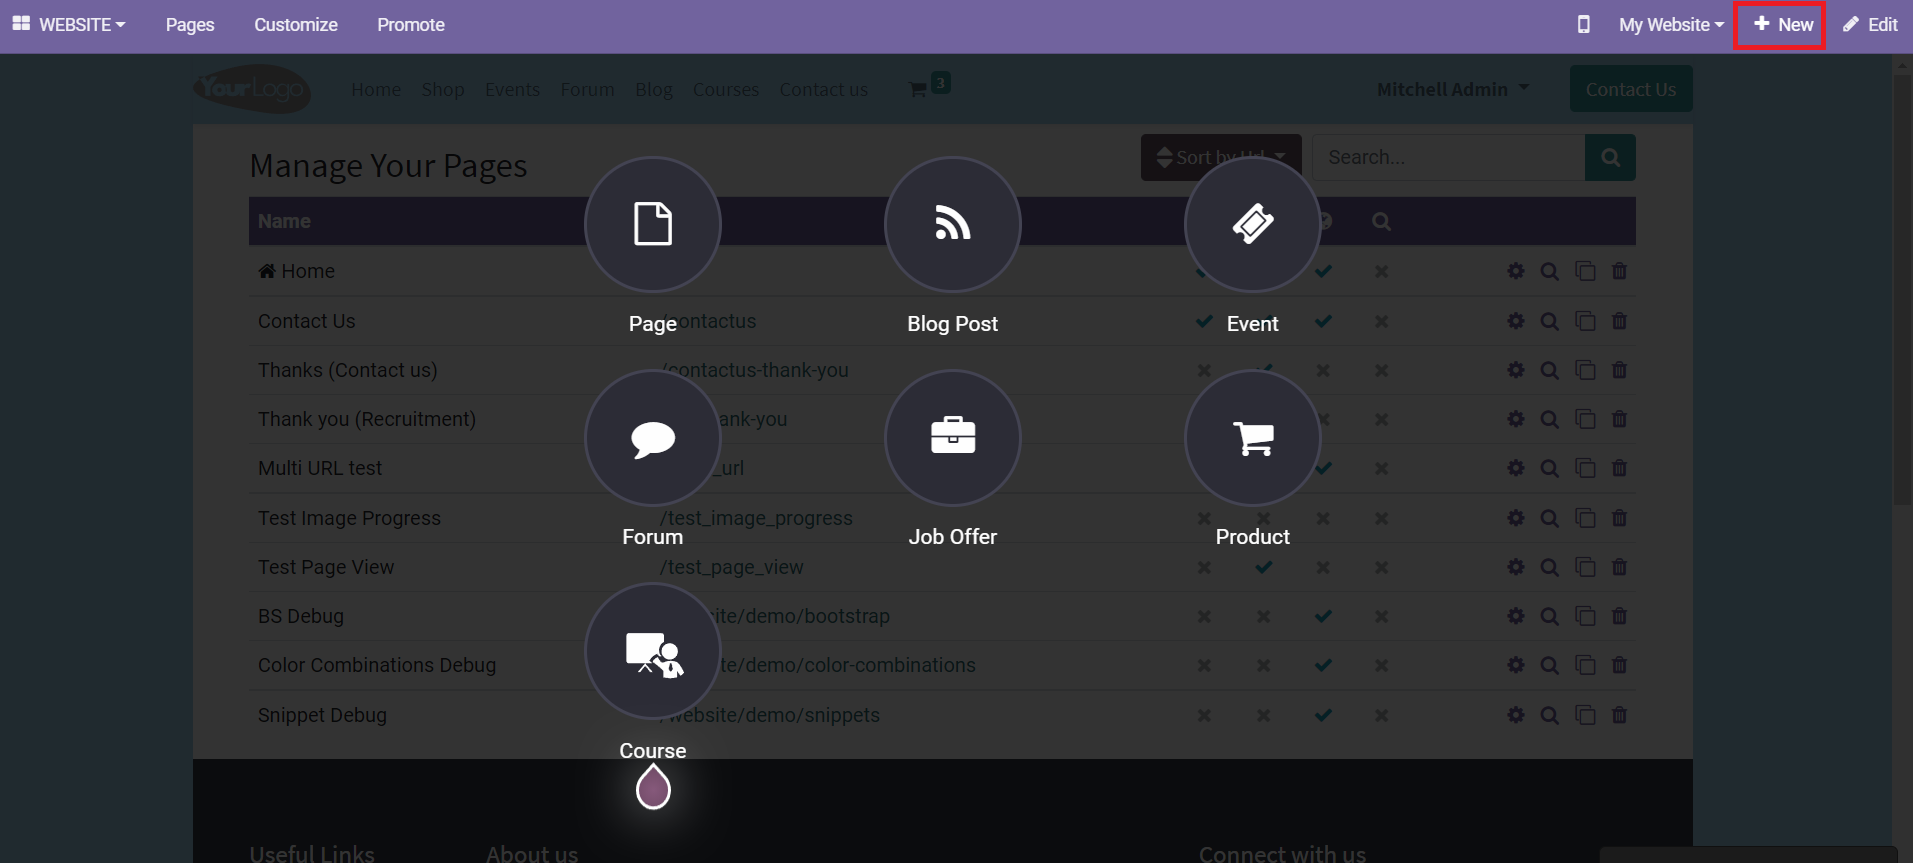
The menu will display various options to create content for your website. You can click on the Page option which will lead you to a pop-up window.
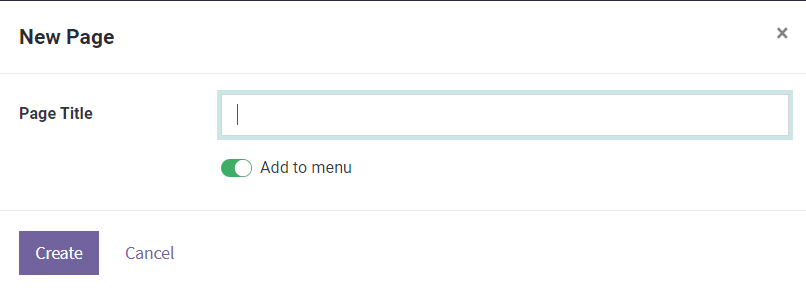
Here, you can mention the Page Title and activate the field to Add to Menu. Clicking the ‘Create’ button will help you to create a new page. You can see the newly created page on the main menu bar of the website.
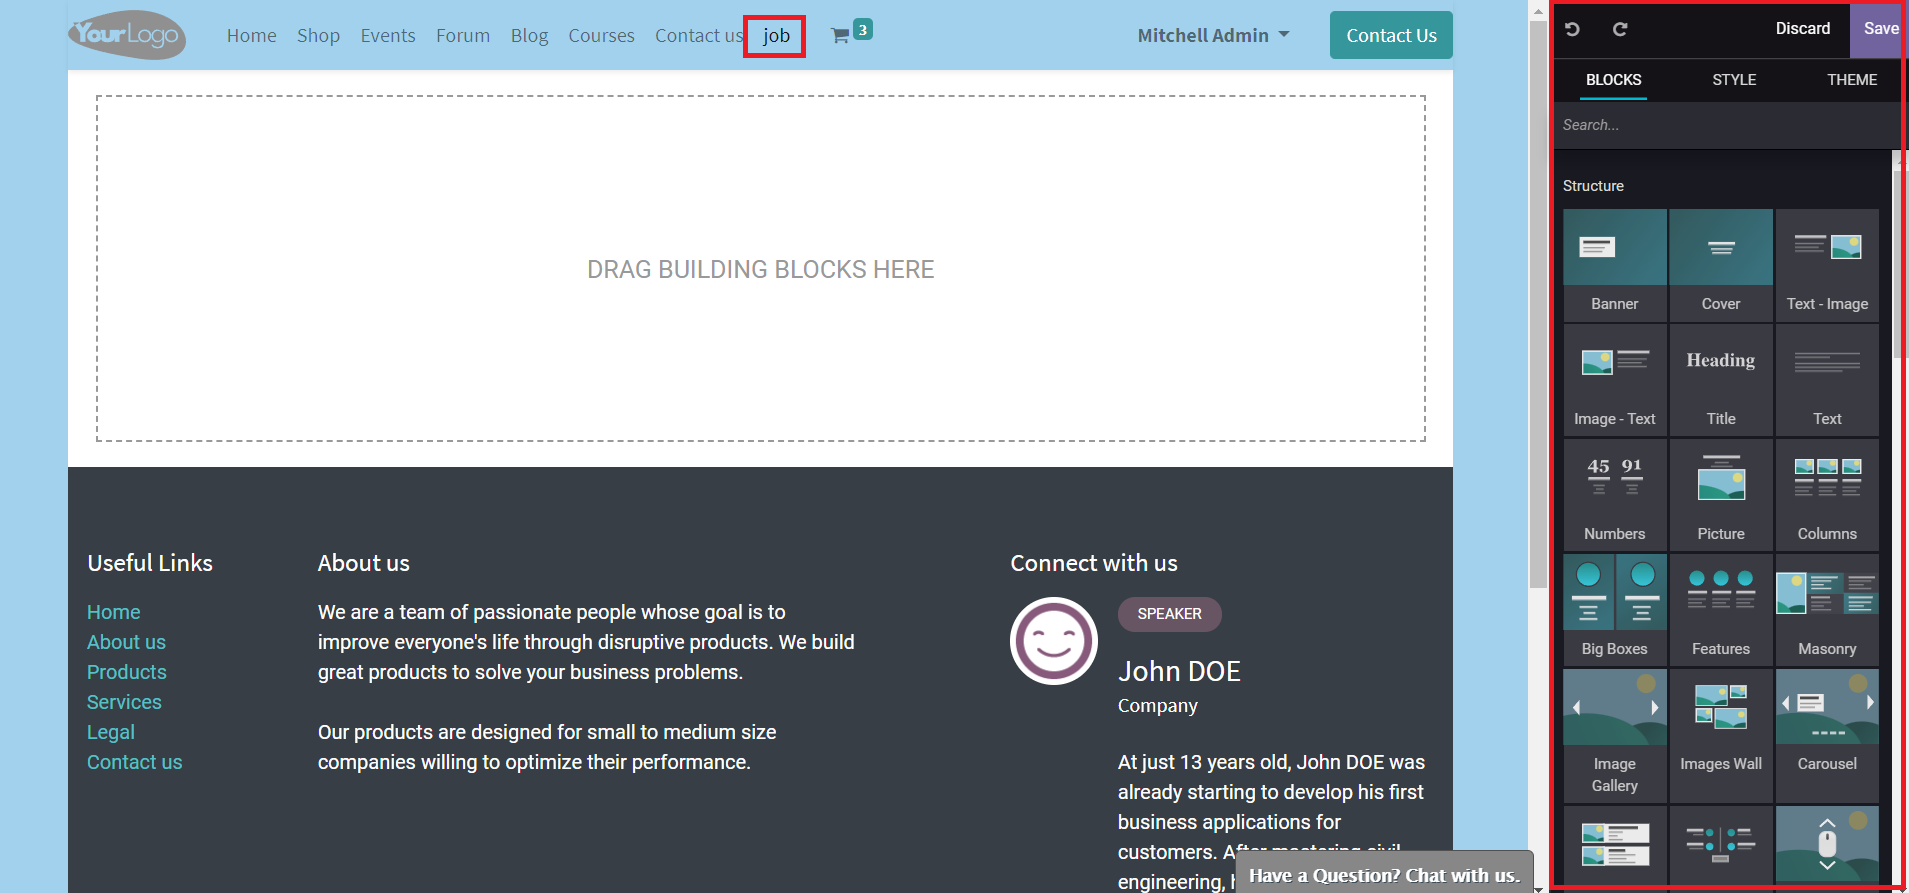
You can design this page using the editing tools available on the window.
Blog Post
To create a new blog post for your website, you can select the Blog Post option from the window as shown below.
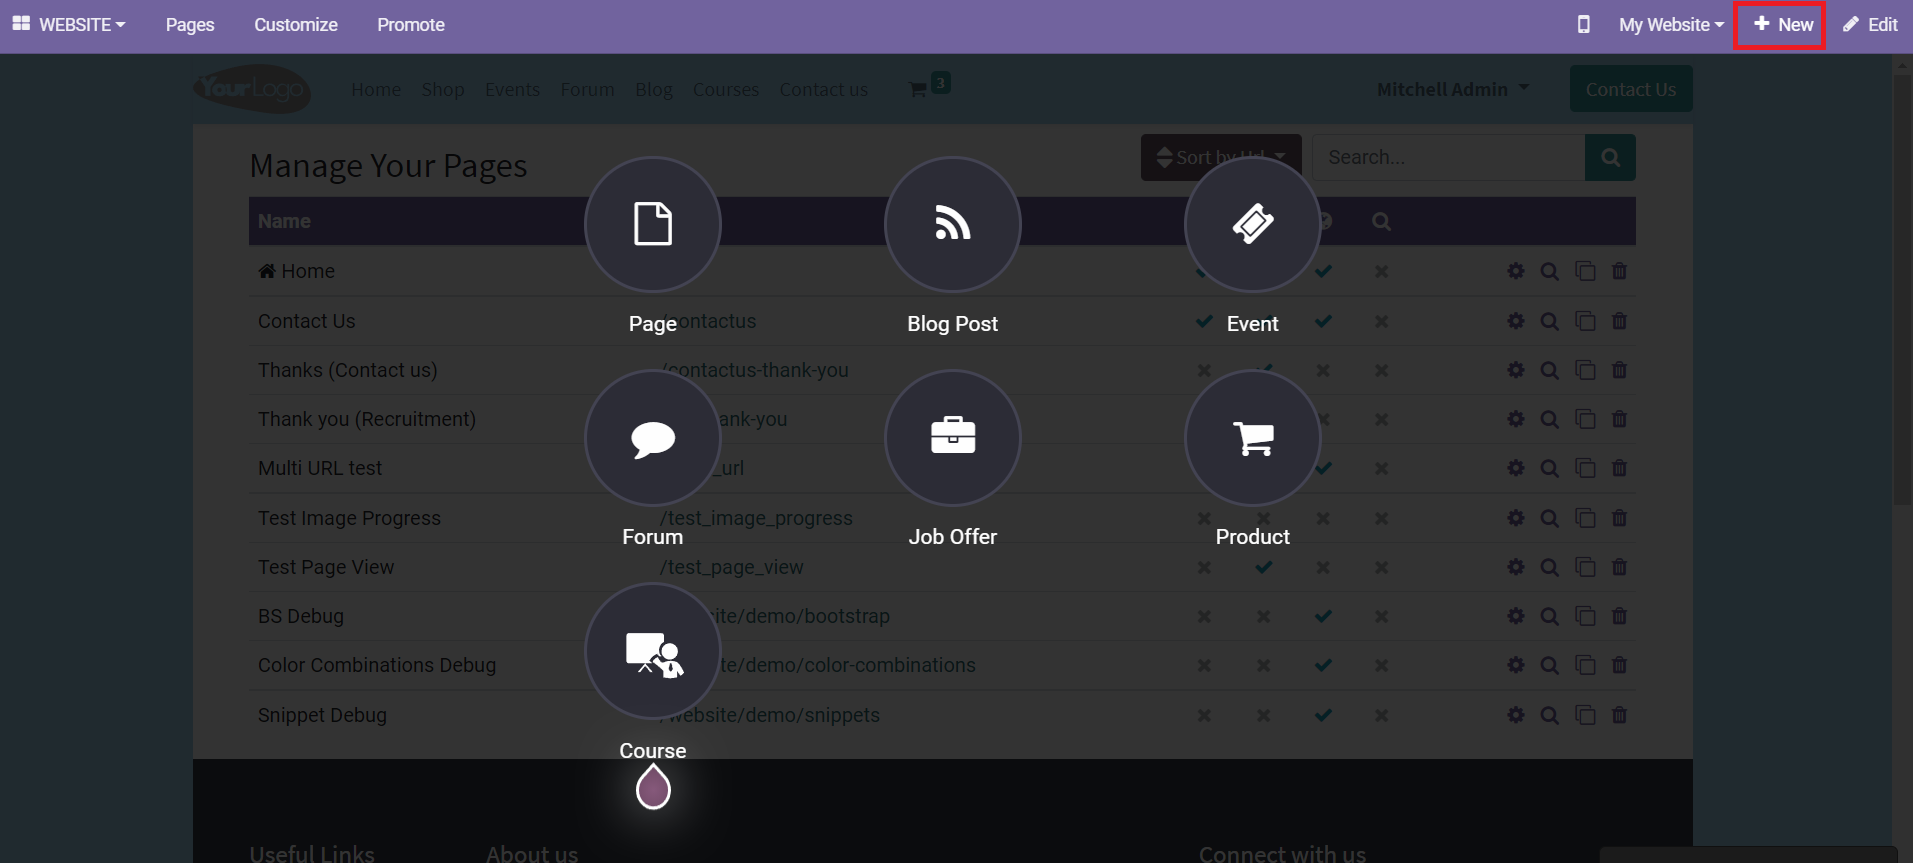
By selecting the Blog Post icon, you will be able to get a pop-up window to select the blog type.

Now, you can click on the ‘Create’ icon.
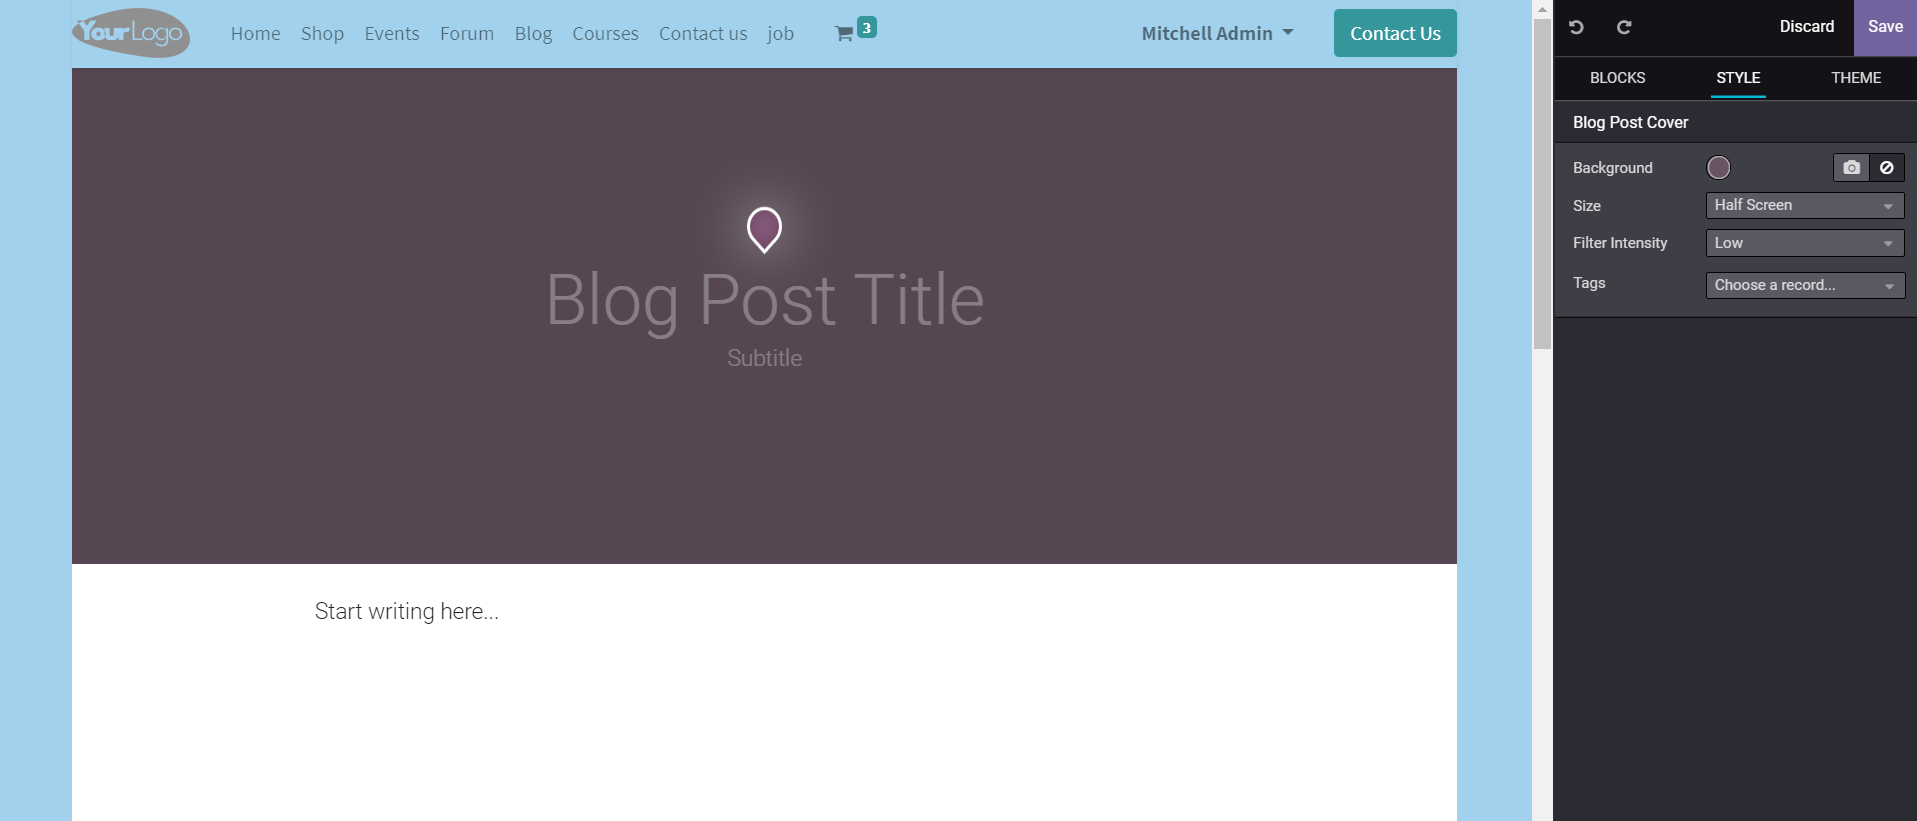
A new page will appear to add blog title and content in the specified fields. You can also use the editing tools available in the window to make the blog post more attractive.
After creating the blog you can click the ‘Save’ button to publish the blog.
Event
To publish new events details on your company website you can select the Events icon from the ‘new’ field.
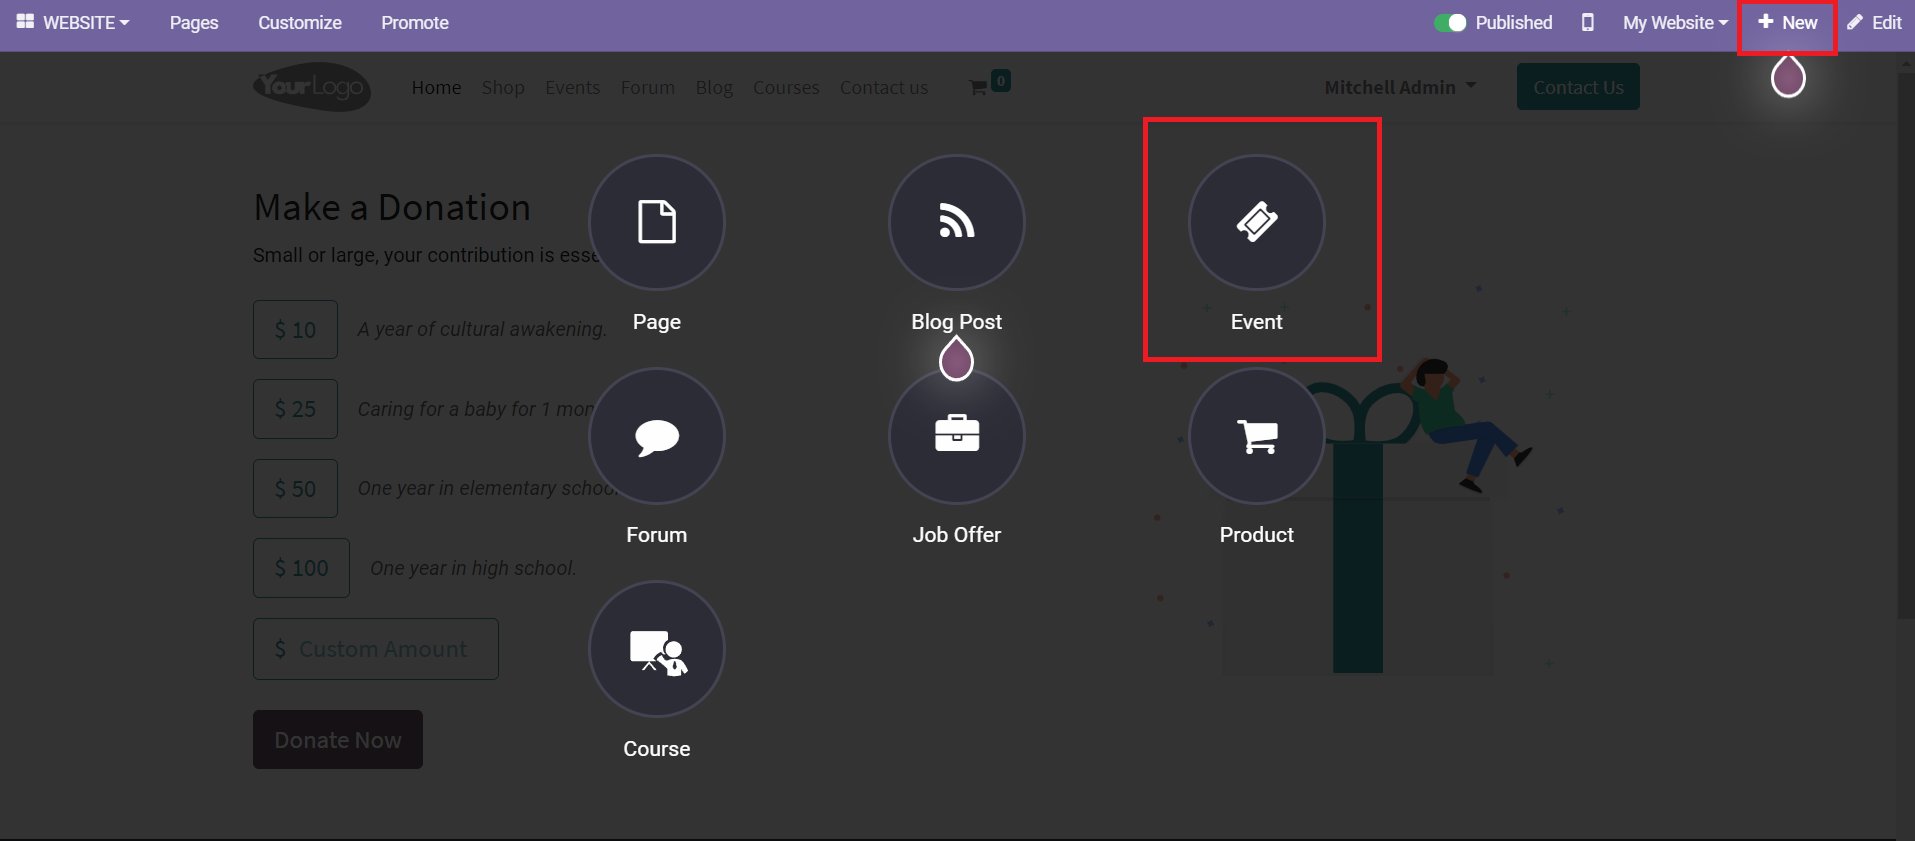
By clicking the Events icon, you will get a pop-up window as shown below.
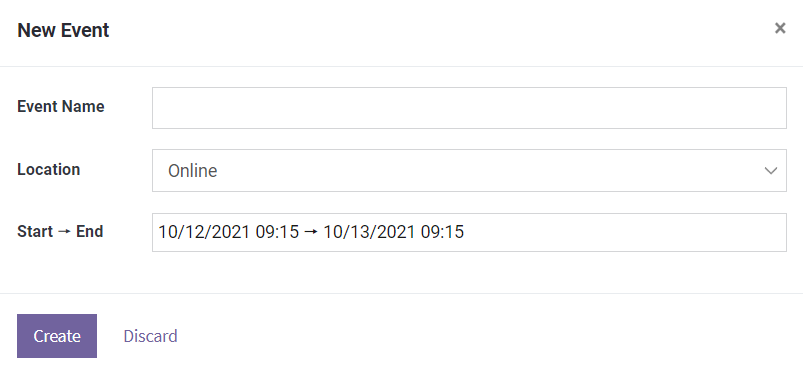
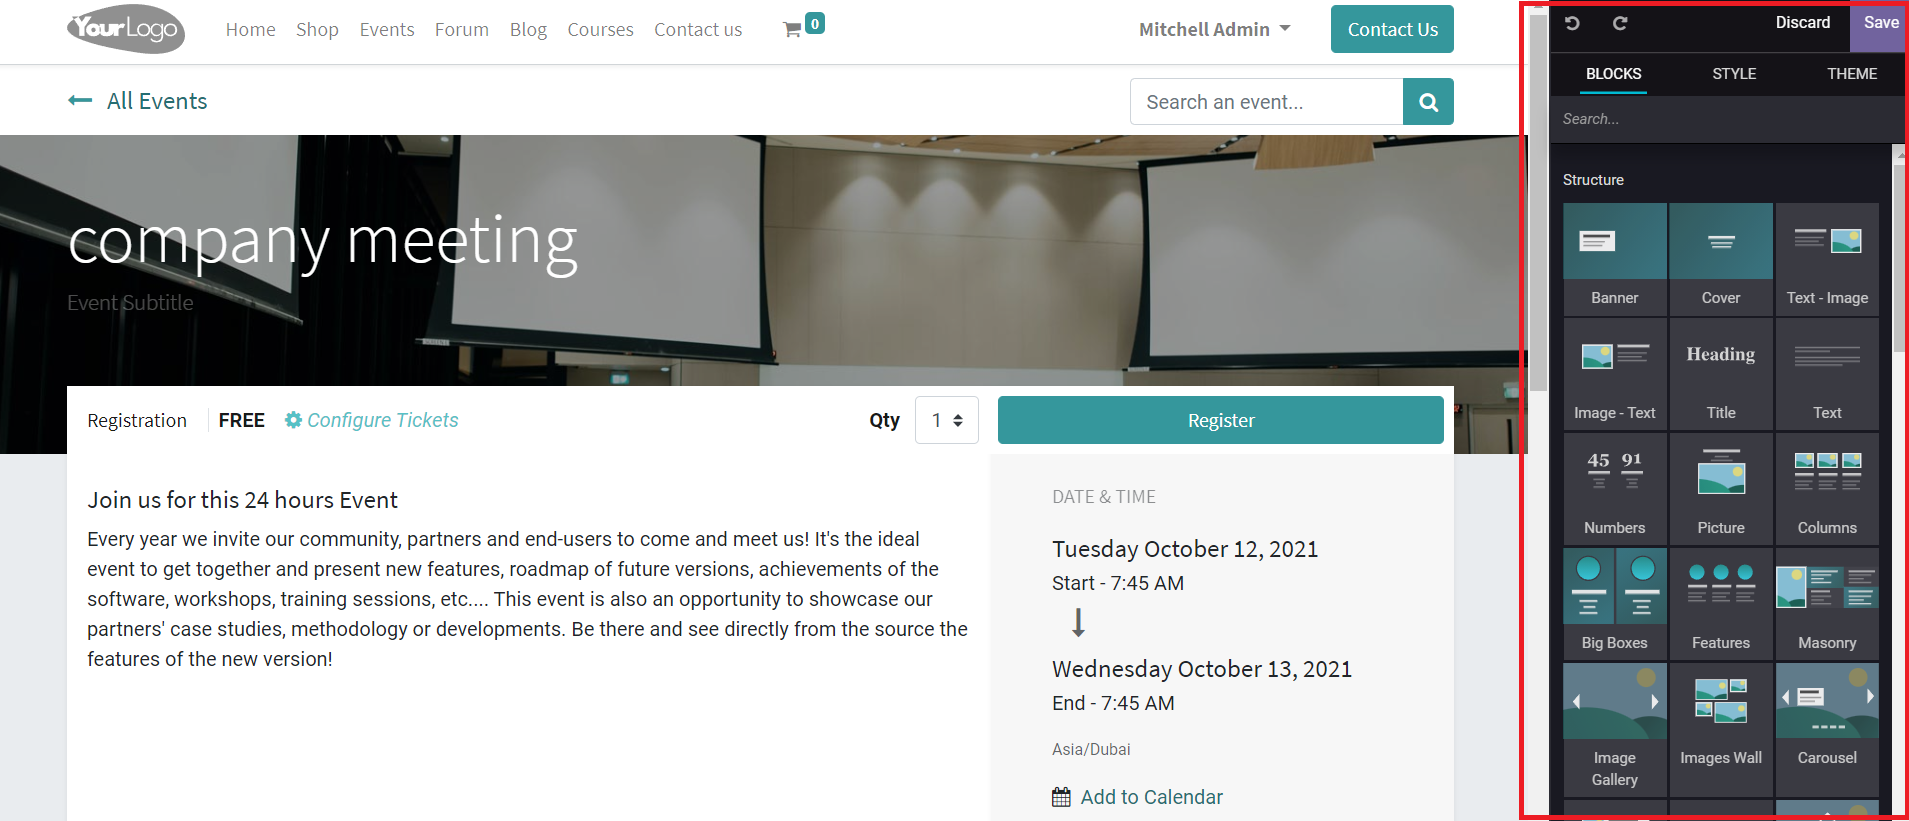
You can mention the Event Name, Location, and Start & End date of the event in the given fields. Finally, click the ‘Create’ button to edit the content of the event.
Product
You can easily list your products on your website using the ‘New’ button given on the platform.
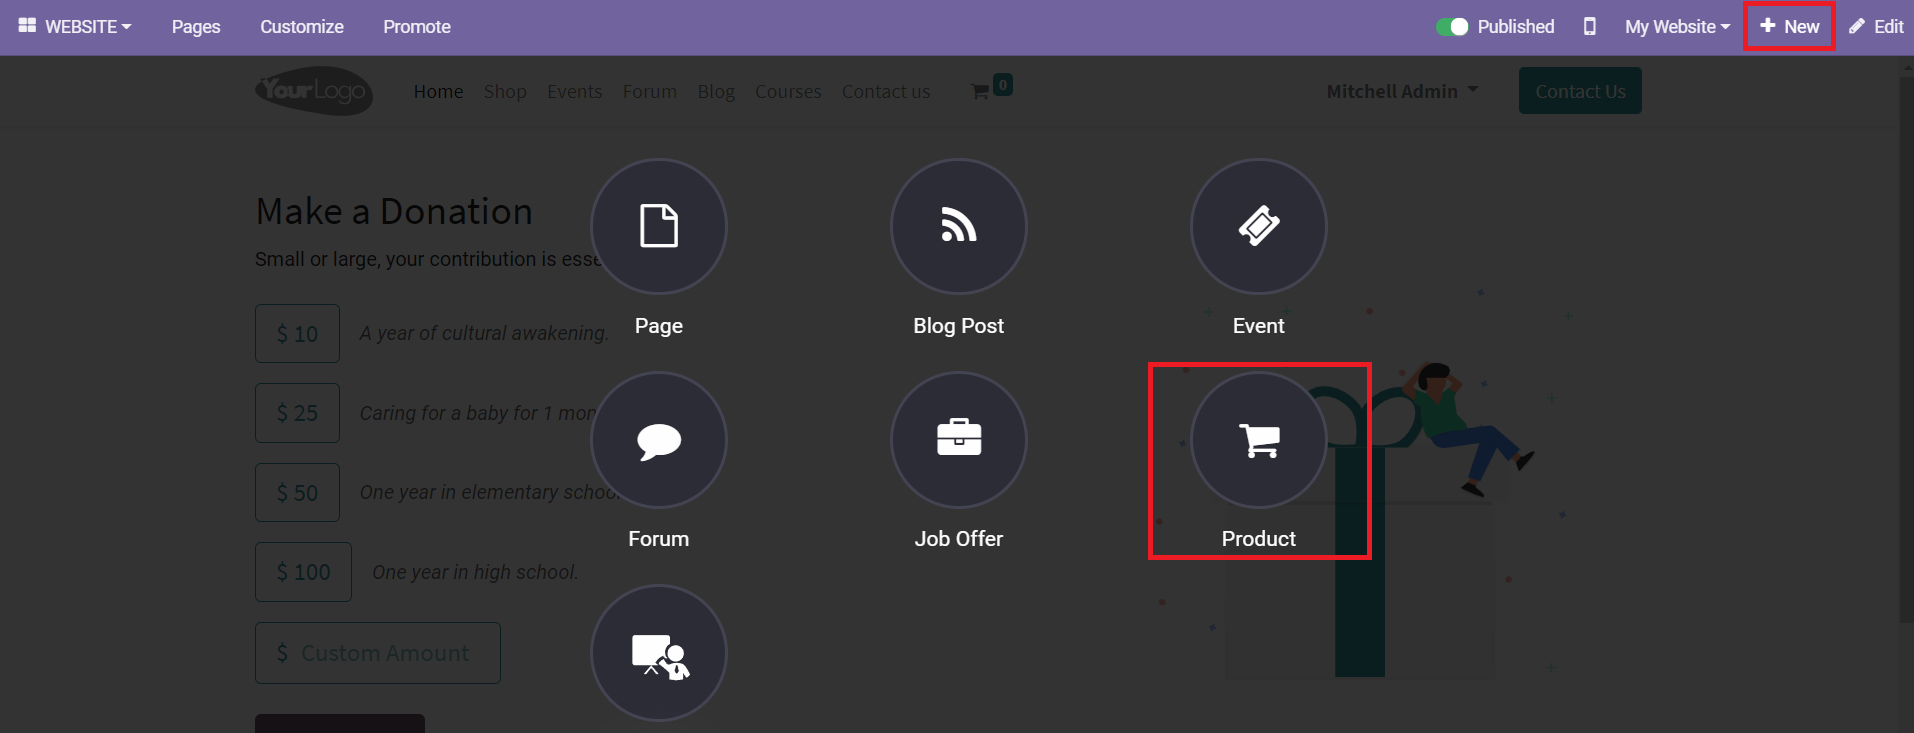
You can select the Product option from the given icons. You will be able to get a pop-up window to mention the product name.

After adding the product name in the respective field, use the ‘Create’ button to add more details about the selected product on your website.
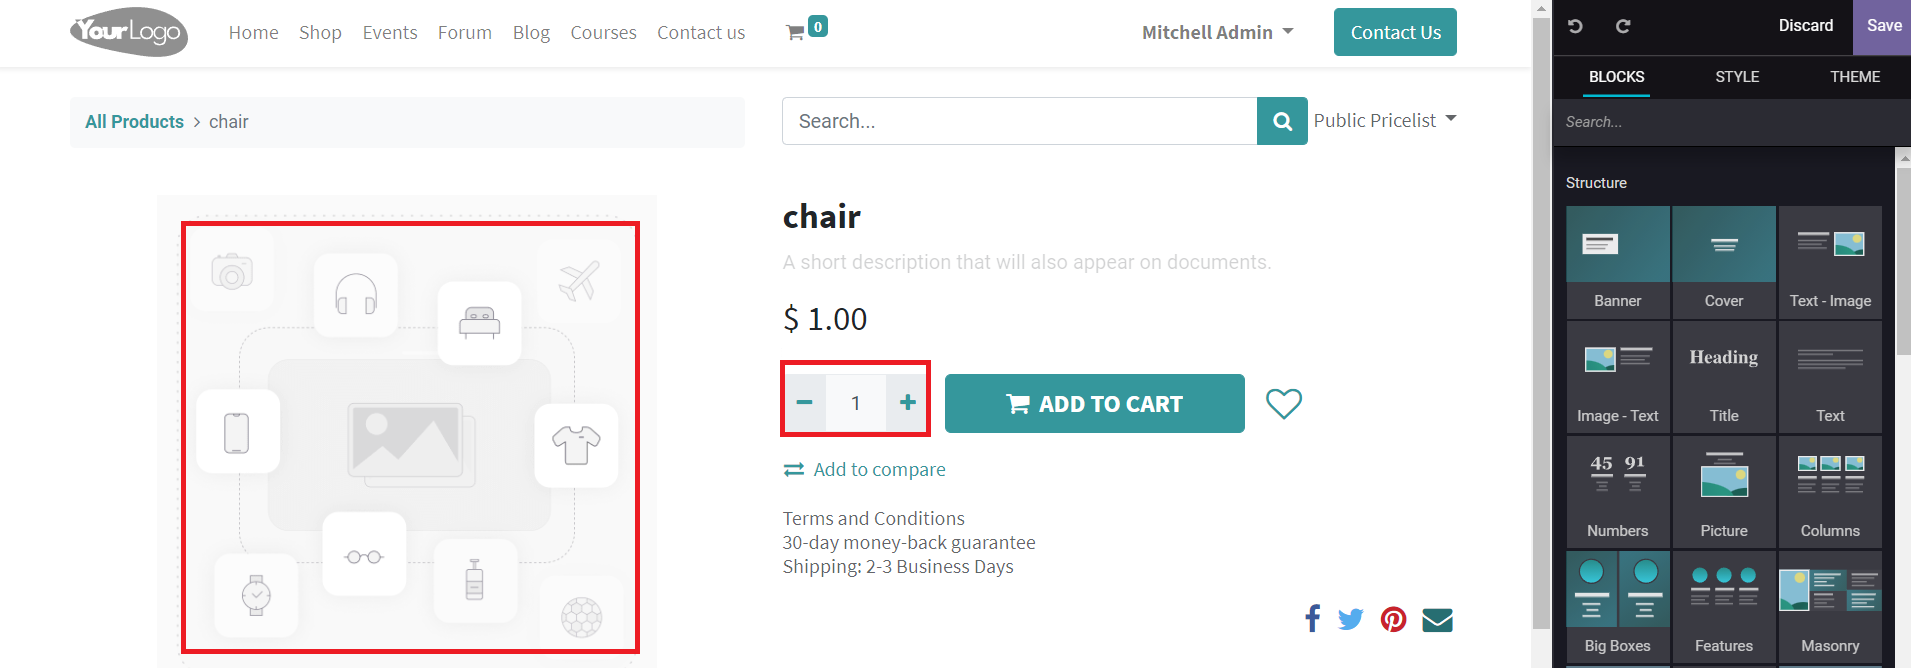
You can describe the product below the name of the product. You are also allowed to add the price, quantity, and image of the product in the specified field. The editing tools in the window will help you to make the product page more attractive. To add an image of the product you can double click on the image field.
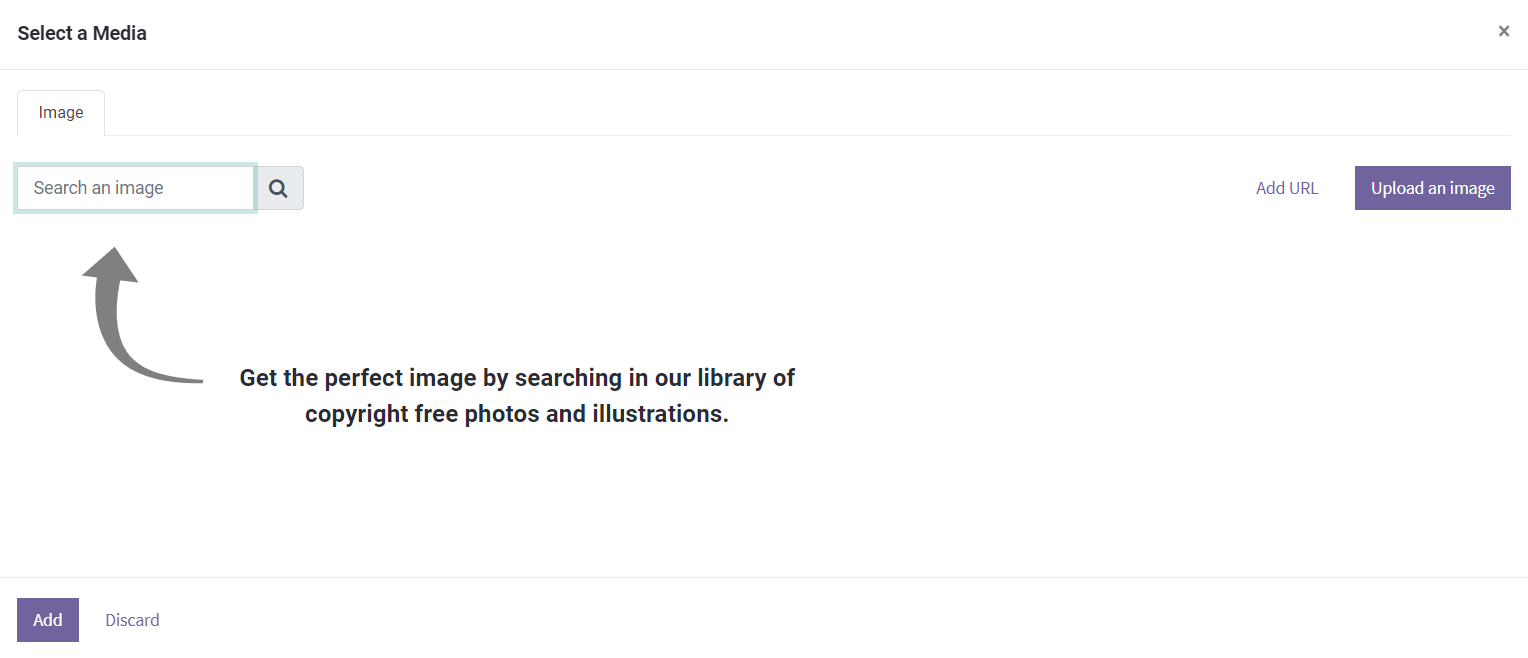
A pop-up window will appear to add the image of the product. You can use the Add a URL, Upload an image, or Search an image on your library options to add the image.
After completing the editing, you can click on the Save button to publish the product on your website.
All configured products can be seen on the Shop page on your website.
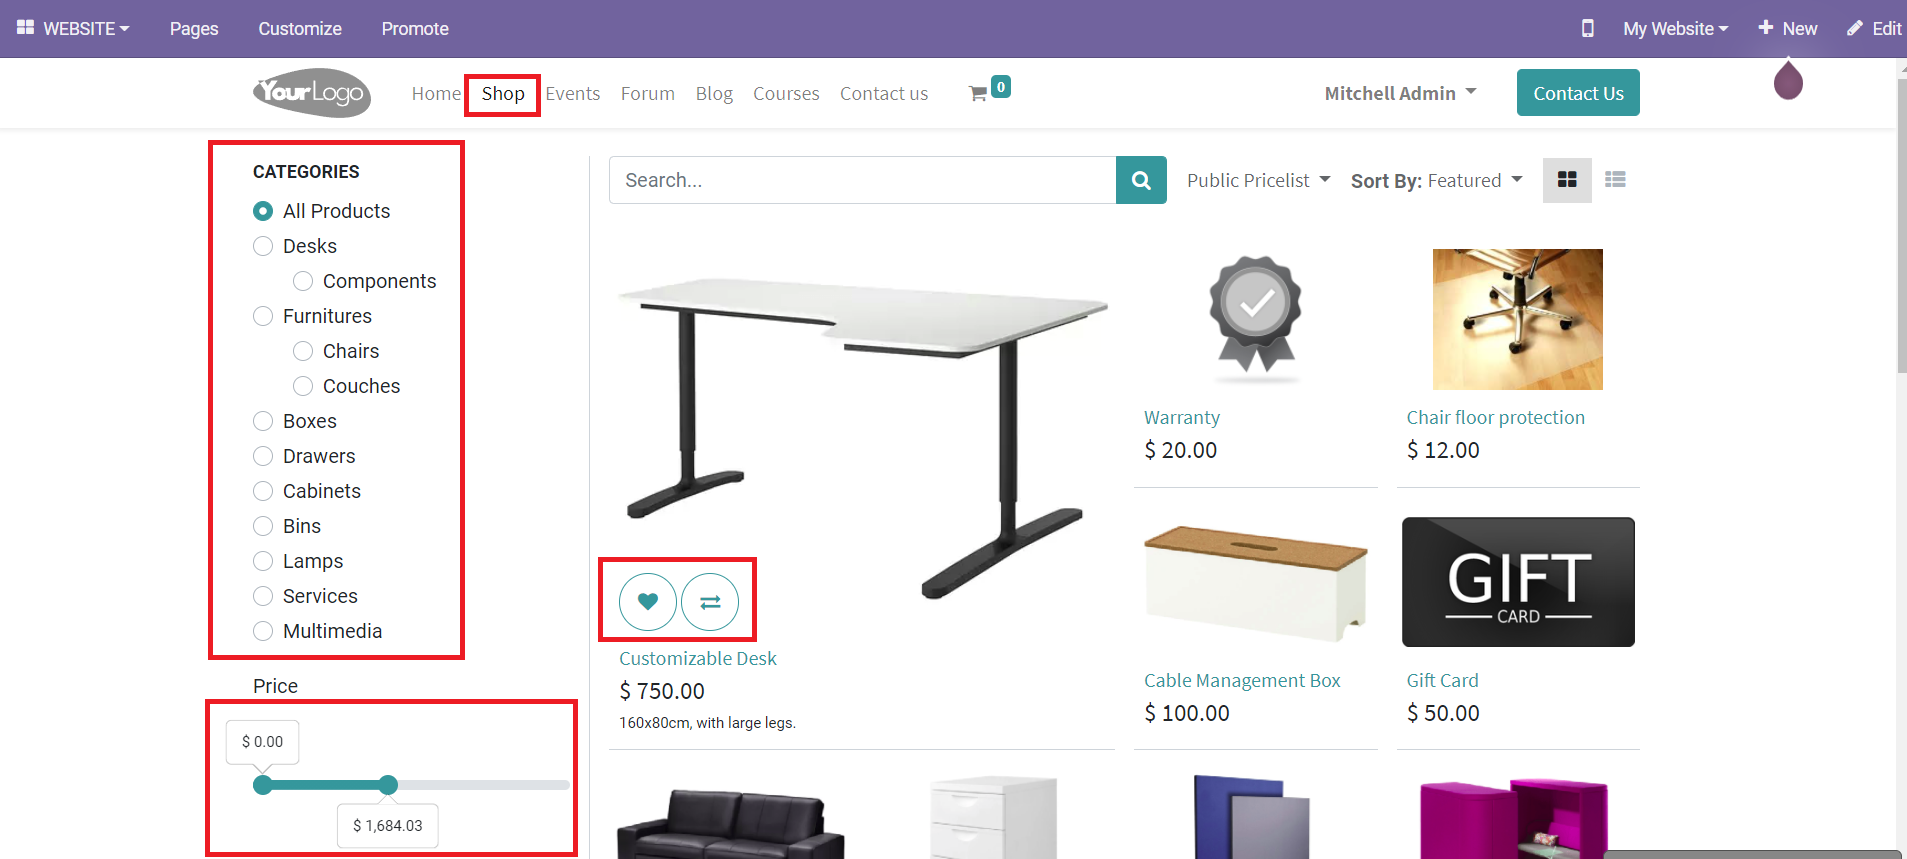
You will get different categories to select on the left side of the window. You can select the required category from the list. You can also adjust the prices of the product below this. By adjusting the price, you will only get the product list of the selected price margin. The product description will show the options to ‘add to wishlist’ and ‘compare products’.
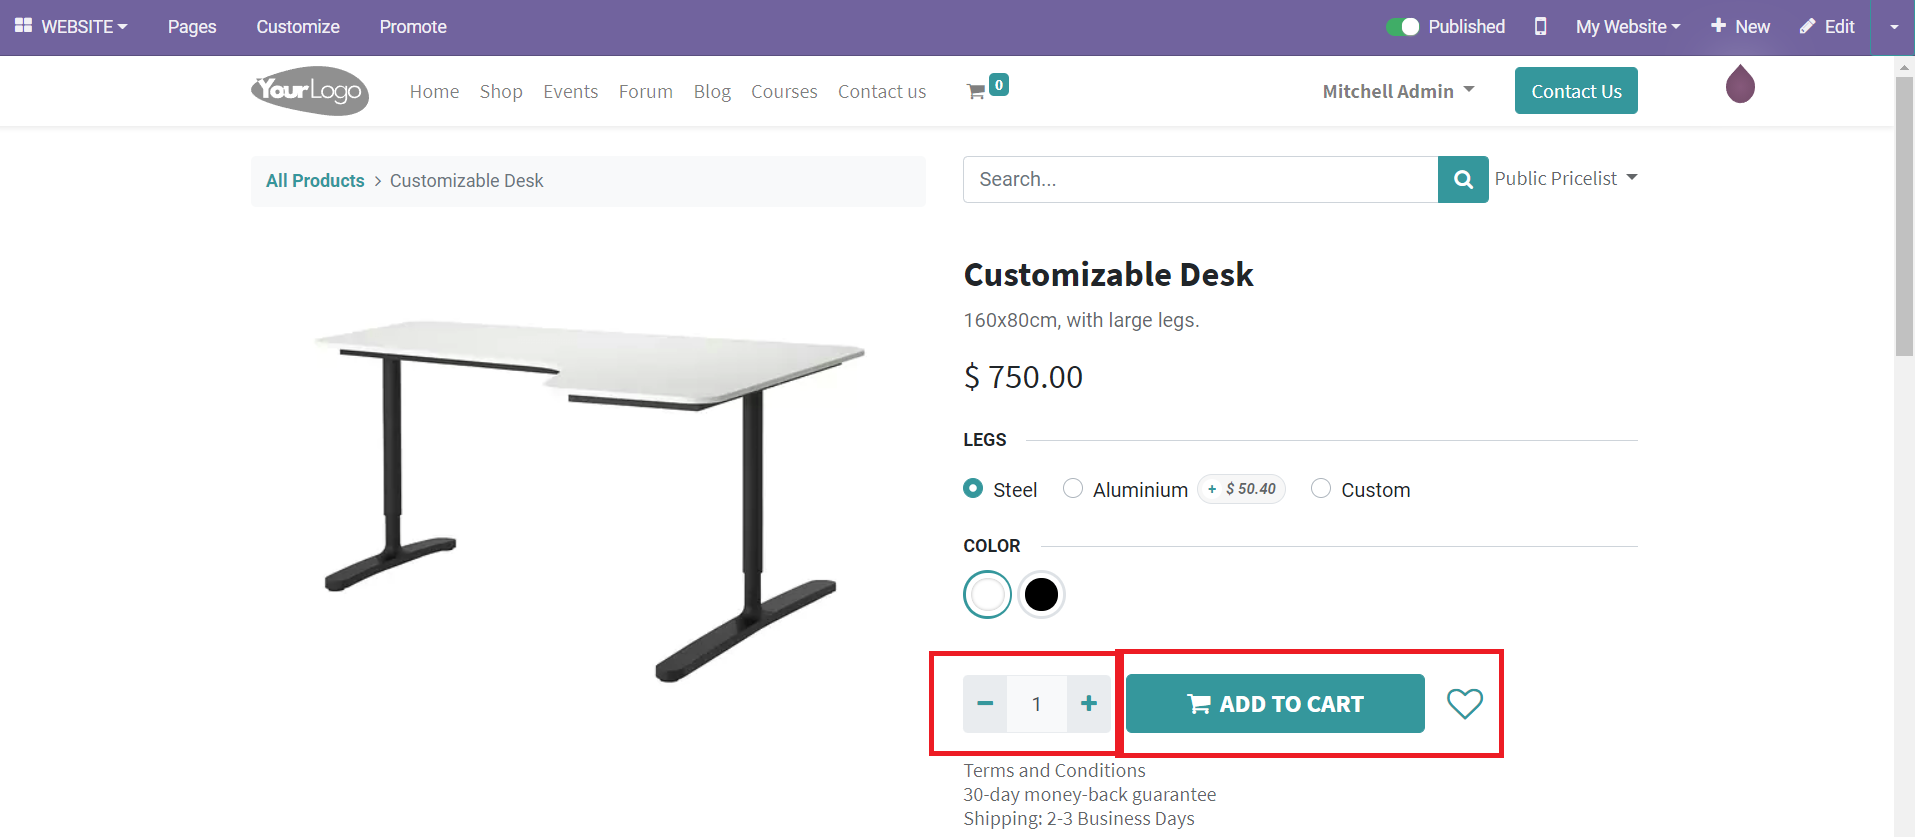
Clicking on the required product will display the option to select the quantity and add it to the cart.
You can publish new job offers, forums, and courses in the same method we discussed in the publishing of blogs, events, and products. You will always get the help of editing tools on your website to make the respective page even more better and attractive.