Invoices
The next step after confirming a sales order from the customer is to send the invoice to the opposite party. The invoices act more like a commercial document sent to the customer by the company about the product and services described in the sales order. It is a written agreement between both parties. The invoices include all details about the sales transaction such as product details, prices, quantities, payment terms, and many more, agreed by both customer and seller.

To create the Invoice for a particular Sales Order, click on the Create Invoice button as shown in the image above. You will be directed to a pop-up window where you can add details to create invoices.
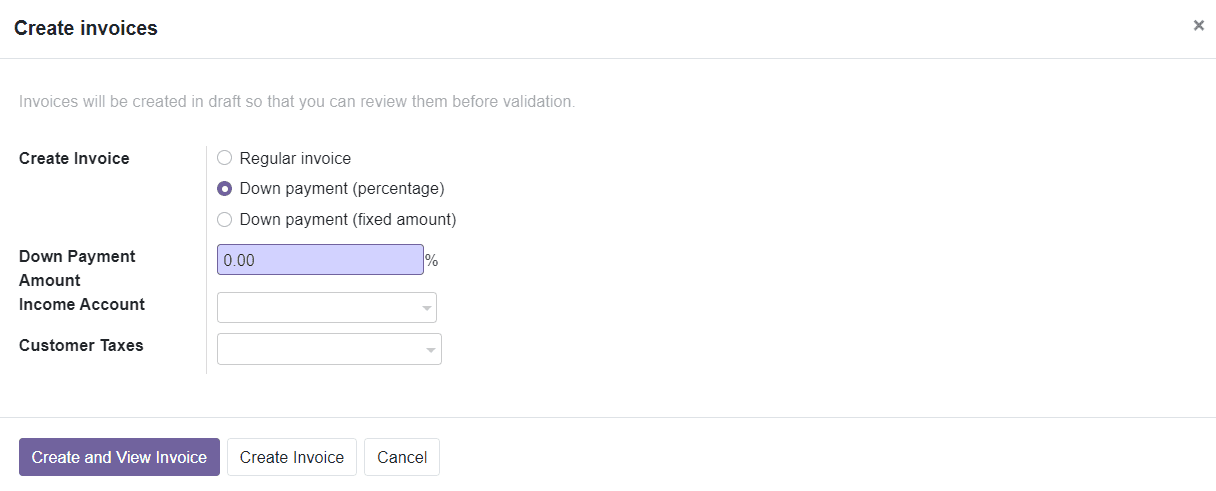
This will be a draft form of invoices so that you can review them before validating the data. The form will display different options to create invoices such as Regular Invoice, Down Payment (percentage), and Down Payment (fixed amount). If you have selected the Down Payment option, you will get two additional fields to add details about the Income Account and Customer Taxes along with the Down Payment Amount. After adding details to the form, you can click the ‘Create & View Invoice’ button to view the draft of the Invoice.
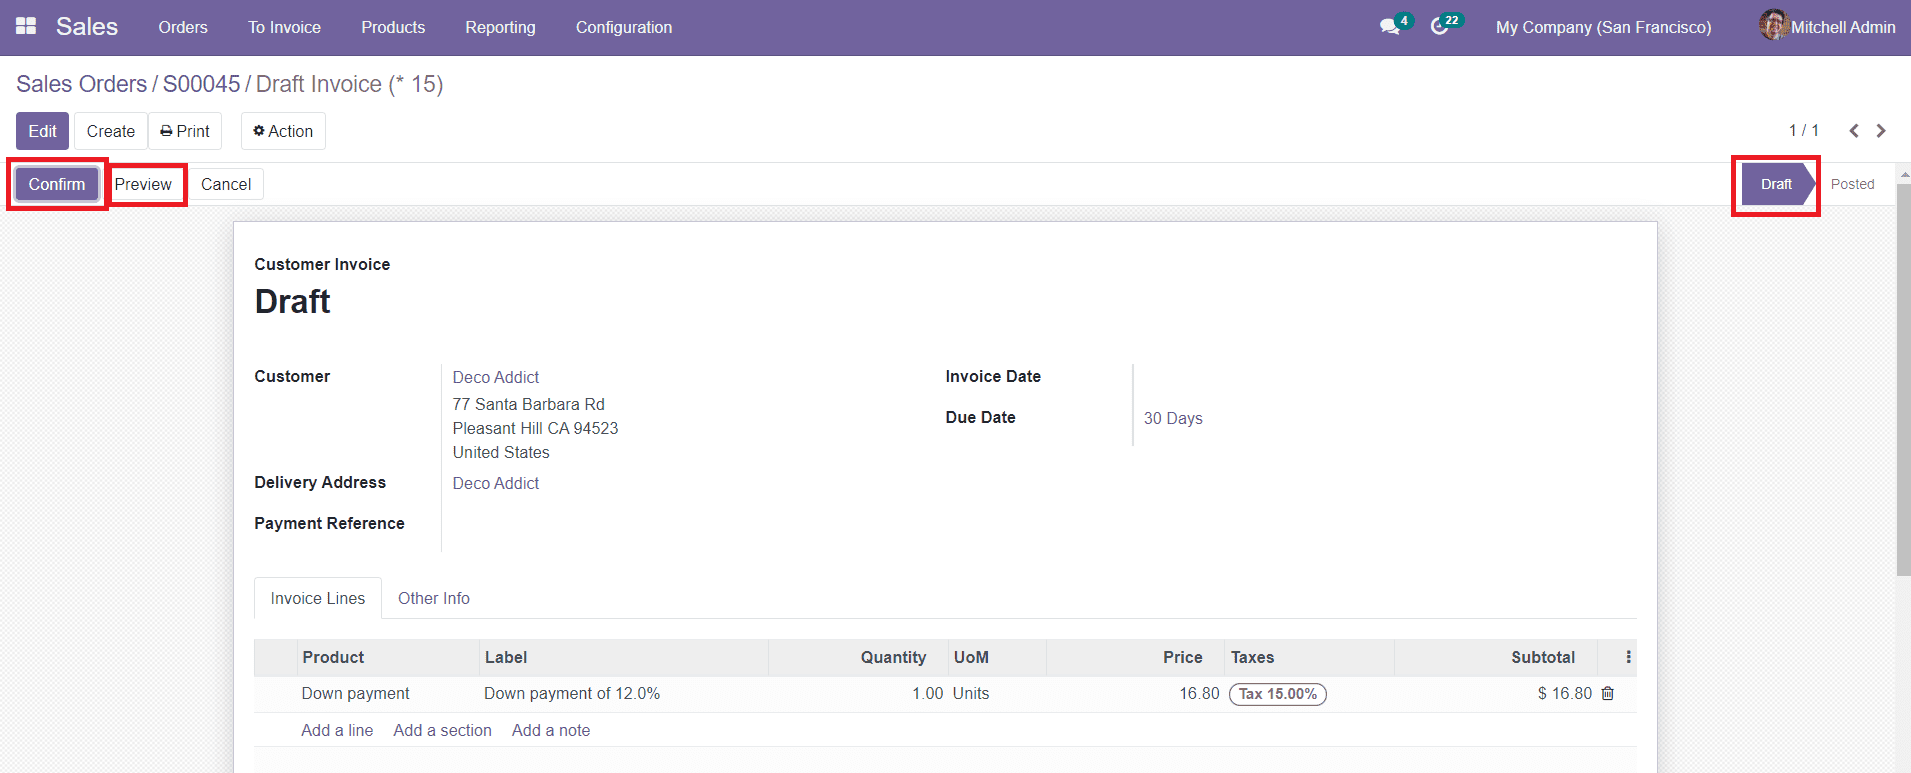
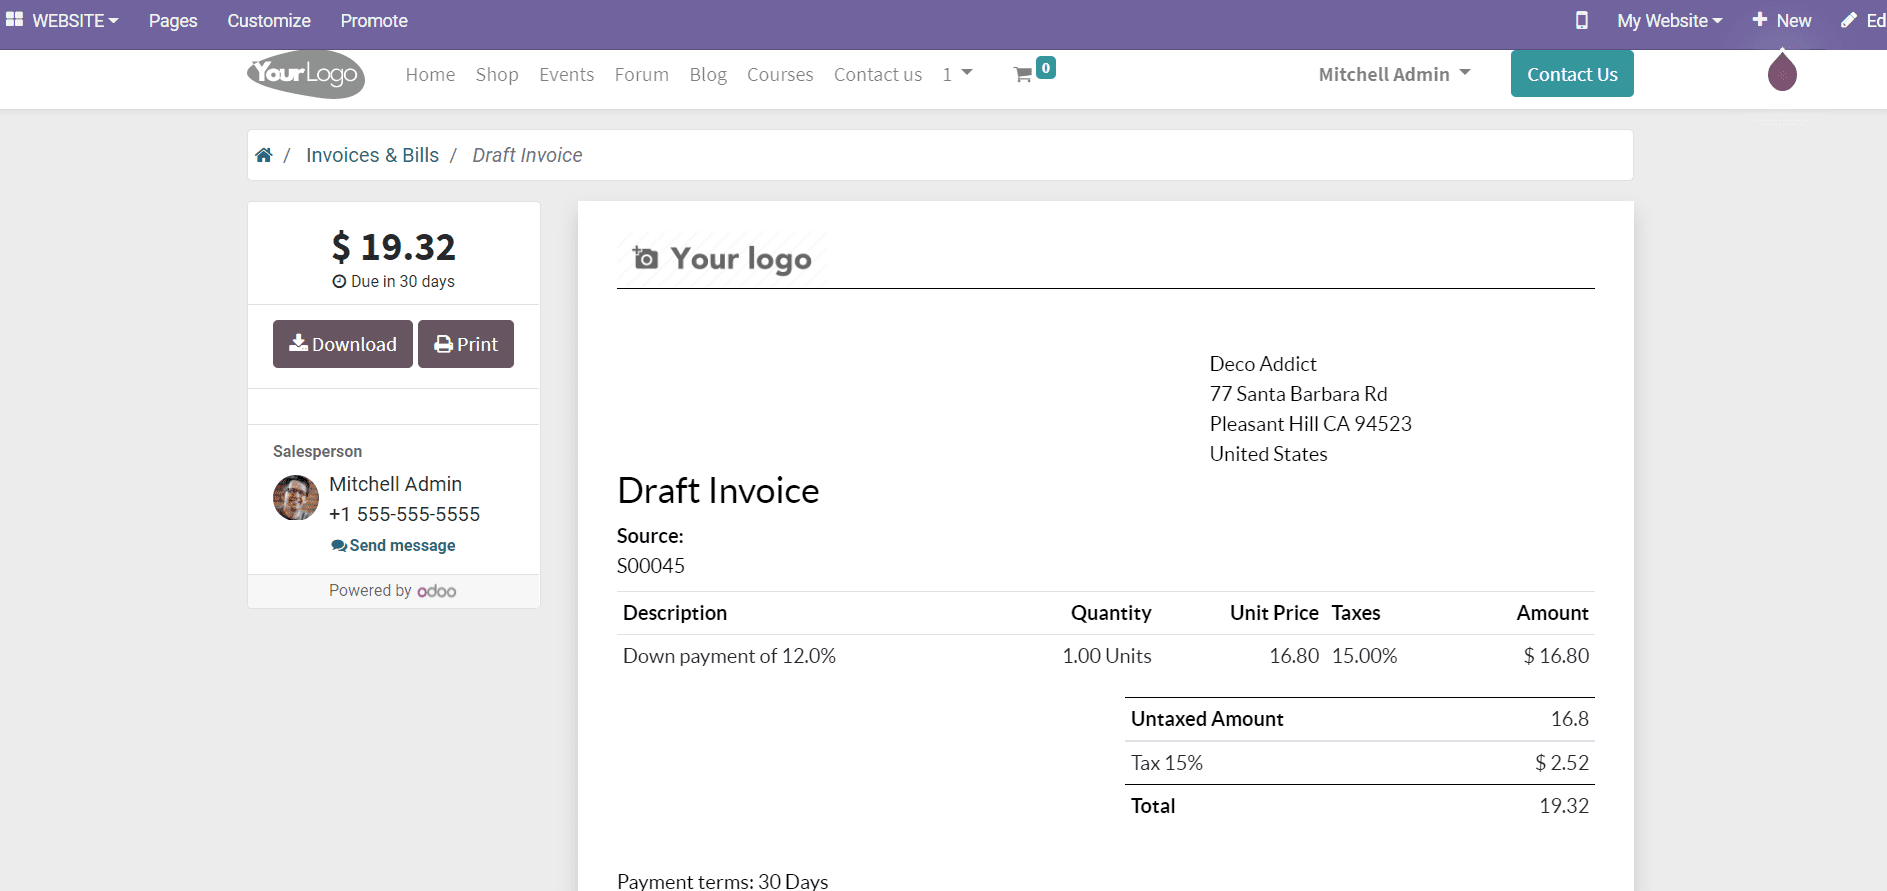
This will be a draft form of the Customer Invoice and you can make changes in the data by using the ‘Edit’ button. Clicking on the ‘Preview’ button will lead you into the website view of the draft invoice.
To confirm the invoice, you can click on the ‘Confirm’ button. After clicking the Confirm button, you will be able to get the various options to take action on the Invoice such as Send & Print, Register Payment, Preview, Add Debit Note, Add Credit Note, and Reset to Draft.

To send the Invoice to the respective customer and take a print of the document, you can click on the ‘Send & Print’ button. You will get an email template to send the Invoice to the customer. You can decide whether to send the invoice by post or Email.
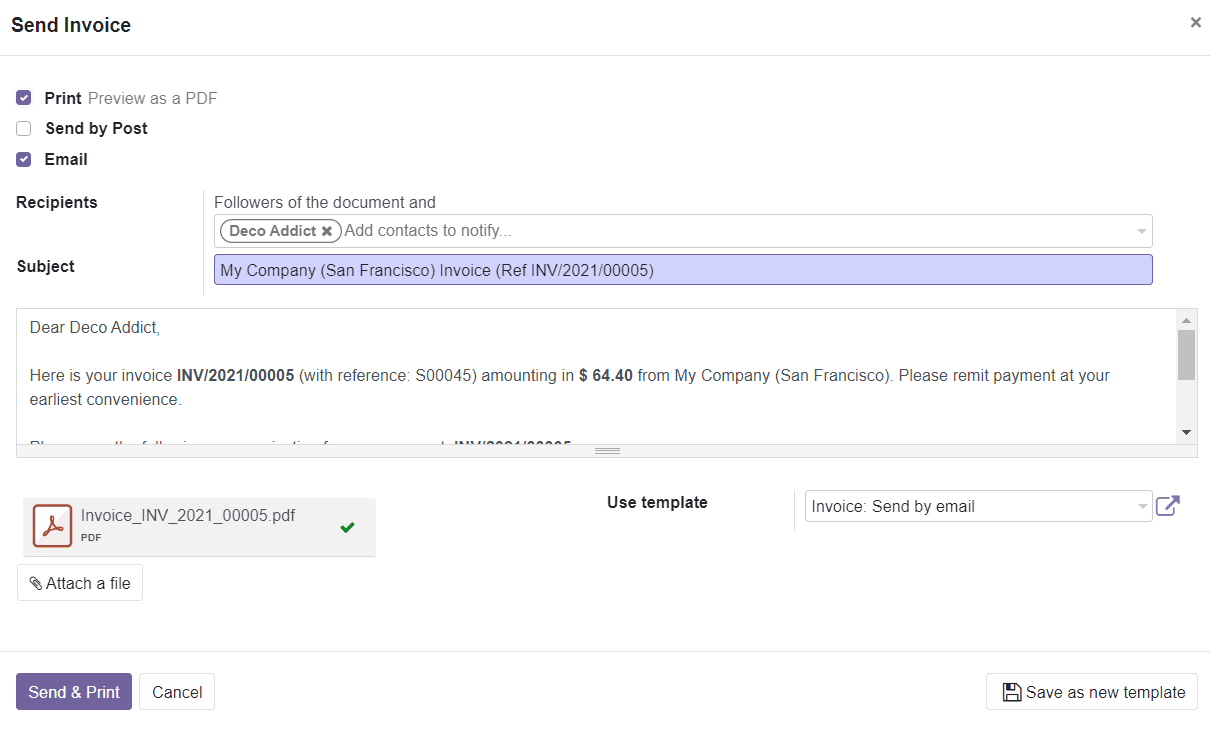
Additionally, you can attach documents related to the invoice and click the ‘Send & Print’ button. Odoo will lead you to a new page where you can adjust the layout of the document.
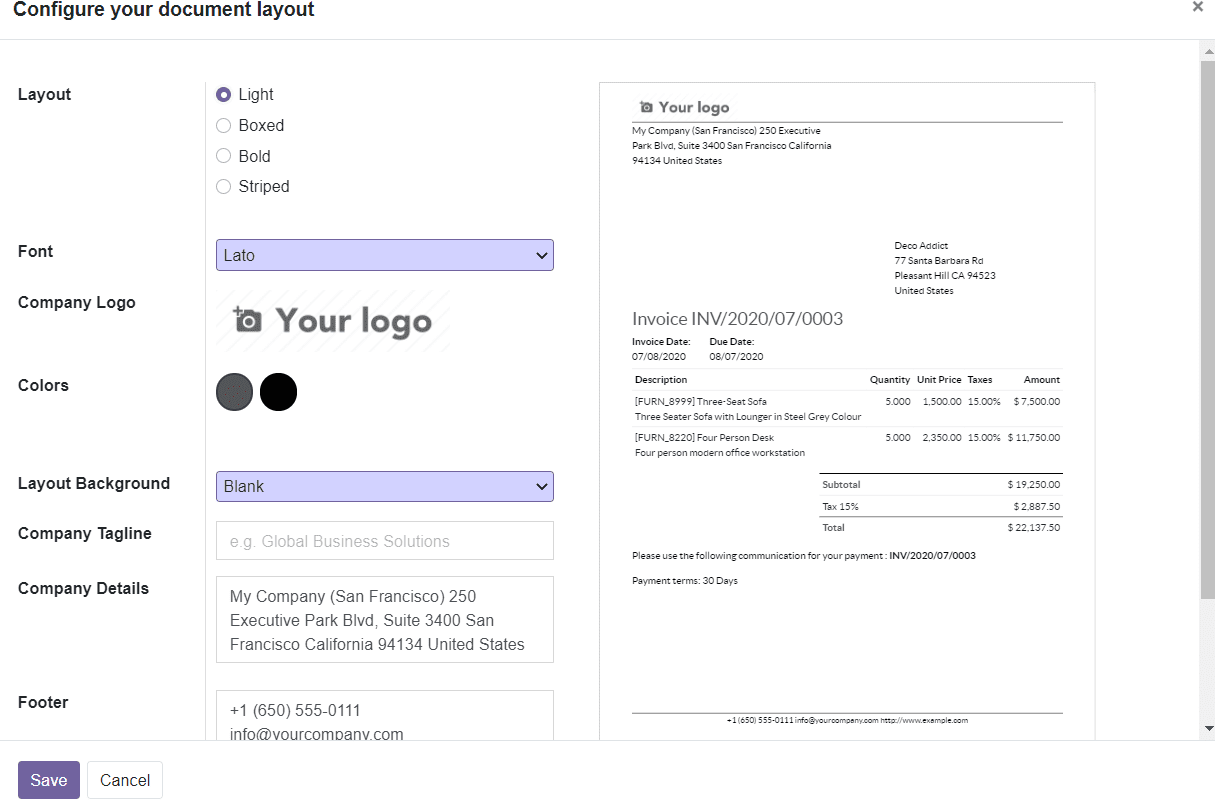
In this field, you can define the Layout, Font, Company Logo, Colors, Layout Background, Company Tagline, Company Details, Footer, and Paper Format of the Invoice. You can design the layout at your own convenience. After configuring a suitable layout for the document, you can click on the ‘Save’ button.
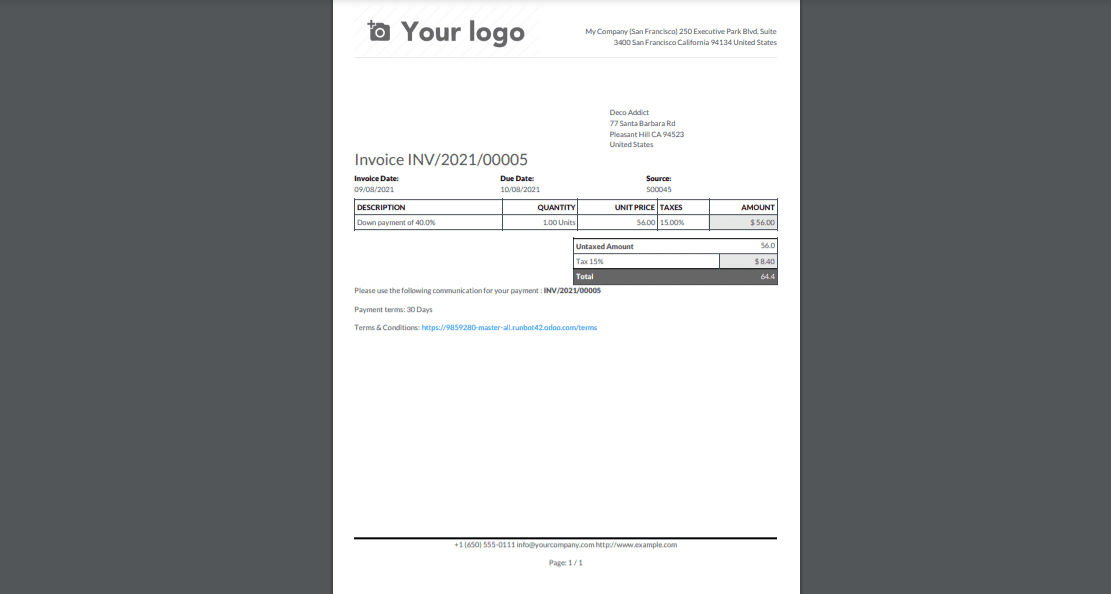
You will get a print of the Invoice as shown in the image above.
To register the payment of the sales order, you can make use of the ‘Register Payment’ button given in the particular Customer Invoice window.

You can easily register the payment by adding details in the pop-up window as shown below.

You can select the Journal from the drop-down menu. Mention the Recipient Bank Account in the specified field. The fields for adding the Amount of the particular order and Payment Date will be automatically filled in accordance with the data added in the Sales Order. The reference number of the Memo of the Invoice also can be visible in this form. Click the ‘Create Payment’ button to register the payment.

After completing the payment, the status of the order will be displayed as Paid as shown in the image.
The main menu bar of the Sales module contains the ‘To Invoice’ field where you will get a separate list of all orders to invoice and to upsell.

Now, let’s discuss how to generate refunds in the Sales module.