Request for Quotation
When your company is making a large-scale purchase for business, you can request a quotation for the item from the respective vendor. This will be useful to compare the quotes between different suppliers to check the pricelist and quality of the product and choose the appropriate one. The Request for Quotation in Odoo helps you to send the request to a vendor and if you are satisfied with the response for RFQs you can easily convert the RFQ into a purchase order.
When we open the Purchase module, we will land on the page of RFQ. It displays all RFQs created in the Purchase module with their reference number, vendor name, company, purchase representative, order details, next activity, source document, total, and status of the existing RFQs.

Above the list of RFQs, you can find the All RFQs and My RFQs fields where you can see the number of RFQs to send, waiting, and late separately. You will also get the details about the Average Order Value, Lead Time to Purchase, Purchased Last 7 Days, and RFQs sent Last 7 Days in the same window. The view can be shifted into the list, kanban, pivot, graphical and calendar views at your convenience. You can use sorting options such as Filters and Group By to locate the RFQ based on your requirement.
The ‘Create’ button will help to create a new request for quotation in the Purchase module.

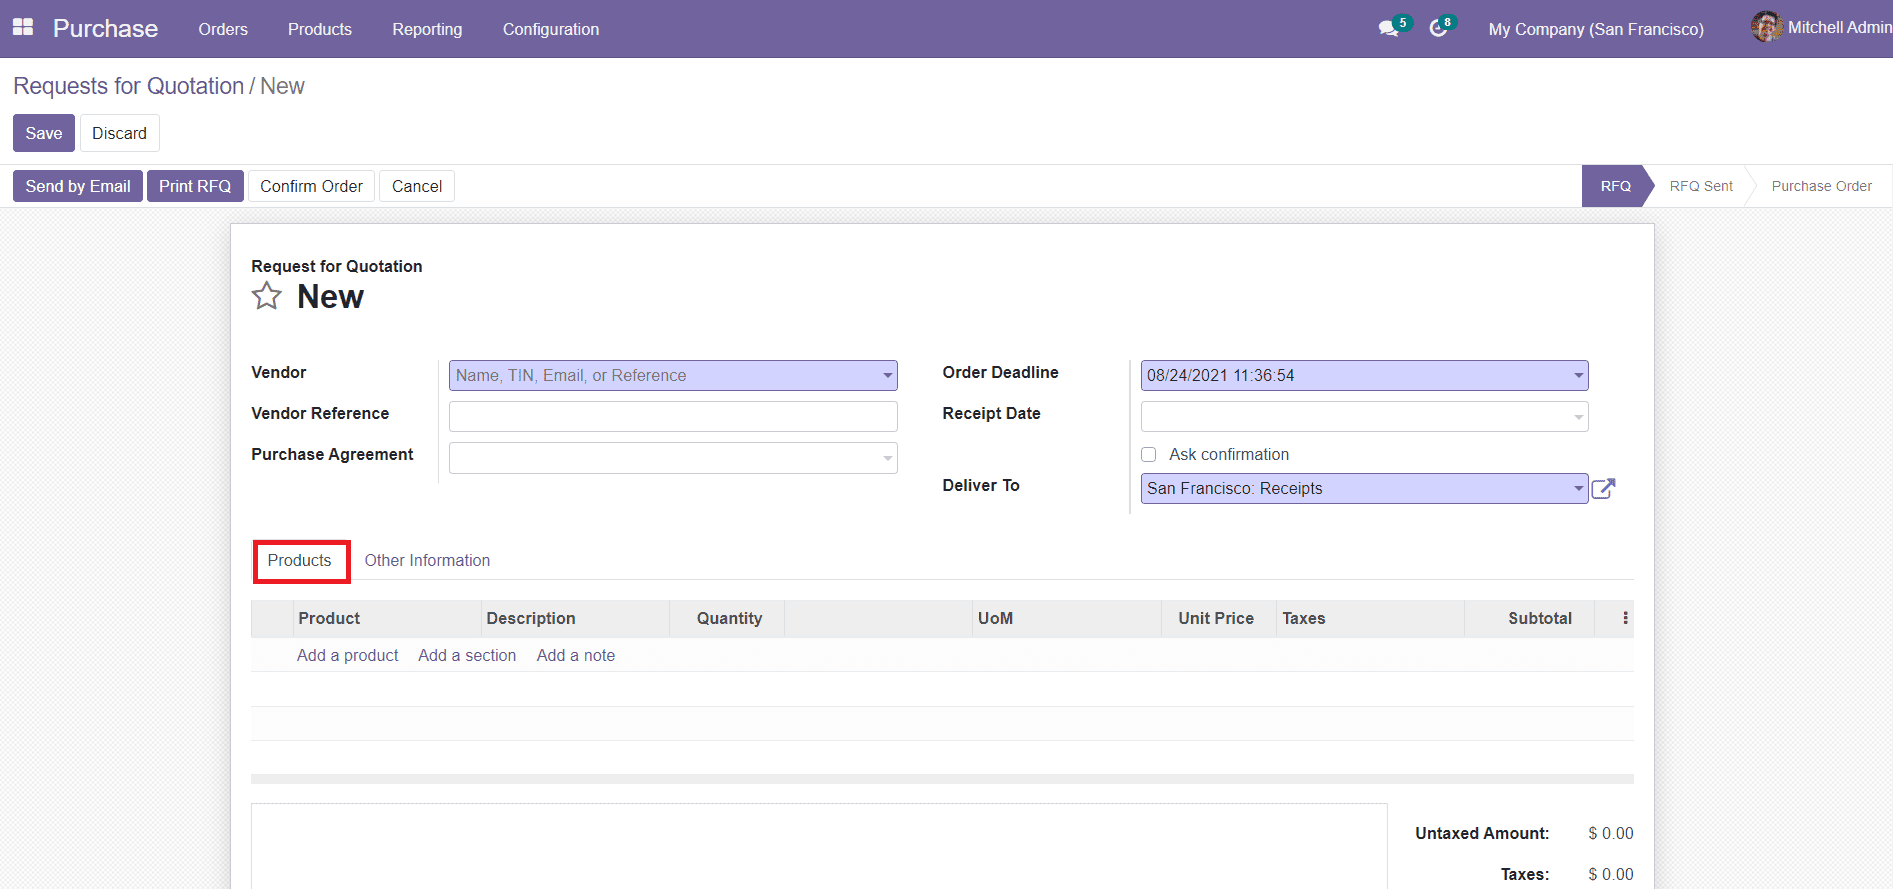
Select the Vendor’s name with whom you want to purchase and mention the Vendor Reference in the given field. Attach the purchase agreement to the RFQ which will define the conditions between vendor and buyer. Order Deadline will determine the date of the conversion of RFQ into an order. While mentioning the Receipt Date, you can enable the ‘Ask Confirmation’ button which will send a confirmation mail to the vendor regarding the receipt date.
Under the Product tab, you can configure the product list to the RFQ. Click the ‘Add a product’ option and select a product that you want to purchase from the configured product list in the module. While selecting a product, the other fields such as Description, Quantity, UoM, Unit Price, Taxes, and Subtotal will be automatically filled with respect to the product you have selected. You can change the quantity of the product as per your demand and the total price will change accordingly.

Below to the ‘Other Information’ tab, add the Purchase Representative, Company, Payment Terms, Fiscal Position, and Incoterm details. After adding all important details to the new RFQ, you can save the data.

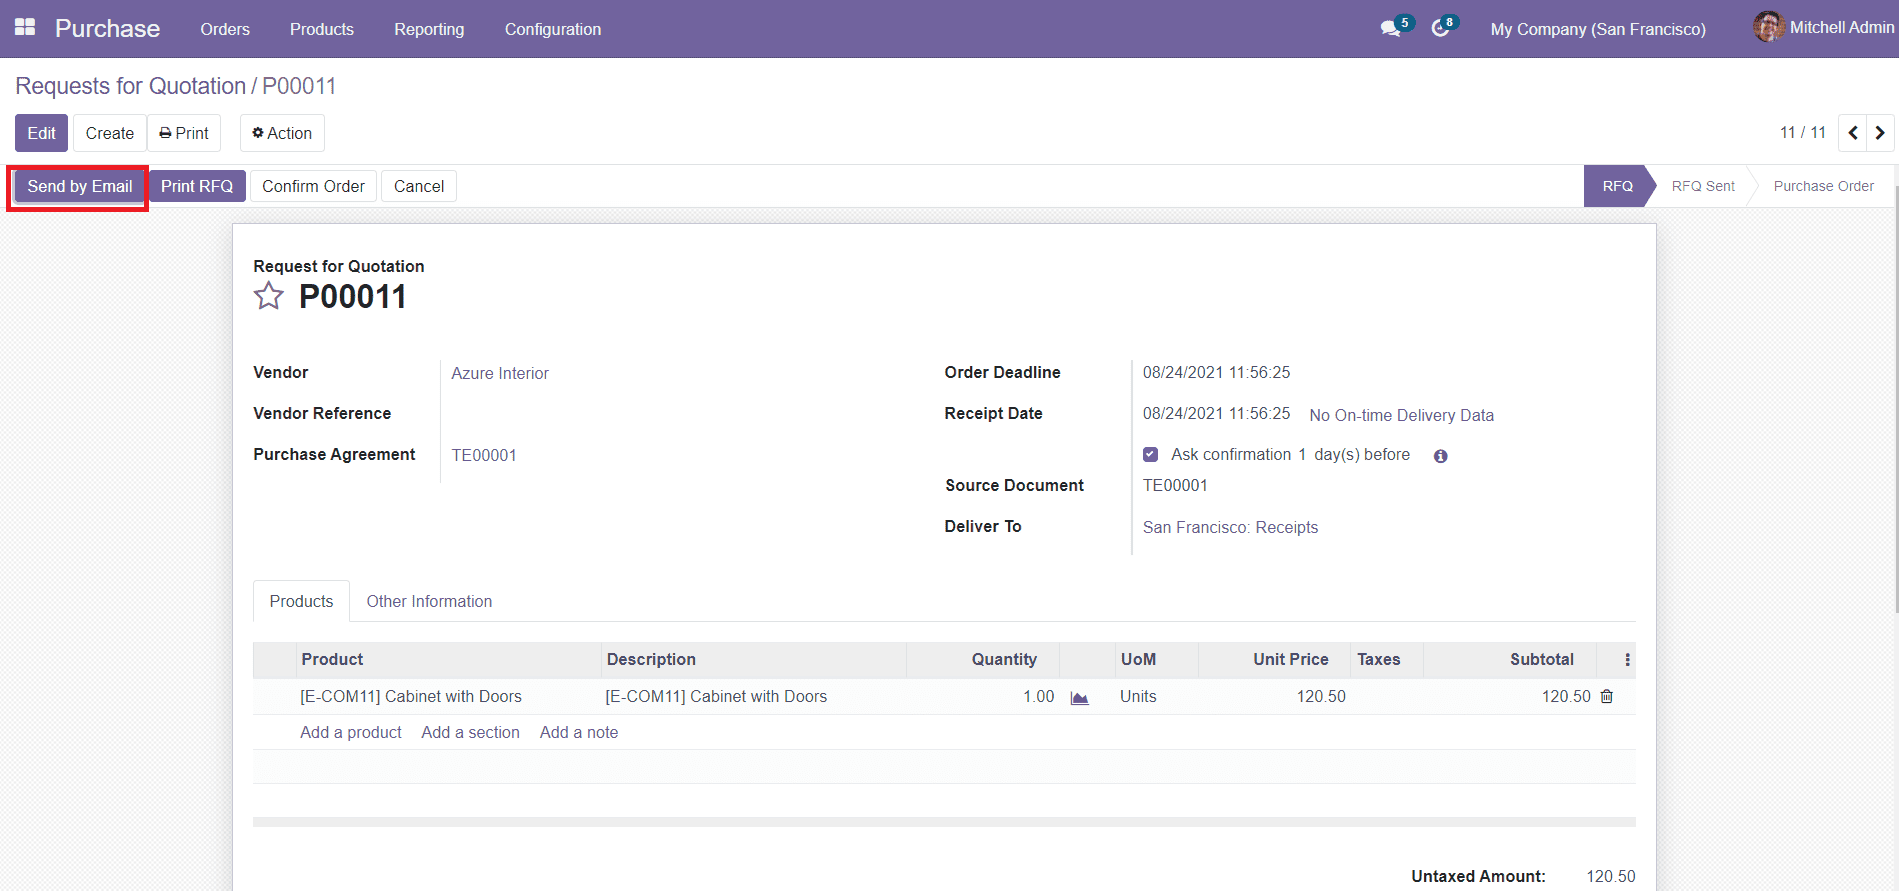
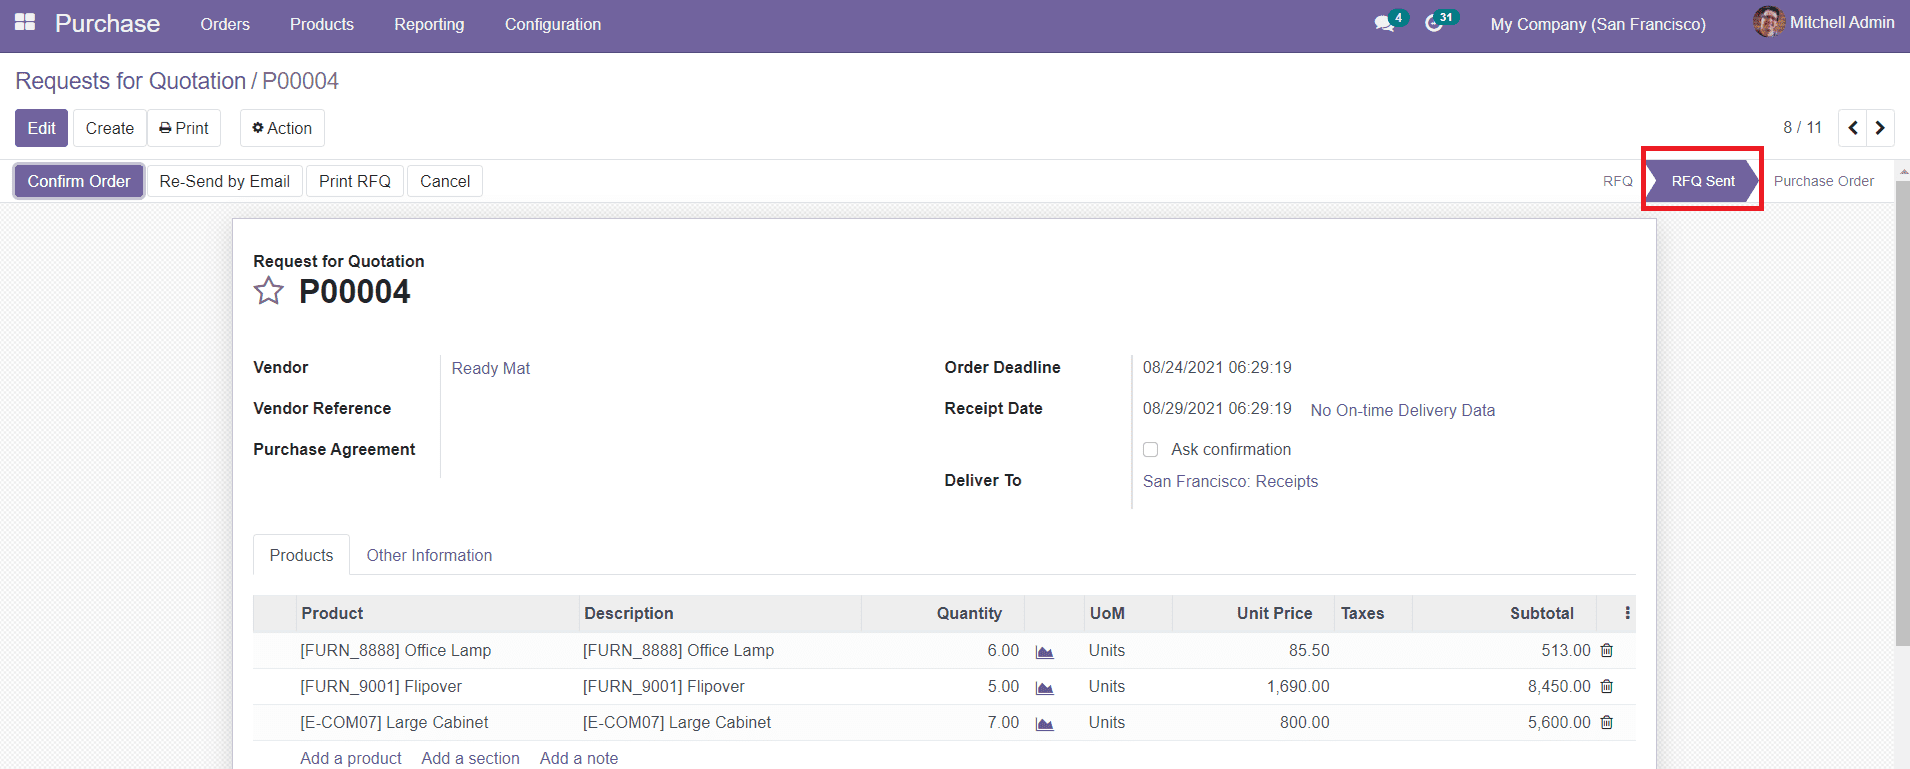
After saving the RFQ, you will be able to see an option to send the RFQ through Email. While clicking the ‘Send by Email’, an auto-generated mail will appear and you can send this to the respective vendor. After sending the mail, you can view the status of the newly created RFQ that has changed into the ‘RFQ Sent’.

You can take the printout of the RFQ using the ‘Print’ option shown on the screen.