Contents
It is easy to manage and create new Content for the Courses in the eLearning module. You will be able to get access to the Contents window from the Courses menu as shown below.

This window will show all available Contents in the eLearning module. You can select a Content from the window to get detailed information about that particular content and use the Edit button to make changes in the available data.
You can use the Kanban and List view on this platform. You can also find the advanced sorting options in the window to ease the searching and grouping process. Odoo will allow you to use default and customizable Filters and Group By options for this. To create new Content, you are allowed to use the ‘Create’ button given at the top left corner of the window.
After clicking the Create button, you will get a new Content creation window as shown below.
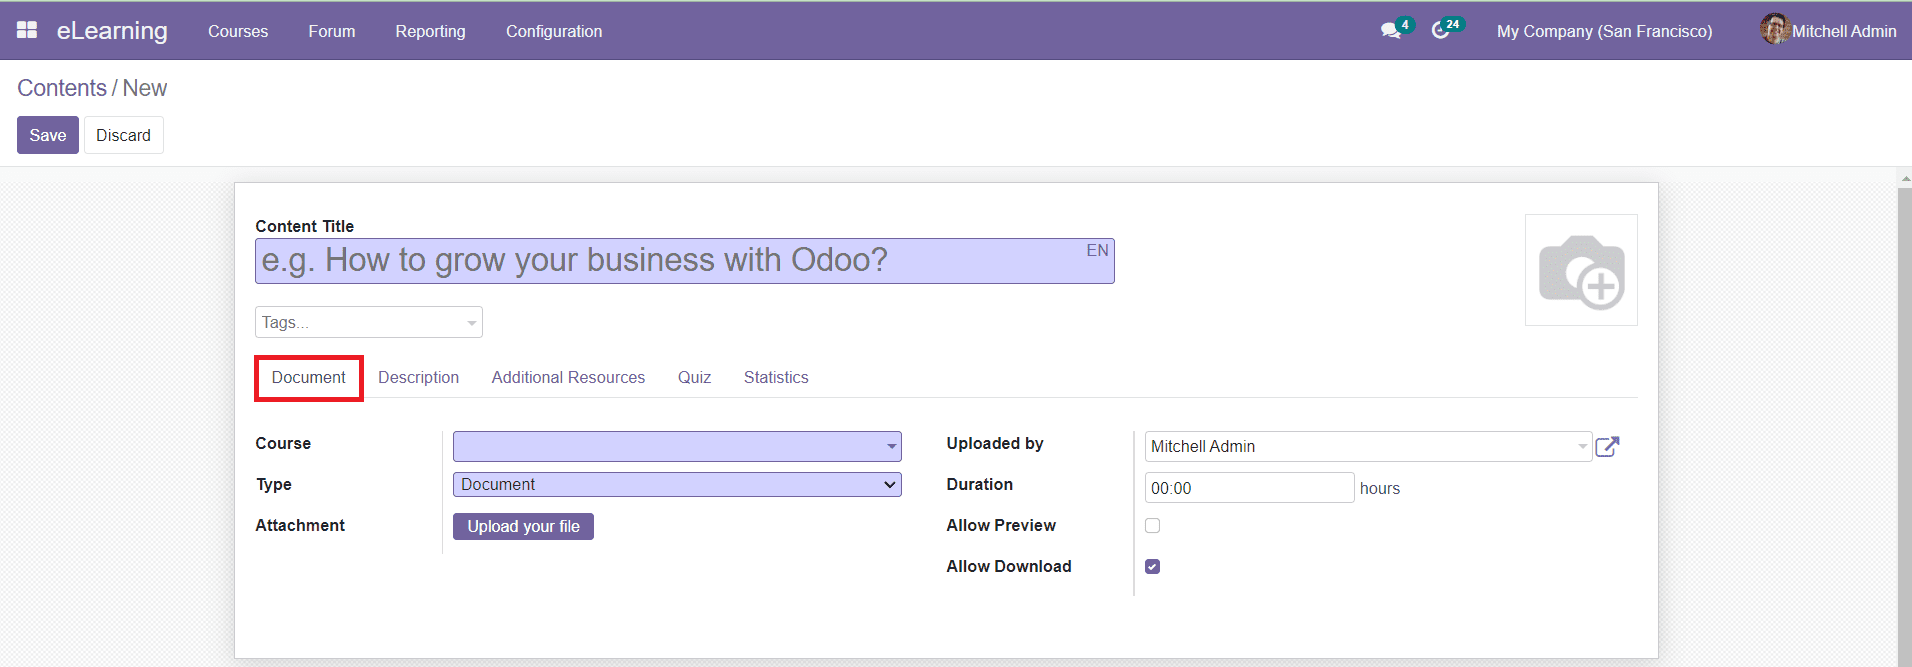
In this window, you can add the Content Title and suitable image for the Content in the given fields. You can also add suitable tags for the Content in the Tags field. Under the Document tab, you can select the respective Course of the Content. In the Type field, you can select the type of content from the given drop-down menu. The content type includes infographics, Web Page, Presentation, Document, Video, Quiz, and Certification. For example, if your content is a Document or Presentation you can select the respective type in this field and upload your presentation or document in the Attachment field. The right side of the Document tab will show the details about the Uploaded By and Duration of the file. By enabling the Allow Preview and Allow Download options, you can allow anyone to get access to the course and download the content of the course respectively.
In the Description section, you can add a short description of the Content of the course.

The Additional Resources tab can be used to add information about the additional resources of the Content.
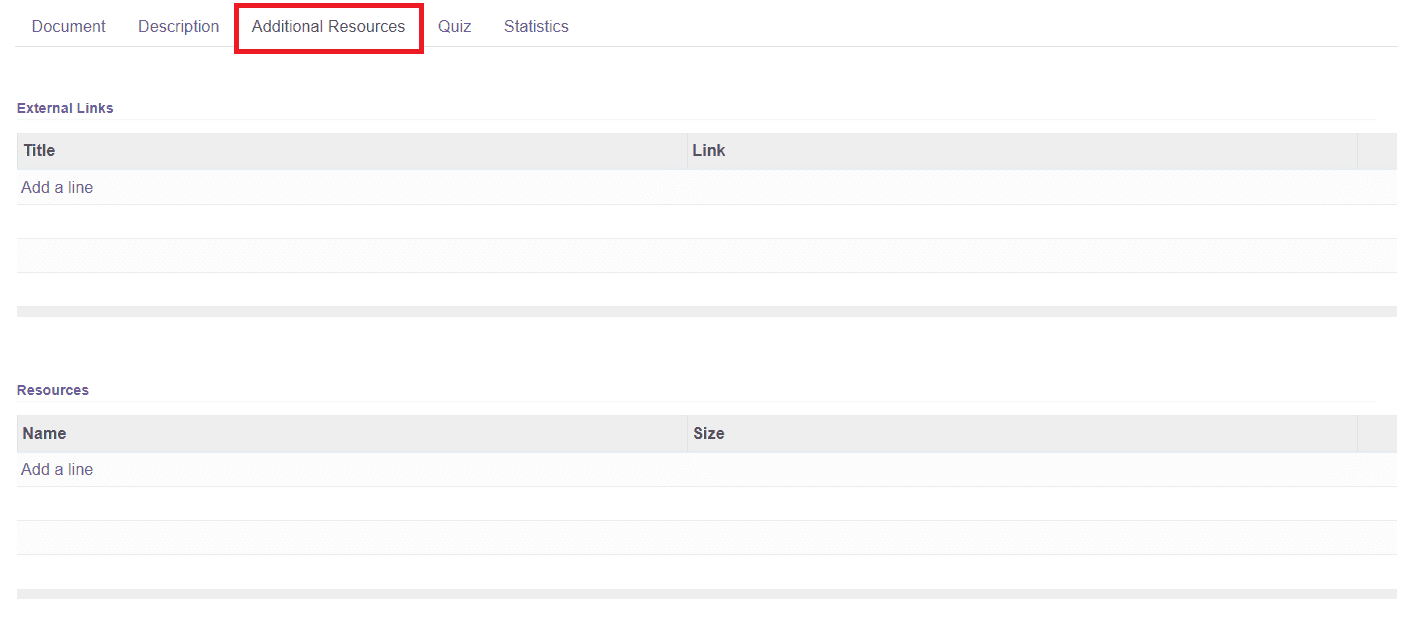
You can add External Links and Resources in this tab using the ‘Add a Line’ option given in this field.
In the Quiz tab, you can create Questions for the members of the Course.

On the left side of the window, as shown in the image above, you can set Reward points for the members of the Course for attending the Quiz you have prepared in this tab. You can set points for the First attempt, Second attempt, Third attempt, and Fourth attempt. In the Questions field, you can create Questions for the Content using the ‘Add a Line’ option.
The Statistic tab in the Content description shows the number of Views from the Members and Public for the Content.
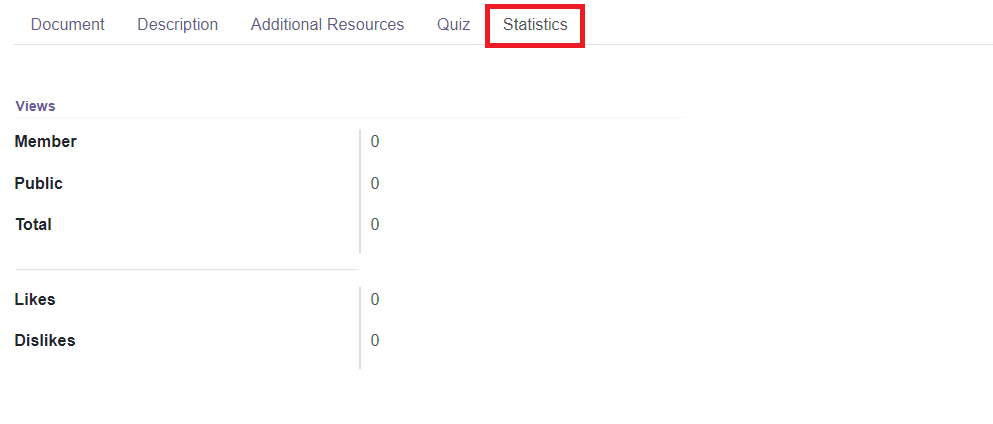
You can also view the number of Likes and Dislikes gained by this particular Content in this Statistics tab.
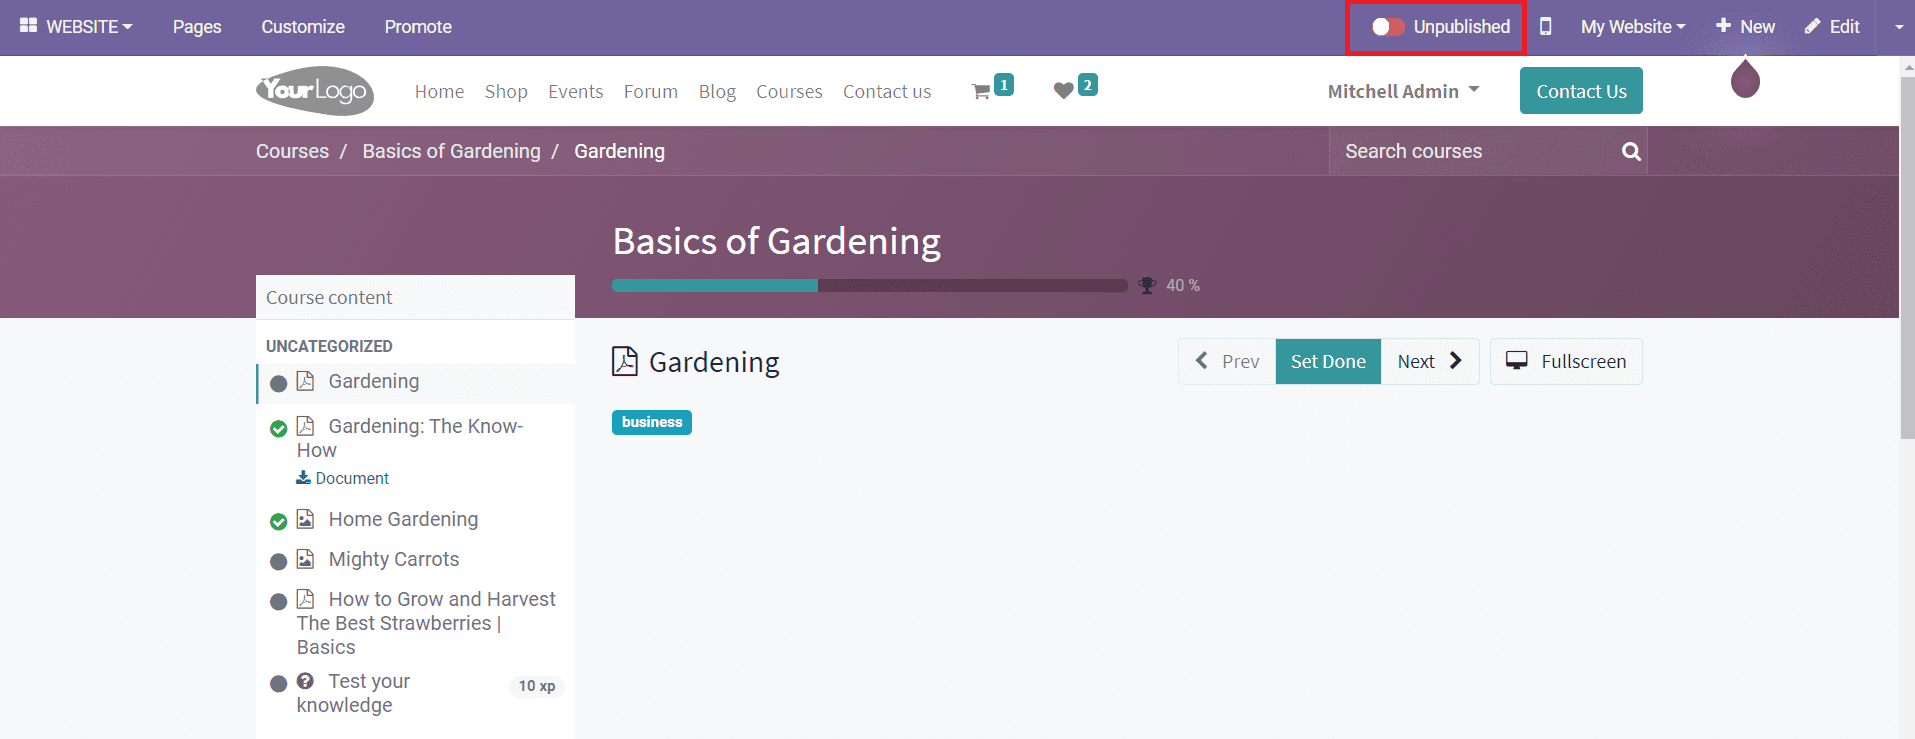
After completing all fields in the new Content creation window, you can click on the ‘Save’ button to save the new Content. After saving the Content, you will get the ‘Go to Website’ button as shown in the image below which can be used to publish the Content on your website.
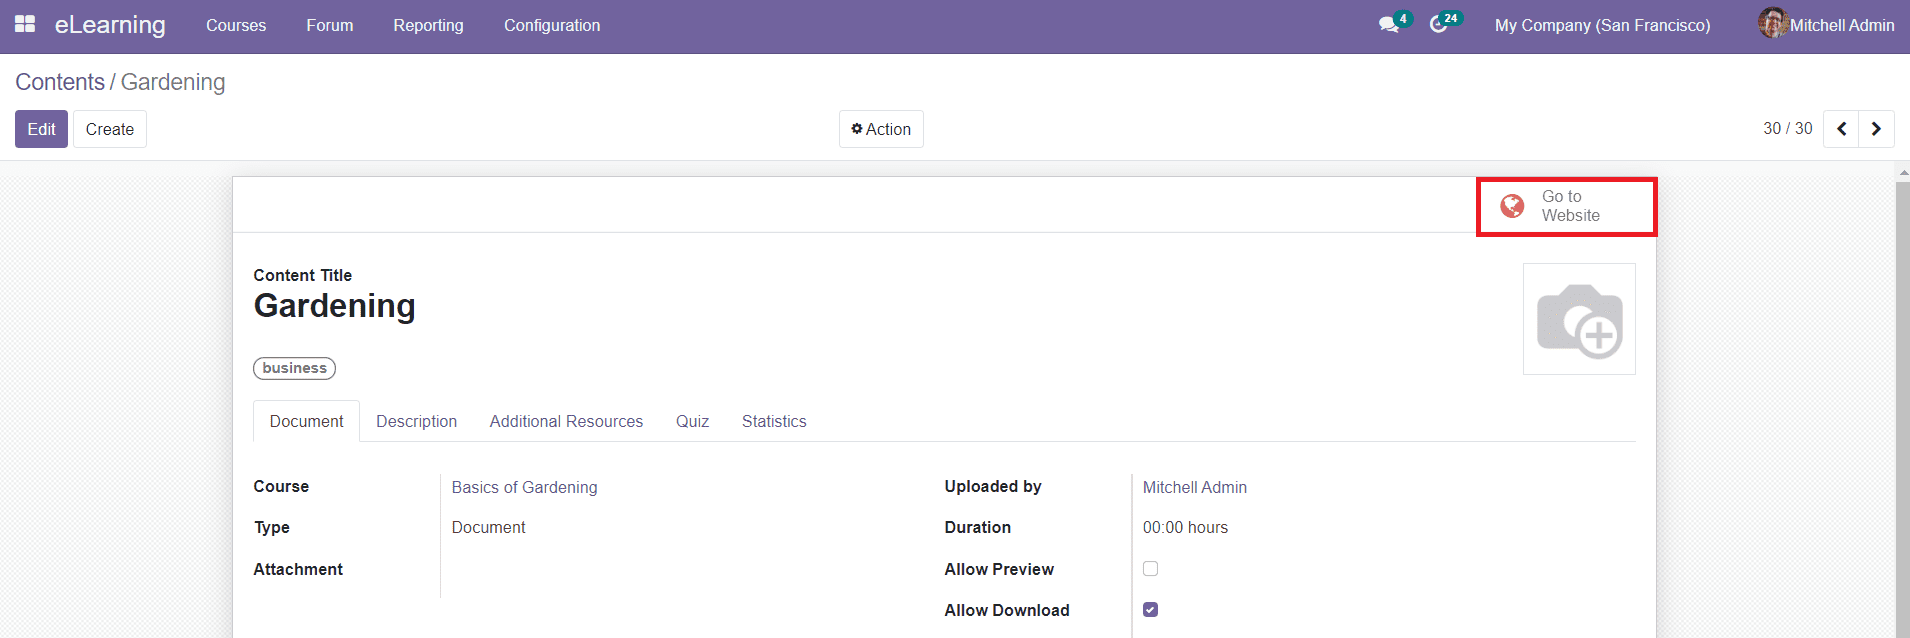
To publish the Content on your website, change the ‘Unpublished’ status to ‘Published’.
This is how we create new Content for Courses in the Odoo eLearning module and now, let’s take a look at how to create Tags for the Content in the next session.