Register Payment
Registering the payment is one of the crucial steps after generating a customer invoice. When you confirm a customer invoice, you will get the option to register the payment in the same window.
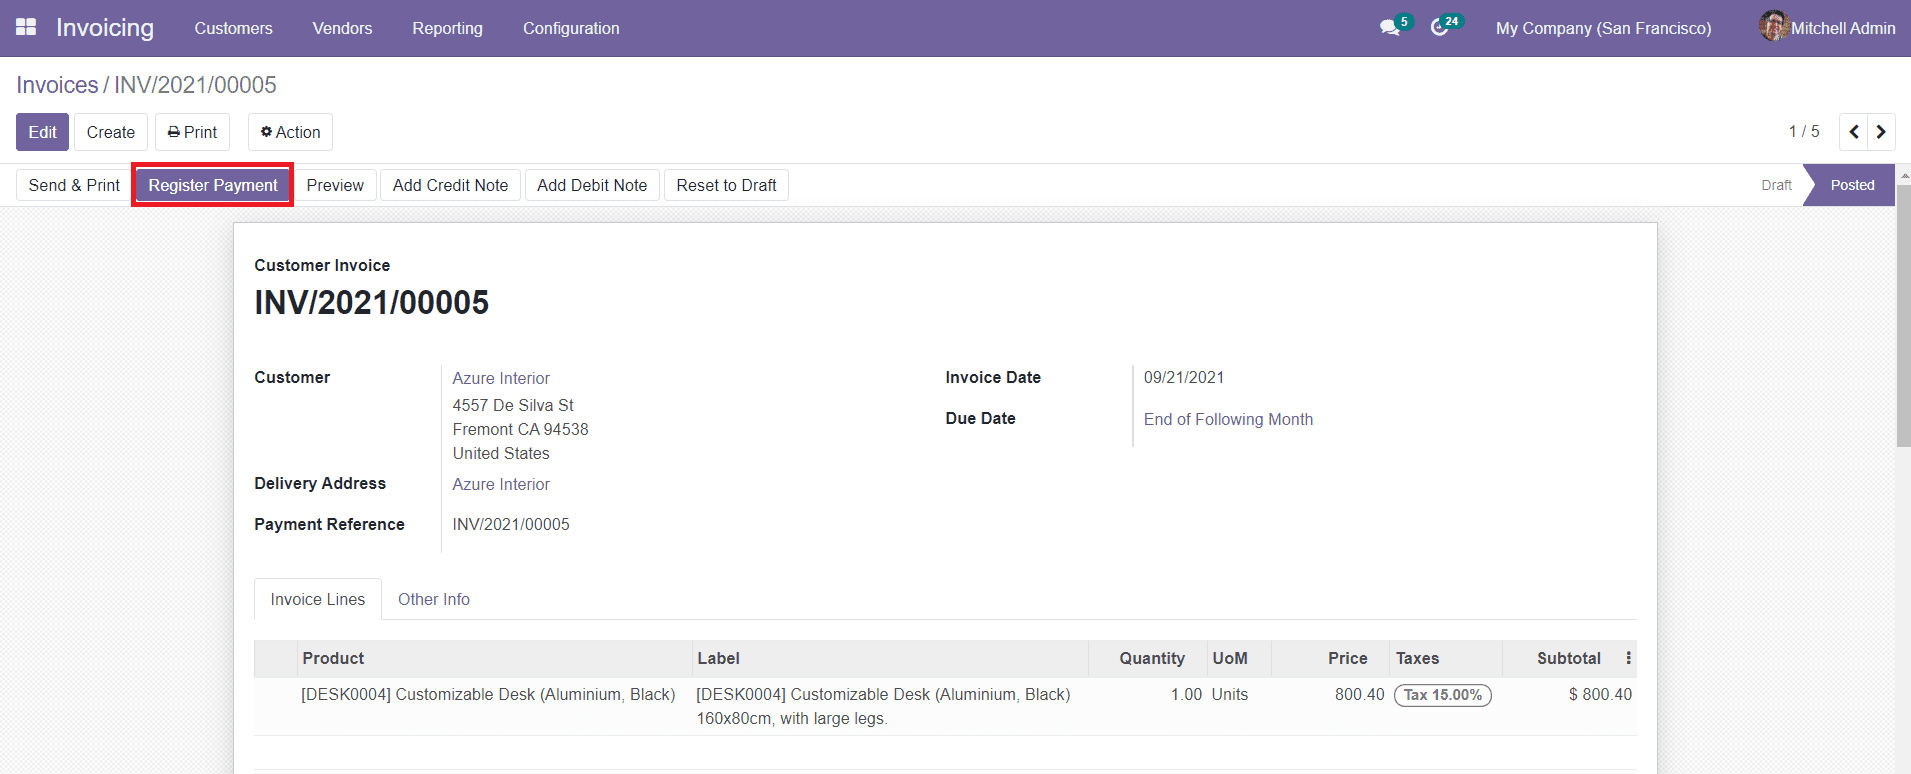
Click the ‘Register Payment’ button. You will get a new pop-up window to create the payment on the newly-created invoice.

The window will show details about the payment such as the Journal, Recipient Bank Account, Amount, Payment Date, and Memo in the specified fields in the Register Payment window. If you want to change the details, you can edit the respective fields. After this, you can click on the ‘Create Payment’ button to register the payment.
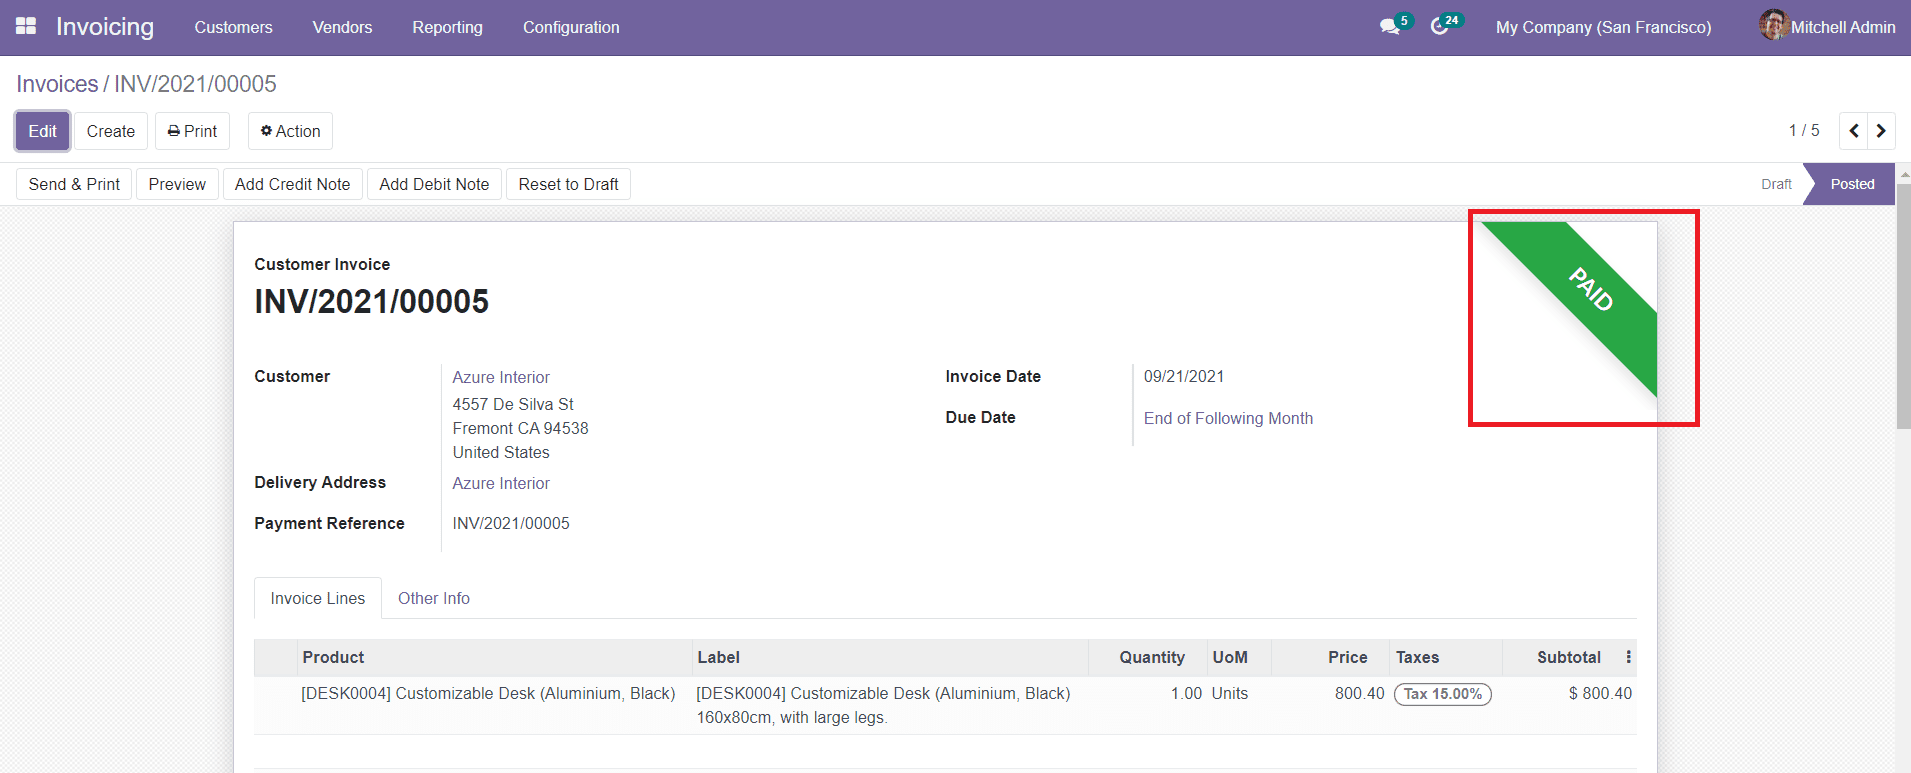
After completing the payment, the respective customer invoice will be marked as Paid as shown in the image below.
There is an additional field available in Odoo to manage the payments in the Customers menu of the Invoicing module.

This platform will show all payments in the Invoicing module. The list will display the Date, Number, Journal, Payment Method, Customer, Amount, and Status of the payment. You can also shift the view into Kanban and Graphical views.
Odoo will help you to create a new payment using the ‘Create’ button given in the window. When you click this button, you will be able to get a new form to add detail about the payment.
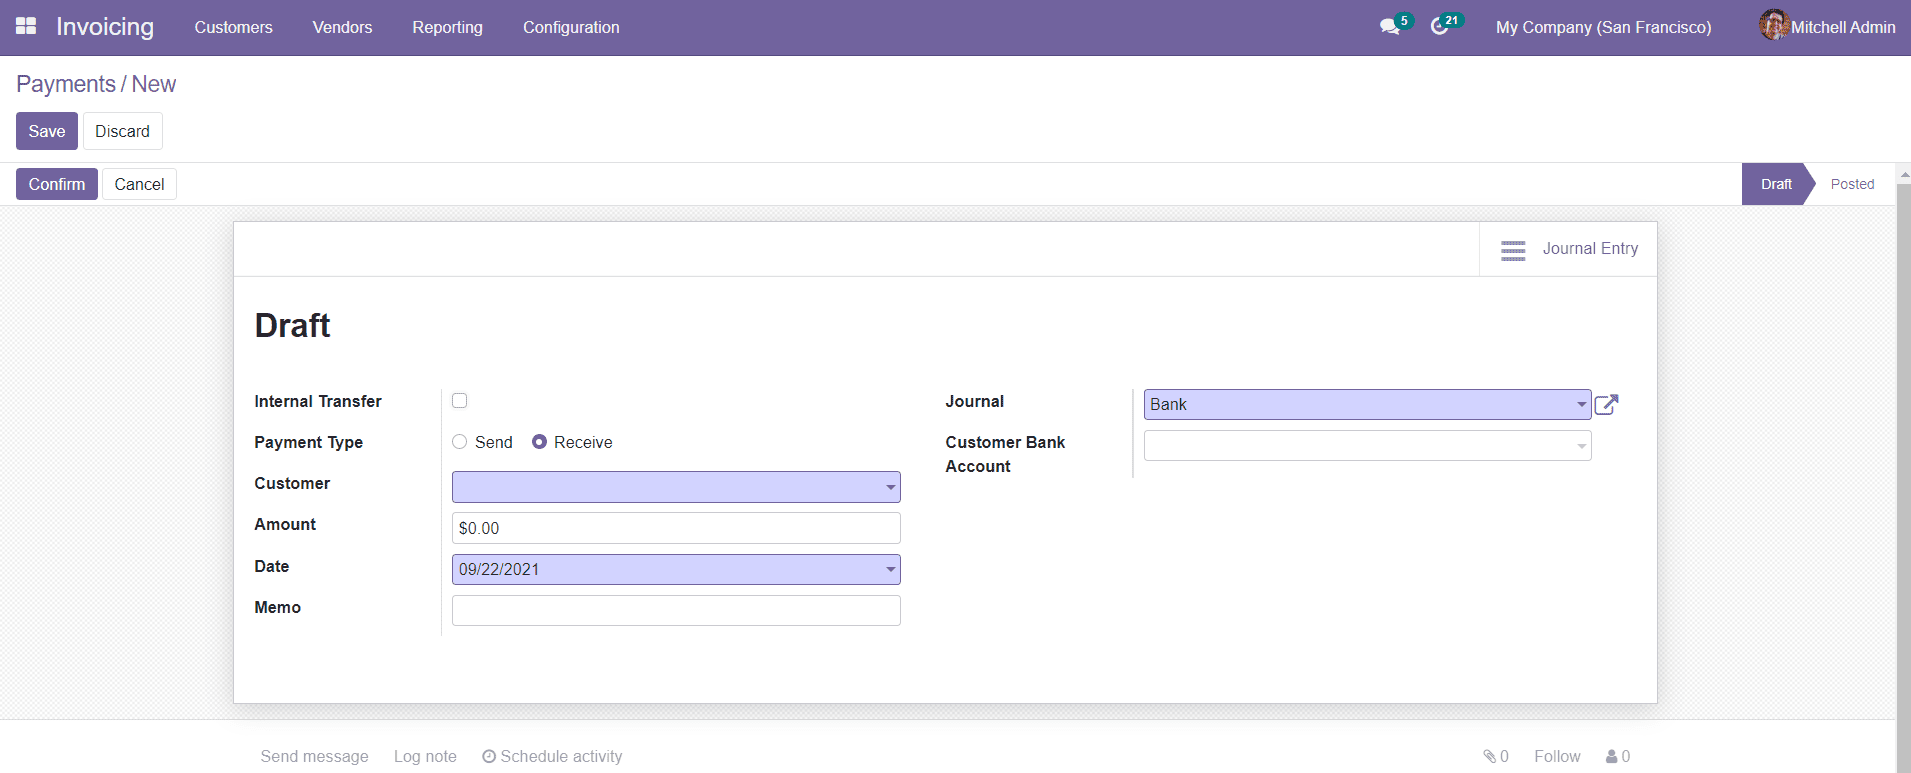
You can specify the payment is Internal Transfer or not in the form. Internal Transfer indicates the transactions within the company. There are Send and Receive Payment Types available on this platform. The Customer Payment belongs to the ‘Receive’ type and the Vendor Payment belongs to the ‘Send’ type. Add details about the Customer, Amount, Date, Memo, Journal, and Customer Bank Account in the specified fields. You can save the data by clicking the ‘Save’ button. In order to confirm the draft payment, you need to click on the Confirm button.
After creating the payment, the window will show the Journal Entry that corresponds to the payment in the smart tab.
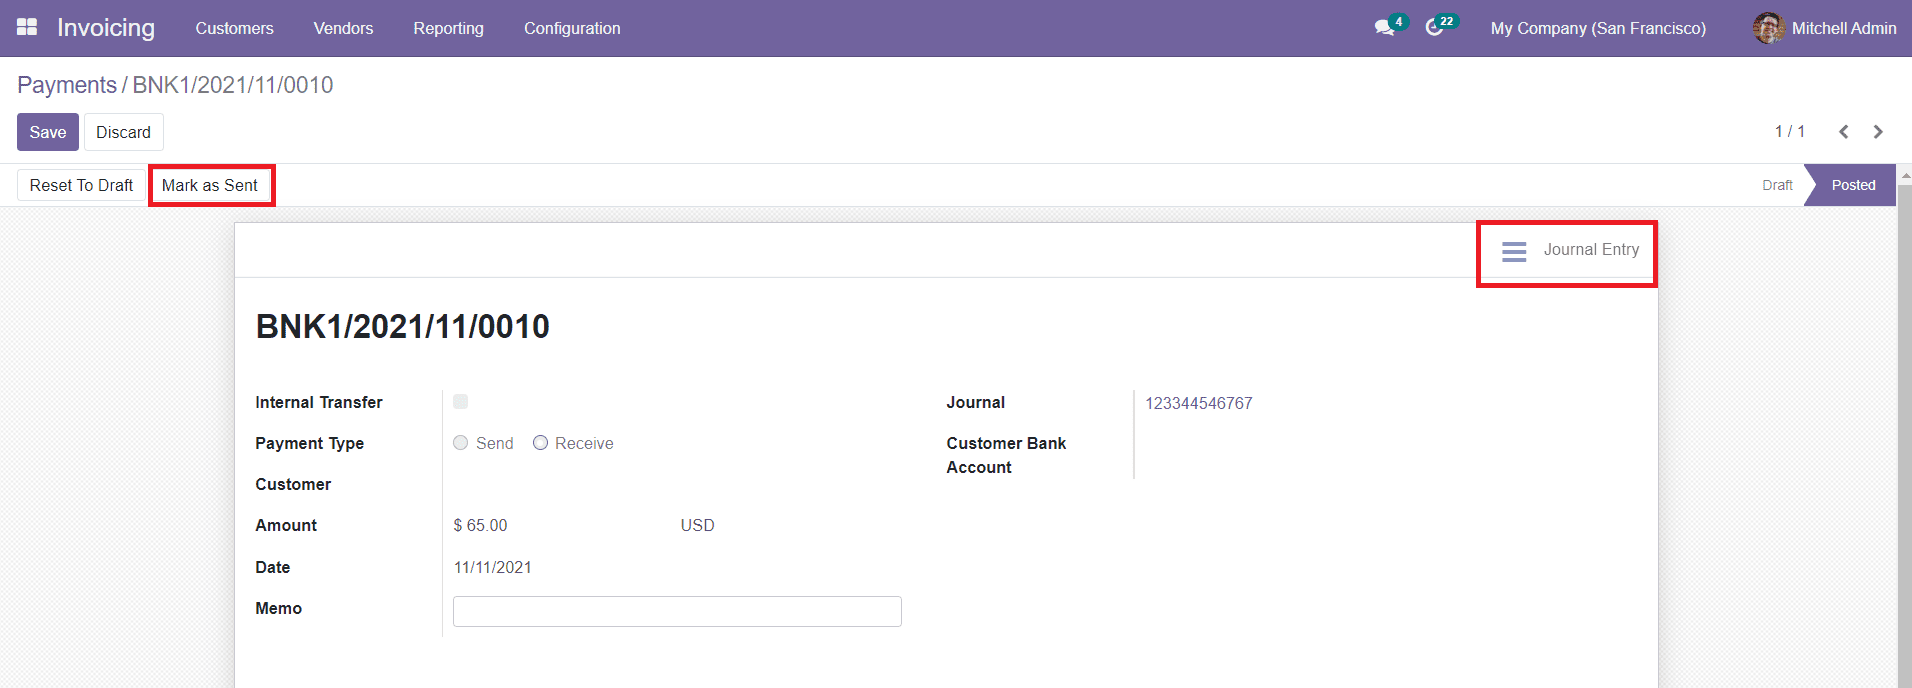
The ‘Mark as Sent’ option can be used to mark the payment as sent as shown in the image below.
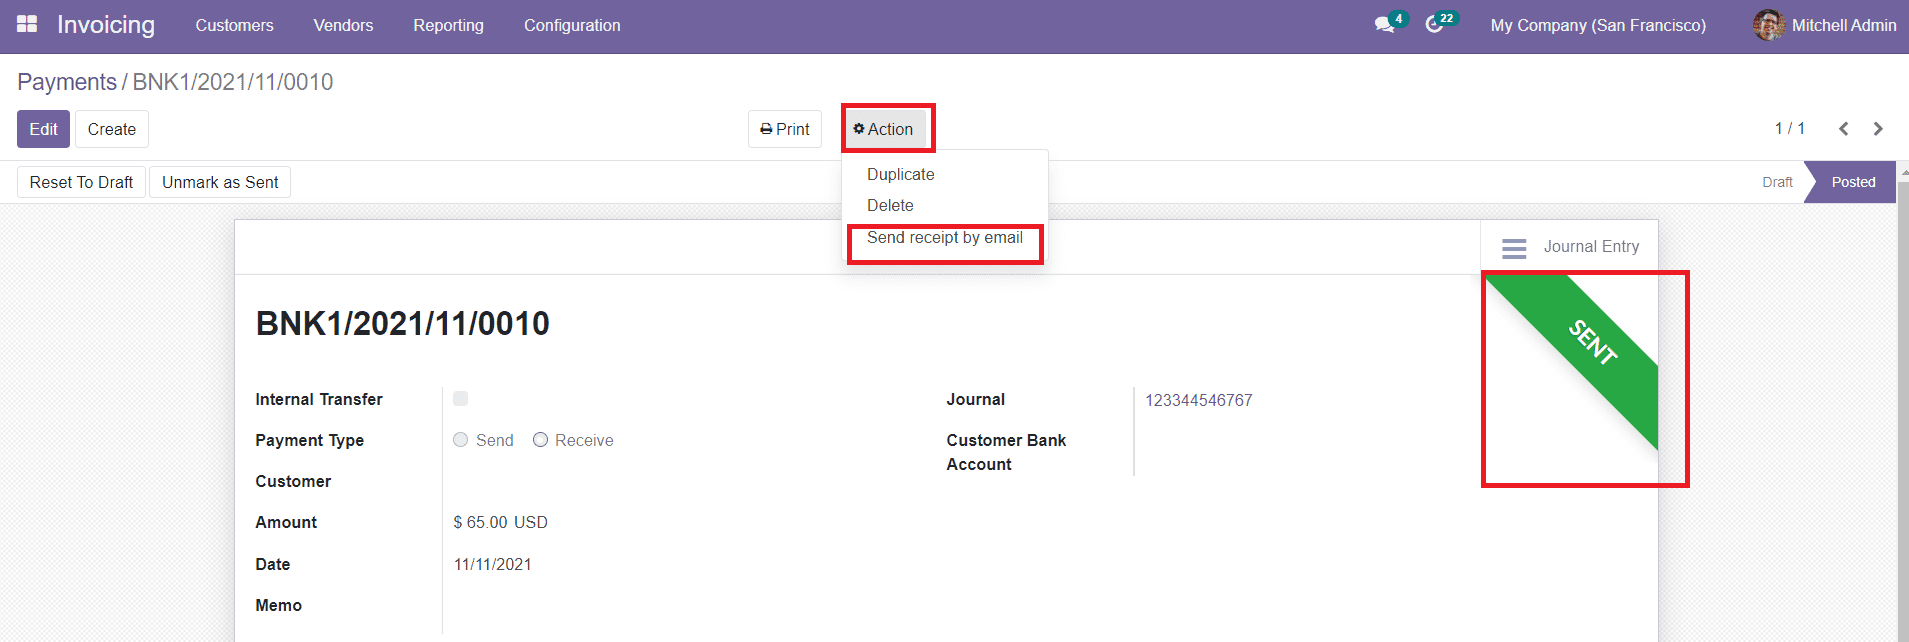
The Actions menu contains the Send Receipt By Email option to send the receipt to the respective customer via mail.
You can also manage and create Vendor Payments in the same method under the Payment option in the Vendors menu.
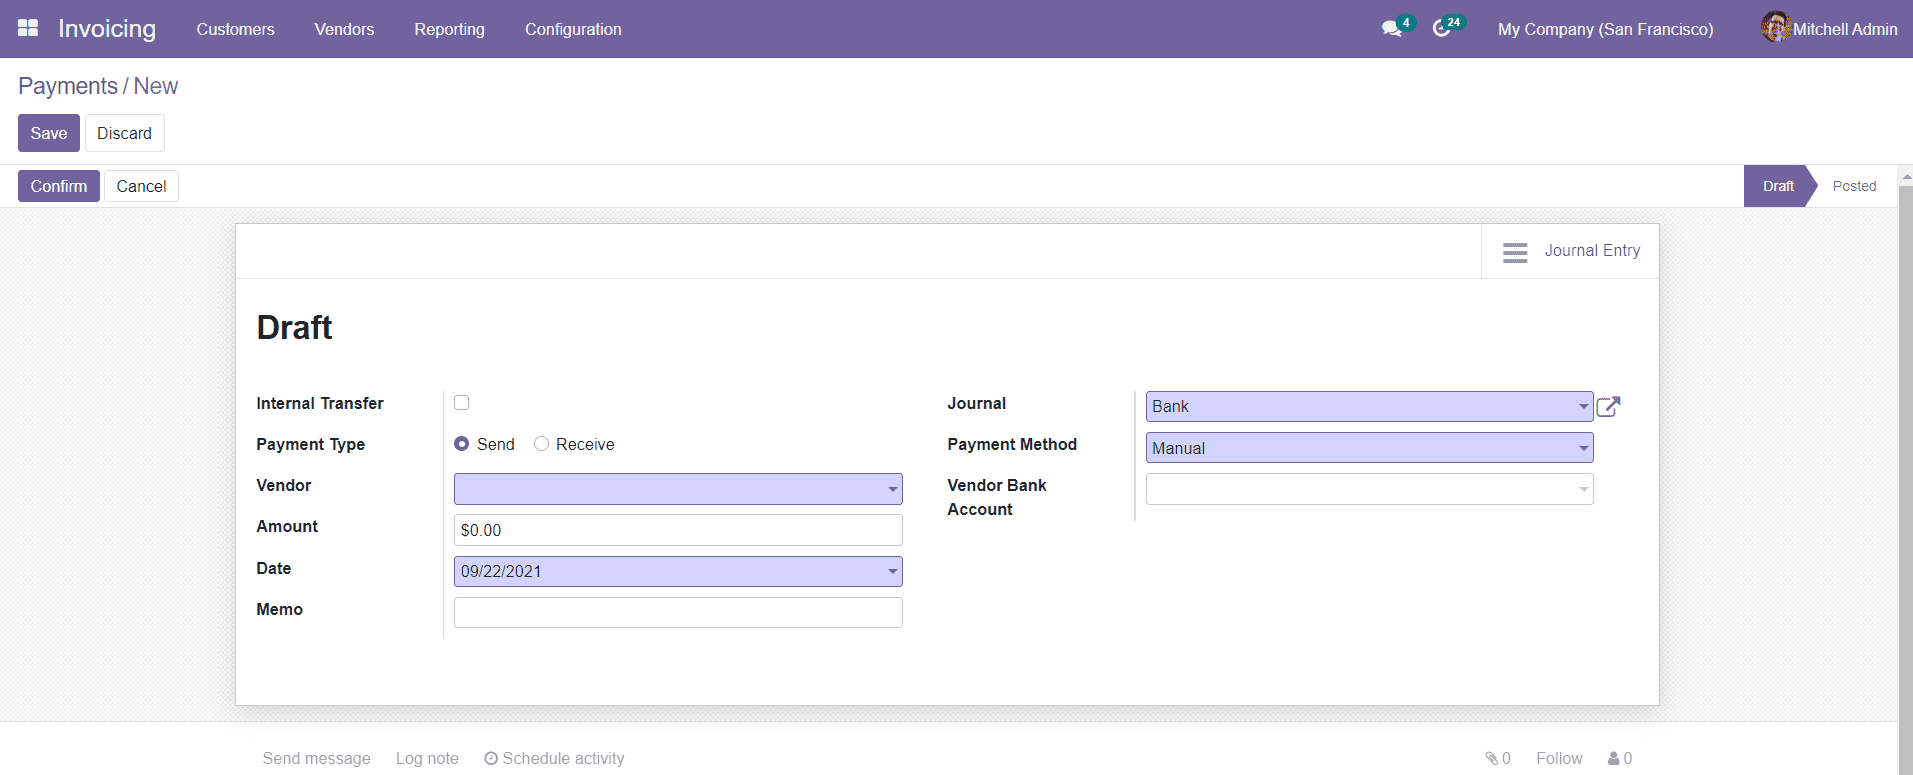
In the vendor payment window, you will get an additional option called Payment Method where you can define the method of payment. You can set the Payment Method as Manual or Cheque. By selecting the Manual method, you can pay or get paid by any method outside of Odoo. By choosing the Cheque option, you can pay the bill by cheque.
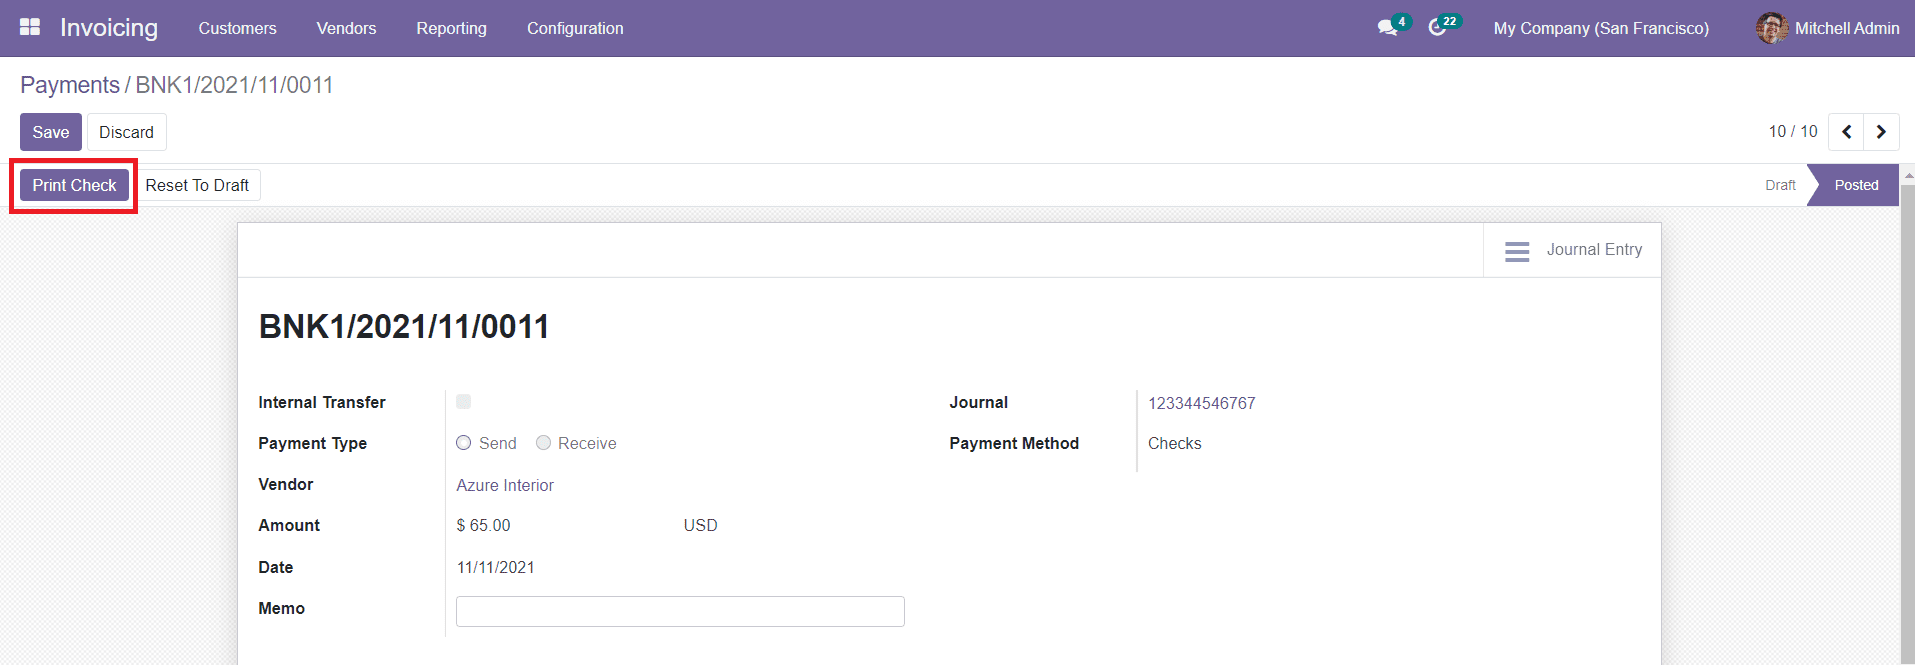
After confirming the Payment, the window will show the ‘Print Cheque’ option which will help you to take a printout of the cheque.
Now, we will take a look at the generation of credit notes in this module.