Channels
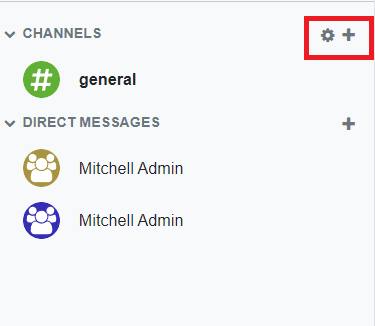
In the Odoo Discuss module, you can create various channels for group discussions. On the left side of the window, you will get the field to manage channels in the Discuss module.

The settings icon given near the Channels field can be used to view all available channels. You can view and join different channels using the settings icon as shown in the screenshot below.

You will get different groups on this platform and you can join the group by clicking the ‘Join’ button. Use the ‘Leave’ button to leave from the respective group. The list of groups can be filtered and categorized using the default and customizable Filters and Group By option given in this window. You can also add the groups in the Favorites shown on this platform.
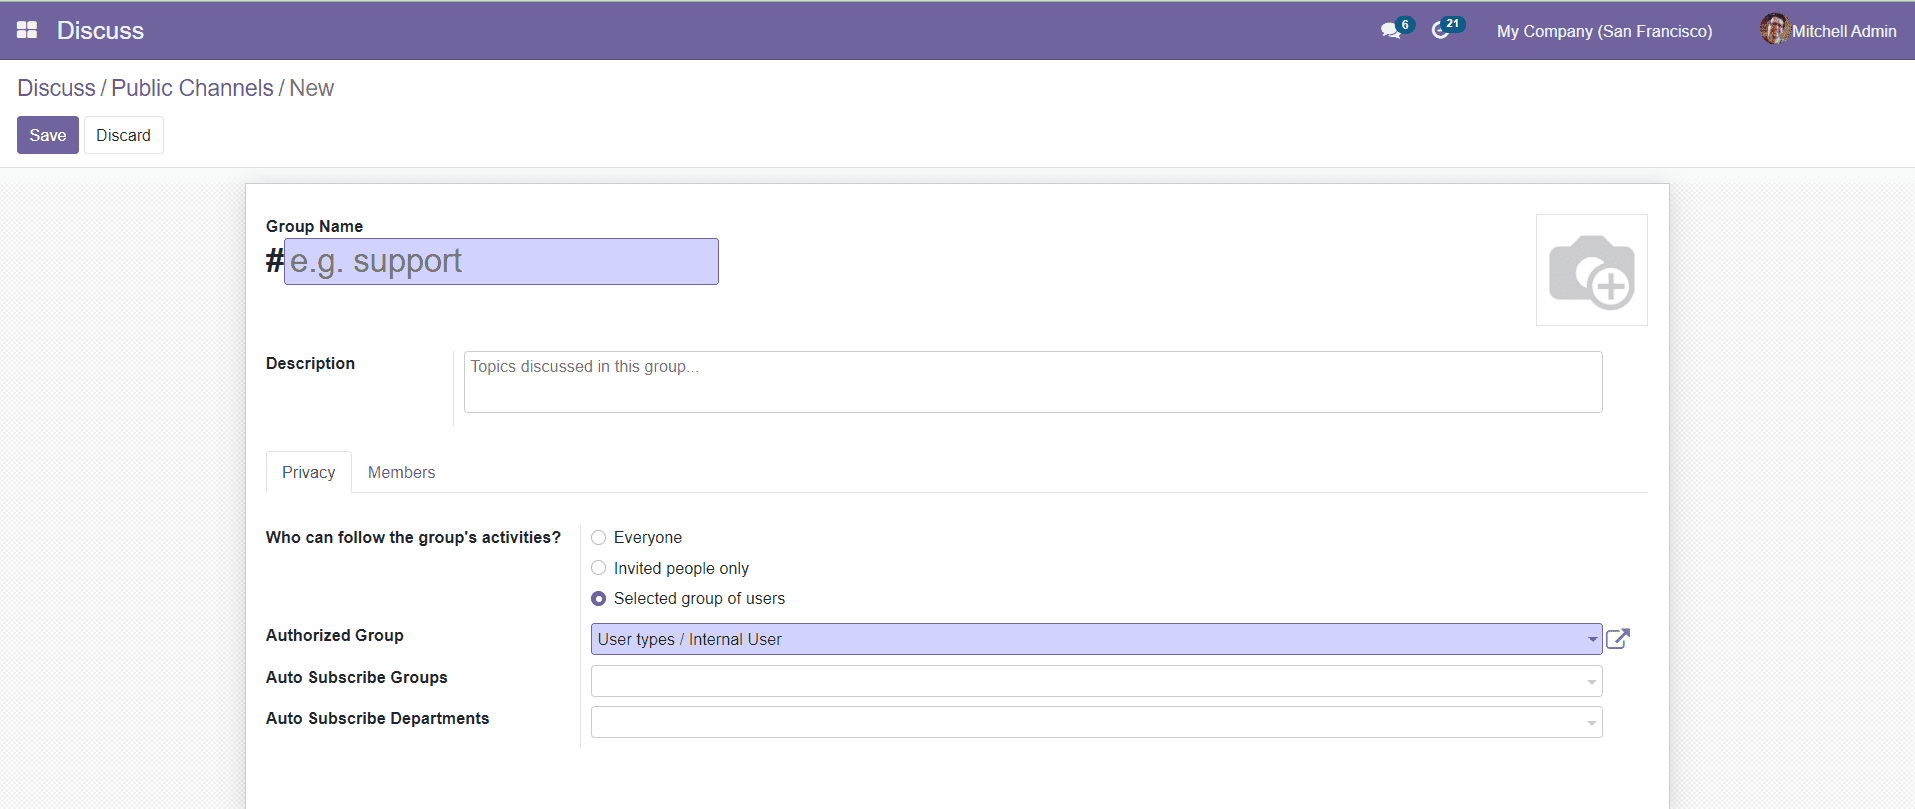
You are allowed to use the ‘Create’ button to configure new Channel details.

You can add the Group Name and suitable image in the respective field. You can also add a few lines about the group in the Description field. Under the Privacy tab, you can set the field ‘Who can follow the group’s activities?’. You can set it as Everyone, Invited People Only, or Selected Group of Users. Add details in the Authorized Groups, Auto Subscribe Groups, and Auto Subscribe Departments. By adding groups in the Auto Subscribe Groups field, the members of the group will be added as followers of the new group.
In the Members tab, you can add members to the new group using the ‘Add a Line’ option in the given field.

You can add the Recipient’s Name and Email in the respective field.
Finally, click the ‘Save’ button to save the new group.
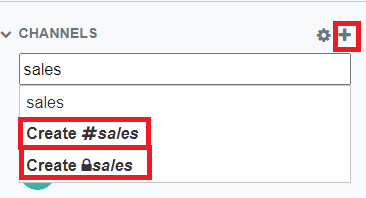
You can also create a new channel by clicking the + icon.

While typing the channel name, you can decide whether to make the channel public or private.