Invoices
Invoices are the commercial document sent by a seller of products and services to
the customer. In simple words, it is the written agreement between the seller and
the buyer. The seller can send an invoice to the customer after confirming the sale
order. The invoices include all the information on sales transactions such as product
details, quantities, prices, payment terms, and much more.
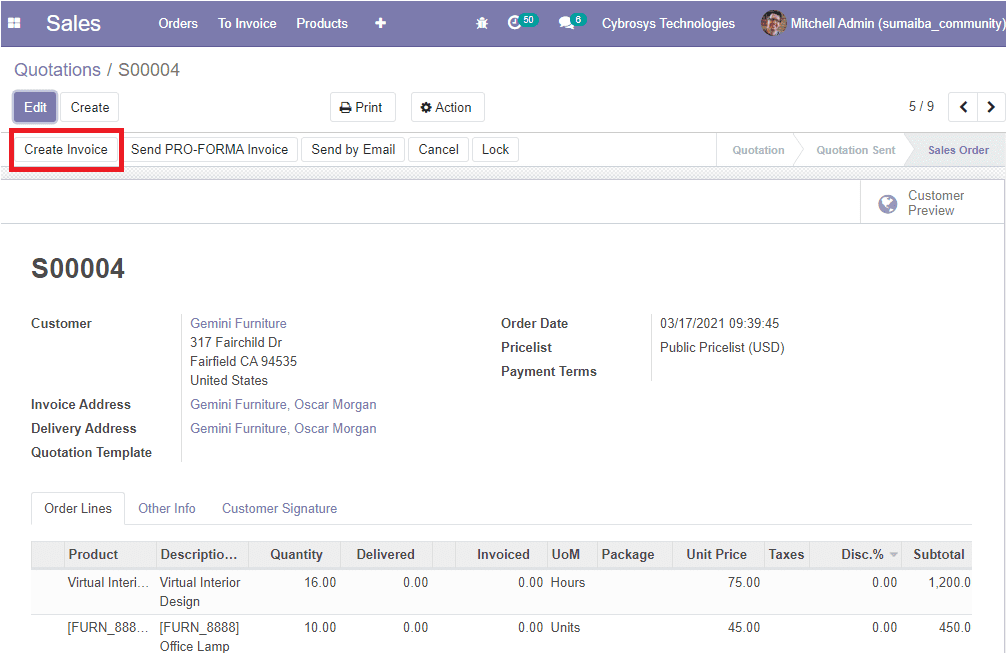
If you click on the Create Invoice button you will be navigated
to a new window as shown below.
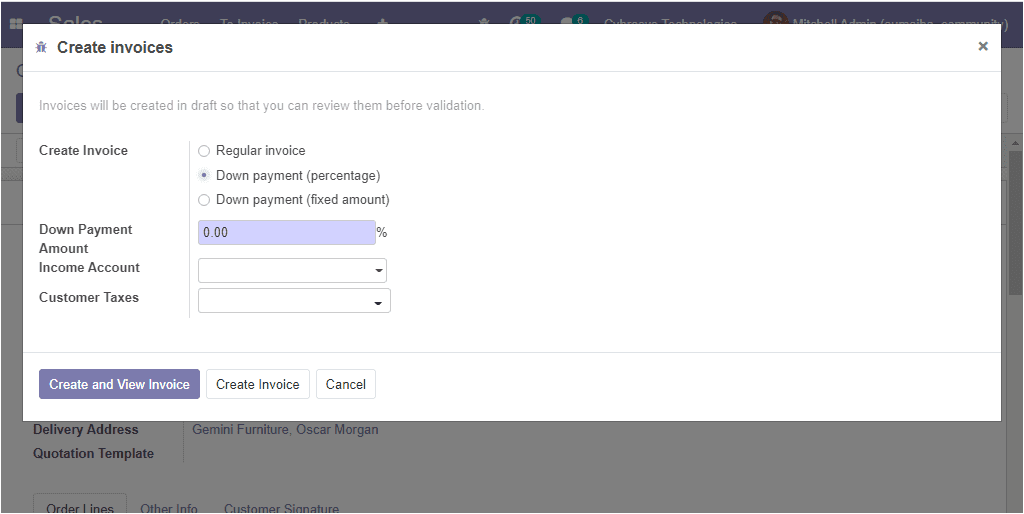
Here in this window, you can view the different options for creating invoices such
as:
- Regular invoice
- Down payment ( Percentage)
- Down payment (Fixed amount)
When you are selecting the down payment option, you will be available with two options.
That is a fixed amount and the percentage of the total amount which allows the customer
to pay a percentage of the amount while ordering with the agreement that the remaining
amount will pay later. The next field Down payment amount means the percentage of
the amount to be invoiced in advance, taxes excluded. Then you can allocate the
Income account from the drop-down menu and it is the account used for deposits.
Moreover, you can specify the taxes used for deposits under the field Customer taxes.
After providing all the required information you can select the Create and view
invoice button available in the left bottom of the window. This action
will lead you to the new window as depicted below.
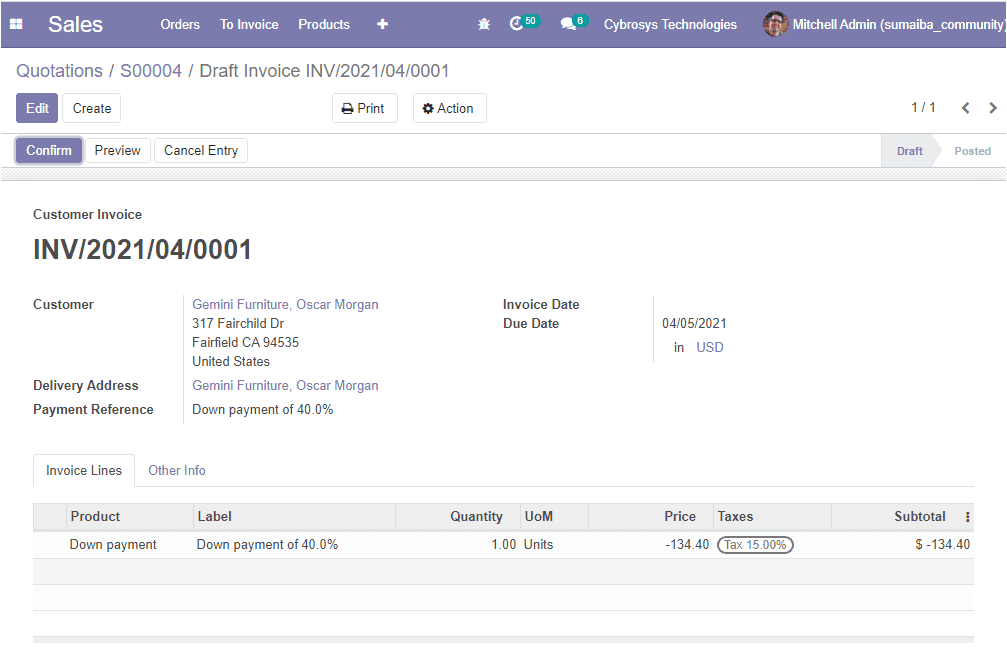
This is the invoice that we created for the down payment and now it is in the
Draft state. Here you have the provision to make necessary changes
in the invoice by selecting the Edit button available.
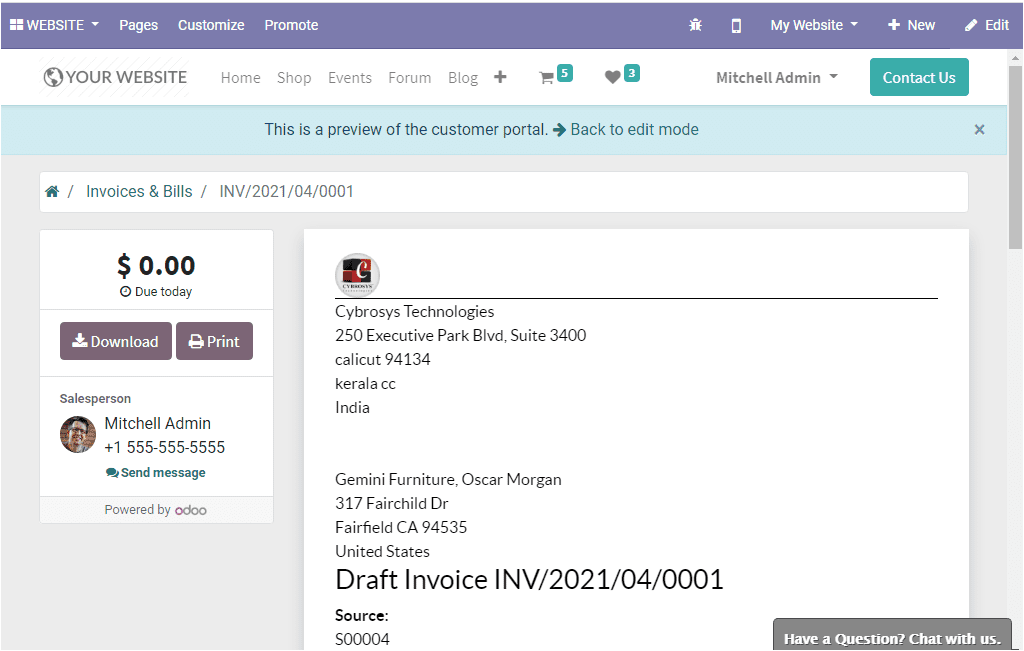
You can also see the website view of the invoice by clicking on the Preview
button. The image of the window is depicted below.
For confirming the invoice, you can click on the Confirm button.
This action will lead you to the new window where the invoice is labeled as
PAID. The image of the window is depicted below.
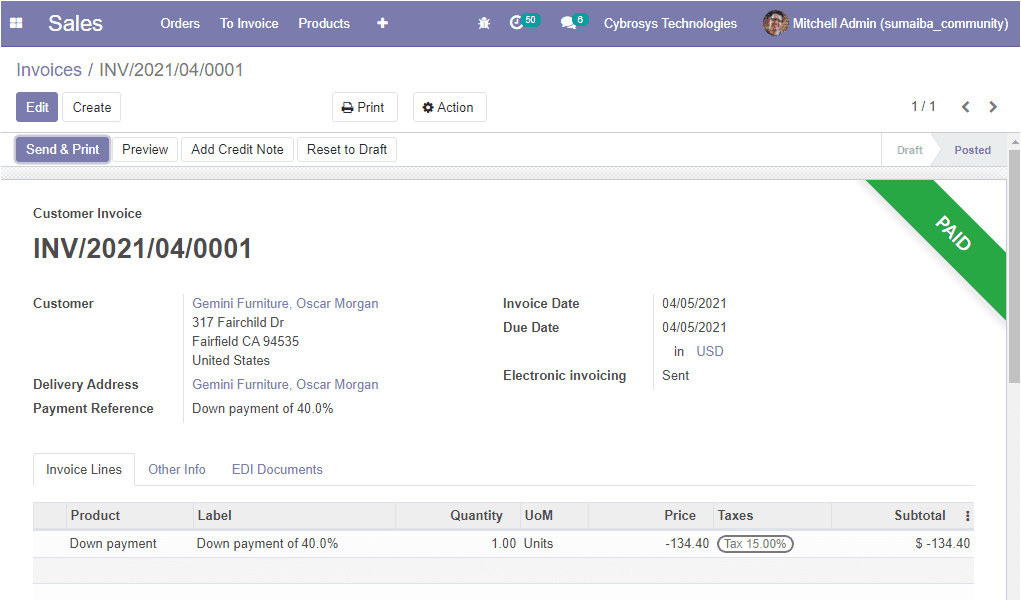
Here in the window you will see a Send & Print button available
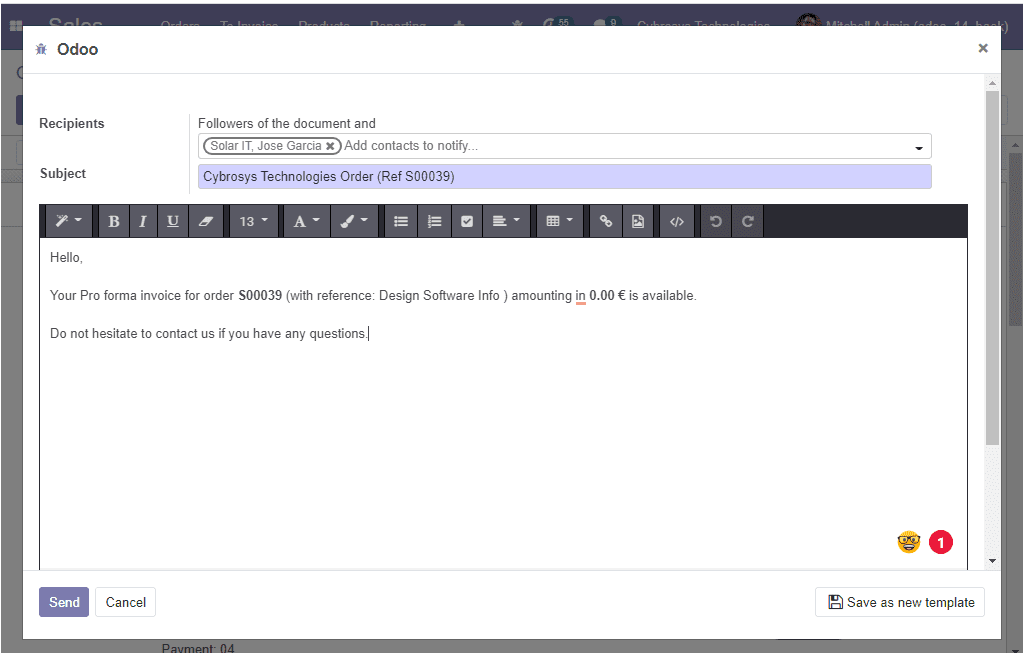
on the left top corner of the window. By selecting this button you will be directed
to the Send invoice window where you will get a default email template as shown
below which can be edited.
Now you can register your payment by selecting the Register Payment
button available. If you click on this button you will receive a popup window as
shown in the below image where you can register the payment.
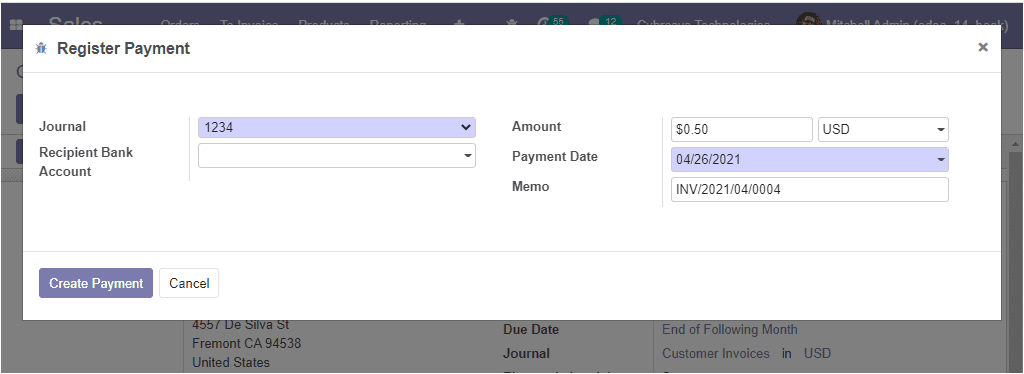
In this window, you can allocate the Journal along with the Recipient Bank Account.
Moreover, you can allocate the Amount, Payment Date, and Memo. After filling in
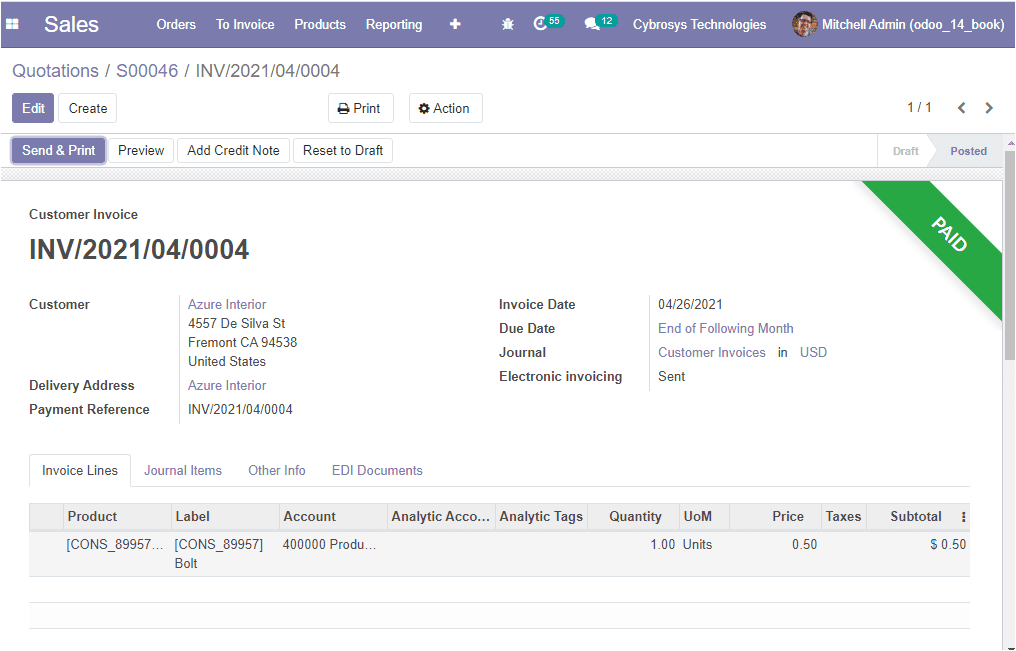
all the required fields, click on the Validate button. This action
will lead you to the Invoice window which shows that the invoice has been PAID.
The Refund option is also available in the module. Let us discuss the option in
detail.