Customers
Under the customer’s menu available in the Odoo sales module, you have the provision
to keep all the details of each customer defined in the platform and you can also
create new customers by selecting the create option.
You can access the customer page by taking the route Sales -> Orders -> Customers.
The image of the customer window is depicted below

Here in the window, you can view all the created customers and you can create a
new one by selecting the create icon available in the top left corner of the window.
It is also available with default and customizable features such as filters, group
by, favorites, favorite search, and many more. The window can be viewed in both
Kanban and list view. The image of the window is shown below.
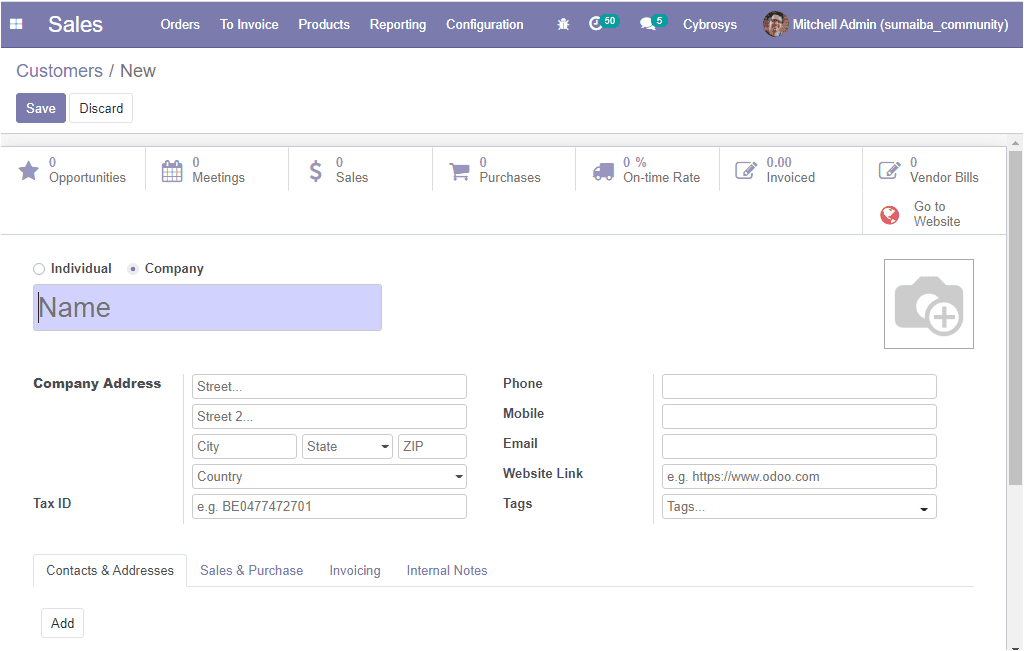
In this customer creation window, you can provide all the required information such
as the name of the customer, company address, tax ID, phone and mobile number, Email
ID, Website Link. In the Odoo platform, you have the provision to select two types
of customers- Individual or company. The Tags can also be added from the drop-down
menu.
Under the Contacts and Addresses tab, you can add the contact by
filling the following pop-up window. This can be done by selecting the Add
option.
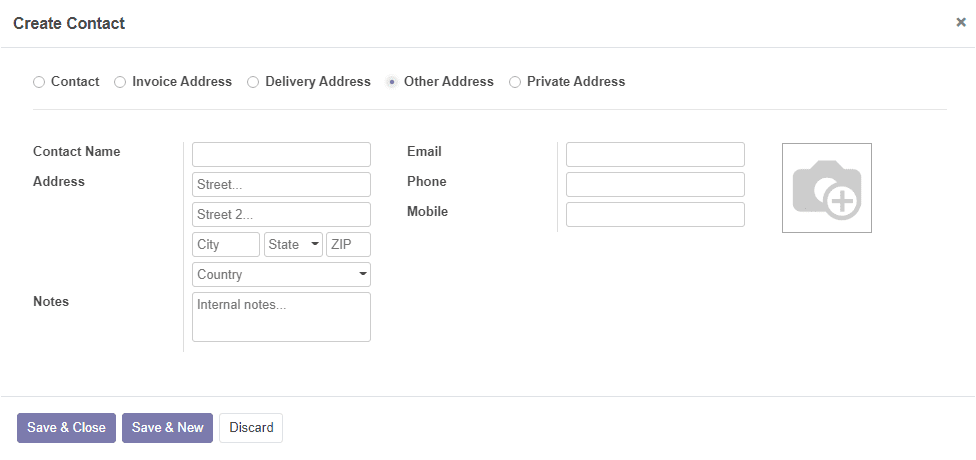
There might be some situations when the customer needs the delivery with a new address.
So this window can be made use for adding a new contact address. You can create
a contact by selecting the address types Invoice address, Delivery address, Other
Address, Private address. Invoice and Delivery addresses are used in sales orders.
Private addresses are only visible by authorized users.
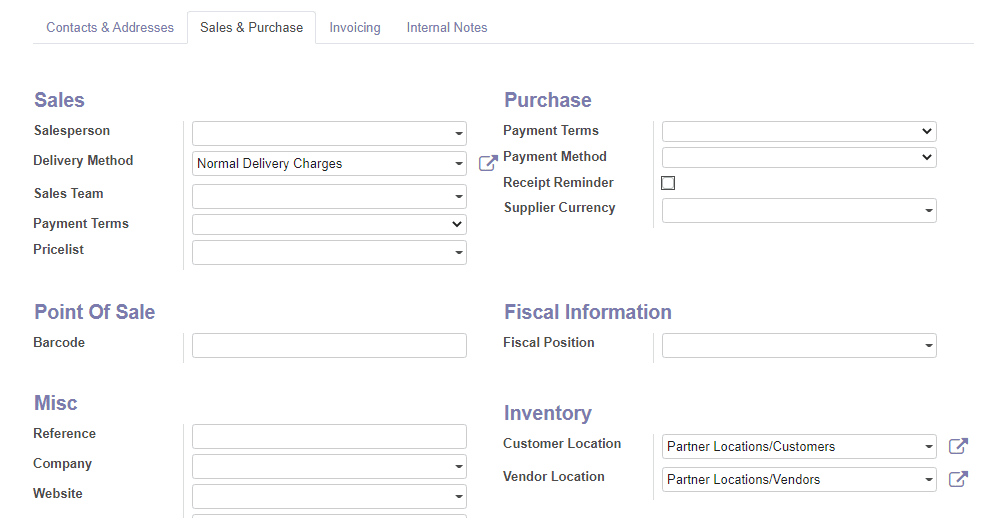
Under the Sales and Purchase tab, you can provide the internal
user in charge of the contact as the salesperson and you can select the delivery
method from the drop-down menu where you have three options such as normal delivery
charges, free delivery charges. Additionally, you can allocate a Sales team and
this team will be used for sales and assignments related to this partner. Moreover,
you can allocate the Payment terms along with the Pricelist. These payment terms
will be used instead of the default one for sales orders and customer invoices.
The pricelist can be used instead of the default one for sales to the current partner.
Then you can provide the purchase order-related information such as the payment
terms and payment methods. The payment terms will be used instead of the default
one for purchase orders and vendor bills. Also, you can enable the Receipt reminder
to automatically send a confirmation email to the vendor some days before the expected
receipt date by asking him to confirm the exact date. In addition to it, you can
allocate the supplier currency along with the barcode. Apart from these options
you also have to specify the fiscal position and the miscellaneous details such
as reference, company, website, industry along with the inventory information like
customer location and vendor location. Customer location is the stock location used
as the destination when sending goods to this contact and the vendor location is
the stock location used as a source when receiving goods from this contact.
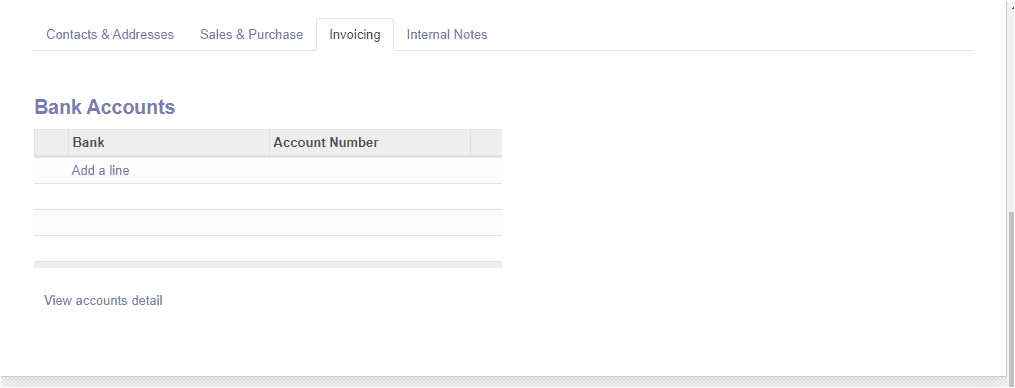
Under the Invoicing tab, you can provide the details of bank and
account number by selecting the Add a line option.
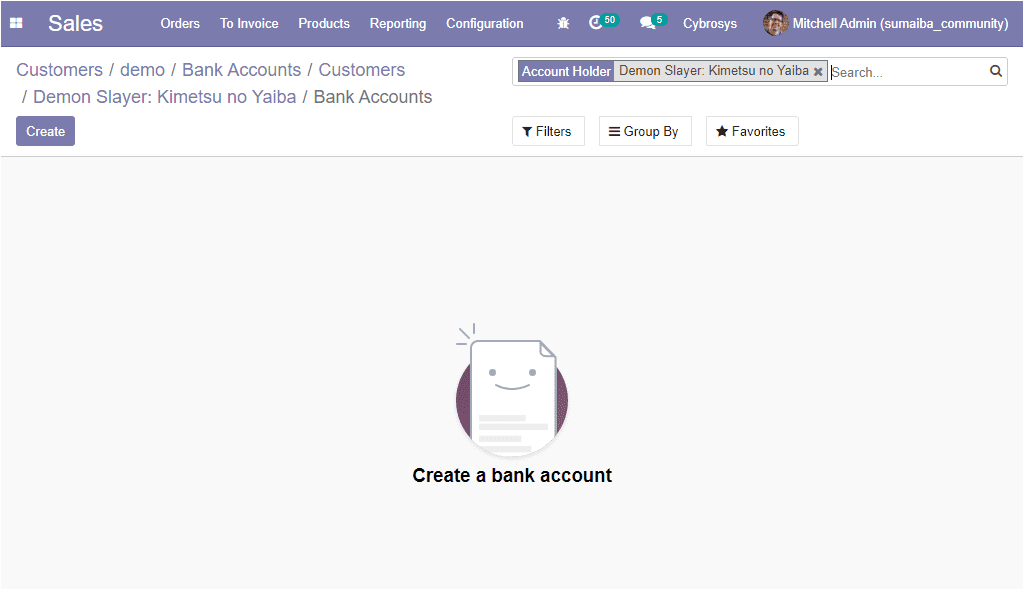
If you are clicking on the View account detail menu , you will
be directed to the bank account details window as shown below.
And under the Internal notes tab you can provide additional information
or comments privately to the customer.

So far we were discussing the Customers window and now let us discuss the Sales
Quotation and its related facts.