Sub-tasks
In the Odoo Project module, you have the provision to create sub-tasks for the operations
of the main tasks of your project. The sub-task feature will help you to assign
and track operations separately to better organize your task. To initiate the sub-task
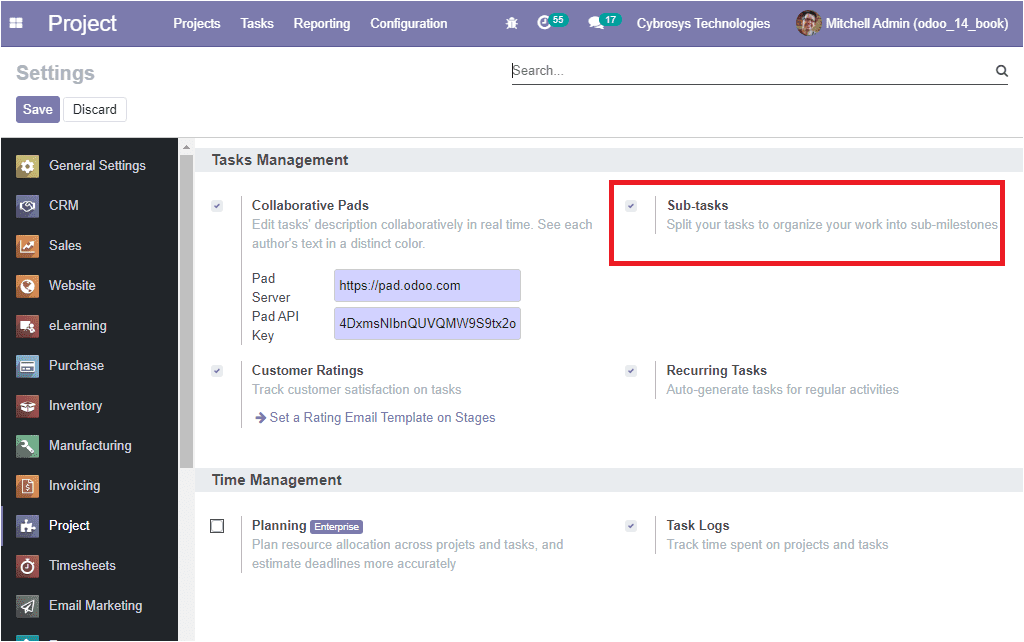
operation initially, you should enable the sub-tasks option available in the settings
menu of the Odoo Project module.

After enabling the sub-task option, you will be able to assign task operation as
a subtask to the main task of the project. Now let us have a look at this option.
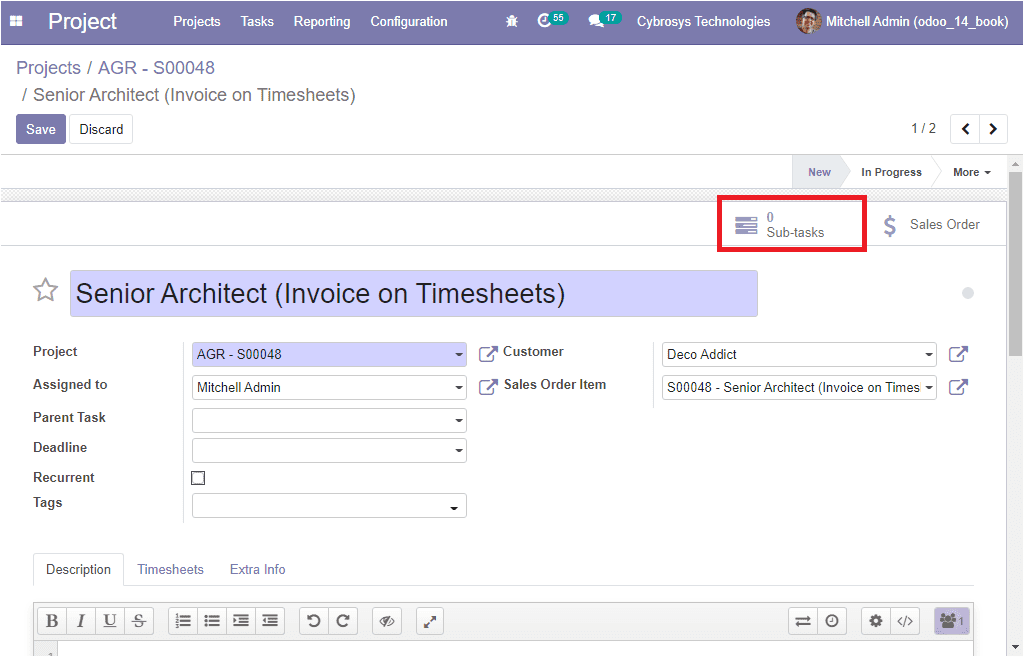
In each of the tasks menu under the respective project, you can now view the smart
button named Sub-tasks on the top right side of the window as shown in the below
image.

On selecting this smart button you will be navigated to the sub-tasks window of
the respective task. Here you can view all the sub-task defined for the respective
task if any. You also have the provision to create sub-tasks by selecting the Create
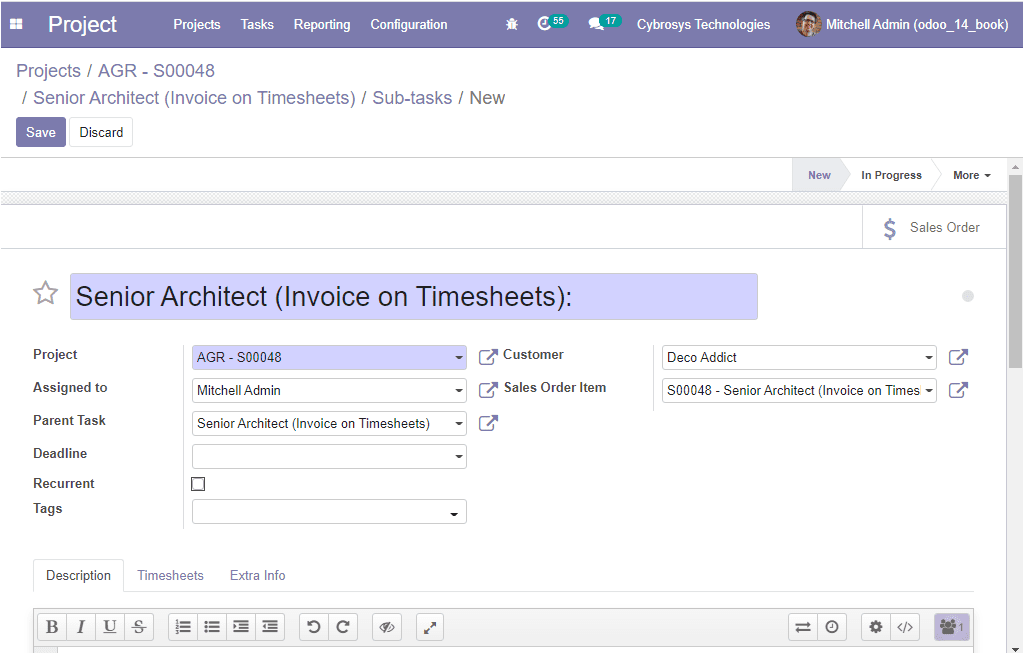
icon available. The below image depicts the sub-task creation window.

In this sub-task creation window, you can describe all the sub-task details in the
same way as described in the task description window. You can provide the sub-task
title, mention the Project name, and you can assign the responsible person in addition,
you can specify the name of the Parent Task along with the deadline. You can also
enable the Recurrent option. Additionally, you will be able to allocate the Customer,
and Tags of the operation. In the Description menu, you can provide the description
of your operation and the Timesheets tab allows you to define the Initially Planned
Hours and indicates the progress of the operation.
So far we were discussing the Sub-task option available in the module and now let
us discuss the Tags option available.