Invoicing a project
The Odoo project module provides a good platform to invoice the customers on the
various projects being created. This invoicing can be conducted on the basis of
the timesheet operations of every project and the tasks assigned for each project.
The first step to invoice a project is to make a project to be billable. This action
can be performed in the Project creation window. In the Project creation window,
you are able to view an option named Billable as shown in the below screenshot.

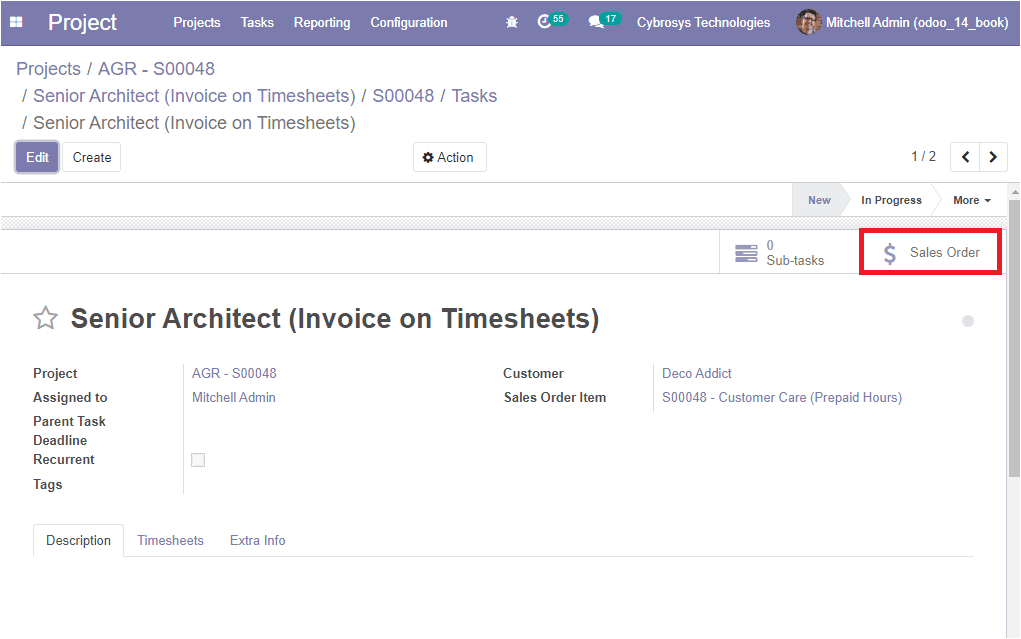
You can activate the option Billable via checking the box near the option. Now in
the respective tasks window, you can view the smart button Sale order on the top
right side of the window.

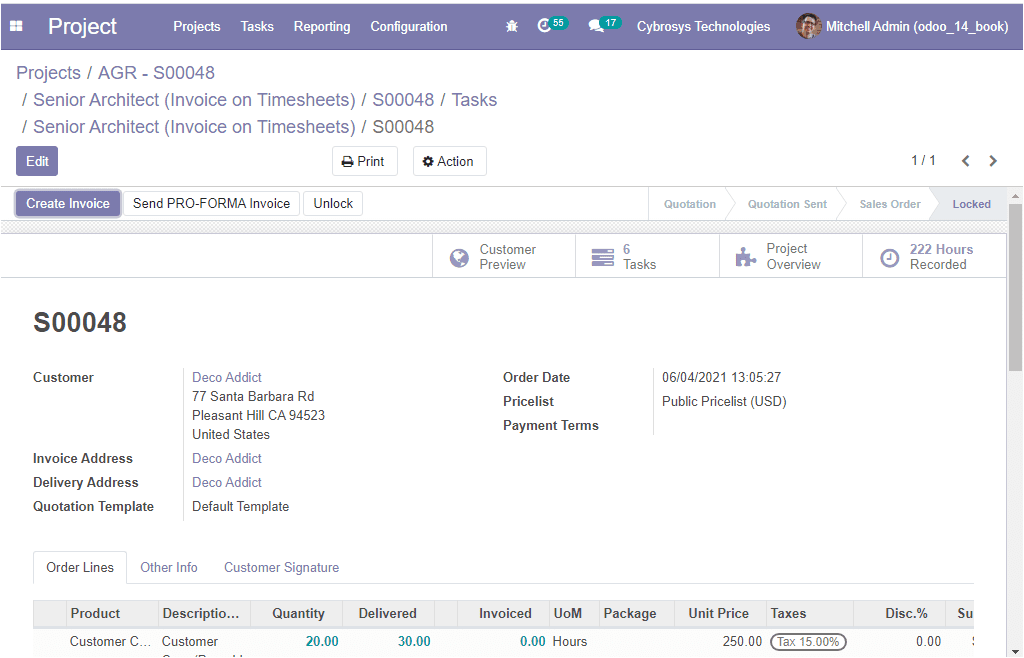
On selecting this button, you will be directed to the Sale order window as shown
below.

In this window, you can view that all the customer details are auto-filled and you
also have the provision to make desirable changes by selecting the Edit icon available.
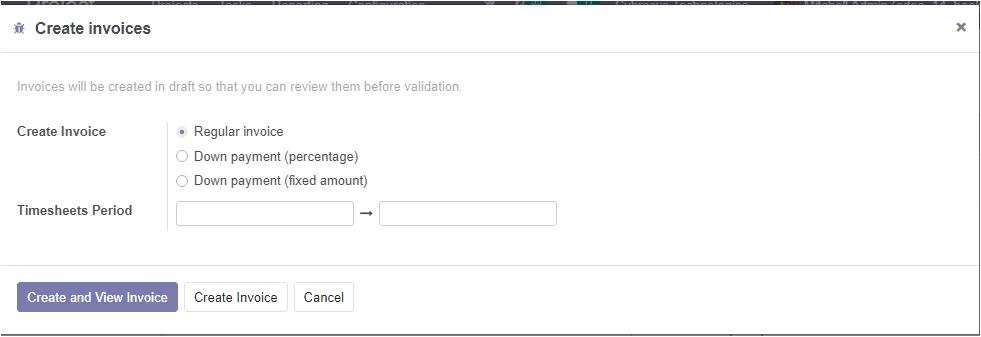
The Create Invoice button available in the top left corner of the window will direct
you to the new pop up window as displayed in the below image

In this Create Invoices window, you can select the type of invoice along with the
Timesheet period. After that, you can select the Create and View Invoice button
available in the window. The invoice can be sent through email to the customer.
So far we were discussing how to invoice a project and now let us discuss the Reporting
session of the module.