Mailing lists
The Mailing lists window in the platform can be accessed by taking the route Email
marketing -> Mailing lists. The image of the window is depicted below.

In this Mailing Lists window, you can view all the Mailing lists created in the
platform. You also have the provision to create new mailing lists. This can be done
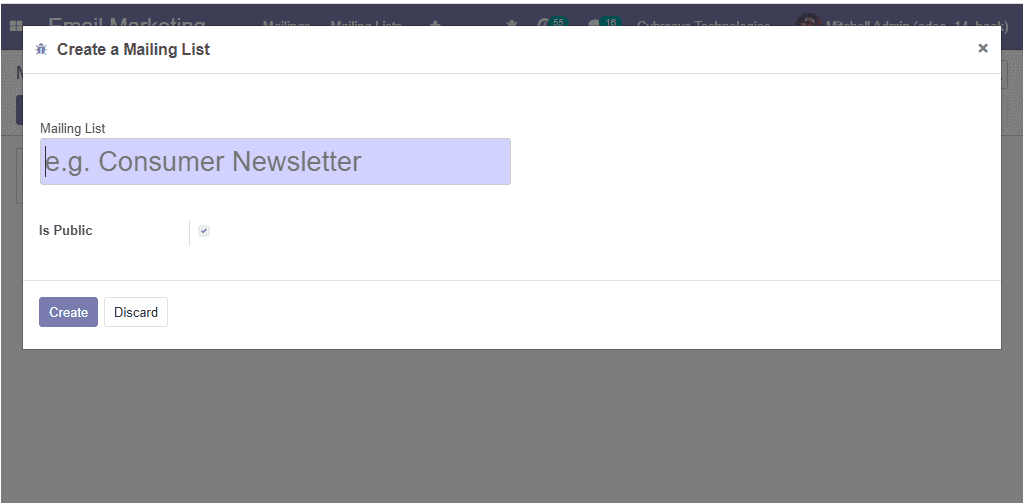
by selecting the Create icon available. The image of the creation form is depicted
below.

In this window, you can view an option Is Public. If you are enabling this option,
the mailing list will be accessible by the recipient on the unsubscription page
to allow him to update his subscription preferences.
While creating the Mailing lists in the Odoo Email Marketing platform, you can add
recipients to that mailing list. This can be done by going to Email marketing ->
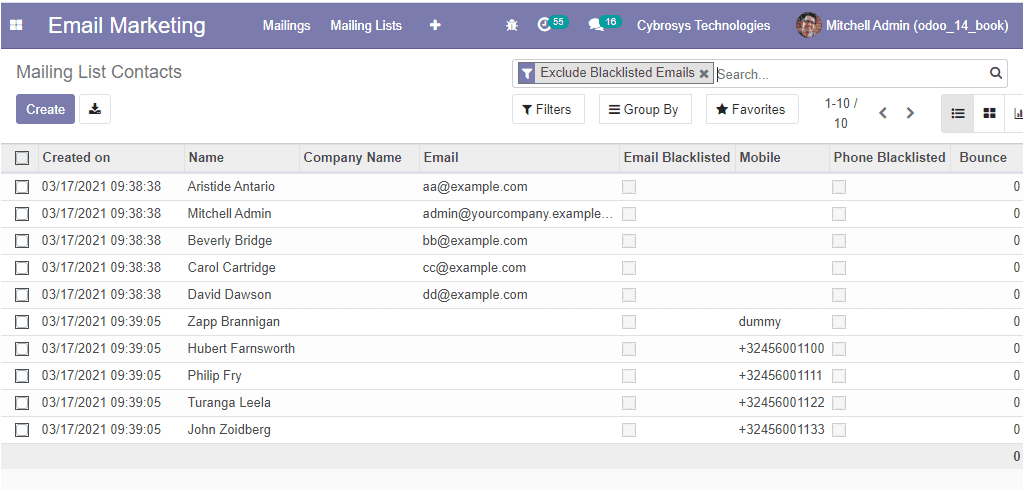
Mailing Lists -> Mailing lists contacts -> Create. The image of the window is depicted
below.

Here in this window, you can view the mailing list contacts. It is the list of all
contacts under all your mailing lists and the contacts that you created individually.
This window contains the details such as the Created On date and time, Name, Email
ID, Email Blacklisted, Mobile number, Phone Blacklisted, and Bounce rate information.
Also, you have the provision to view different mailing lists associated with each
contact by selecting them.
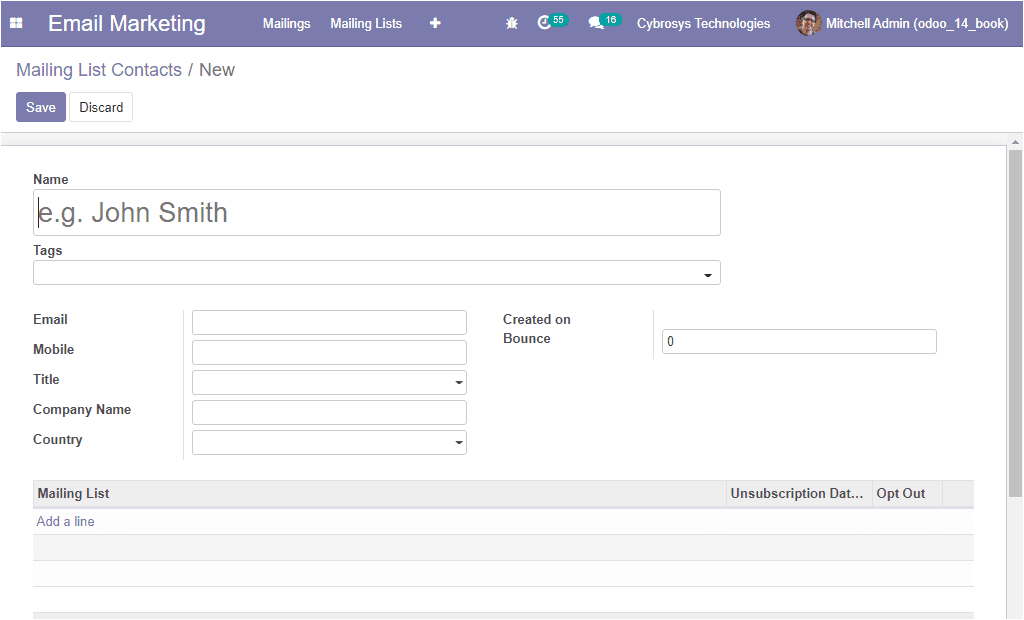
Additionally, you can create a new one by selecting the Create icon available. The
image of the creation form is depicted below.

Here you can provide the details such as Name, Tags, Email, and Mobile number along
with the Title, Company name, and Country, created on bounce. Moreover, the Mailing
Lists can be added by selecting the Add a line option available.
As we clear on the Mailing lists option available in the platform and now let us
move on to the Blacklist option available.