Black Lists
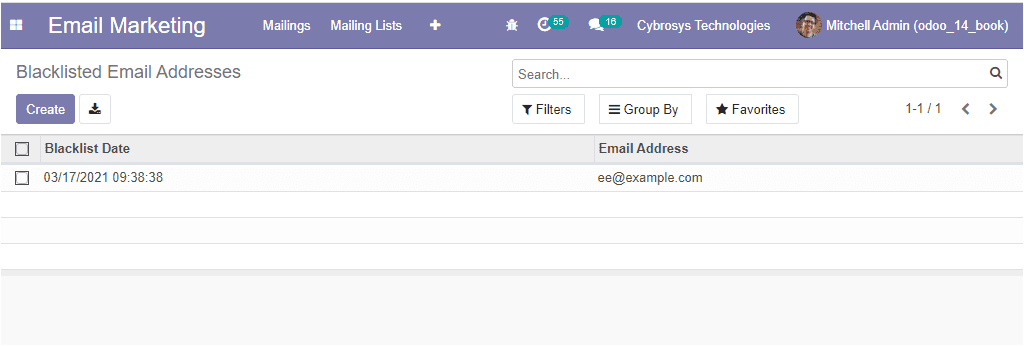
The Blacklisted Email Addresses window in the Odoo Email marketing module can be
accessed by taking the route Email marketing -> Configuration -> Blacklisted Email
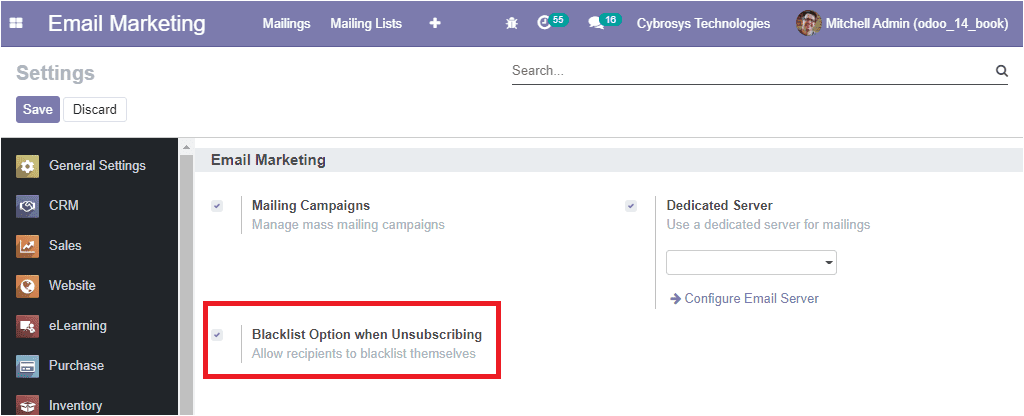
Addresses. For activating this option you should go to the Settings menu of the
Email marketing module and check the box near the option Blacklist Option when Unsubscribing.
The image of the window is depicted below.

You can check the box near the option and then save the details by selecting the
Save button available. Now you are able to access this feature from the configuration
tab. The image of the window is depicted below.

Here in this window, you can view the Blacklisted Email Addresses along with the
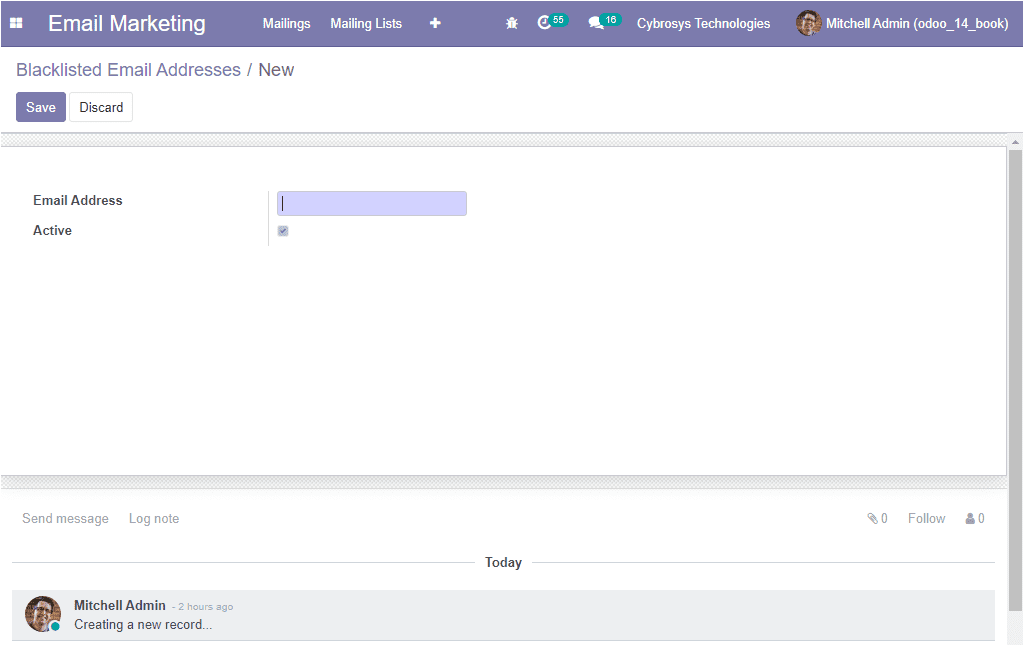
Blacklist Date and Email Address. You can also have the provision to add a contact
to the blacklist by selecting the Create icon available. This can be done by providing
the respective email address. If you are enabling the Active option, the blacklisted
contact will not receive any more mass mailing. The image of the window is depicted
below.

The Odoo email marketing is the best way to manage the promotions of your business.
Using this module you can easily track your bounce rate, revenues, and also helps
you to generate more opportunities.