Creating Channels
We can create different channels for initiating conversations on this platform.
You can create new channels by clicking on the + icon available on the left side
of the Channels menu.
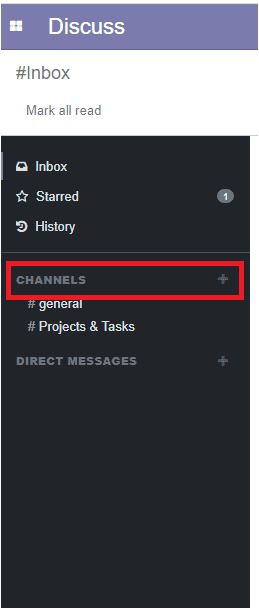
You can assign the name of the channel in the allotted space under the Channels.
The user has the provision to select whether he wants to create a private channel
or a public one.
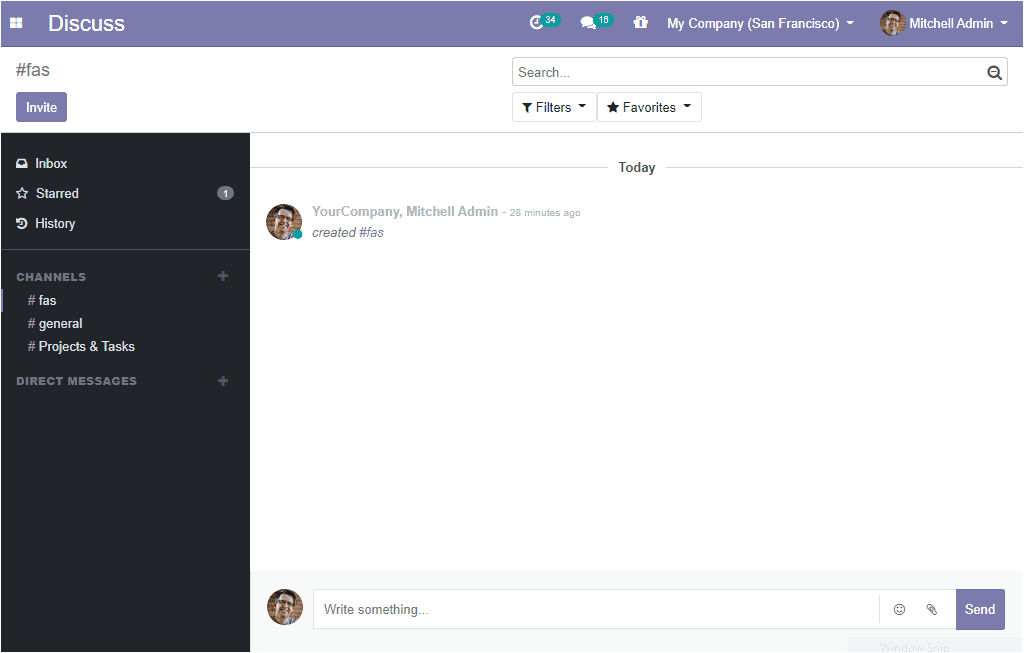
There are two icons available in the created channel. One icon is for accessing
channel settings and the other one is for leave or closes the channel. When you
click on the channel settings icon, you will be depicted with a new window as depicted
in the below image, and using this window you can make desirable changes to the
created channel.
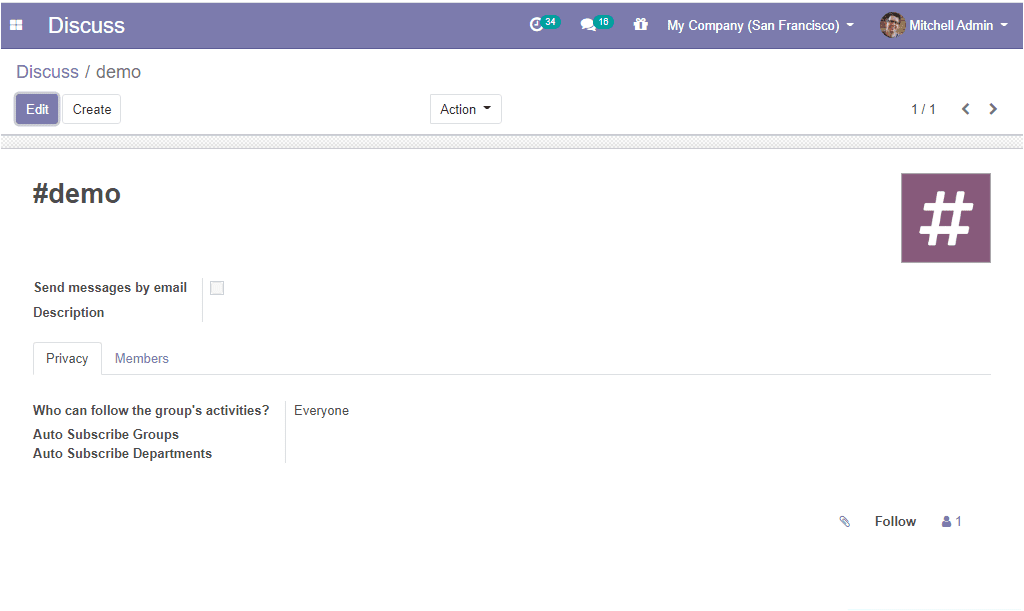
In the above window, you can find the channel name at the top of the window. You
can also enable the option to send messages by email which will help the user to
send all the messages of this channel by email. The next option is that you can
add a description for the channel to designate the purpose of this channel. The
user can set the privacy of the channel under the privacy tab. There are different
options available under the privacy tab. Below is the image of the privacy tab.
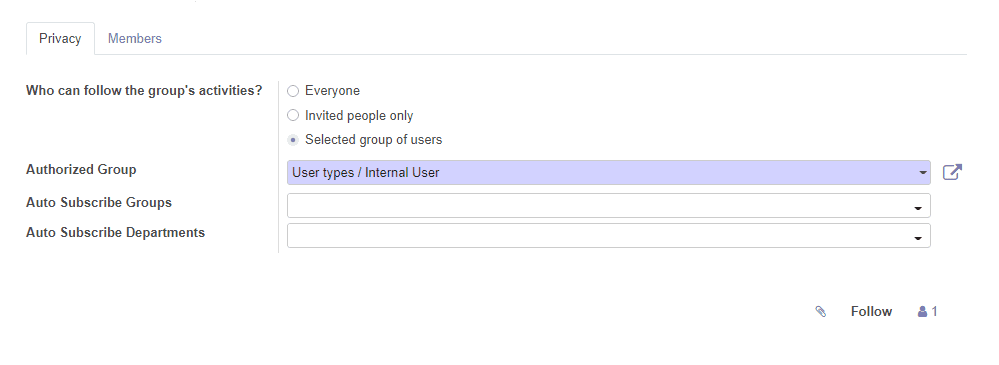
Who can follow the group’s activities? : Here you can see three
options named Everyone, Invited people only, Selected group of users. You can choose
any of these options according to your convenience.
Auto Subscribe Groups: The members of those groups will be added
as followers. Moreover, the followers can manage their subscriptions manually if
necessary.
Auto Subscribe Departments: This field will help the users to automatically
subscribe to members of the selected departments to the channel.
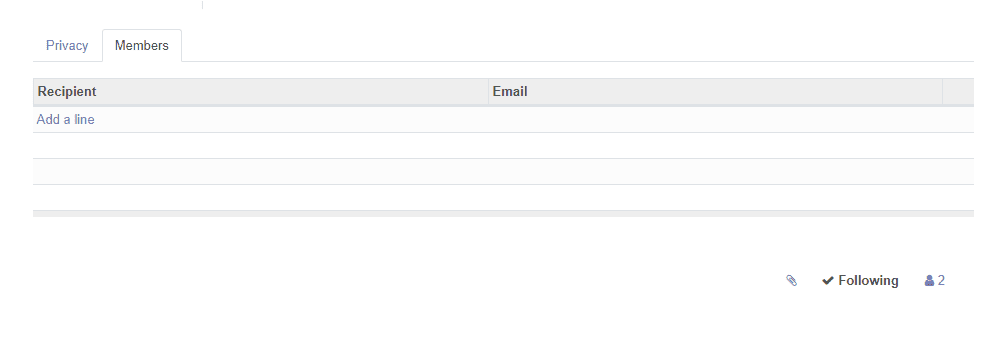
Under the Members tab, you can add Recipients by clicking on the Add a
line option and can add Email addresses. The image of the window is given below.
As we were clear on channel creation and all related details. Now let us move on
to the next part direct messages.