Converting Leads into Opportunities
The Customer Relationship Management module in the Odoo platform allows you to keep
the customer and potential customer contact information, recognize sales opportunities,
manage marketing campaigns, and many more. All the CRM operations in the platform
are arranged on pipeline aspect and all the information from the first contact to
the final sale is described here. In short, it is the visual representation of all
your sales processes. In the CRM sales pipeline, the leads are arranged at the left
end of the window in the kanban view and then moved to the right from one stage
to another. The stages in the pipeline are named New, Qualified,
Preposition, Won, and of course, you have the
provision to define the sales stages depending on your requirements and sales process.
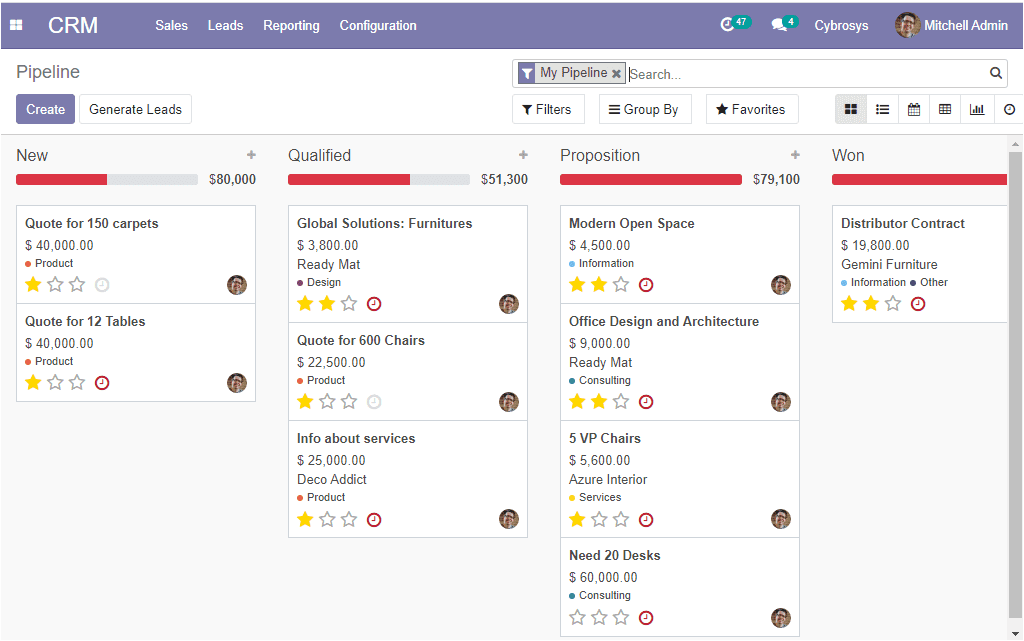
You can include more stages in your sales pipeline by selecting the Add a Column
menu.
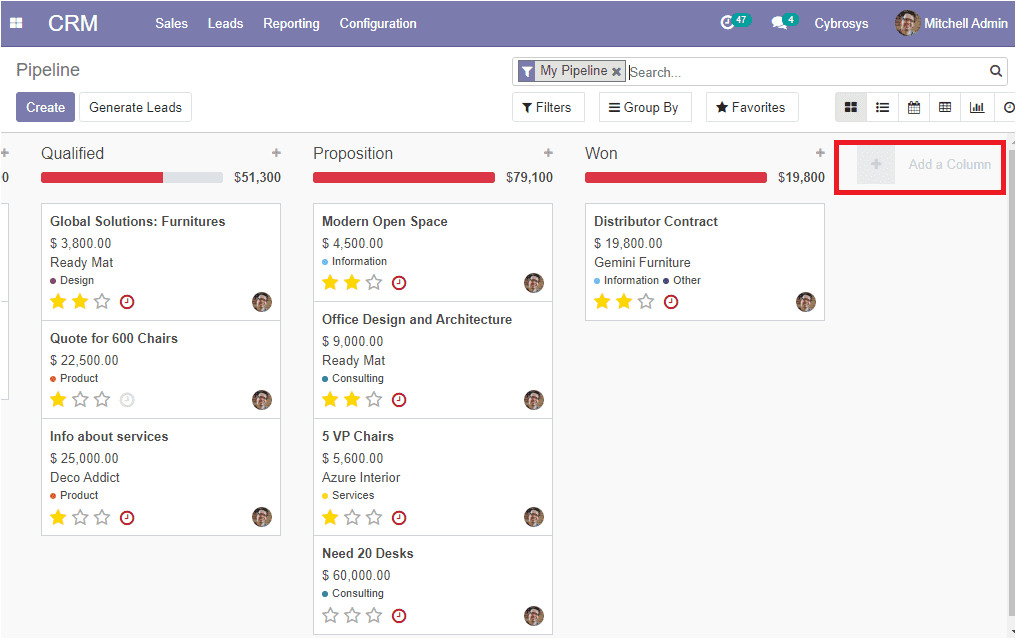
By viewing this window you can get a clear picture of the CRM pipeline. The drag
and drop option allows you to easily manage the different stages of opportunity.
All the pipeline activities are conducted based on the leads and contacts acquired.
The leads in the platform can be converted into opportunities directly from the
leads window. Like any other window in the platform, all the filtering and sorting
options are also available in the window.
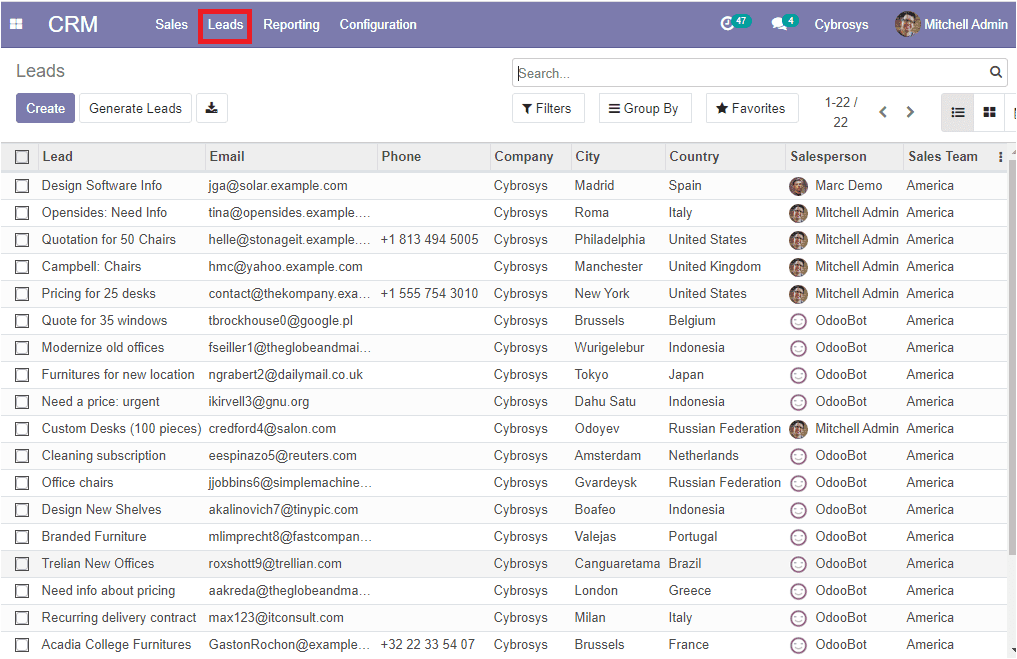
The lead menu in the platform can be accessed from the CRM dashboard and the image
of the window is depicted below where you can view all the leads described in the
platform along with the details such as email id, phone number, company, city, country,
and the responsible salesperson and sales team.
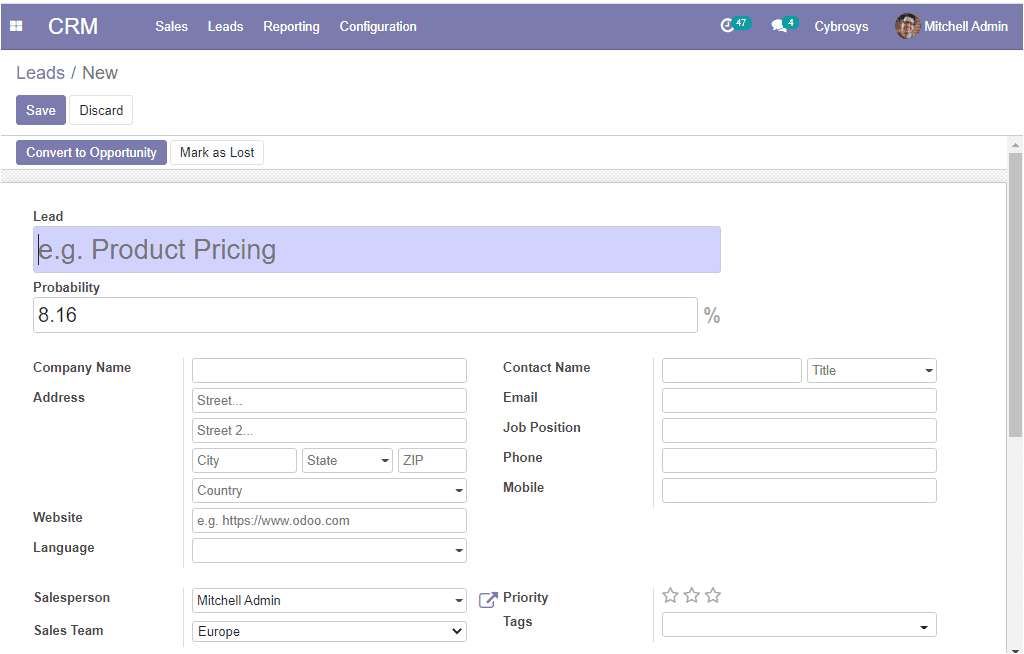
You can create new leads by accessing the create icon available
on the left corner of this window. Here in this window, you can define the lead
and the probability of acquiring the lead in the allotted space. The name of the
future partner company along with the contact details can be mentioned. The website
of the contact and the language also can be allocated. Additionally, the salesperson
and sales team related to this lead along with the priority can be specified. Apart
from these fields, you are also able to classify or analyze your leads or opportunity
under the Tags option. Under the internal notes tab, you can add an internal description
if needed. Finally, under the Extra information tab, you can describe the tracking
details along with the assignment and closed date. After providing all the required
information you can save the details. The image of the lead creation form is depicted
below.
If you have not got enough contact information about the lead, you can enrich the
lead by selecting the enrich option available.
Now you can either convert the lead to an opportunity when the lead has won or you
can also mark it as lost when the lead cannot be created as an opportunity. For
converting lead as an opportunity you can select the Convert to Opportunity
option available in the top left corner of the window. On selecting this option
you will be displayed with a pop-up window as shown below where you can define the
opportunity.
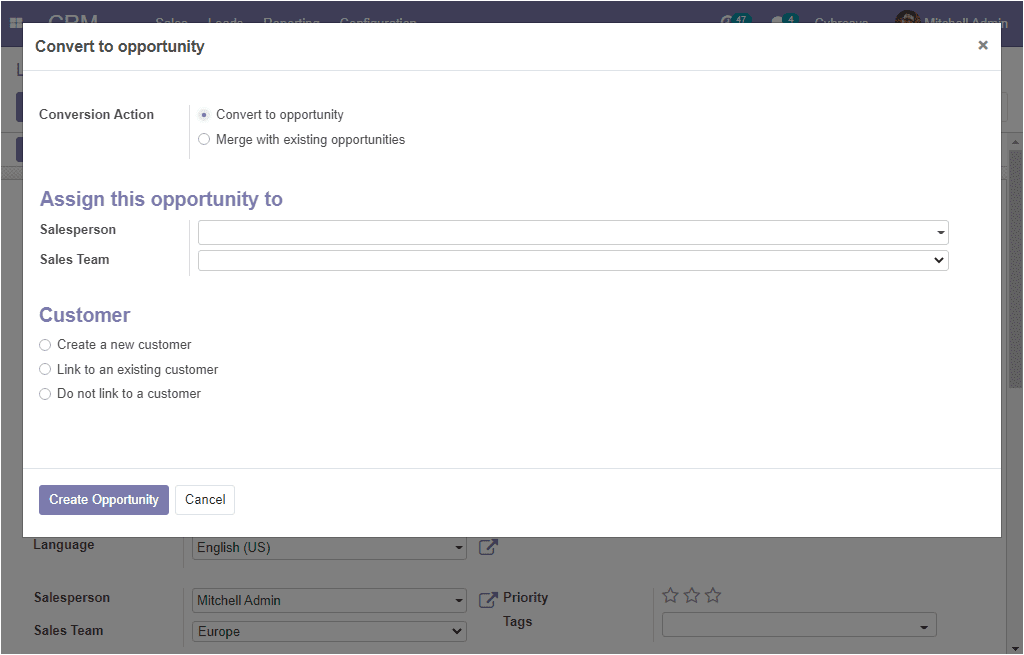
In this window, you can see the options available for conversion where the lead
can be converted to a new opportunity or the lead can be merged with an existing
opportunity. Also, you can assign a salesperson and sales team for this opportunity.
Under the customer option, you can select create a new customer or link to an existing
customer. Now you can select the Create Opportunity button.