Purchase Management
Purchase Order
Creating Purchase Order
After receiving the reply and offer from the supplier, update the RFQ by clicking on Edit to match the quotation. Then click on the save button for issuing a Purchase Order.
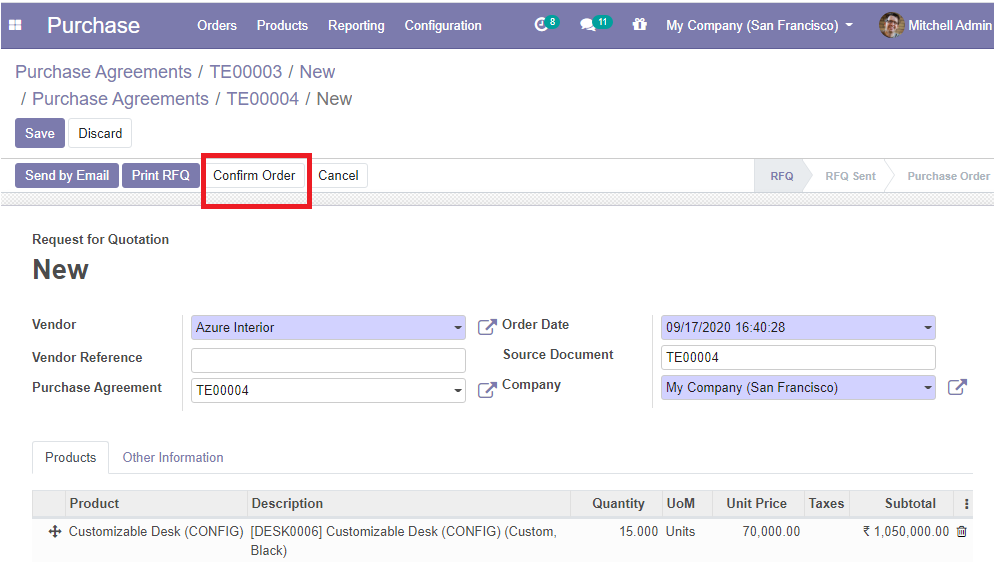
Click the Confirm Order button to send the order to the supplier.
Receive the Product
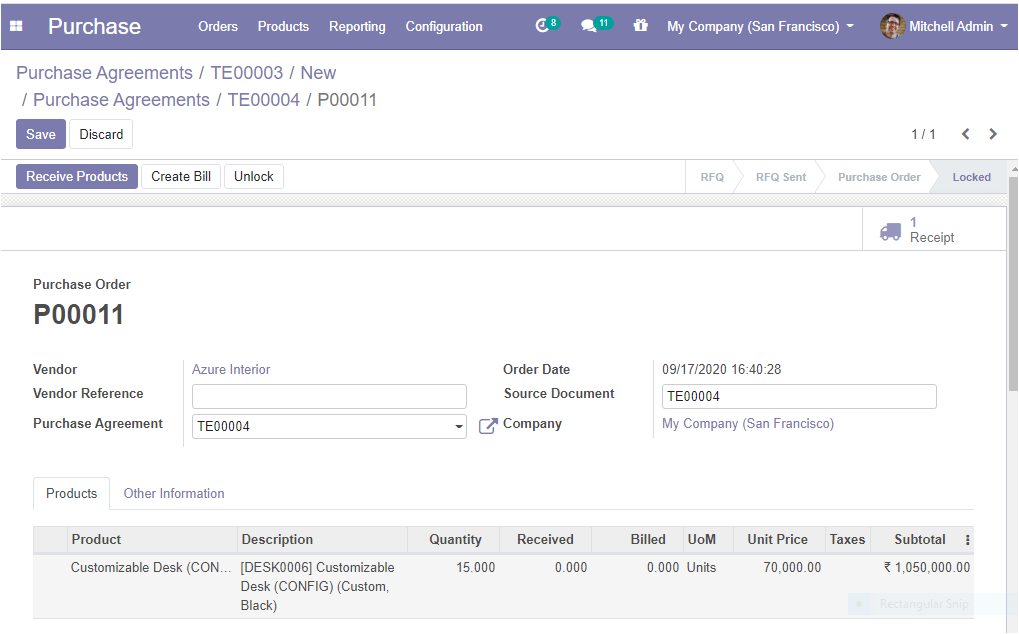
After completing all these steps and if you are confirmed the purchase order, the next step is to receive the product. You can see the button named Receive products in the purchase agreement window.
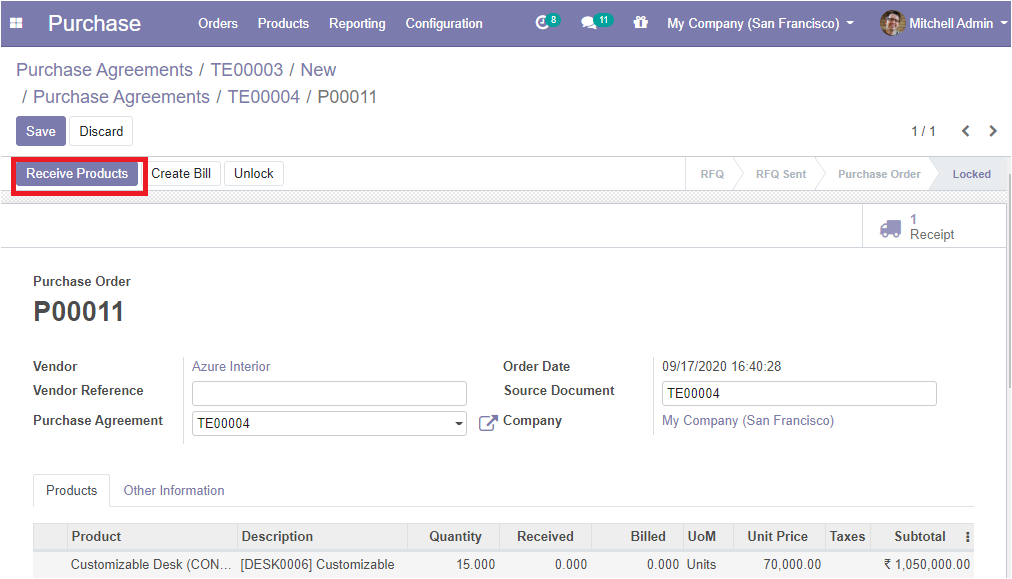
Upon clicking the Receive Products button, you will be redirected to the new window like below:
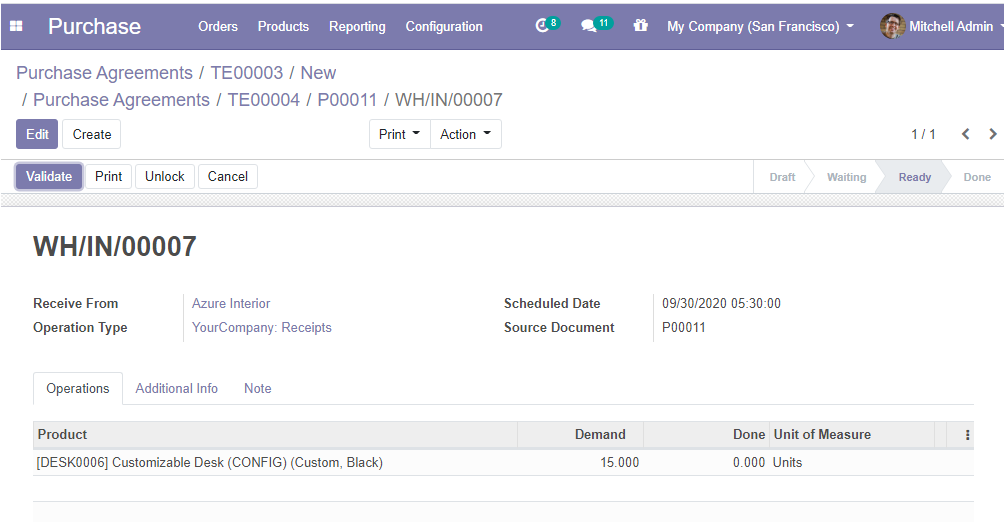
In this window, you can see all your information about the purchase order like product information, product location, receive from, operation type, scheduled date, Source Document.
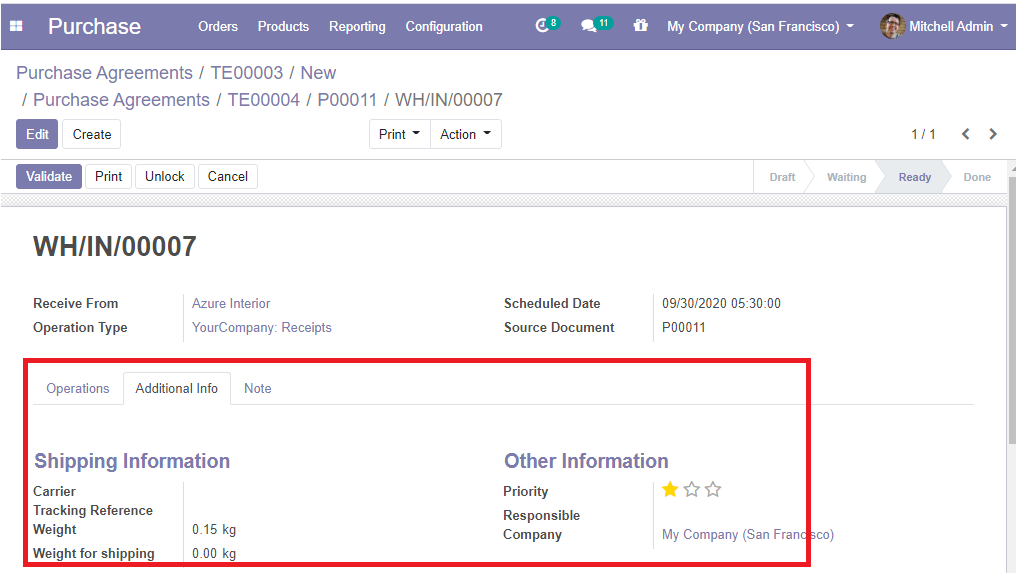
Under the Additional Information Tab, you can see the shipping information and Other details. Under the shipping information tab, you can allocate the details like tracking reference, carrier details, and the total weight of the products in the picking and also can allocate the weight for shipping option which is the weight used to compute the cost of shipping.
Under the other information tab, you can assign the responsible person and the company details, and also you can set the priority as low, medium, or high.
Canceling Purchase Order
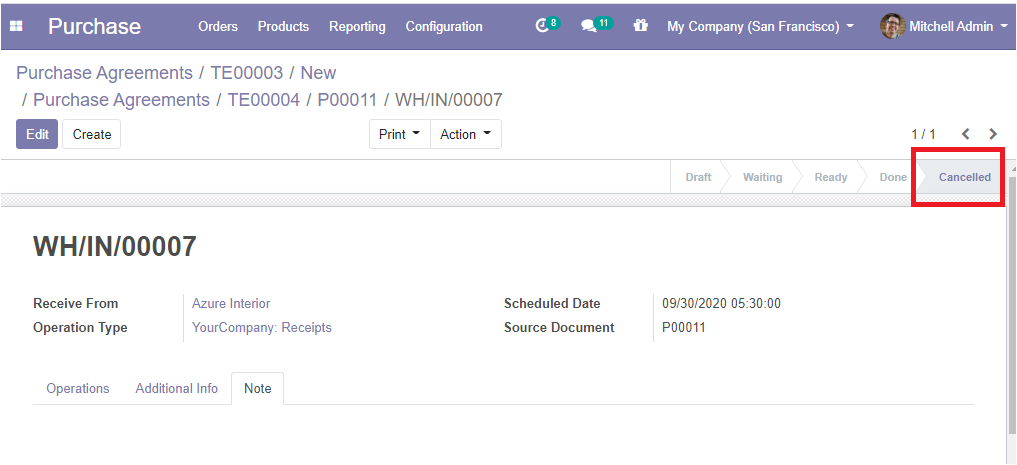
There may be many situations that need canceling the purchase order. The user can cancel the purchase order by clicking the Cancel button. If you click on the cancel button, the status will change as Cancelled.
Purchase Order Approval
The Purchase Order Approval is one of the features available in the Odoo purchase module, that is suitable for expensive purchases. For every expensive purchase order, you may need the approval of the concerned authority or manager.
For enabling this feature, what you need to do is
Go to Purchase > Configuration > Settings and activate the feature Purchase Order Approval available under the Order section.
There you can set the minimum amount required to initiate this feature.
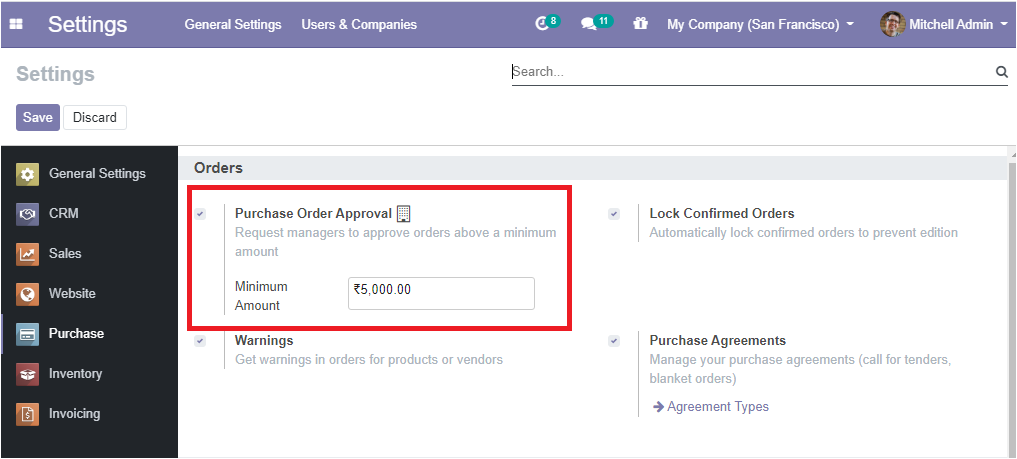
While working with a new quotation request, if the order is not approved by the manager and the amount is above the minimum amount you defined, a new To Approve status will be displayed.
Vendor Bills
A vendor bill or invoice is the receipt containing the details of products and services bought from sellers. After registering the vendor bills in Odoo you can easily pay bills depending on your vendor policy.
For taking control over the Bills, Odoo provides the feature ‘Bill Control’.
For activating this feature Go to Purchase > Configuration > Settings.
In settings, you can see the feature Bill Control under Invoicing.
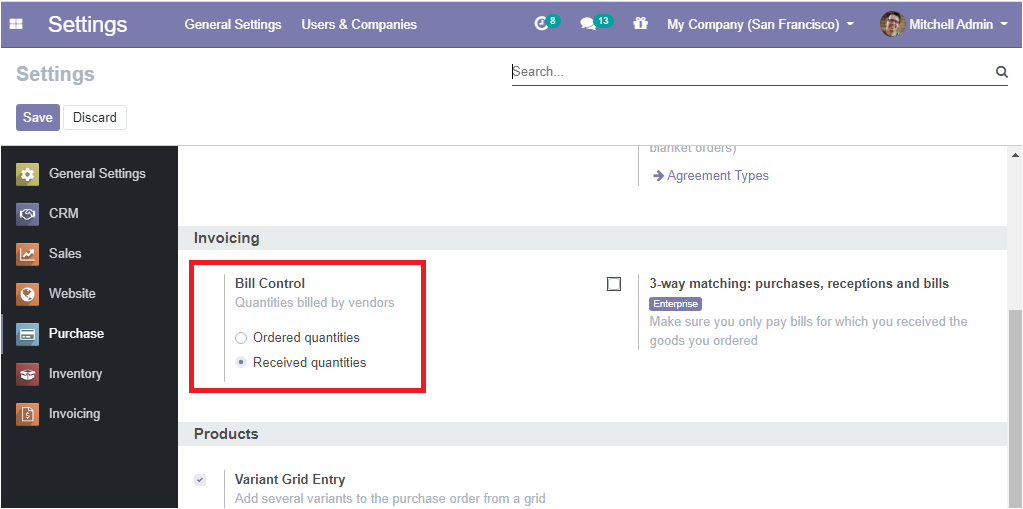
In the feature Bill Control menu, there are two options:
• Ordered quantities: Sending bills based on Ordered quantities.
• Received quantities: Sending bills after receiving the products.
Drop-Shipping
Dropshipping is a retailing technique where the seller does not keep the product in hand stock. Instead, the seller sells the product using the dropshipping method. In the drop-shipping model, the seller does not handle the product directly. It is an order fulfillment method where the product is exchanged through the sale order to a third party supplier and he/she ships the order to the customer
For enabling the feature Drop Shipping,
Go to Purchase > Configuration > Settings and activate Drop Shipping available under the Logistics section.
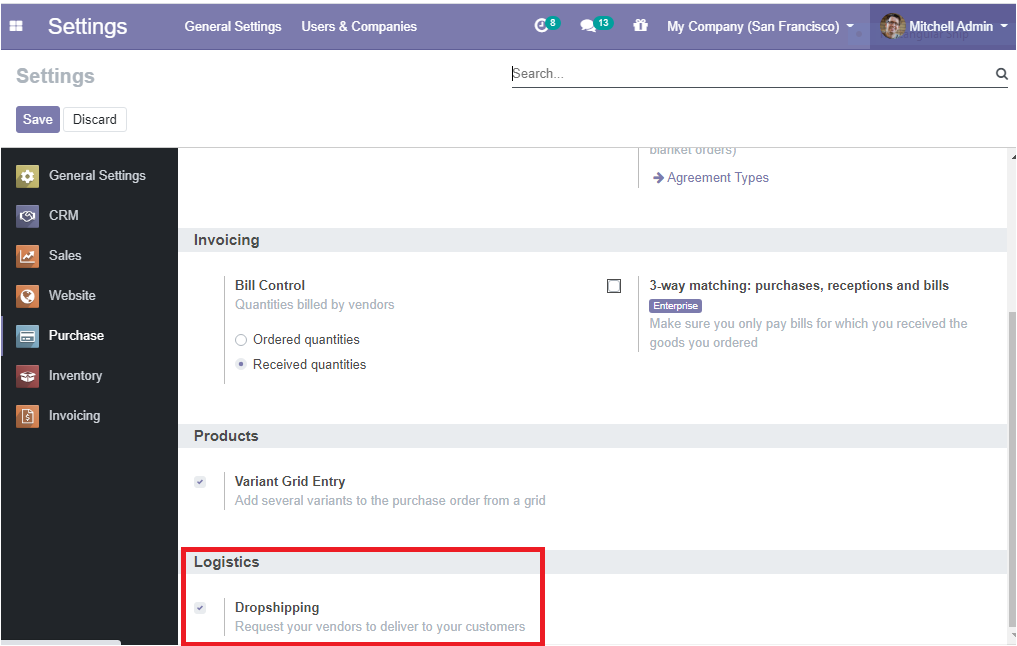
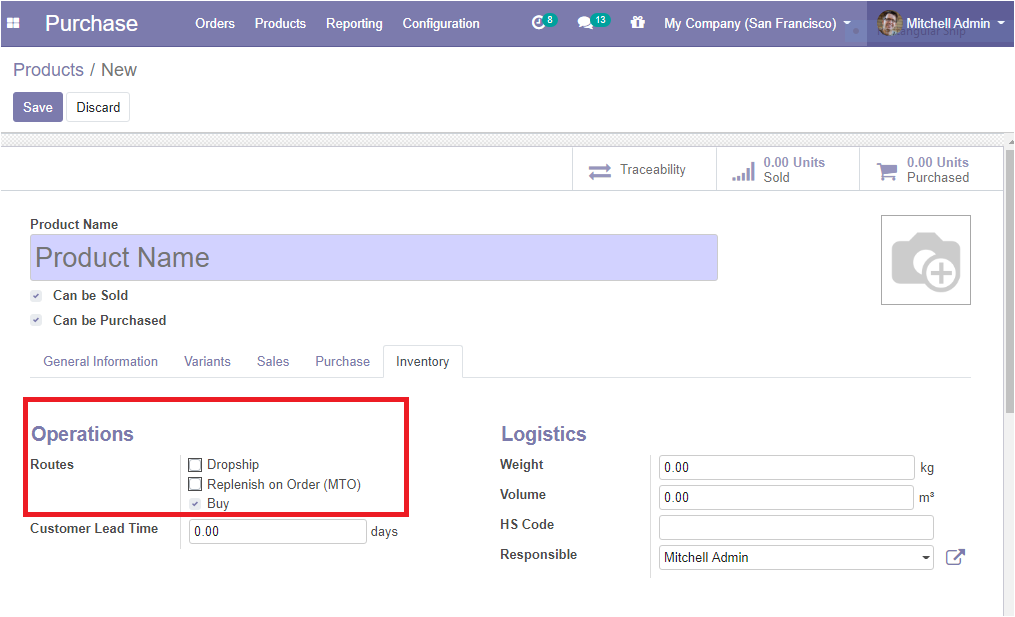
After activating the Dropshipping option, you can go on a product and tick the dropshipping route. You can also define the vendor from whom you buy the product. Each time when the item will be sold, it will be drop-shipped.
Reporting
Odoo provides a chance to its users to analy\e their performance using graphical representations. Using the Odoo purchase reporting feature, the user can evaluate all the appropriate advancements and dealings in business operations.
For obtaining this facility, go to Purchase > reporting > purchase

You will move to a new window.
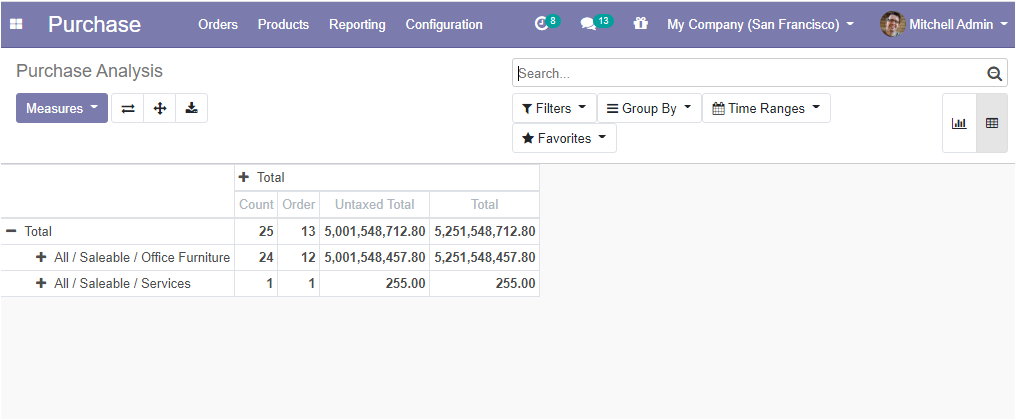
This is the default PIVOT view of your purchase orders. Using this report, you can get a glimpse of your performance with a few clicks. You can add additional data to your reports by clicking on the Measures icon.
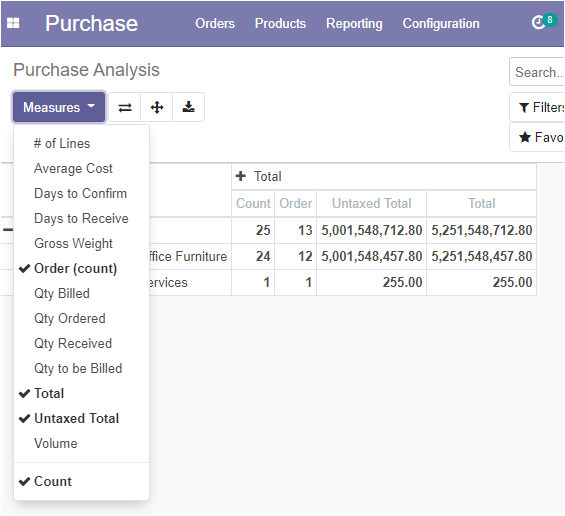
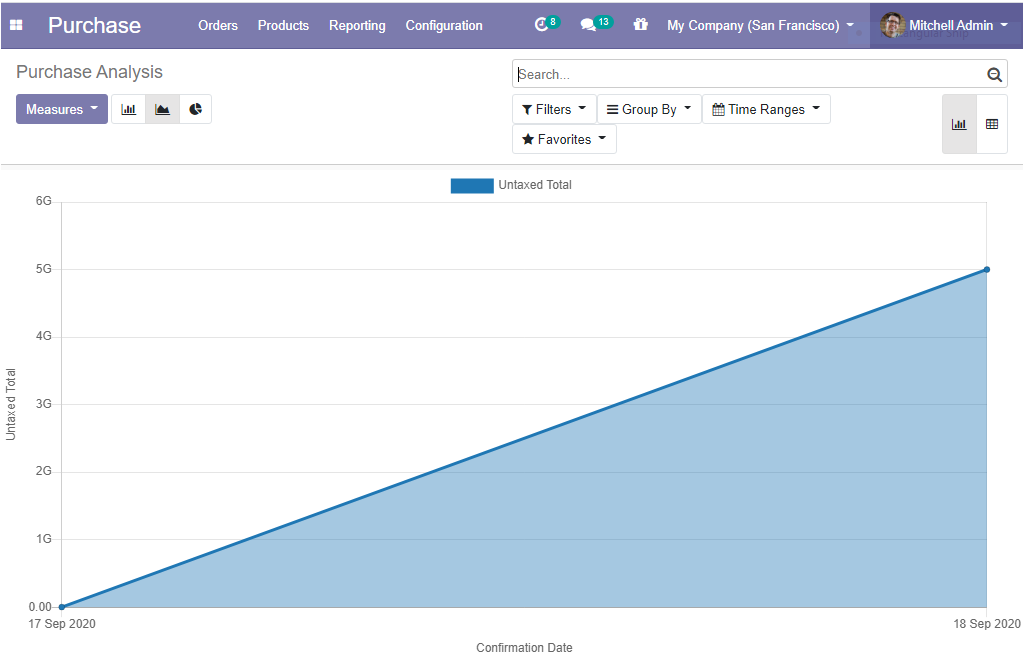
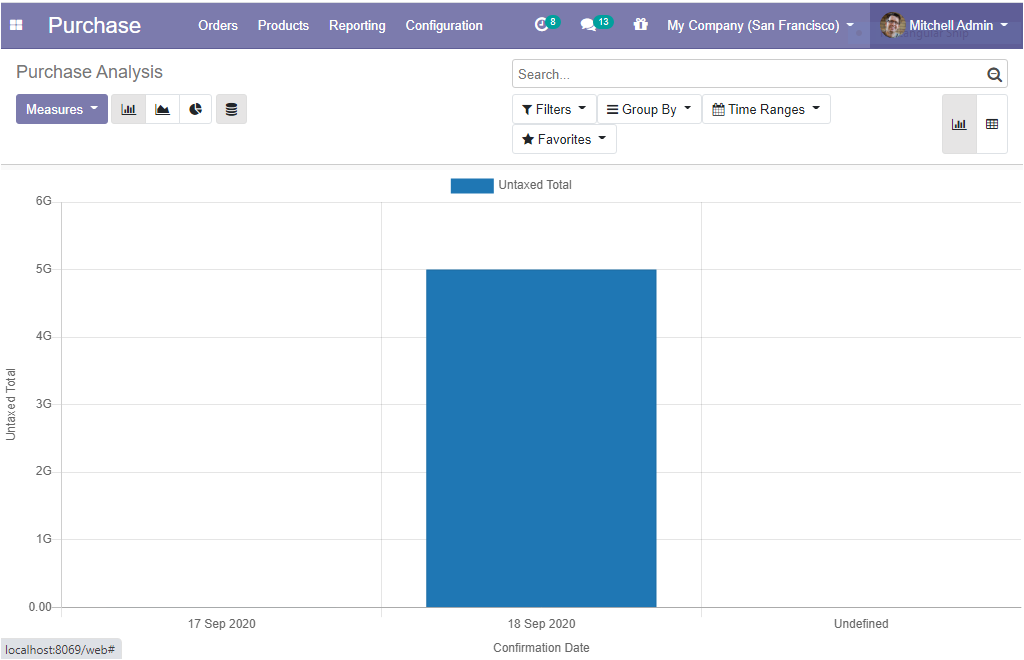
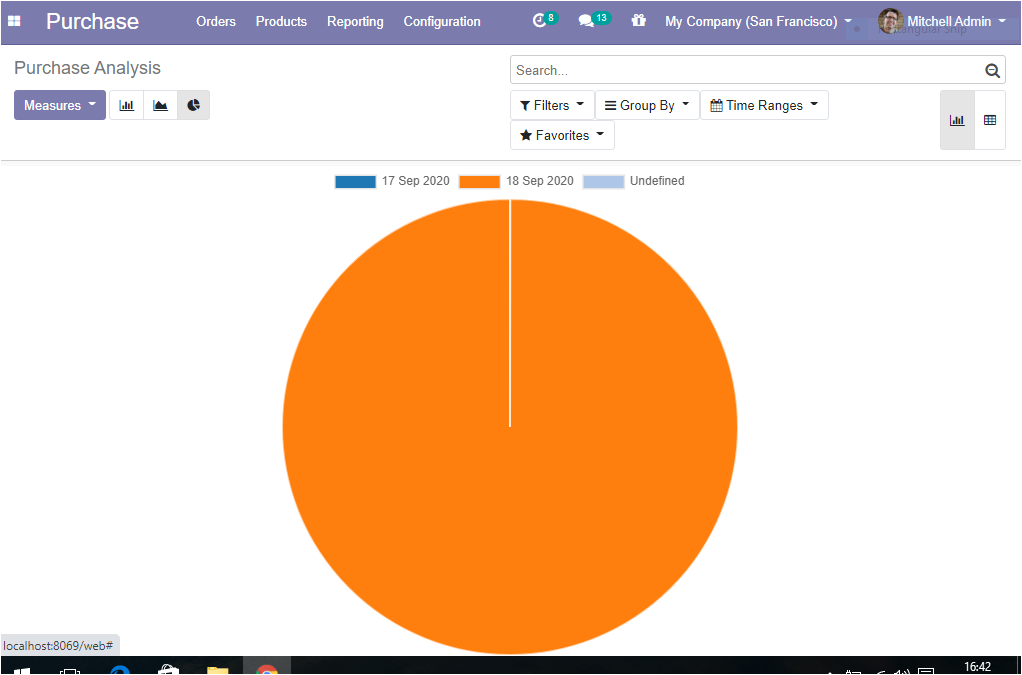
You can also display your reports in graphical representations. Odoo provides you with three smart views and they are the line chart, graph chart, and pie chart. All the purchase reports can be created and viewed in the form of graphical representations.
the LINE CHART
GRAPH CHART
PIE CHART
Customize Reports
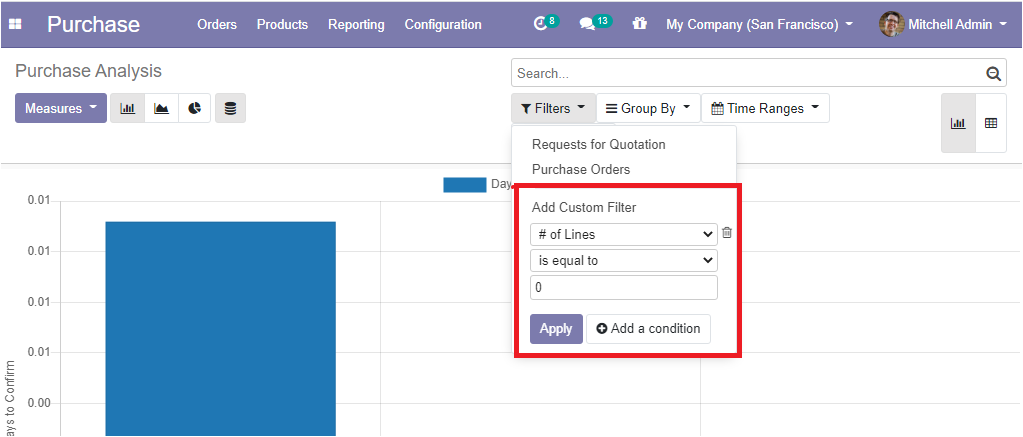
The user can customize the purchase reports depending on their needs. A search bar is available on the top right side of your window. This feature allows you to highlight only selected data on your reports.

The Filters option allows you to show a few sections of information on your reports. The Group by option improves the readability of your reports.
